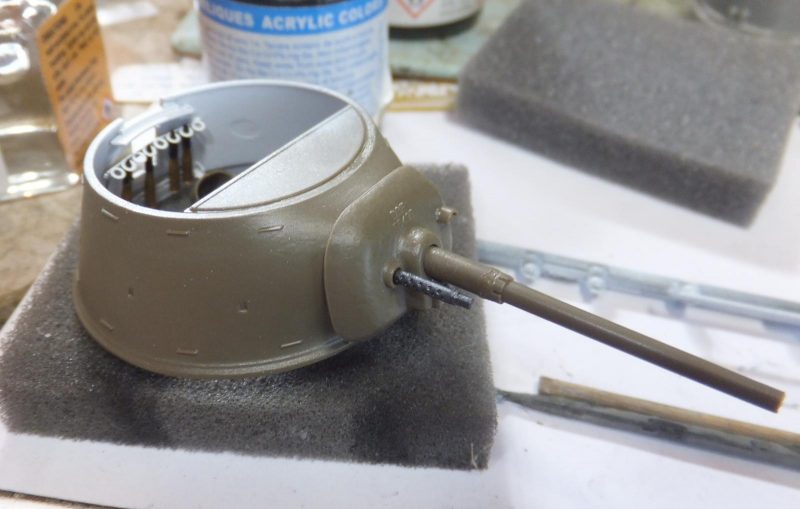
Next up to assemble the 37MM cannon.
First placing the binocular case in it's location with in the turret.
Next to start assembling the cannon. Nice basic details.
Next the breech is placed at the rear of the main body of the cannon.
The extensions are in halves, assembled and placed behind the breech.
After they are set in place the gun is taking shape.
Next the 1 piece barrel. So glad this part was not in halves.
Next the pivot carrier is attached to each side of the cannon. This allows the gun to traverse up and down.
Next is what may be the housing that allows the cannon to traverse when the wheel is turned.
Next the sight assembly is installed.
Height adjustment wheel.
Then the whole assembly is painted OD and some bit of a wash.
Now to paint the interior of the turret white.
The binocular case holder is repainted OD.
Now to attach the Browning .30 cal machine gun that mounts next to the cannon
After painting the 37mm shells brass casing with black war heads. I place them some on the shell racks.
Then the cannon assy is then installed through the front turret opening. Check that the cannon traverses fully, it does.
From the front side the glacis plate is carefully slipped over the barrel of the cannon and the Browning, good fit.
-

1. Love when it all comes together
Finally the rear access hatch is installed.
Next is to complete the rest of the turret details and start work on the pioneer tools.
more to follow