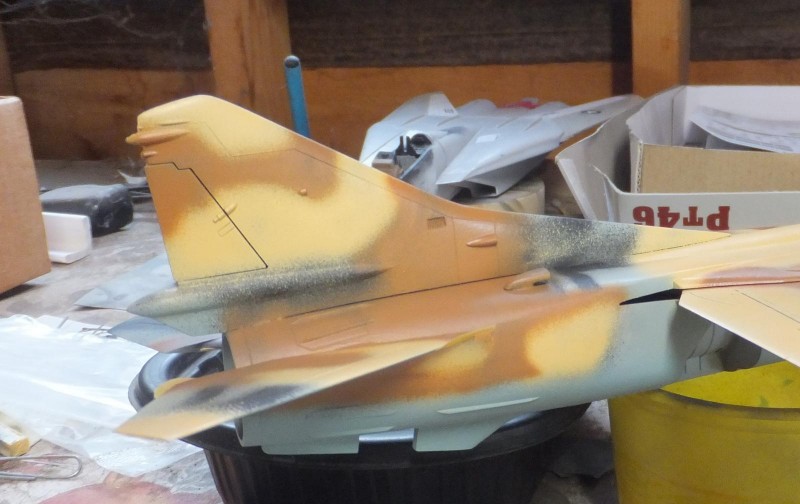
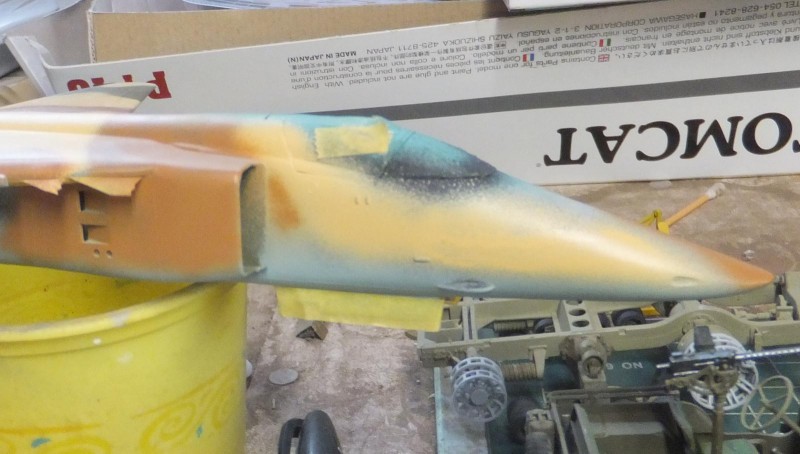
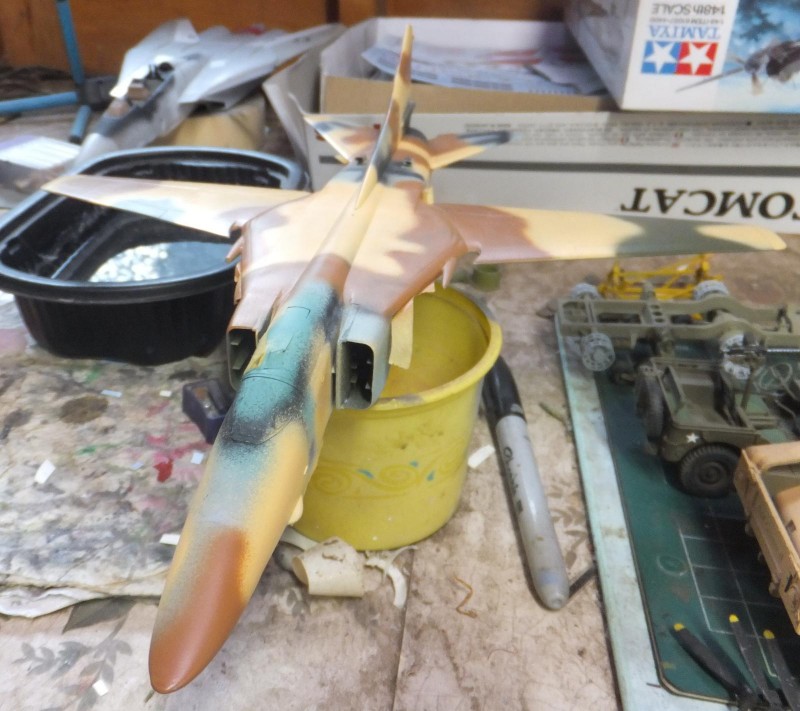
Mikoyan-Gurevich MiG-27 Flogger D,Iraqi Air Force,1991, ESCI 1/48

Started by Chuck A. Villanueva · 34 · 4 years ago
  • Profile Photo
    Erik Gjørup said 5 years, 1 month ago:

    @uscusn it would appear that the pictures did not upload? - hope they work on a new try! (I usually find that a huge upload from my connection is ofteh troublesome, but uploading a few at a time works fine)

  • Profile Photo
    Chuck A. Villanueva said 5 years, 1 month ago:

    It was late, so will reload them in a bit. But I have loaded much more images before. so was a bit perplexed why they didn't post.

  • Profile Photo
    Erik Gjørup said 5 years, 1 month ago:

    I see that upload is in progress - I just wonder - what size are the originals? - I usually cook my pictures down to 1200pix wide, and that seems to work fine. Looking good so far!

  • Profile Photo
    Chuck A. Villanueva said 5 years ago:

    I use a Fuji digital camera, one that I have been using since 2012 now. I was using Olympus cameras for the longest time but seemed to need to replace them every 2 years until I got the Fuji. Though I haven't really used it to post images but will send them direct to friends are the images I take with my Samsung S9 note. They are so sharp and clear. Phone camera technology has come a long ways.

  • Profile Photo
    Chuck A. Villanueva said 4 years, 11 months ago:

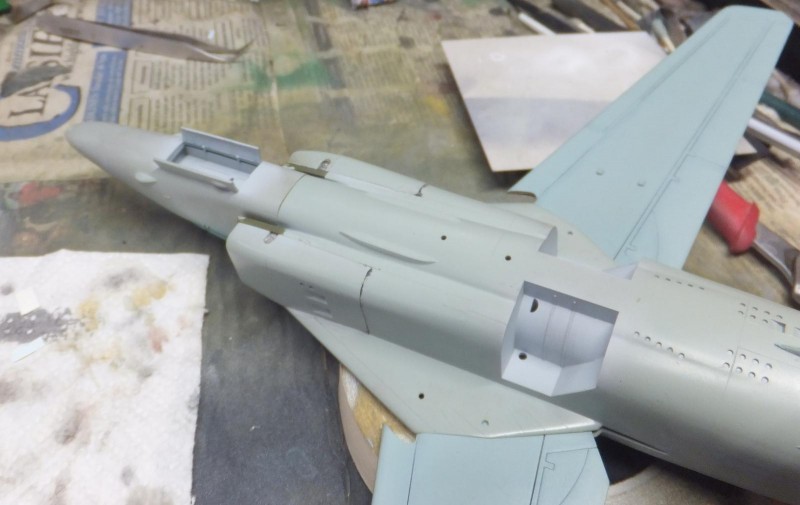
    Finally getting back to the Flogger. With the intakes installed. Time to attach the horizontal stabs. Each stab fits into a slot on either side of the rear fuselage and will be posed in a neutral position level.

    A PE piece is bent into shape for the base of the HUD. Then attached to IP coaming.

    Then the rear back wall behind the seat is painted Int Grey/Green.

    Didn't care much for the bland generic looking bombs that Esci had supplied in the kit, so checking in one of the Trumpeter kits with its vast supply of ordnance in the Su-24 kit, I will use the rocket pods and a pair of AGM's to update the stuff hanging underneath.

    These look much more purposeful in shape once assembled. These will hang on the wing glove hard points.

    The 30MM cannon in the kit is ok, but I will use the nice Quickboost resin replacement with much sharper detail and accurate shape.

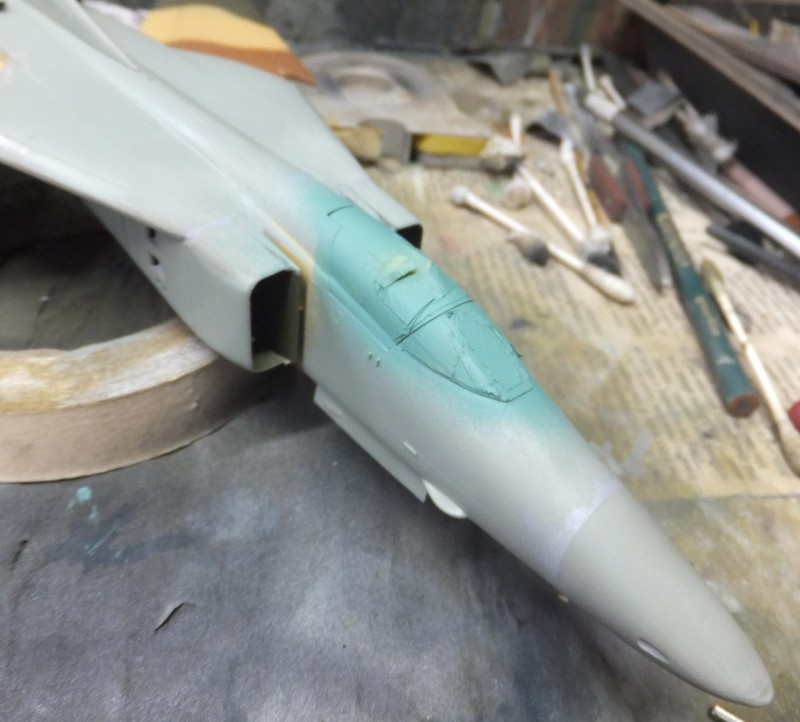
    Cleaned up the nose and fuselage to nose section seams a bit. Looks much better once I get ready to paint.

    6 additional images. Click to enlarge.

  • Profile Photo
    John Healy said 4 years, 11 months ago:

    That’s looking good Chuck. Looking forward to seeing it finished.

  • Profile Photo
    Chuck A. Villanueva said 4 years, 11 months ago:

    Thanks John just taking a very base kit and throw in some updated bits to bring it up to par with a Trumpeter model. The shape of the overall kit is ok. The duck bill nose may be off a bit, but it will work. The exhaust nozzle is way too shallow.

  • Profile Photo
    S. Cubas said 4 years, 11 months ago:

    Wow! Esci kit. You are a brave man.
    The result of all that amount of work is very good.

  • Profile Photo
    Chuck A. Villanueva said 4 years, 11 months ago:

    Yes, thanks S. Cubas, taking a very basic Esci kit from the late 70's,, bringing it up to standard with some update bits, especially the cockpit with a resin seat. Upgrade the cannon and wheels. Just enough to make a decent kit a bit better,

  • Profile Photo
    Greg Kittinger said 4 years, 11 months ago:

    Looking good so far...!

  • Profile Photo
    Chuck A. Villanueva said 4 years, 11 months ago:

    Thanks Greg, despite it's simplicity, once I get it finished I'm hoping it will look just as well next to the more complicated Trumpeter MiG-23.

    Now to first paint the cockpit framing Interior Grey/Green before applying the paint scheme.

    Next is to apply pre shading around the airframe before applying the final paint scheme.

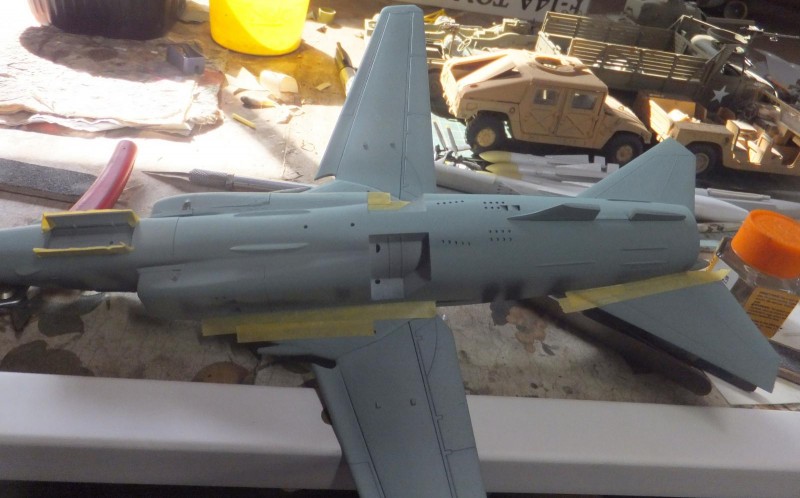
    Will start with the undersurfaces in Russian Lt Blue. But I did note that I did miss a seam to clean under the nose.

    Tamiya Lt Blue Acrylic is used to airbrush the under surfaces.

    Before airbrushing the tri color upper scheme, first I attach a pair of probe sensors on each wing glove leading edge.

    With the Lt Blue dry and harden, using Tamiya too mask off the surfaces that will have a sharp edge. And to protect from overspray.

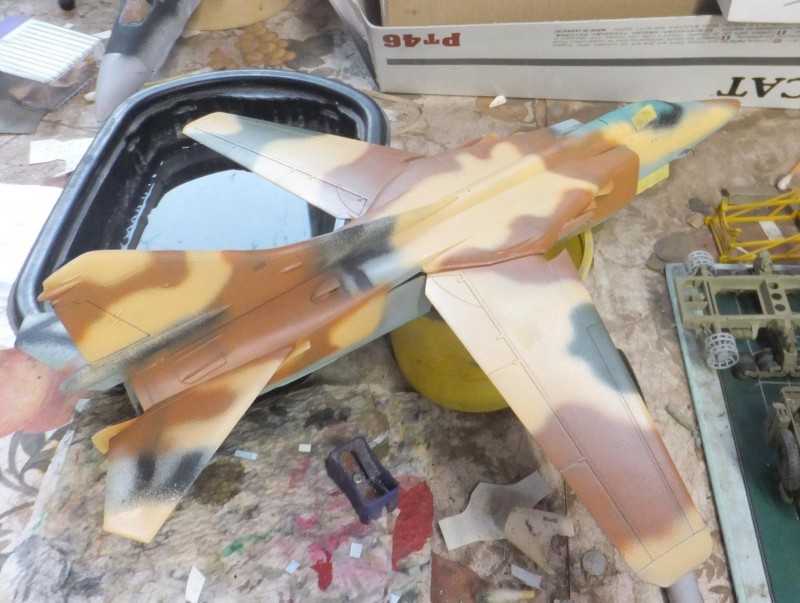
    First starting with Ammo Mig Sand Yellow, then Clay Brown followed by Dk Green. Each color applied only in the areas they are assigned to.

    Once the 3 colors are applied, I will go over again to clean up the overspray.

    After tightening up the demarcation lines on the camo and also the lower demarcation line from the blue to the upper scheme. Will apply the clear coat and will start the decal process.

    Will also come back to paint the dialetec panels on the tail and the rear lower ventral strake. Dark Grey.

    More to follow.

  • Profile Photo
    John Healy said 4 years, 11 months ago:

    This is shaping up great!

  • Profile Photo
    Chuck A. Villanueva said 4 years, 11 months ago:

    Thanks John, bringing the basic ESCI kit up to date doesn't really take much. Add some cockpit details, seat, better weapons and wheels and it will look the part,

  • Profile Photo
    Chuck A. Villanueva said 4 years, 11 months ago:

    I was originally going to stick with the kit wheels, but looking at some images of the real Flogger and noticed how much wider they were. So I ordered a set of Armory resin wheels. What a difference.

    Painted the hubs, Aeromaster Hub Green and the tires were painted Tamiya Tire black.

    To hang below the rocket pods mounted on the lower fuselage rails will be a pair of S-24 unguided missiles. A pair I grabbed out of the abundance of weapons that are in the Trumpeter Su-24 kit.

    Assembled them, put aside and will paint and decal once the decal process is completed on the Flogger.

  • Profile Photo
    Erik Gjørup said 4 years, 11 months ago:

    Those AM wheels really make a difference! Good call to change them it seems!