Minicraft 1/144 C-54

Started by George R Blair Jr · 62 · 1 year ago · C-54, DC-4, Lima Movember, Minicraft, SAS
  • Profile Photo
    Erik Gjørup said 3 years, 3 months ago:

    Picking up speed!

  • Profile Photo
    George R Blair Jr said 3 years, 3 months ago:

    Thanks, Spiros (@fiveten). Unless this is some weird form of plastic, then I'm not sure why they would go to the effort to make the plastic look like this. Hopefully they don't think this makes it look like natural metal? I shouldn't be too critical, my NMF may not look much better. :o)

  • Profile Photo
    John Healy said 3 years, 3 months ago:

    Looking good, George.

  • Profile Photo
    John vd Biggelaar said 3 years, 3 months ago:

    Good progress George @gblair
    I can only think of one reason why the would have done this metalish look on purpose.
    Maybe they added something in their plastic compound to make it easier getting it out of the mold.
    Nevertheless, after a primer it should disappear.

  • Profile Photo
    George R Blair Jr said 3 years, 3 months ago:

    Thanks, John (@j-healy) and John (@johnb). I don't think it was an accident that the plastic looks like this, especially since Spiros (@fiveten) says his kit has the same plastic. It just seems weird that a manufacturer would go to the trouble and expense of adding something to the plastic that most modelers will cover with paint. I also think that there is a lot of mold release on the plastic parts. The tape that I used to hold the parts together after gluing won't stick well and keeps peeling off. I don't usually wash the parts before I build, but they will definitely get a bath this morning. Cheers everyone.

  • Profile Photo
    George R Blair Jr said 3 years, 3 months ago:

    I glued a nose weight into the forward part of the fuselage. I then got started on getting the seams sanded down. After I got started I discovered that it is tough to tell if the seam is gone or not. Remember the old Revell and Monogram kits with the raised panel lines? After you sanded the panel lines off, you could still see where they had been. It was like the plastic retained a memory of the part that was sanded off. This plastic is similar. You can still clearly see where the seam used to be, but I can't feel any seam still left to sand. I sprayed some gray primer to highlight anything that still needs work. That is it for today. Hopefully more tomorrow or Sunday. Cheers.

    1 attached image. Click to enlarge.

  • Profile Photo
    Spiros Pendedekas said 3 years, 3 months ago:

    Yep, it is really hard to tell if the seam has disappeared or not with silver molded styrene, my friend @gblair.
    Same situation with my 1/72 Mistral, which is molded in "silver". I do use my thumb, or even my nail, to "feel" if the seam is gone, but results might be misleading...
    Your C-54 is nicely and solidly progressing!

  • Profile Photo
    George R Blair Jr said 3 years, 3 months ago:

    Exactly my problem, Spiros (@fiveten). My eyes weren't telling me anything, so I resorted to feel. When skin didn't tell me anything, I went to the old fingernail. Still didn't feel anything, so I sprayed a little primer from the can and found a small seam on top that needed attention.

  • Profile Photo
    John vd Biggelaar said 3 years, 3 months ago:

    From the pictures it indeed looks like a clear seam, George @gblair
    Better to trust your "feelings" in this case.
    Still weird to see this silver mottled plastic.

  • Profile Photo
    Erik Gjørup said 3 years, 3 months ago:

    Things are not always what they seam. . . . - sorry.

    Nice to have the balance installed, that always give a better feel when handling the fuselage.

  • Profile Photo
    George R Blair Jr said 3 years, 3 months ago:

    Thanks, John (@johnb) and Erik (@airbum). Hopefully the silver plastic won't be around long. I am wrapping up my Ki-54 soon, and then on to the SAS full-time. I have been building a lot of tail-draggers lately, so it is nice to know I didn't forget the nose weight. I always worry about the weight being too much in a 1/144 plane, but this landing gear looks sturdy.

  • Profile Photo
    George R Blair Jr said 3 years, 3 months ago:

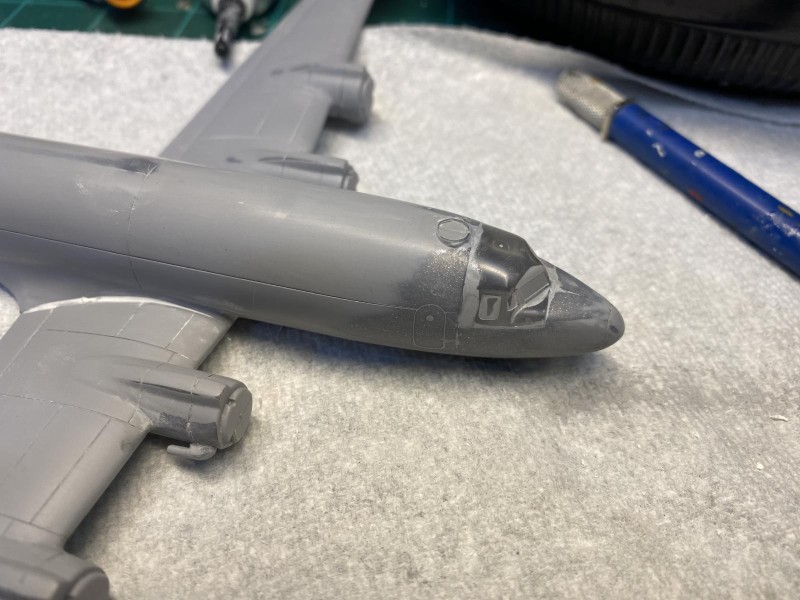
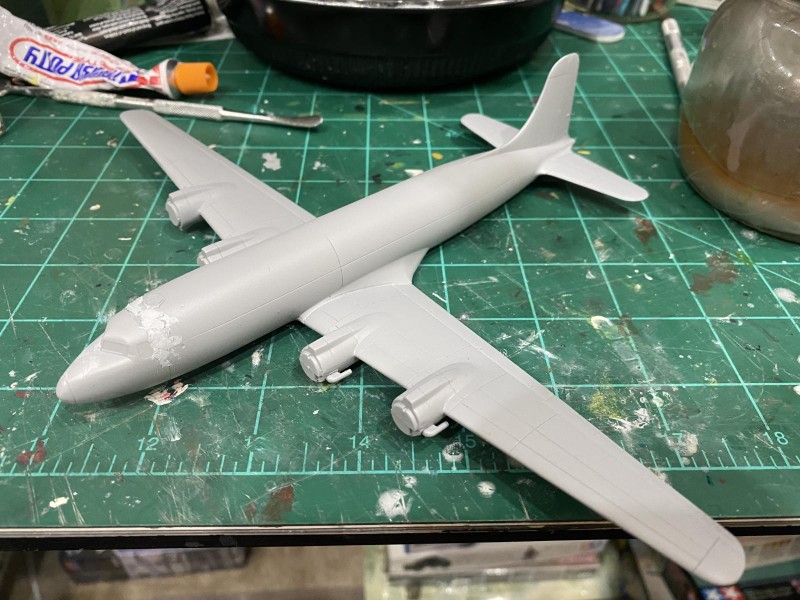
    You would think that a kit with only 30 parts or so would be quick to build. But when you know that you are building an airliner with a natural metal finish, you take some time to make sure that everything is smooth and seamless.

    For this plane, the entire cockpit roof is one large piece that glues to the fuselage. I wasn't worried about keeping the glass clear, since the cockpit windows are supplied as a decal. But I did want the canopy piece to blend smoothly into the fuselage. It took several rounds of putty, sand, and primer to get something that would be OK. This process was repeated on several fuselage and wing seams that kept popping up.


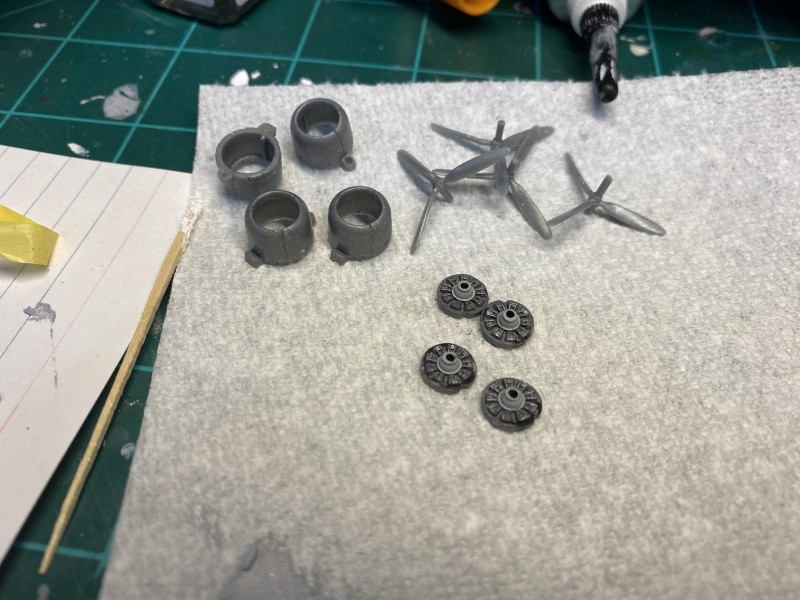
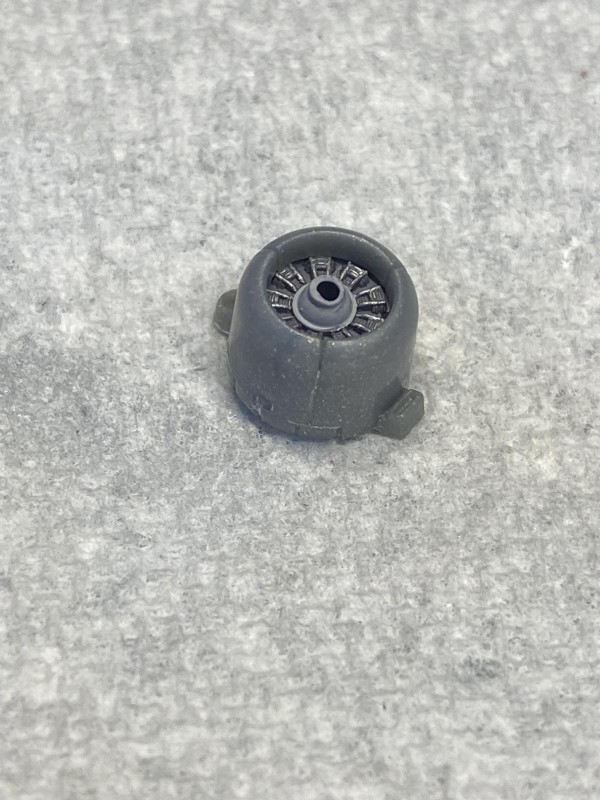
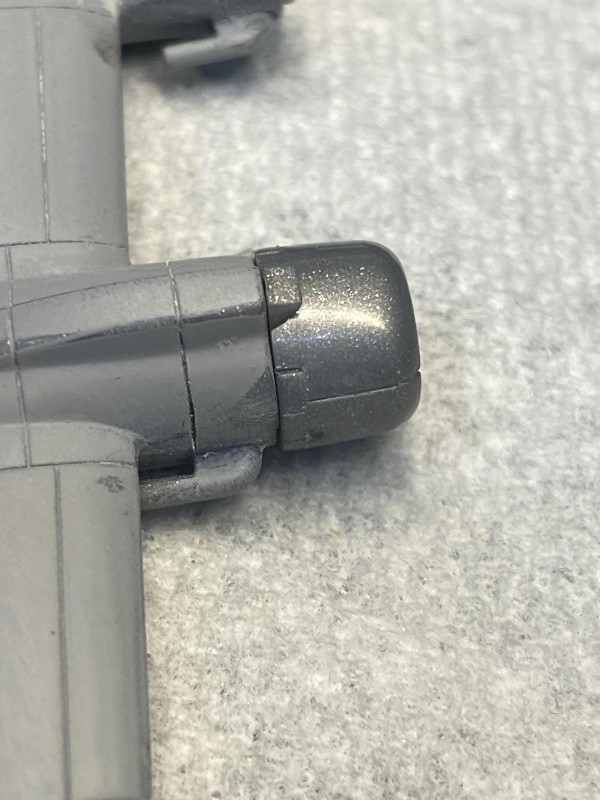
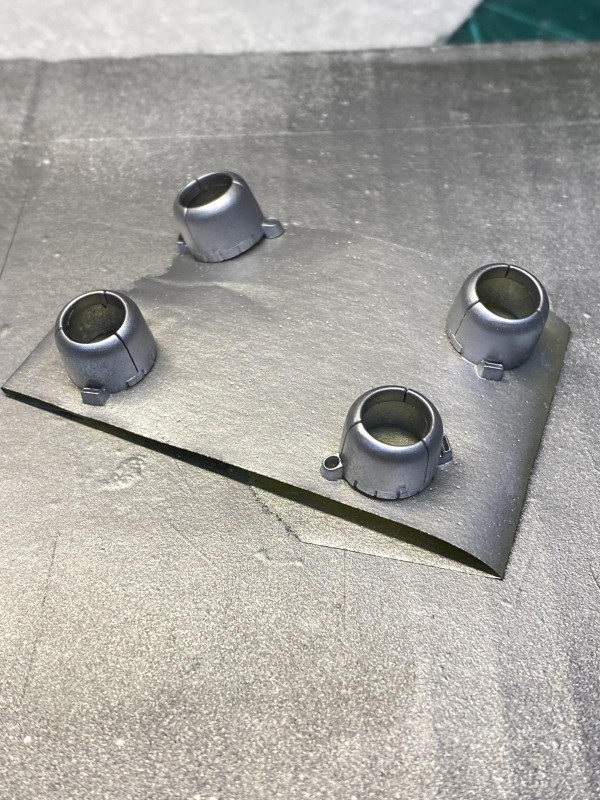
    I did some planning for the four engines. The engine piece is glued directly to the front of the cowling. A dry fit of the cowling to the wing revealed that some filler and sanding would be required. I wanted to paint the engine before I put it in the cowling, but it looked like there wouldn't be any way to protect it during the painting of the NMF. I decided to paint the cowling in its metal color, add the engine, glue it to the wing, then do the putty and sanding. At this point, I could mask the forward part of the engine and repaint the sanded portion along with the rest of the plane.


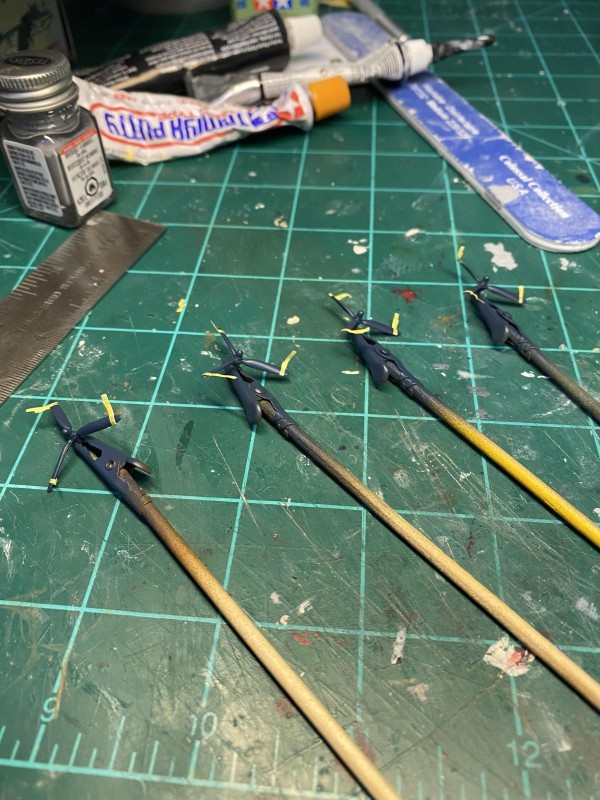
    The props were delicate and care was needed to clean them up before painting. The plane has silver props with a dark blue band on each blade near the tip. There were decals for this band, but I chose to paint the band instead. I painted the blades blue, cut thin tape to mask the line, then painted the blades silver.

    I was 99.9% sure this would be a tail-sitter, so I added a bunch of weight to the nose before I closed the fuselage. I added the landing gear, only to find out that it was still sitting on its tail. I managed to dribble some small ball bearings into the fuselage through the nose gear well, so we will see if that was enough after the glue dries.

    Once I get the nose weight sorted and give the plane a last once-over with very fine sandpaper, it will be time for natural metal finish. This should be interesting. My last model with a NMF was probably in 1973. Everyone stay safe! Cheers.

  • Profile Photo
    Spiros Pendedekas said 3 years, 3 months ago:

    What an update, my friend @gblair!
    The canopy blended nicely.
    Nice work on the props and engines.

  • Profile Photo
    George R Blair Jr said 3 years, 3 months ago:

    Thanks, Spiros (@fiveten). Hopefully it will move a little faster now.

  • Profile Photo
    Eric Berg said 3 years, 3 months ago:

    Wow! That’s looking very sharp [email protected]. Yes you blended the rear of the canopy perfectly. what type of paint are you going to use for the bare metal? Acrylic or enamel? I find black works great as a primer for aluminum shades but grey does get the job done but the result will be lighter.