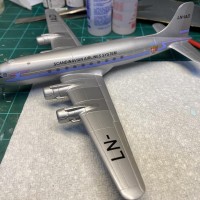
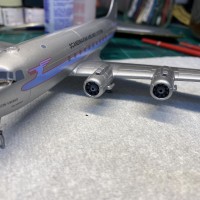
I needed 3 different rounds of applying decals to get all the marking in place. The instructions on the Lima November decals warn that they are thin and fragile, and guess what, they really are thin and fragile. I started out using just water on the surface of the plane, but I discovered that the decals wanted to stick immediately where they first landed. I managed to break one of the underwing serials into several pieces as I tried to move it into position. I switched to MicroSet and the decals were much easier to move into place without sticking. This is why I always start with the underwing decals first...I sort out these problems before I start on the more visible decals above.
I moved on to the long fuselage stripes and windows, and I remembered why I don't build passenger planes. MicroSet allowed the stripes to be maneuvered into position, but I managed to break one of the stripes right after the last window. The decals thoughtfully came with some spare stripe decal, so I managed to make everything good. The decal for the double doors at the rear of the fuselage is very thin and big, so I managed to fold a corner into a place I couldn't recover. Luckily the door decals are very light in color, so almost blend into the silver of the fuselage. With everything in place, I hit all of the decals with some MicroSol to snug everything down. I'll let the decals dry for 24 hours, then on to the last bits. Everyone stay safe. Cheers.
3 attached images. Click to enlarge.
-

-

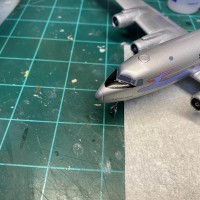
1. The anti-glare panel that came with these decals wasn't close to fitting, so I replaced it with the panel from the kit decals. Much better.
-
