Thanks, everyone. I got the clear coat done and decided that the black plane lacked any personality, even with white panels and red insignia. So I prepared to do a little weathering.
I have previously used artist's oils to weather a model and I wanted to give it another try with this plane. This method is fairly simple provided you have a good clear coat on your model protecting the color coats. Be sure that you use a clear coat that will not be harmed by the application of oils and mineral spirits. I usually use some form of acrylic clear, but I have also successfully used a clear lacquer. Basically all you do is brush on some artist oil colors, let it dry for a few minutes, then gently wipe the oils using a paper towel lightly wet with mineral spirits. Always move the paper towel in the direction of airflow. I usually do a first light wipe with the paper towel, and then I let it sit for a 10 or 15 minutes. I have found if you work the oils too much at one time you may cause the clear coat to fail. Once you have gone over the plane a couple of times with spirits and paper towels, you can use a brush lightly dampened with spirits to adjust the weathering. The thing I like about using oils is that they remain workable for a day or two. I usually use a dark gray color called Payne's Gray for most of the weathering, but the black color of the plane required some other colors. I used Payne's Gray on the bottom of the plane, in the white panels, and on the red insignia and tail. I used a warm gray for the black parts of the plane. Not quite duplicating what the shadows of the sun do, but at least you can see the panel lines. I used a little Burnt Sienna to suggest oil or hydraulic leaks, and a pale green-gray to suggest areas where the paint is worn. In the end, you can barely see this green-gray.
-

1. This is all you need for oil weathering. The oil paints are out of view.
-

1. This is the scary part of the process.
-
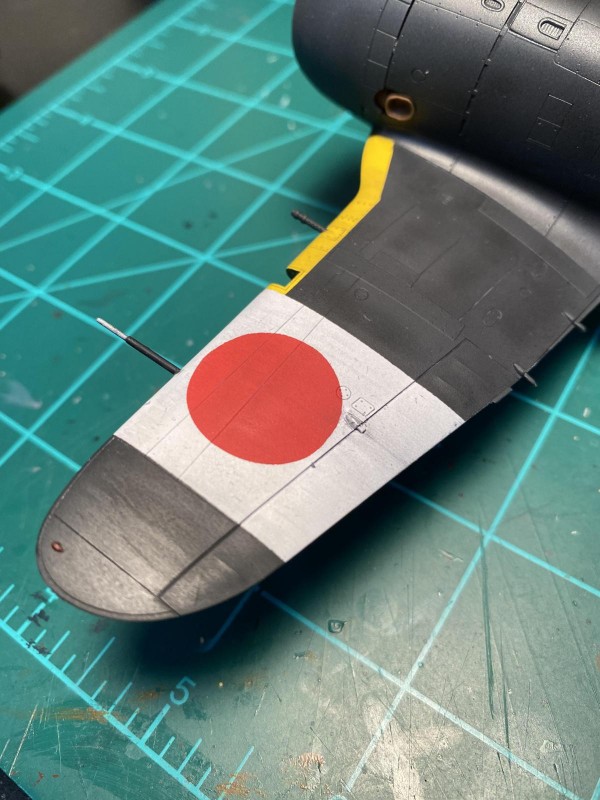
1. After two cleanings with paper towels and mineral spirits.
Follow the weathering, I glued on the prop and canopy. With that, this kit is in the vault. I may still go back and massage the oils a little, but that is a decision for tomorrow. I'm thinking I may do a Romanian Me-109E-3 next, probably straight out of the box. Everyone stay safe.
10 additional images. Click to enlarge.