Alright, I think I am finally ready to build the Lorna. First, a little more background on the plane:
the Kyushu Q1W1 Tokai (Eastern Sea) was the first dedicated anti-submarine aircraft in the IJN. The Allied reporting code name was Lorna. The IJN saved time on this aircraft by copying a Ju-88 bomber that it had previously purchased from Germany. They decided to put two low-power engines on the aircraft in order to increase its range and endurance. Later in the war, as strategic materials became more scarce, the IJN produced an all-wood Lorna. By the end of the war, the Lorna was used as a Kamikaze.
Just for grins I compared the Lorna with the Ju-88. The Lorna had two 610 hp engines, while the Ju-88 had two engines rated at 1340 hp each. I thought the low-power engines would really enhance the range and endurance of the Lorna, but it didn't. The max speed of the Lorna was just 200 mph, while the Ju-88A maxed out at 290 mph. The max range for the Lorna was 725 nautical miles, while the range of the Ju-88 was almost 1000 nm. The max ceiling of the Lorna also suffered, with a ceiling of just 14,730 ft compared to 26,900 ft of the Ju-88. The Lorna was armed with one 7.7 mm aft-firing machine gun, while the Ju-88 was armed with 5 machine guns. I think it is really interesting that the modifications done to the Lorna seemed to reduce the performance of the aircraft (compared to the Ju-88A), rather than improve it.
First Look:
I have built other kits from Fine Molds and they all seemed to be well-detailed and straight-forward to assemble. This one looks good also, but perhaps not as well-detailed as the others I have built. Instructions are clear and done using symbols. The instructions would have been a little more useful if I read Japanese, but the only other language I speak fluently is profanity.
-
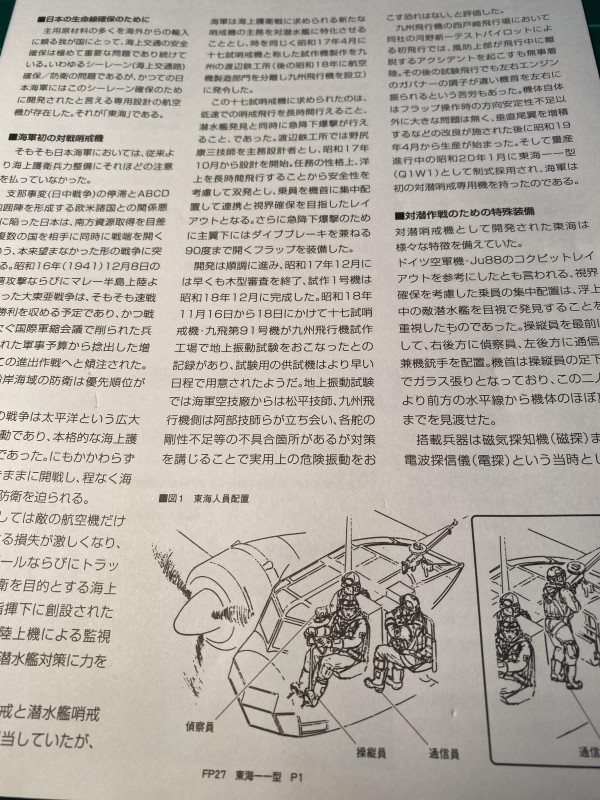
1. A lot of cool info I can't read. I knew I should have learned Japanese instead of Spanish.
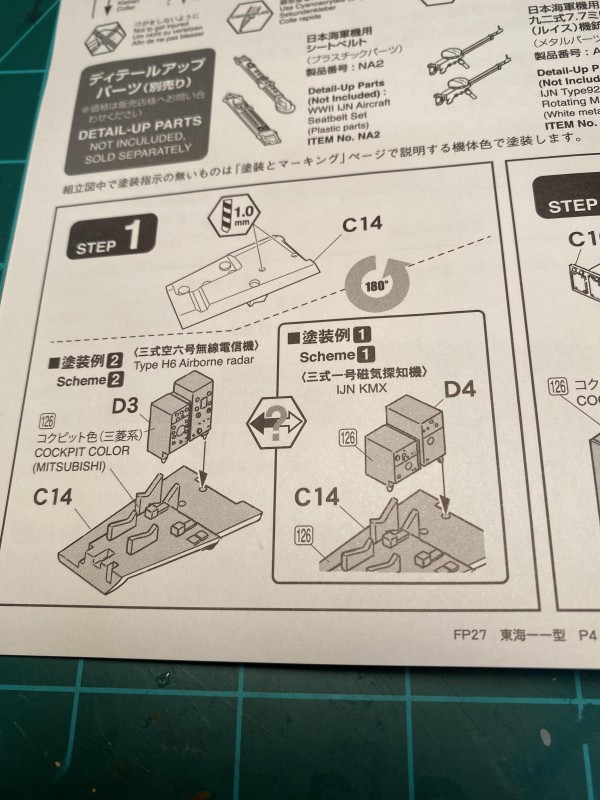
There are several versions you can make from this kit, so you really need to pay attention to the instructions to be sure that you are using the correct parts for your version.
-
1. Gotta watch the symbols or bad things happen
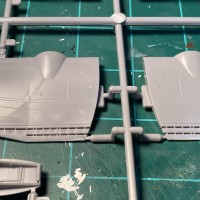
Because of the different version, there are several places where you need to open holes in the fuselage or wings. Some of these holes are partially cut into the back of the part, while the locations for other holes need to be located by measuring in millimeters and cutting the hole in the part. The chance of messing this up seems fairly high, at least on my part, so I would have appreciated some flashed-over locating holes to guide my drill bit.
-
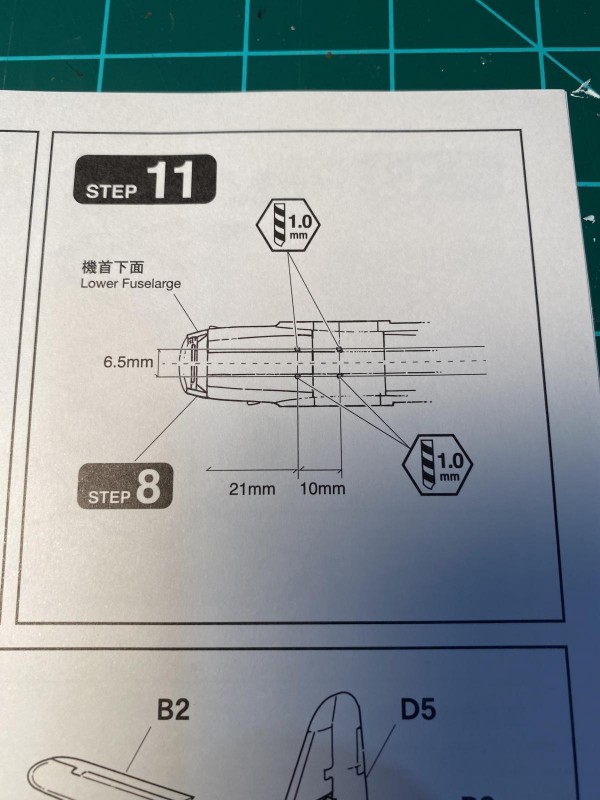
1. Locating holes would have been appreciated
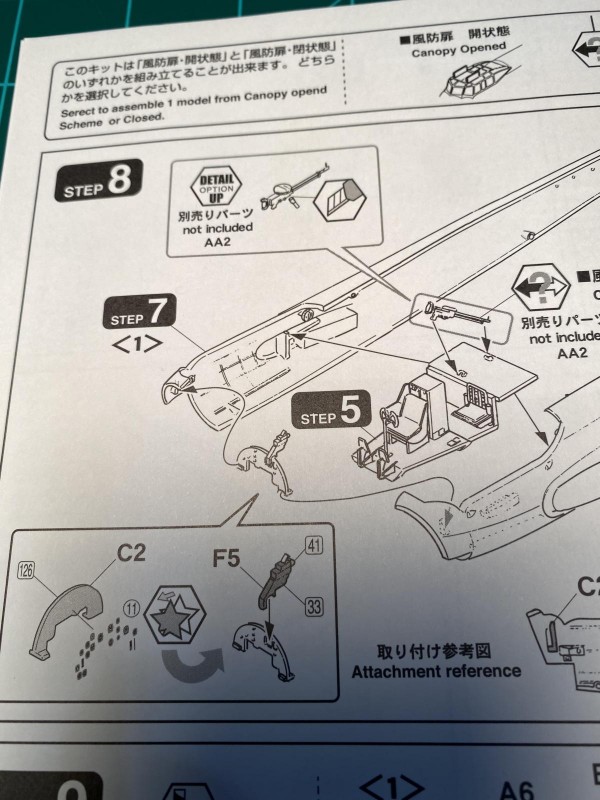
There are two different canopies included, one is for a closed canopy, and one has the top hatch open to make the viewing a little easier.
There are some "Detail-up" parts available for this kit. The first are the seat belts, which are not normally in most kits unless they are molded on the seats.
The second item not included with the kit is the 7.7 mm machine gun. You will need to source this missing piece, if you wish to include it. I was a little disappointed that the machine gun was not included in the kit.
-
1. Detail-up parts not included
If you want to get a bunch of aftermarket stuff for this kit, you will be disappointed. I did manage to find a set of Eduard masks for the canopy, but that was about it.
I also bought the Fine Molds IJN seat belts which are the "detail-up" for this plane.
Since this plane is a copy of the Ju-88, I took a chance and got some Eduard Ju-88 photo-etch for the cockpit. It looks like most of the etch will fit fine.
Well, tomorrow it is time to dive into the flight deck (big surprise). Everyone stay safe!
6 additional images. Click to enlarge.
-

-
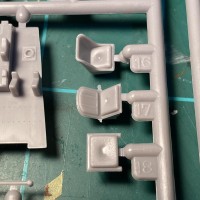
1. Sink marks will need to be filled.
-
-
-
-

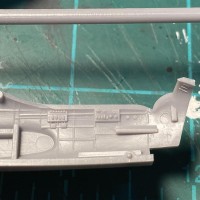
1. Radar-equipped version I plan to build