Nakajima B6N2 Tenzan (Jill) 1/48th Hasegawa

Started by Chuck A. Villanueva · 89 · 3 years ago
  • Profile Photo
    Chuck A. Villanueva said 3 years, 9 months ago:

    Thanks Spiros, a few torpedo toting aircraft projects these days. With another in progress.

  • Profile Photo
    Louis Gardner said 3 years, 9 months ago:

    Wow Chuck ! @uscusn
    Your "Jill" is looking very good, and the torpedo is magnificent. It also reminds me that I need to finish up my bare metal "Kate"... Then I might just start a larger Hasegawa 1/32 scale "Jack" to go with your "Jill".

    You just never know. Thanks for the updates. By the looks of things, you will be wrapping this one up soon. Keep it going my friend.

  • Profile Photo
    Erik Gjørup said 3 years, 9 months ago:

    Nice fish Chuck @uscusn!

  • Profile Photo
    Chuck A. Villanueva said 3 years, 9 months ago:

    Thanks Louis, this was one balance kit in assembly, enough details, quality in the instructions, and overall enjoyment of assembly. Hasegawa still make some excellent kits with just enough details, crisp mouldings for a fun build. Not over engineered like some of the newer kit makers are doing.
    Erik, time to hunting.

  • Profile Photo
    Chuck A. Villanueva said 3 years, 9 months ago:

    Now to add the lower gear door covers.


    Then attach them in position on the main gear struts covering the wheels.

    Now to set the Jill fully on her feet.

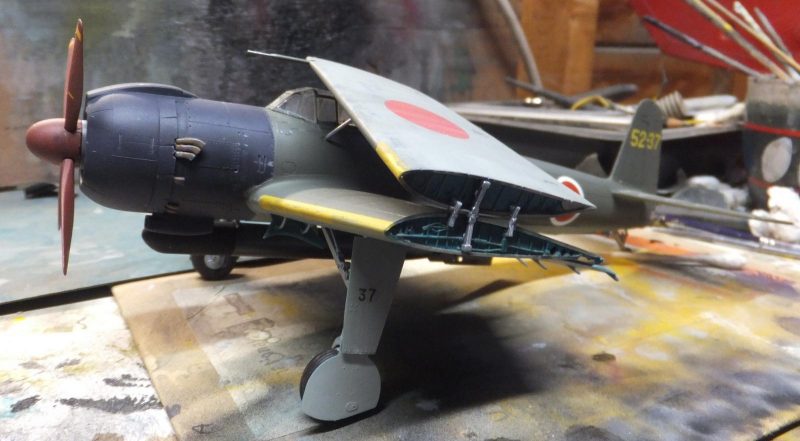
    Now those pesky looking fowler flaps. The contact points are not the best and will most likely easy to knock off with any kind of handling.

    They do offer an unusual look when attached to the wings. Especially shown extended out.

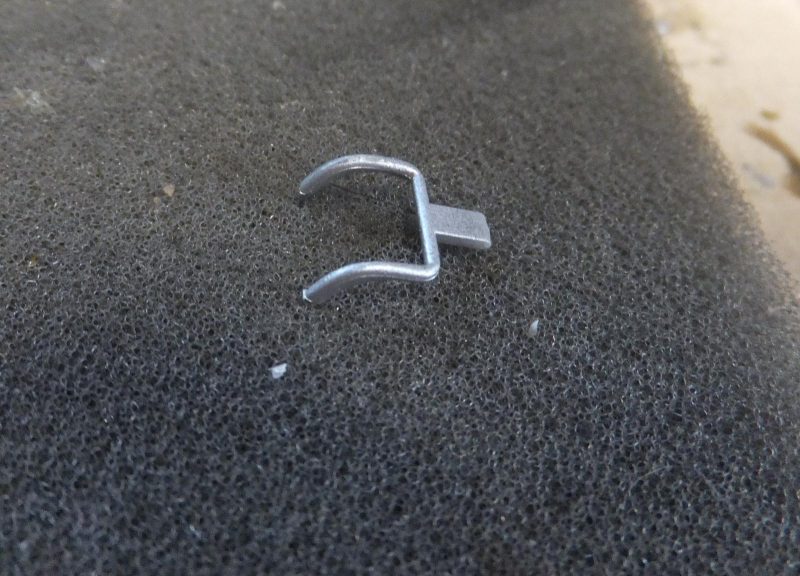
    Already lost one of the actuators so one of the flaps already attached with only 3 actuators instead of the 4. They view from the top does give it some character.

    That finishes everything from down under. Next to attach the prop after decaling and dull coating it.

    Then the 4 bladed prop is pushed into the hub and the poly cap holds very well. Nice tight fit and spins freely.

    Next up attach the wings and final details.

    More to follow.

  • Profile Photo
    Louis Gardner said 3 years, 9 months ago:

    Judging by the looks of things, you just might be headed to the headlines section soon. It's looking great Chuck, keep it up buddy...

  • Profile Photo
    Spiros Pendedekas said 3 years, 9 months ago:

    Looking amazing, my friend @uscusn!
    As usual, excellent presentation.
    Looking forward to see this beauty crossing the finish line!

  • Profile Photo
    Erik Gjørup said 3 years, 9 months ago:

    Hey ho, hey ho, a' huntin' we will go. . . .

    Getting ever closer to the chequered flag here Chuck!

  • Profile Photo
    Pedro L. Rocha said 3 years, 9 months ago:

    This is one slick airplane, perhaps the most elegant of the Japanese torpedo bombers. Looking forward for the final reveal.
    That Vallejo steel seems to reproduce the dark steel color I’ve been looking for to paint some sections of my P-47, I’ll try to find a jar on my LHS soon

  • Profile Photo
    Chuck A. Villanueva said 3 years, 8 months ago:

    Yes Pedro, the Vallejo Metallic range is good. And does perform very well so far too date.

    Now down to the nitty gritty and getting this Jill on final.

    Will now start the final details, with the wing fold configuration.

    First the pitot tube is attached to the LH wing outer panel.

    Put that aside and next because somehow I missed this when attaching the inner main gear door covers, are the door retraction actuators. Which are installed in place.

    Now to work on the LH wing panel. Three folding actuating arms, are pushed into the inner wing bay.

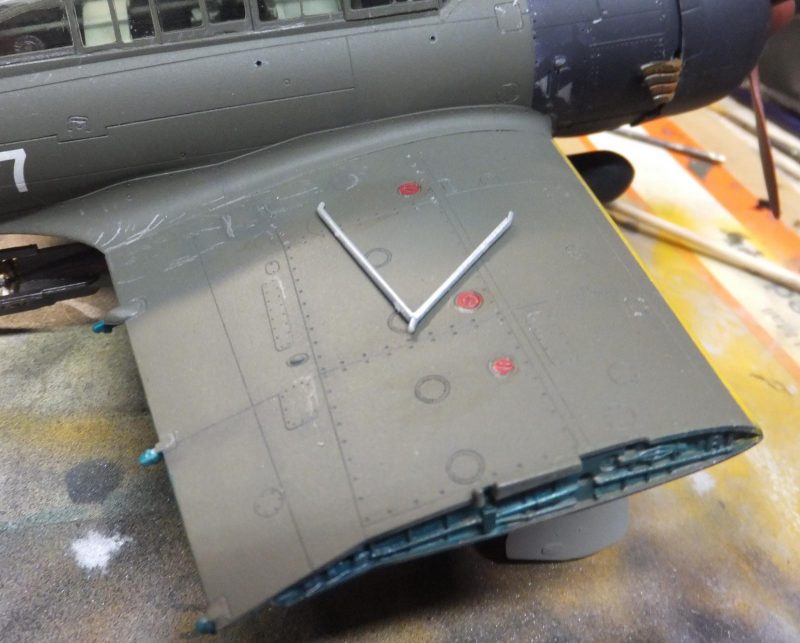
    Next the wing fold support brace is cleaned, painted Vallejo Aluminum and attached at the hard point on the upper panel.

    Then carefully the actuators are pushed into the polycaps on the inner wing panel, and then the support brace attached to 2 hard points on the LH fuselage side. The fit is very good and sturdy. Similar to the Tam Corsair where the wing fold option is well designed for longevity.

    The one part that is not so sturdy are the fowler flaps as they can be knocked off easily as I did here as I prepare to install the RH outer panel.

    Next working on the right side wing fold. After inserting the actuators into the panel, this time I will first install the brace to the fuselage.

    Before attaching the wing, I install the front antenna mast, which leans forward, unusual configuration.

    Next is to install the wing. Again excellent fit and drops in place even on the support brace.

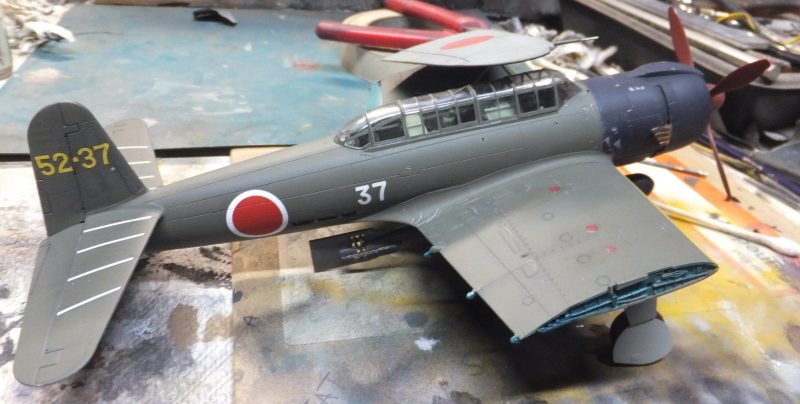
    Just add the clear wing tip formation lamps, re-attach the wayward fowler flap and she is done!

  • Profile Photo
    Erik Gjørup said 3 years, 8 months ago:

    Spectacular!

  • Profile Photo
    Spiros Pendedekas said 3 years, 8 months ago:

    What an amazing result, my friend @uscusn!
    This Jill looks spectacular!

  • Profile Photo
    capt. R said 3 years, 7 months ago:

    Hello! I like your model. What kind of green do you use to upper surfaces?

  • Profile Photo
    Louis Gardner said 3 years, 7 months ago:

    Lis, @lis
    Gunze Nakajima Green is the color that Chuck mentioned he used for the upper paint. I was curious myself, so I went back and read the build journal from the very first page. Chuck mentions the color he used on the 4th page of his build journal. Hope this helps.

    I agree with you, Chuck has done a great job building this model.