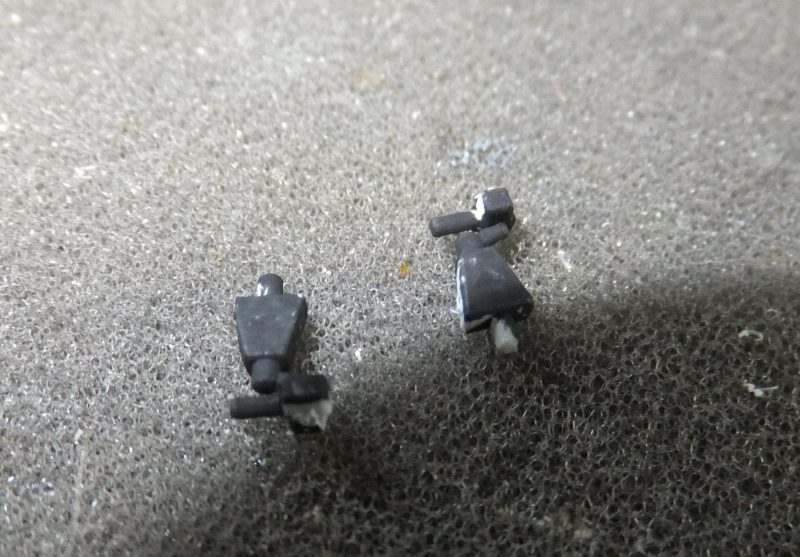
Next to install the cyclic and collective control sticks.
1st with the collective thrust levers. Then each one placed on the LH side of each seat.
-

1. Collective control levers
-

1. Placed on LH of each seat
Next the cyclic control levers. These are placed in front center of each seat.
With that part of the cockpit done for now, time to work on the fuselage and rotor shafts.
The LH side escape rescue/escape hatches are installed on the LH side fuselage, the fit is ok, need some minor work on a bit of a gap around the hatch.
The LH rear has a similar but minor fit issue,
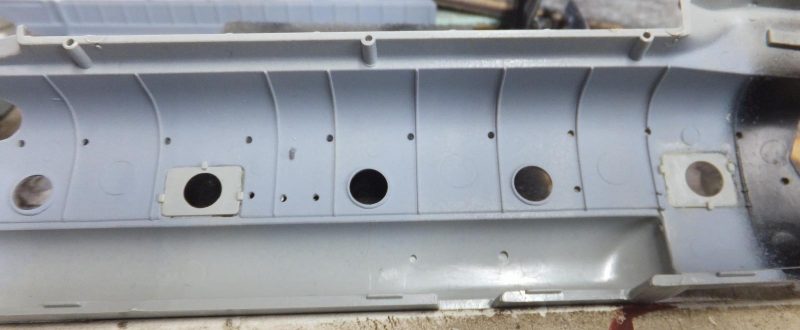
Next to drill out a couple of holes on both fuselage halves.
-

1. Drilled out these holes
Next to follow that same process with the hatches and drilled out holes for the RH side.
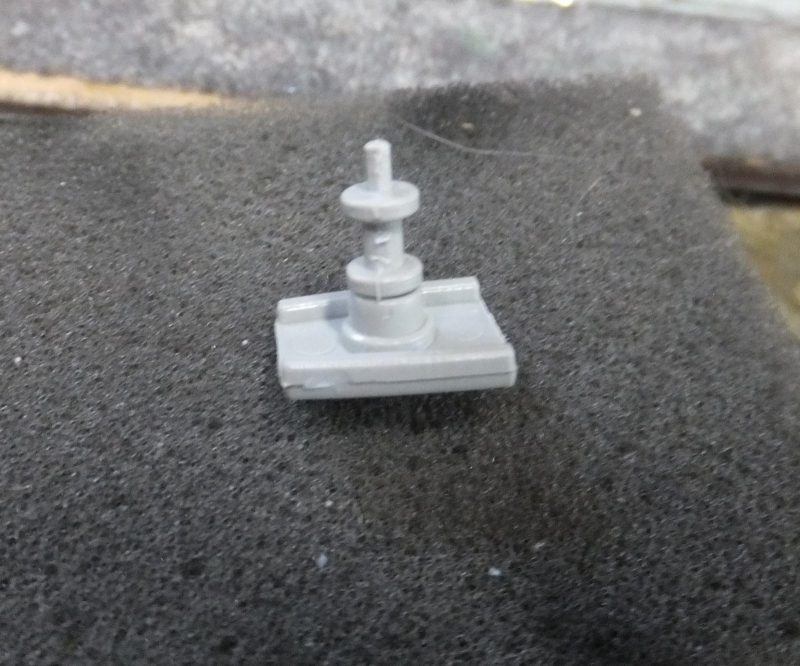
Next to assemble the rotor shafts. 1st with base mount and shaft for the forward rotor assembly.
Next a test fit of the shaft assy to the RH side fuselage half. Good fit, shaft spins freely.
Next to assemble the rear rotor shaft.
-

1. Rear rotor shaft assembly
Then placed on the RH rear side of the fuselage.
Next is to cement each one in place and the temporarily place the fuselage halve together to let them set in place and aligned.
The swash plate. Will leave off for now. Most likely will keep them removable once the helo is completed when time to transport the model.
Will leave that air frame taped up as the rotor shafts set.
Next to install the interior and button up the fuselage.
More to follow!