Now for a quick update. With the wheels installed, now I will apply the Flat Clear Coat using Vallejo's Acrylic, love this stuff.
Once the clear coat is applied I let the airframe sit for an hour before starting to remove the maskings.
Starting with the overhead glass panel over the pilots I start to carefully pull off the masks.
Italeri is known for overly thick clear pieces on some of their older 72nd scale kits, not so on the Chinook. Glass is clear not too thick, you can see the cockpit clearly and the details within.
Now to slowly start to add the prominent ariel antennas along the LH side of the fuselage, I hope I don't lose any in the process. I will install these in steps, as once you have them all attached, makes handling a bit difficult to finish up on other details.
A blade antenna is then attached on the central shaft housing panel. This is Flat black.
Now time to start to assemble the rotor blades. One was already broken when I opened the box at the start. At a point that would be difficult to repair and was not looking forward to it once it came to start to build the rotors. The rotor heads are too bad in this scale, Bravo Italeri.
The undamaged blades should look like this with the end that attached to the rotor head. They are pinned nicely to insure a long lasting contact point at the rotor head as they are fragile.
-

1. Intact end,
2. very weak point careful not to flex the blade once installed over time
-
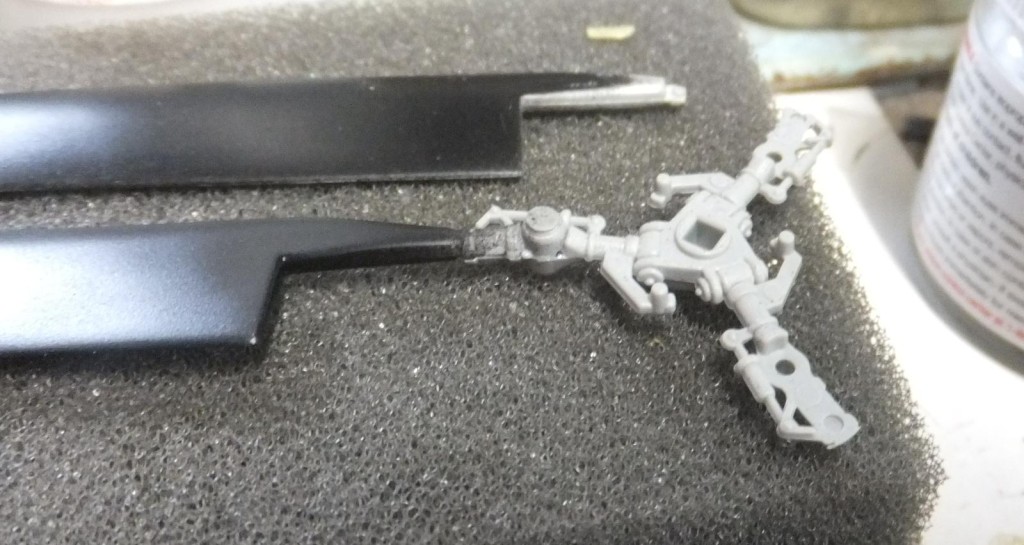
1. Excellent contact point to rotor head
The blades attach easily and the contact point is positive and solid.
Finally to repair and attach the broken blade. Let it sit 24 hours and then attach to the rotor head. Fortunately the damage was not a deal breaker. Able to save the blade, stabilize the damage, and should be ok over time.
Next up to complete the other rotor assy, more details exhaust system etc.
more to follow...