Nose is on still needs a bit of clean up, in the meantime back to finishing up the wings with the flaps and airlerons.
First to assemble the flaps.
-
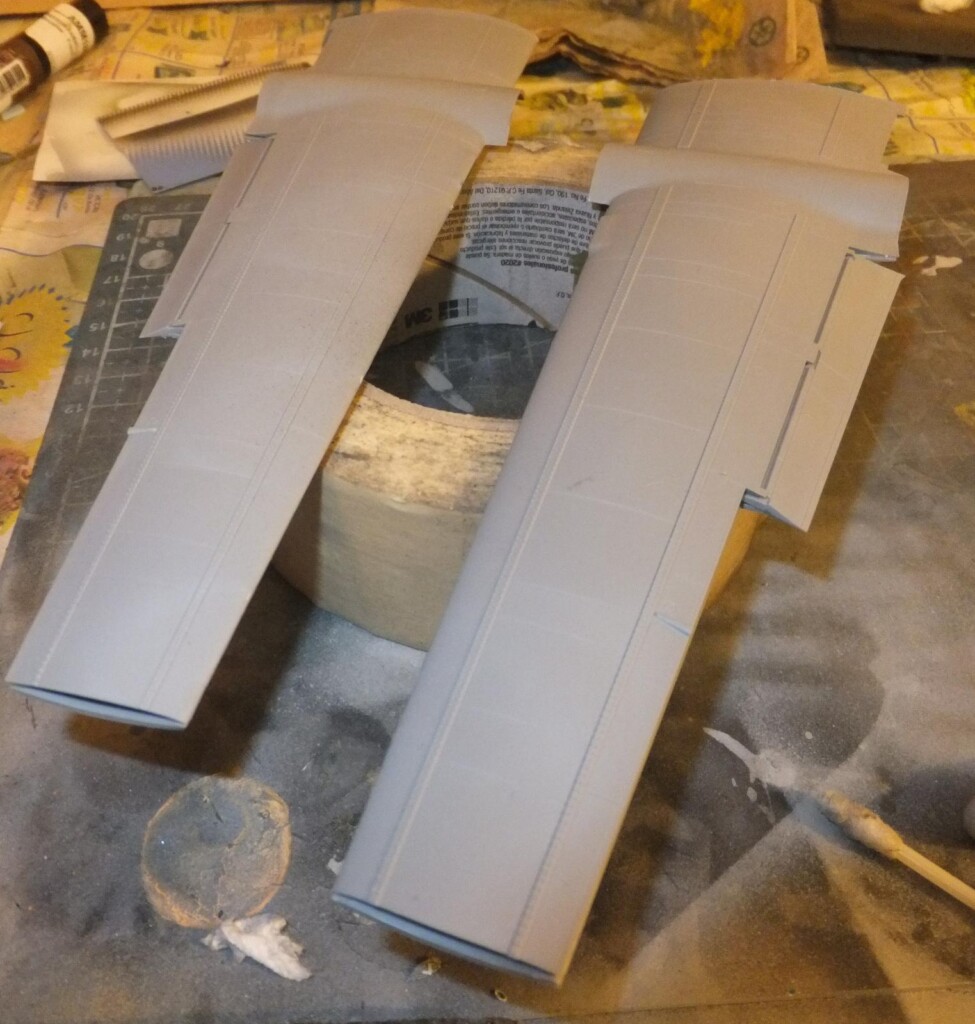
1. Flaps installed and will be deployed in the lowered position
Next to assemble the inner flaps and then attach them to the wings.
The ailerons are next to be assembled then will be attached in the neutral position.
Next the wings are slipped over the wingspar to check fit on both sides. This is temporary not yet glued in place.
Now to assemble the nacelles.
I will leave the doors off for now and install them towards the end of the build. They can be left off for now and install later.
Interior of the wheel bay is Interior Green. A little wash to enhance the details.
Next is to mate both halves once the front and rear gear bay walls are installed.
The fit is ok on the nacelles and are ready to be attached to the wing.
Like David's B-26K, the one nacelle on the LH side fits well, but the RH side has bit of a gap at the rear edge join to the wing. I had the same issue with that on the B-26C.
The wing tip tanks are ok and will use them. Really don't see the need to replace them. The fit is solid and no issues.
Finally the wings are permanently installed to the fuselage creating that look unique to this variant.
Seems like the fit is not the greatest, The RH wing to the fuselage is perfect, I have a noticeable gab on the LH side contact point so will need to fix that.
Next to install the upper deck panel and the rear lower fuselage insert.
More to follow.
1 additional image. Click to enlarge.