I picked this up for $4.99 in the clearance section of Hobby Lobby. Building it out of the box with some scratch built improvements.
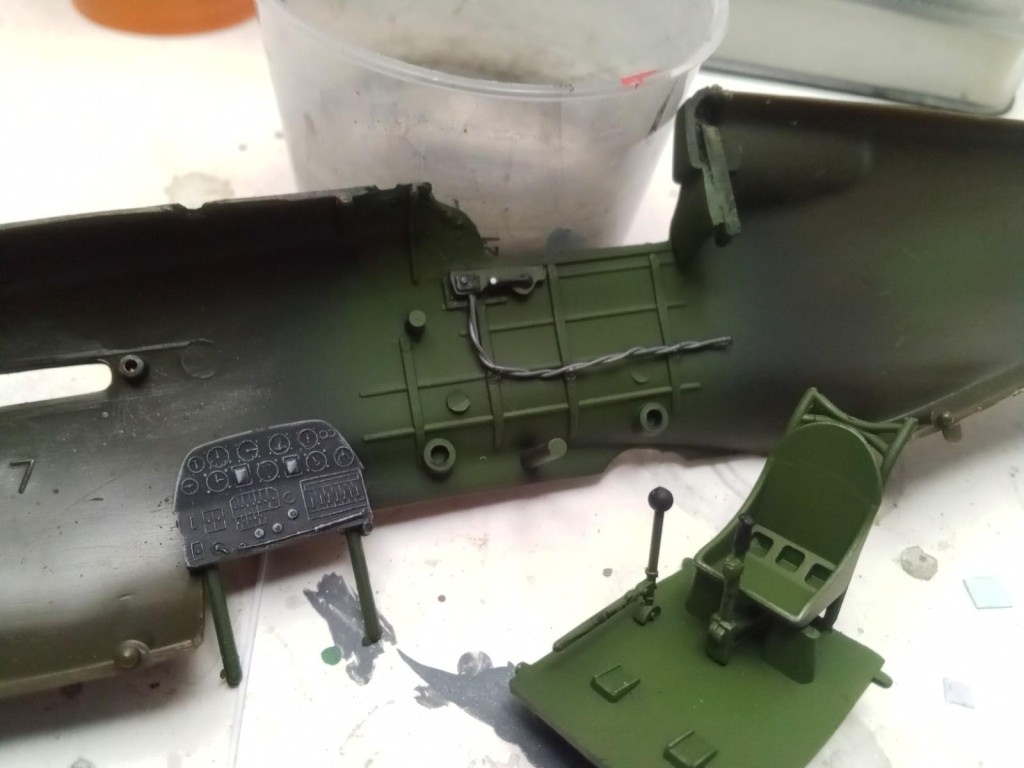
I first set out to improve the sparse cockpit just a little bit. I added some wire and built a firewall behind the seat.
Speaking of the seat, I swapped the woeful kit provided part for a spare that was left over from a previous Airfix kit. Not sure if it is the correct seat for this particular model but it looked much better than what was in the box! No seatbelts, as I will be adding a pilot figure.
-

1. seat may not be 100% accurate but its better than the kit part
Here is the cockpit painted, drybrushed, and ready to be closed up and mostly never seen again
After some serious sanding, the next project was the wheel wells. Not much is provided here so I added some styrene ribbing and covered it with tissue dipped in white glue, to be painted at a later date
[pic 7
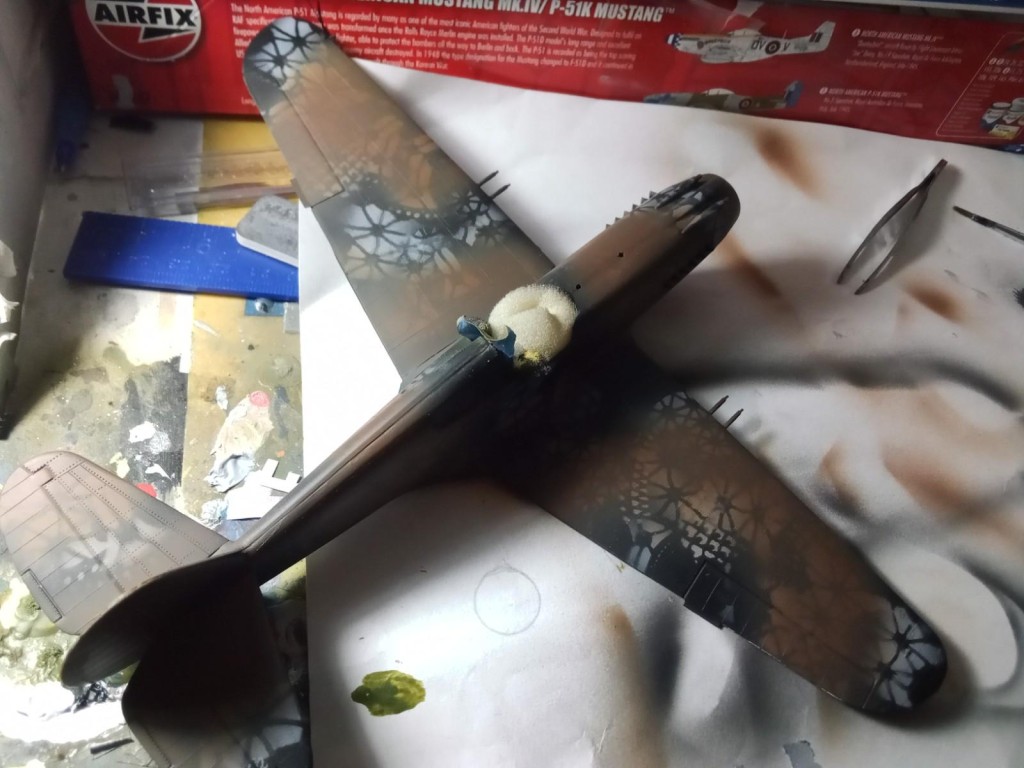
More sanding and seam clean up and I was ready to prime the Flying Tiger. I decided to do a little different approach to my normal "black basing" method of priming and painting. After priming the kit with Vallejo black as usual, I used a flowery Valentines Day craft "thingy" to make unusual shapes and patterns with gray.
I saw this method in the most recent issue of FSM where the author used a template from Mig Ammo or other such manufacturer- I didn't have one so I got this out of my daughter's craft supplies. The goal is to use the contrasting primers to simulate random fading and molting by spraying on multiple thing coats of the cammo pattern colors.
-

1. yikes, this seam needs to be cleaned up asap!
UPDATE (7/1/22)
Free handed some dark green, will have to do multiple coats of both colors here is the result after one coat of each, flowers still visible:
I've also worked on the pilot figure. I'm not great with figures but here is the result so far. I'll give him a dark wash in the near future to get some of the recessed details a little more shadow
1 additional image. Click to enlarge.