Jaime! Managed to put in come work yesterday!
After a few days in London with my family (lovely spring weather, visiting Harry Potter and Hamley's, generally just walking about and having a good time, only case of giving in to dad's interests were having a good look at HMS Belfast from the shore :), big girl (9) said that next time in London she will go on board with dad to make him extra happy 🙂 ) I'm back at the workbench!
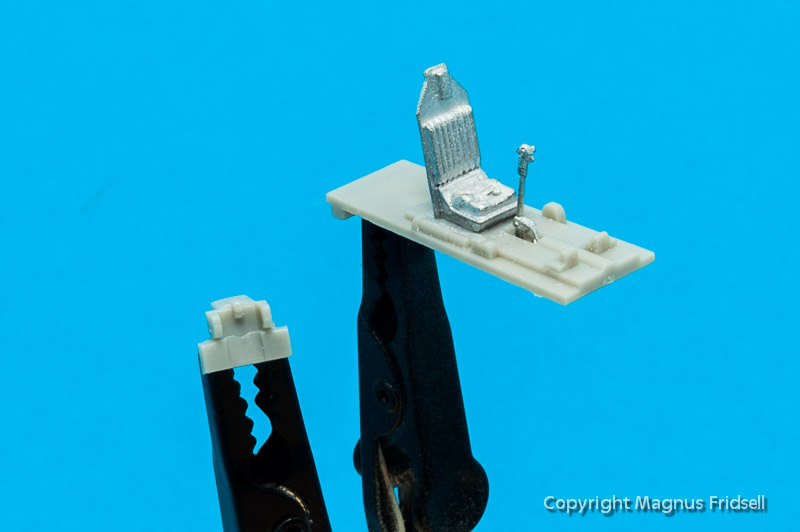
Interior parts glued. This is what there is in the kit, some photo etch would come in handy if doing it with an open canopy. When on the subject, I might have picked up some after market for this one years ago. I'll have to go digging!
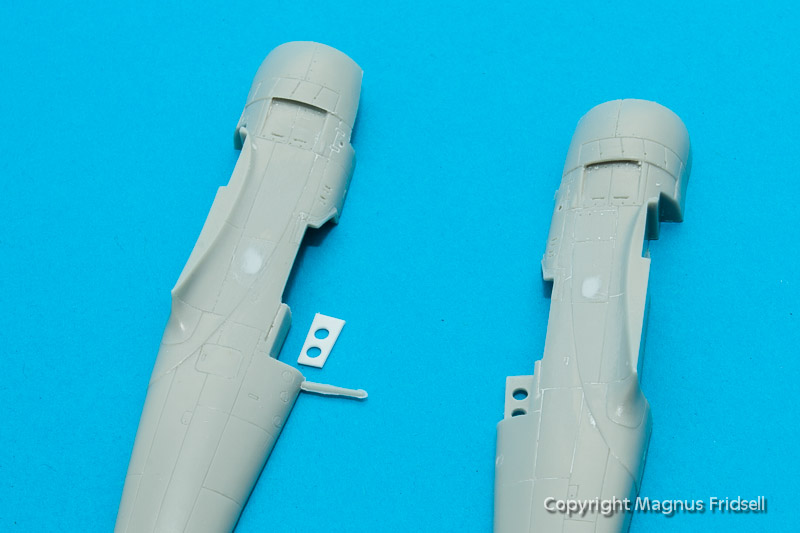
A few simple modifications that I think will enhance the final result: cutting away the pylon behind the seat and substituting it with a piece of plasticard and also installing exhaust pipes. There are none in the kit, the area where they should be is just moulded flat. I use a sharp scalpel blade and just scrape my way inwards until I get a thin edge for the cooling flaps. I'll use brass tubing for the pipes, I had none of correct dimensions but I have ordered some more that will be in the mailbox in a few days.
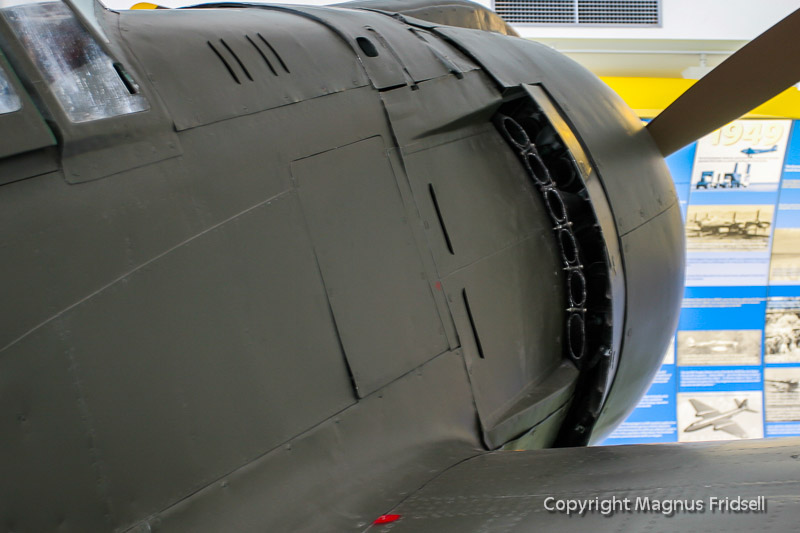
This is what it should look like. Photo taken at Hendon in 2006, this is a later-version bubble-top Ki-100 but I'll make do with that. You can't be too picky when it comes to taking photos of preserved Japanese aircraft!
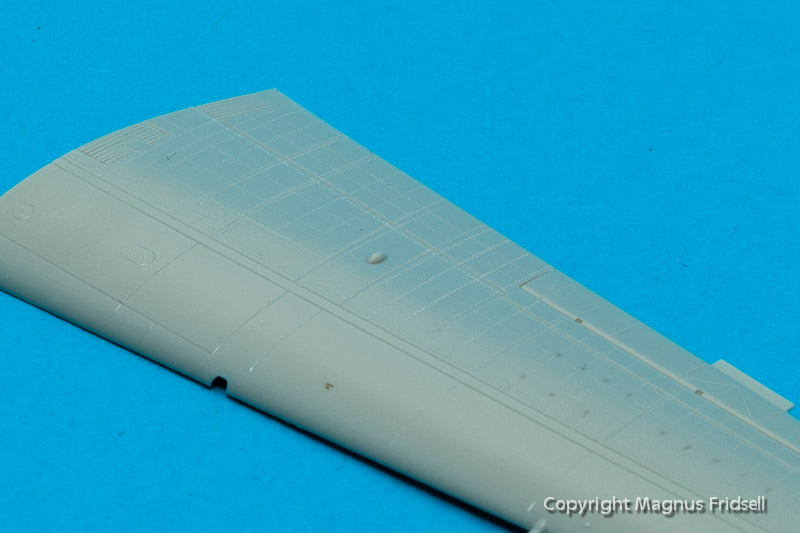
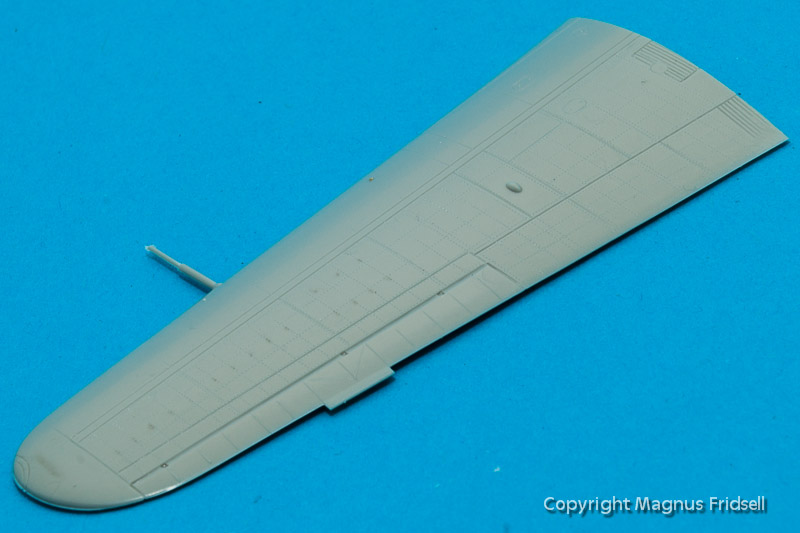
The rivet wheel at work! This is one of those things I never should have started doing...
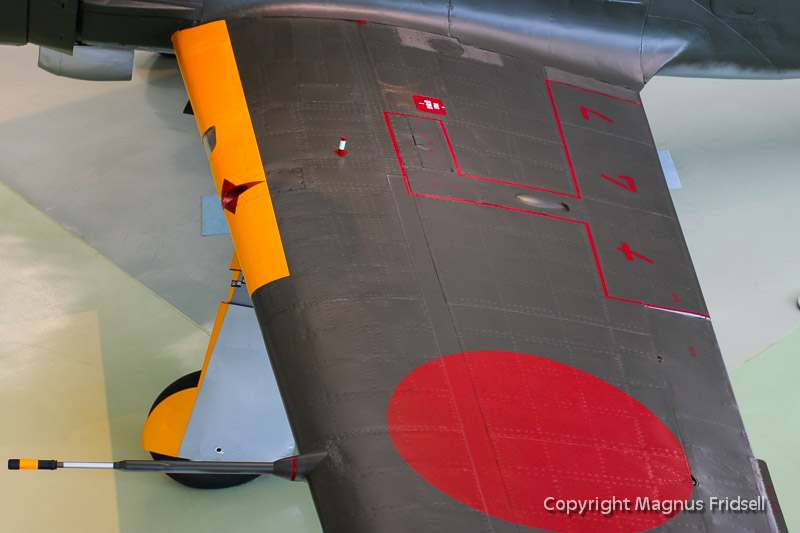
Rivets in full scale...
Regards
Magnus