Sorry for the delay but I have been moving my photo library (almost 1 Tb worth of photos from twelve years of digital photography) and I didn't want to mess around before everything was up and running again!
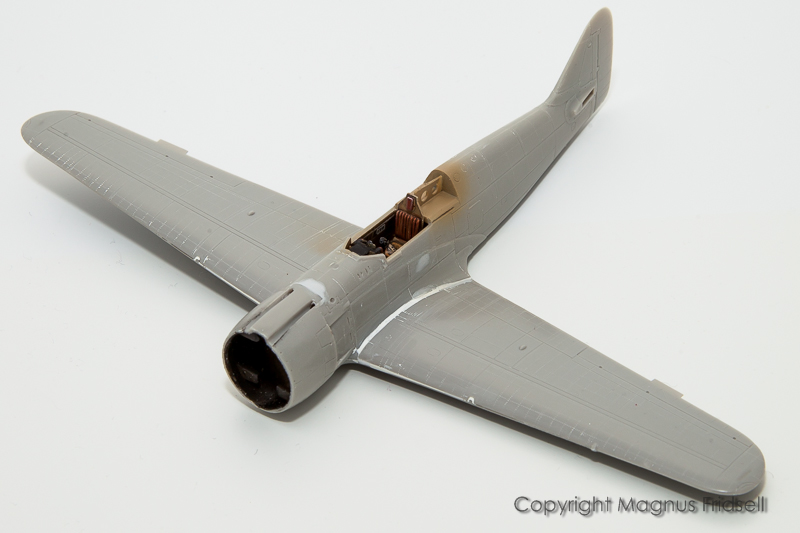
That wing leading edge and wing root joint was just a minor problem. Milliput made my day (once again!)!
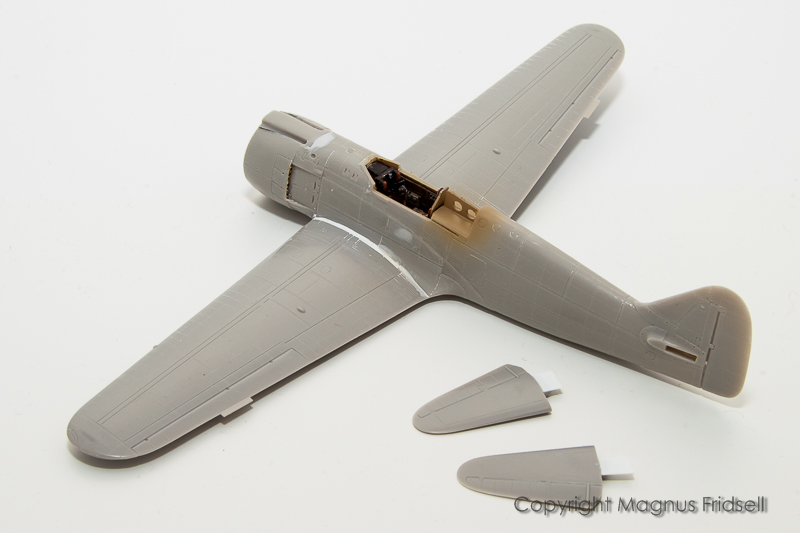
Stabilizers ready for attachment. Another part that needed a bit of adjustment to fit!
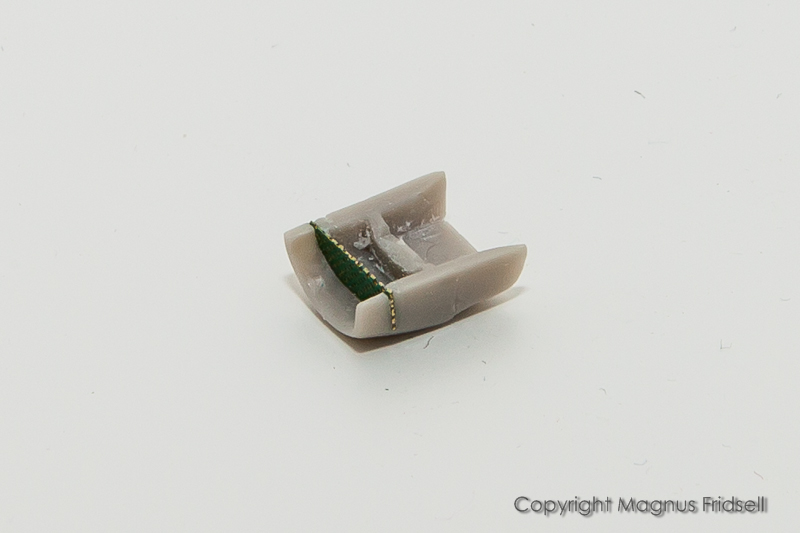
Nose intake dressed up using some left-over PE. I made a cut using a razor saw almost through the part, slid the PE in place, soaked the edges using CA glue and trimmed the excess and sanded smooth. Easy-peasy!
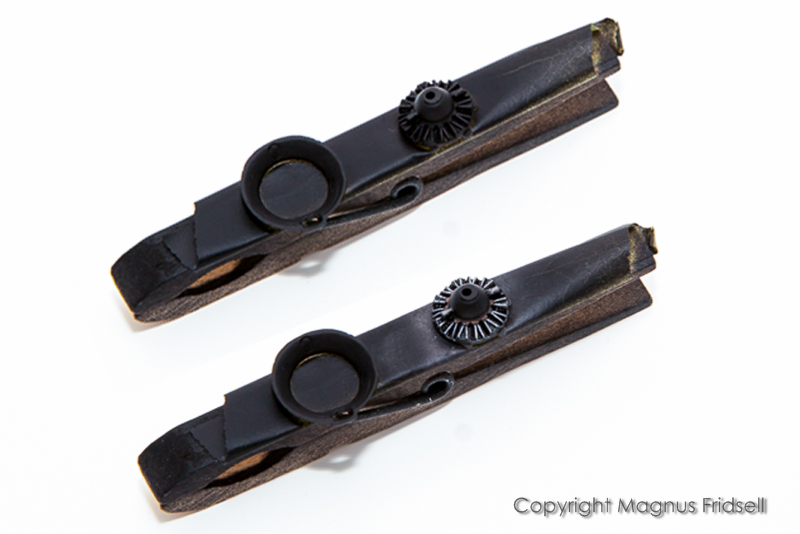
Composite image of engine showing it before and after detail painting. If using silver and copper pencils is allowed to be called "painting"... An easy trick that I will try to use more in the future!
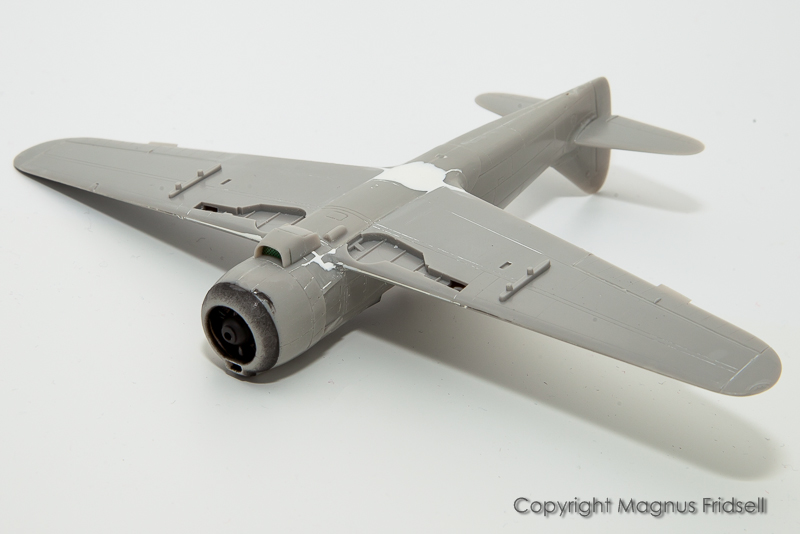
And finally the model with the intake installed!
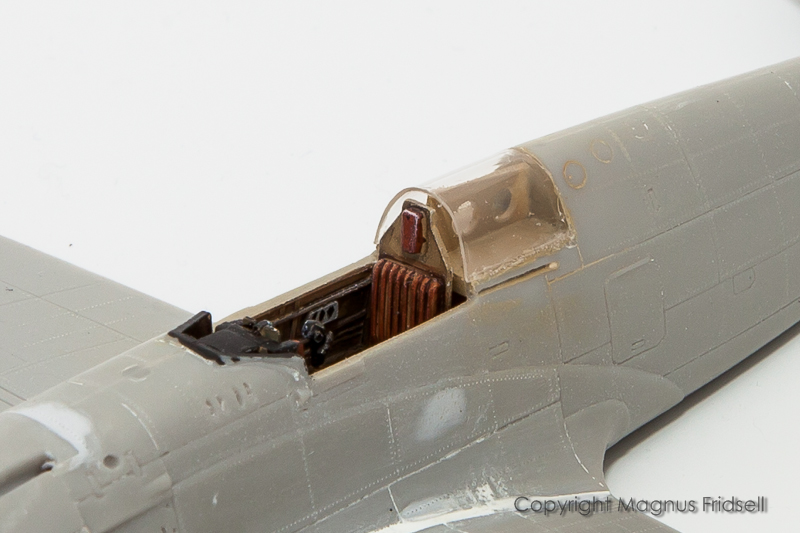
Oh, I almost forgot! Rear part of canopy has been installed, and it reminds me why I utterly dislike vacform canopies. They are hard to glue (no, it doesn't work with white glue, it simply doesn't bite good enough and epoxy is all rubbery and impossible to sand afterwards and the bloody CA fogs the plastic and isn't really that strong even if it sounds like that) and difficult to sand and polish. This one was finally installed using Humbrol Clearfix (the least bad of them all: less weak than white glue and bites better into the plastic, not as rubbery as the epoxy and not as generally abominable (never thought I would need that word) as CA glue) with the remaining crevices filled using CA (couldn't stay away from that stuff anyway...). In short: vacform canopies don't pull my strudel. Not at all...
Regards
Magnus