Dinah Part Deux, 1/48th Tamiya Ki-46 Fighter

Started by Chuck A. Villanueva · 38 · 4 years ago
  • Profile Photo
    Louis Gardner said 5 years ago:

    This is the first time I have looked at this journal in a while. Man you have been busy ! This is inspiring me to talk with the Imodeler staff for a future Japanese Aircraft Group Build for next year.

    Looks great Chuck, and I especially like your choice of interior color. Well done.

  • Profile Photo
    Chuck A. Villanueva said 5 years ago:

    Thanks Louis, it's a bit slow going with a few other projects ongoing at the moment. But this one is actually coming together rather quickly. The Interior is Deep Green. Taken from some images of a real Dinah showing this color on the interior.
    This time will be used to assemble the wings and rear stabs.


    The lower wing is one with LH/RH upper wing panels that fit very will onto the fuselage join, the gaps will disappear once the Tenax sets.

    Next to assemble that stabs and attach them to the rear section of the fuselage. Good fit insures the stabs are level.

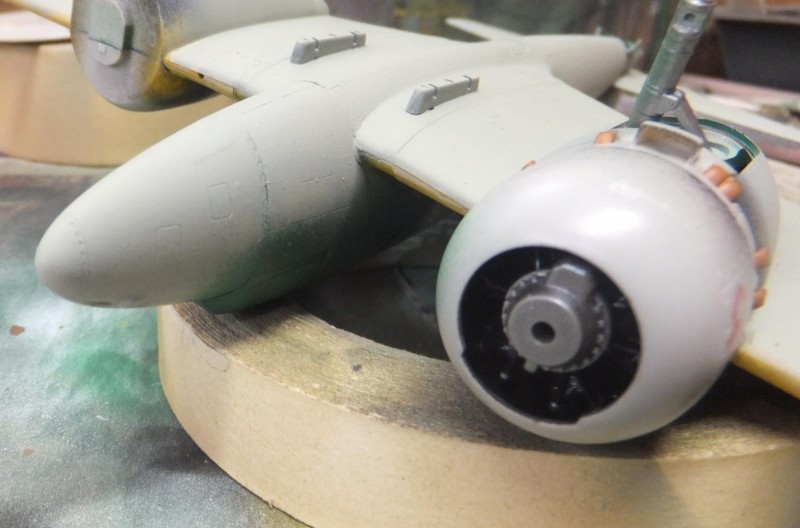
    With the airframe pretty much completed with the main components, attaching the engine cowlings to the wings.

    Then all the glass panels were installed, these I will keep in the closed configuration, unlike the Recon Dinah which I displayed open canopies front and rear. Despite this version having a more standard stepped windshield, this fighter version still looks looks sleek and fast.

    Then using Eduard's mask set to cover all that glass for the painting process.

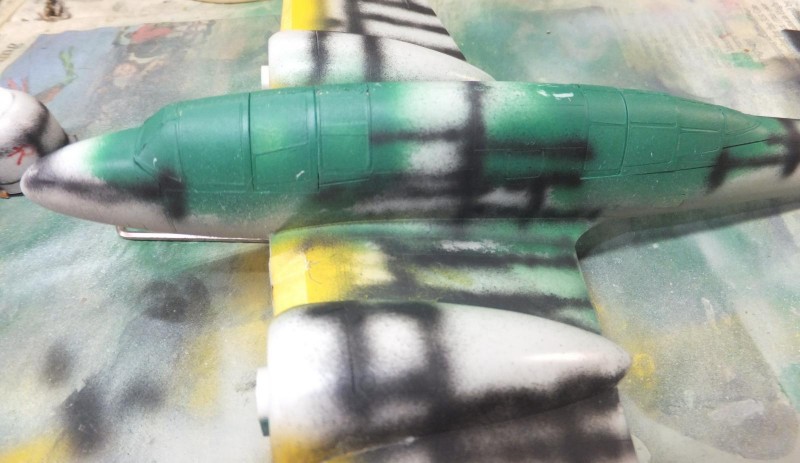
    Once the masking process was finished, a but of black is painted on the under surfaces, to do a mottling effect on the under surfaces, and a pre shade the panel lines above.

    Next to airbrush the Deep Green over the glass panels and then the paint scheme.
    more to follow.

  • Profile Photo
    George R Blair Jr said 5 years ago:

    Looks great. I never do anything without pre-made canopy masks anymore. I also have reached the age where fine painting and adding small photoetch parts is an exercise in futility. I just noticed you used Vallejo Model Color to paint your interior colors. I have never had any luck using Model Color in my airbrush. I have used Model Air without problems.

  • Profile Photo
    Pedro L. Rocha said 5 years ago:

    All that green house without masks is a nightmare for sure. Are you painting it Black green upper surfaces Chuck?

  • Profile Photo
    Chuck A. Villanueva said 4 years, 11 months ago:

    Hi George, any WWII or basically any multi engine aircraft with a bunch of glass needs a masking set. At least for me. It is the least fun part for me is masking all that glass. Only on fighters and most modern jets I can live with cutting and trimming on a basic bubble canopy, those are easy to mask for me. The PE is mostly for interior enhancement. I use Vallejo only on if I happen to have that particular color, other wise most of the interior is Tamiya or Model Master. The exterior can be a variety.

    Pedro true on the masking process. The scheme on this will be more of a Dark Earth over Grey Green.

  • Profile Photo
    Chuck A. Villanueva said 4 years, 11 months ago:

    Quick update, once the final bits of glass are masked over.

    Next is to apply the Deep Green over the canopy framework on front and rear compartments.

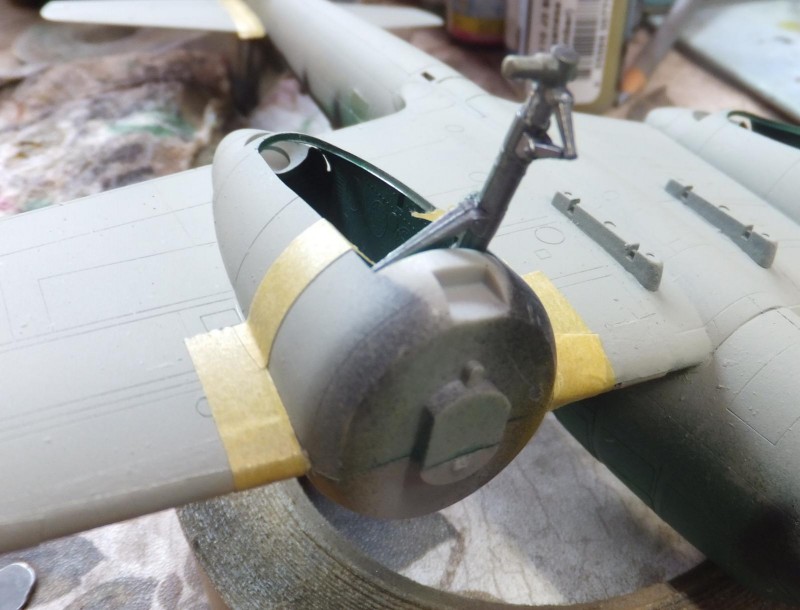
    Next I remove the engine nacelles, mask off the wing leading edges and paint the yellow ID stripes. On the Recon Dinah I did this step after the main scheme was already painted. It took forever to mask it off to paint the yellow. So on the this build I will paint the Yellow first, mask them off and then apply the overall camo scheme. More to follow.

  • Profile Photo
    Chuck A. Villanueva said 4 years, 11 months ago:

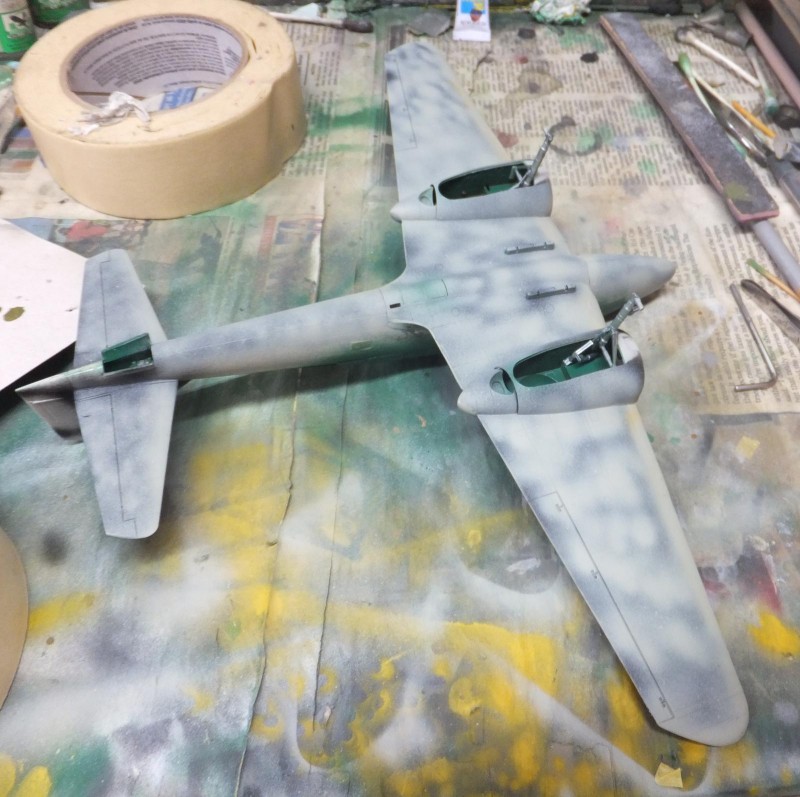
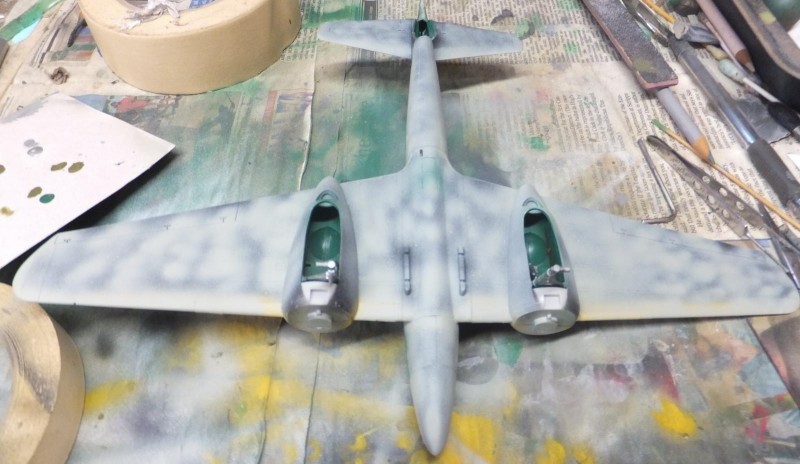
    Now too airbrush the scheme. First the undersurfaces with Aeromaster War Color Acrylic Grey Green.


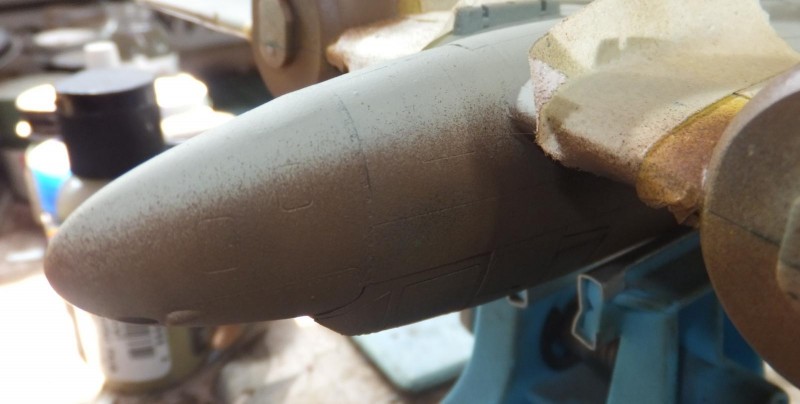
    First a marbling effect overall.

    Then thinning down the Grey/Green, I mist over the marbling to even the paint out over the wings, tail and fuselage.

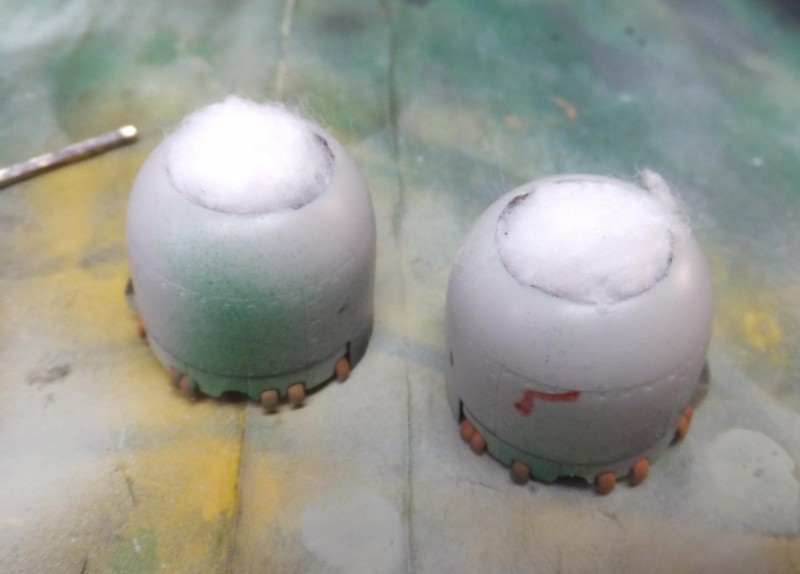
    Next to attach and test fit the engine cowlings, then to stuff them with cotton. To prepare to paint them.

    Before painting the top side IJA Brown. I mask off under the horizontal stabs, tail wheel doors and also the forward section of the engine/gear bay nacelles.

    First apply the top color to establish the soft demarcation line, the lower rear section of the tail and then front sections of the nacelles that extend below the wings. And then set the demarcation line on the nose section.

    Paint the engine cowlings

    Next to go over the top surfaces.

    Once painted then remove the masks over the ID stripes, tail and nacelles.

    Let it sit overnight and then will mask the tail for the white panel around the rear section of the fuselage just aft of the rear canopy. On the recon Dinah I made this a bit too narrow, wil try to avoid that this time.

    Once the white is applied the masks are removed and put aside for a coat of gloss coat future for the decals process.


    So with the clear coat next to apply will come back and start the decals. More to follow.

  • Profile Photo
    Erik Gjørup said 4 years, 11 months ago:

    Now that was some progress - I like the fact that you use minimal masking, and then some careful and targeted spray. I shall try to follow that approach, as I tend to mask a lot and then use a lot of paint. Very inspiring build!

  • Profile Photo
    James B Robinson said 4 years, 11 months ago:

    Chuck @uscusn, this is coming along nicely. Really like what I'm seeing here.

  • Profile Photo
    Chuck A. Villanueva said 4 years, 11 months ago:

    Thanks Eric, I don't I like to mask in general, but certain schemes require it. So if I can get away with a minimal amount and achieve the result I want then I will. Besides the airbrush paints where you point it at. Years of practice also helps.
    James, thanks for dropping by. I hope to inspire those who come by to check out the progress of my builds.

  • Profile Photo
    Chuck A. Villanueva said 4 years, 8 months ago:

    Will do this scheme.


    Getting back to finally finishing the decal work on the Dinah. First applying the Future Clear coat overall the air frame.

    Next using decal set from Rising Decals, start at the bottom as usual and first applying the Hinomaru's on the lower wing panels. So far performing very well. Decals are thin and look similar to Superscale/Aeromaster in how they settle.

    Using the Microscale system to apply each decal. Just a bit of Solvaset on one stubborn part to conform over a detail point on one of the decals.

    There wasn't any stencils on this version of the Dinah. Just Hinomaru's and squadron markings. So over the top and sides I applied the rest of the markings without incident.

    The scheme represents a night fighter based in Japan, Kai, Dokuritsu 83rd Chutai, Ashiya Airfield, Fokuoka Perfecture, Japan.

    There is not much out there in decals for the fighter version of the Ki-46.

    The paint schemes can be rather bland. What really helps is that the Dinah is unique in shape and is really has an appealing appearance. The shape is slender and sleek and this scheme really enhances a rather simple brown over Grey/Green scheme.

    Still in clear coat I then streak the lower surfaces with a wash and chipping effect.

    Next to attach the final details.

  • Profile Photo
    Erik Gjørup said 4 years, 8 months ago:

    Great progress! Did microsol make the decal flow around the detail on the wing or did you have to use paint? Looks like it would have challenged the Sol from what is seen in the pictures.

  • Profile Photo
    Chuck A. Villanueva said 4 years, 8 months ago:

    Good morning Erik, I used Solvaset on the decal to soften it and conform to the details on the wing. Let it set overnight, use a sharp blade to slice some portions of the decal and apply more Solvaset to melt the decal over that detail. Works 90% of the time.

  • Profile Photo
    Erik Gjørup said 4 years, 8 months ago:

    Hi Chuck - thank you for the info. I'm sure it will come into use on my desk one day soon!

  • Profile Photo
    George R Blair Jr said 4 years, 8 months ago:

    The markings really make the Dinah come alive, even with the relatively monotone paint scheme. Solvaset is great, but is very strong. I have had it dissolve some of the less hardy decals, so be sure to test it on some spare decals before you commit it to the build.