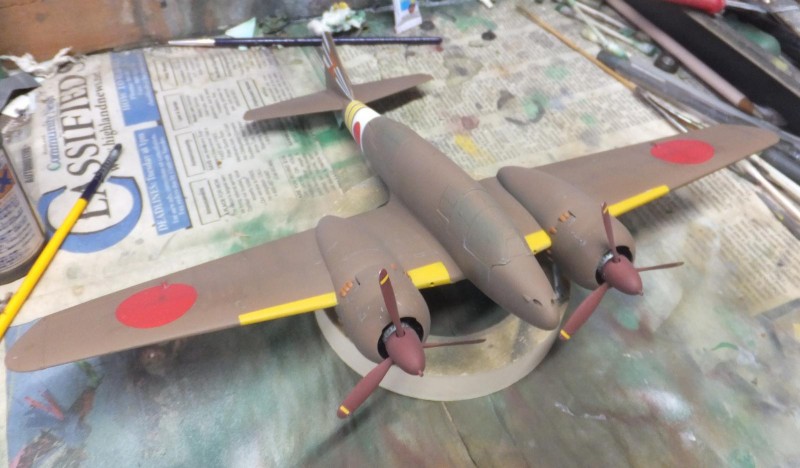
With the Japanese Empire GB going full tilt, so perfect timing in finally getting into the final step of this Dinah. Starting with the final flat coat being applied. Using Lifecolor flat clear. I like using this as a final finish as it dries to a very dull sheen.
-

1. Lifecolor Flat Clear Acrylic
Next unmask the clear glass panels. Somewhere I goofed and missed a gap on the RH rear part of the rear gunner compartment canopy. Don't have this issue on the Recon Dinah.
Next to work on the wheels. These are True details resin wheels. Hubs are aluminum with the tires painted Tamiya Tire Black.
Next to install the finished mains and tail wheel.
The tail wheel assy is attached within the wheel well.
Using cyano glue and attach each wheel to each strut assy. and set for an hour. Now she can stand up with all her wheels attached.
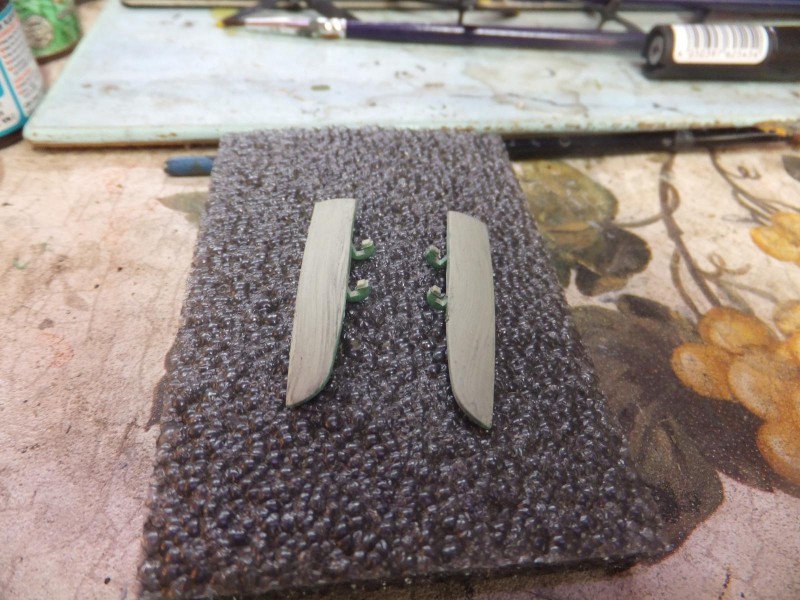
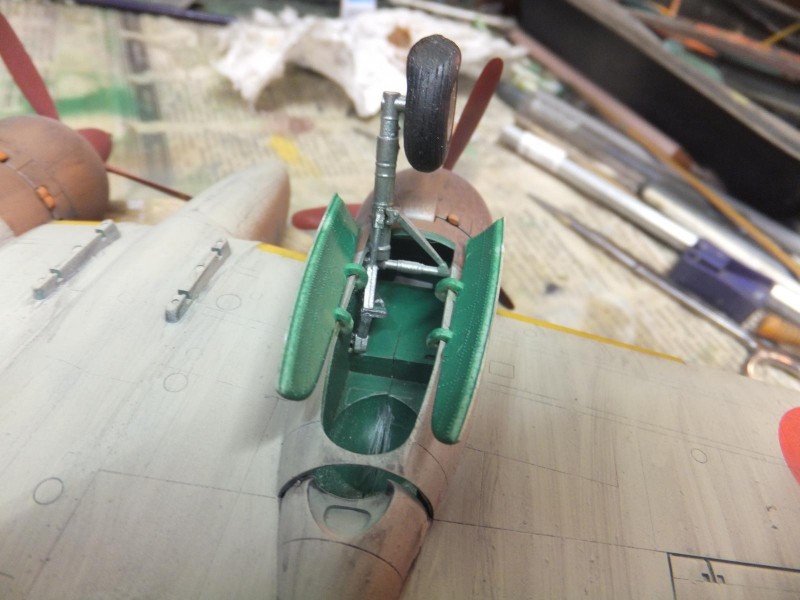
The landing gear doors have very good contact points when installing them to each nacelle. All four are installed and fit very well.
-

1. Excellent contact points
-

1. The door hinges attached into the wheel bay, very well designed notches for a positive fit.
The step is then attached to the LH side rear quarter of the fuselage just aft of the back edge of the wing.
Next the antenna mast is placed right behind the pilots canopy
The wing tips lamps are painted on each wingtip.
2 bombs are attached on the hardpoints just inside of both nacelles. These were rarely carried, I just put them on to add some character.
The cannon barrels are painted Gun metal and attached to the nose.
And that is that she is finished.
Hopefully I will present her this weekend.