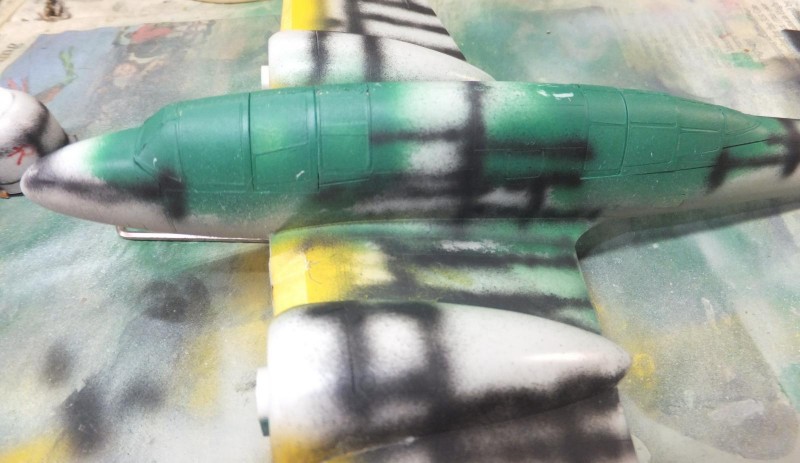
Now too airbrush the scheme. First the undersurfaces with Aeromaster War Color Acrylic Grey Green.
First a marbling effect overall.
-
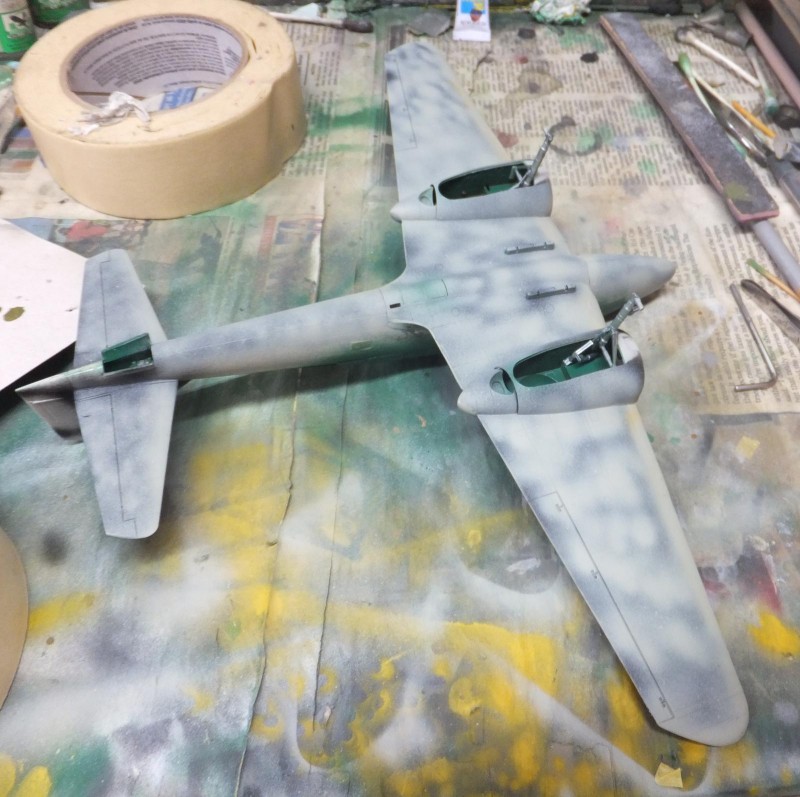
1. marbling over the black coat
-
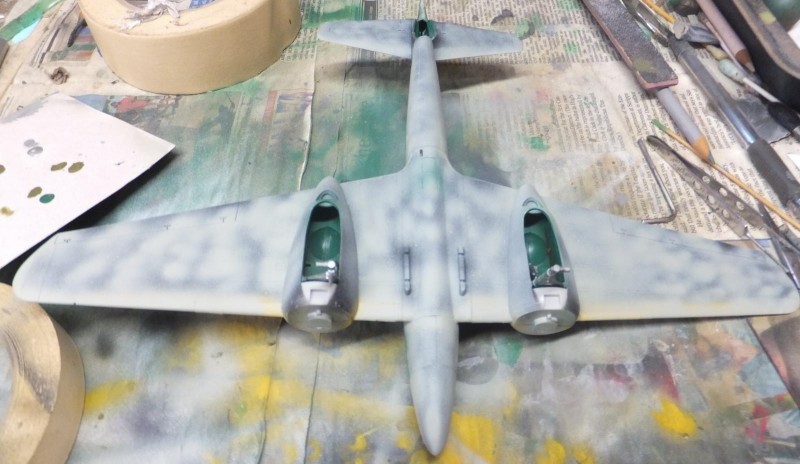
1. Still perfecting this technique
Then thinning down the Grey/Green, I mist over the marbling to even the paint out over the wings, tail and fuselage.
Next to attach and test fit the engine cowlings, then to stuff them with cotton. To prepare to paint them.
-
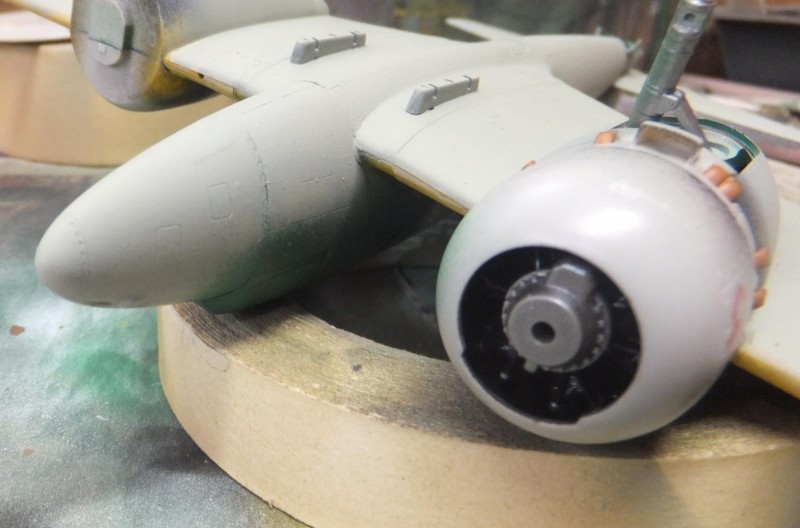
1. Engines are attached temporary
-
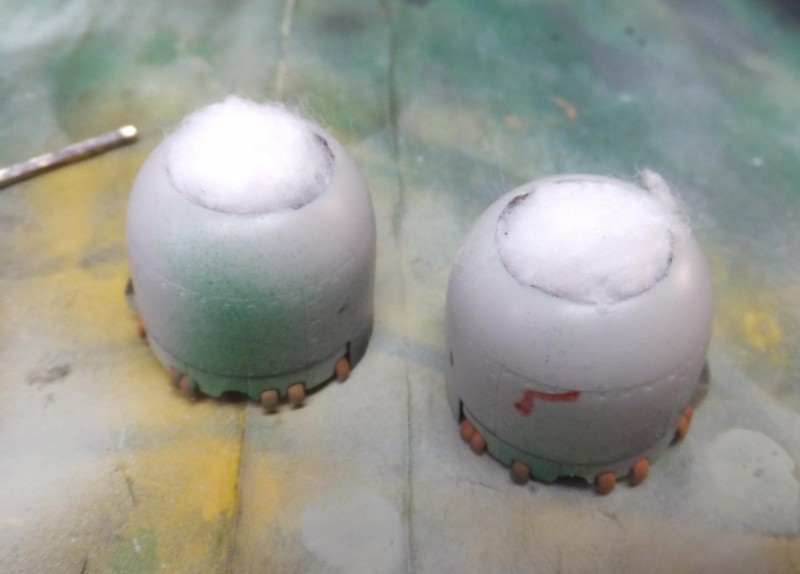
1. Cotton stuffed to prevent overspray into the engines
Before painting the top side IJA Brown. I mask off under the horizontal stabs, tail wheel doors and also the forward section of the engine/gear bay nacelles.
-
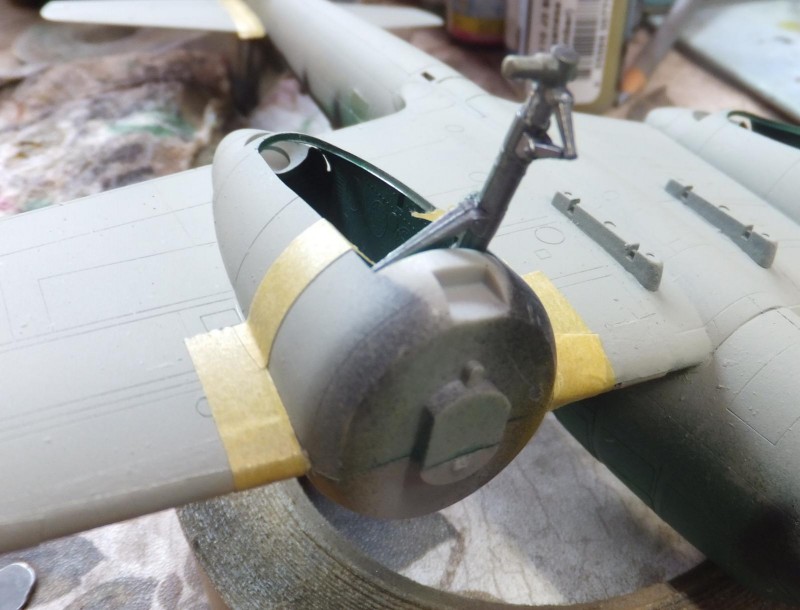
1. This portion of the nacelles will have the Brown top coat extend below the wings
First apply the top color to establish the soft demarcation line, the lower rear section of the tail and then front sections of the nacelles that extend below the wings. And then set the demarcation line on the nose section.
-
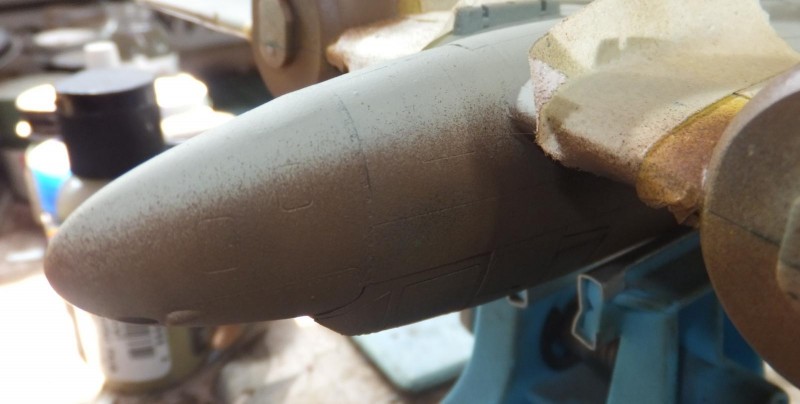
1. Will go over with a very cut down coat of grrn/grey to sharpen the edge
Paint the engine cowlings
Next to go over the top surfaces.
-
1. Seams cleaned and ready
Once painted then remove the masks over the ID stripes, tail and nacelles.
Let it sit overnight and then will mask the tail for the white panel around the rear section of the fuselage just aft of the rear canopy. On the recon Dinah I made this a bit too narrow, wil try to avoid that this time.
Once the white is applied the masks are removed and put aside for a coat of gloss coat future for the decals process.
So with the clear coat next to apply will come back and start the decals. More to follow.