Good morning Eric, yes strap in and enjoy the flight.
Yes George, but on the Lightning not so bad, even with the PE, maybe then I also recently just built an Academy P-38 and has a similar approach in getting the cockpit together. Not so the Tam kit. Which I just started as well.
Spiros, thanks this is my first Hase P-38, so will see how much different it is with 2 Academy Lightning's on the shelf.
Thanks John welcome aboard, looks like I am going to need a bigger plane!
Next is to assemble the column and install that into the cockpit.
Now to work on that very distinctive instrument panel. First by removing some very good details to accept the PE parts.
-
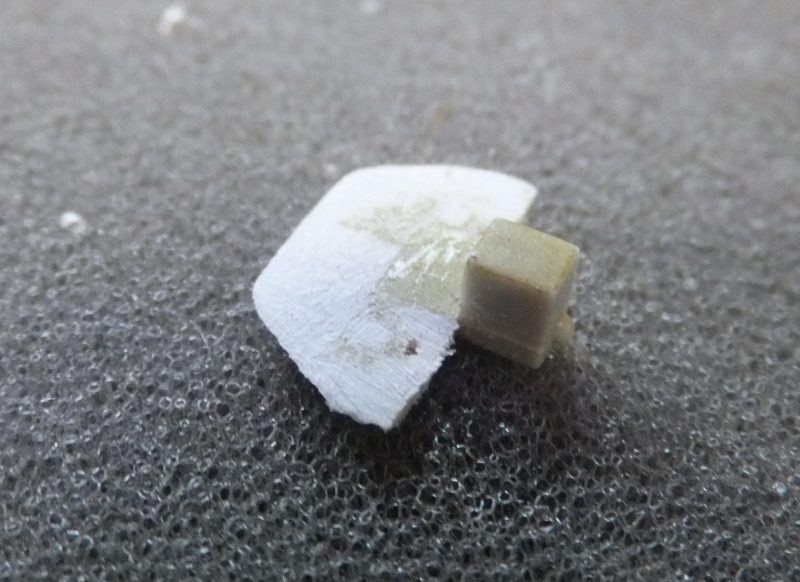
1. Ready for the PE parts
Once the panel is sanded smooth. The gauge/dial panel is then placed on the IP. Next the cover is placed over the gauges.
-
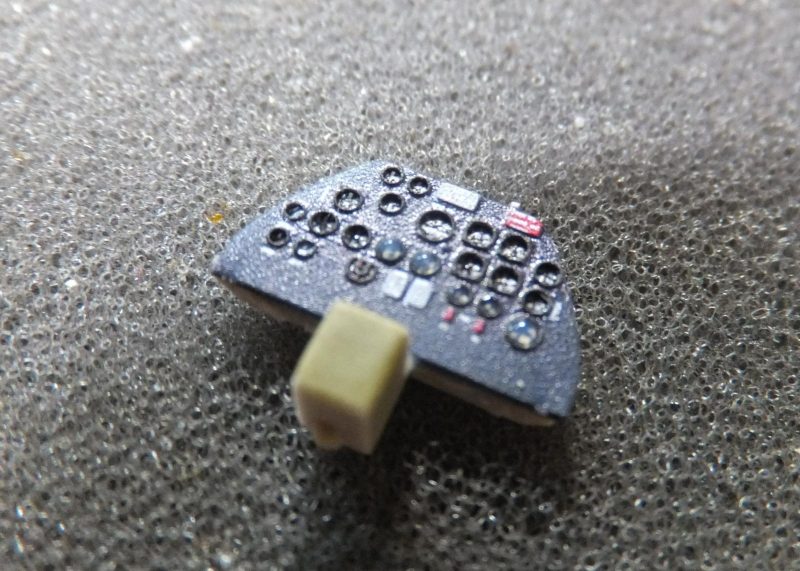
1. Cover over layed over dials and gauges
Next the lower console is placed on the bottom edge of the IP. This is what makes the P-38 unique.
-
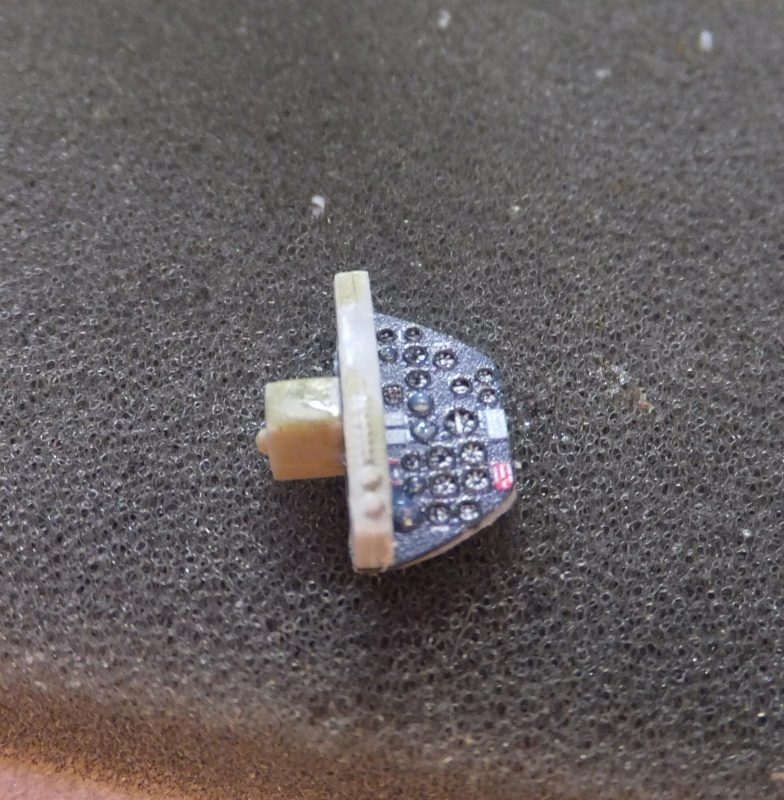
1. Details will be removed for the PE parts
The PE parts are placed on the lower console.
Once the PE bits are set then the IP is installed into the cockpit. Good fit so far within the cockpit.
Next the side interior panels. Starting with the RH side, using Nato Black for the black components, highlighted with silver pencil.
-
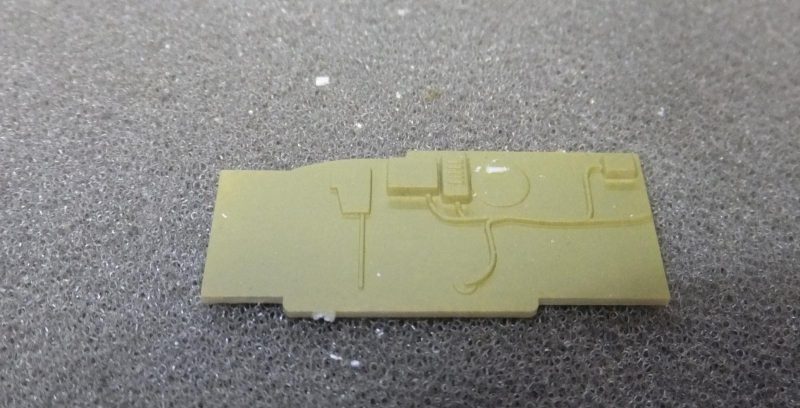
1. RH side interior panel
-
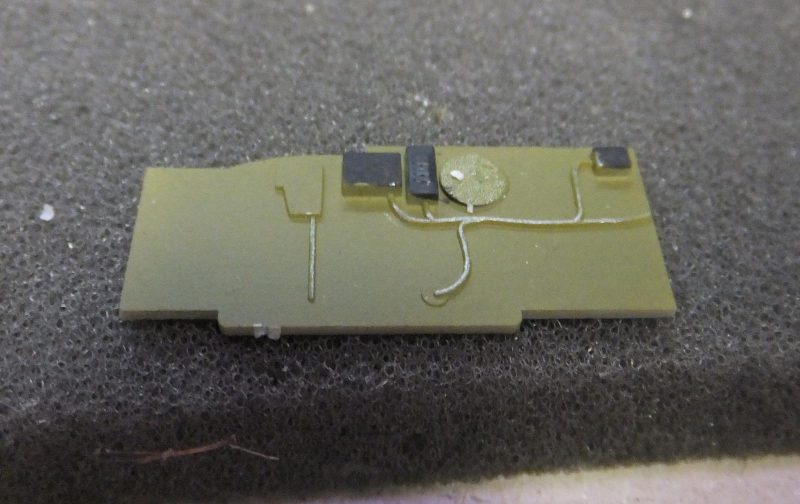
1. Nato Black and silver to highlight the details
2. PE window crank
Then the panel is attached to the cockpit floor.
Now the LH side panel is worked and requires a bit more details on this side.
Details are sanded off and replaced with Eduard's PE parts. Boxes painted Nato Black and highlighted with silver pencil.
-
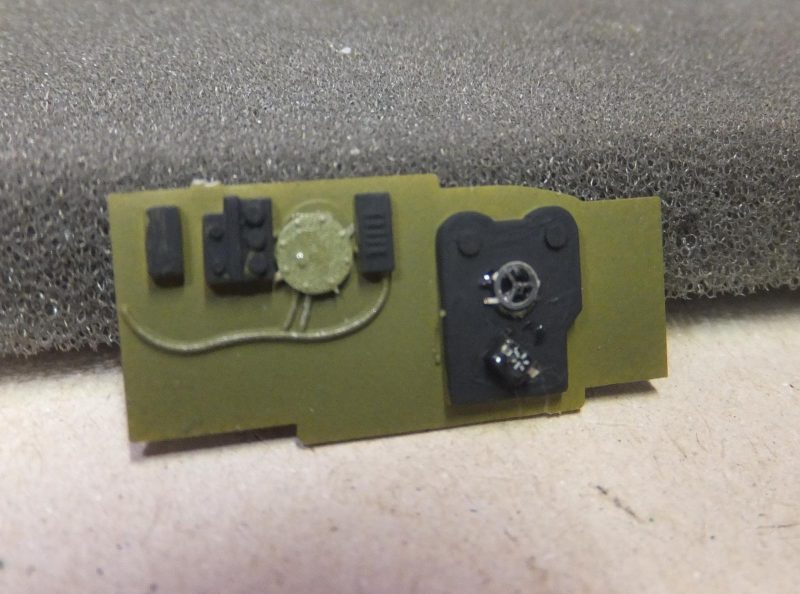
1. PE
2. Manual Window crank
Then the LH side panel is attached to the cockpit.
The lower fuselage half, before installing the cockpit tub, first holes are opened up for the pylons. That will carry bombs or drop tanks.
Then the cockpit tub is place into the lower fuselage.
Next the main gear bays. more to follow.