With the interior Green already applied over the canopy and windshield frame. AK Primer Black is airbrushed over the airframe, including the doors that are still on the sprues.
Then while getting ahead of myself in mixing up Vallejo Chrome started to airbrush BMF. Got most of the undersides done when I realized I need to paint the D-Day stripes first and then the OD anti-glare panels. DOH! So once what was left in the bottle was used. Cleaned up and started to airbrush the white areas under the wings and booms.
-
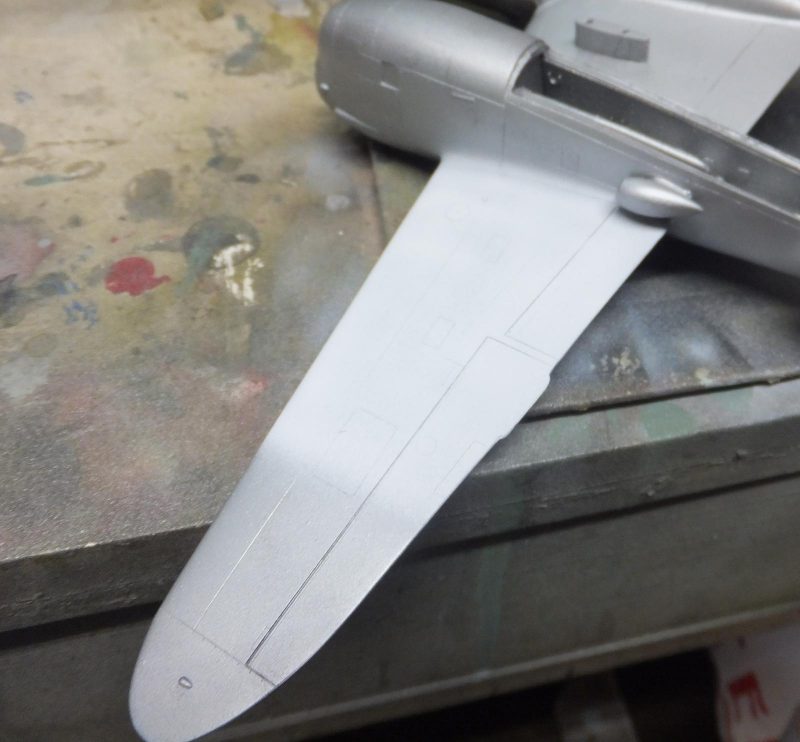
1. Tamiya Gloss White
2. Vallejo Chrome
-
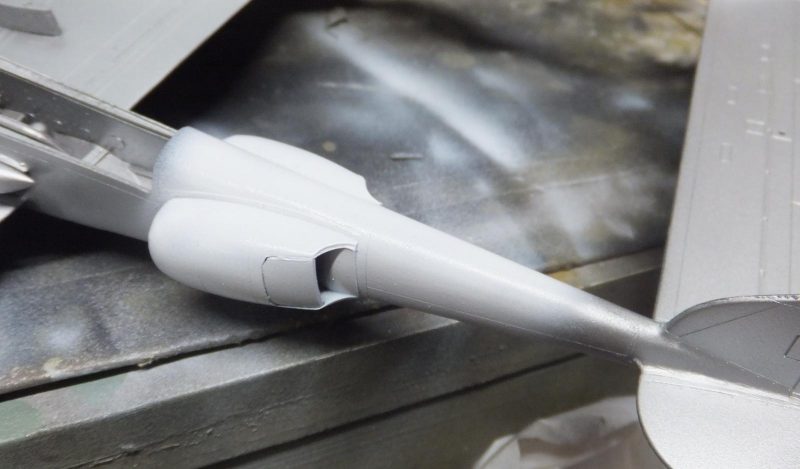
1. The Gloss White will be much easier to mask
The reason I decided to paint the white/black D-Day stripes now as these are much easier to mask off without the chance of lifting paint from removing the masks. Though there is always the risk of that happening regardless. Masking off the metal finish is more riskier if I had went ahead and painted the overall bare metal and then mask off for the stripes.
Next the OD anti glare are painted on the nose and inside upper engine nacelle panels.
-
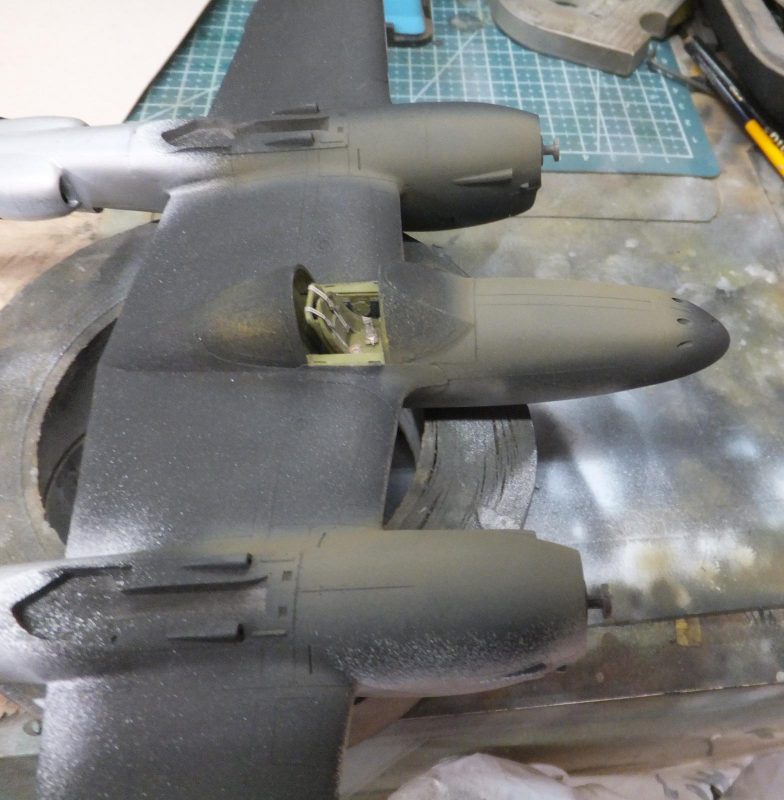
1. Mission Models Olive Drab
Next to mask off the lower white panels for the black stripes. I used NATO Black to airbrush the stripes. Reason being as the call letters on the booms are black. Photos show them clearly able to read them as they partially will be on the black stripes.
Next is to mask off the edges of the invasion stripes and the OD anti glare panels over the top side to finish applying the BMF.
-
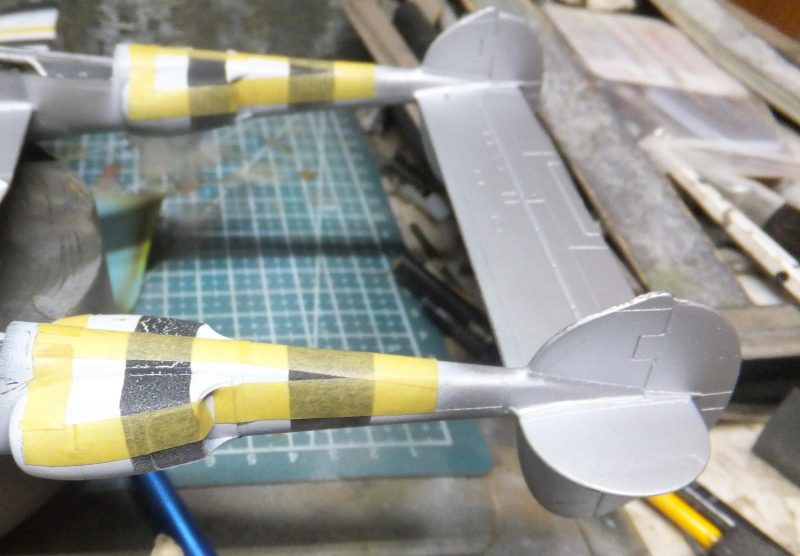
1. For some reason some reaction of the black as it dried over the Tamiya White
After airbrushing the metal finish. It was to carefully de mask the anti-glare panels and the D-day stripes. Carefully as not to lift up any paint off any of the masked off areas.
-
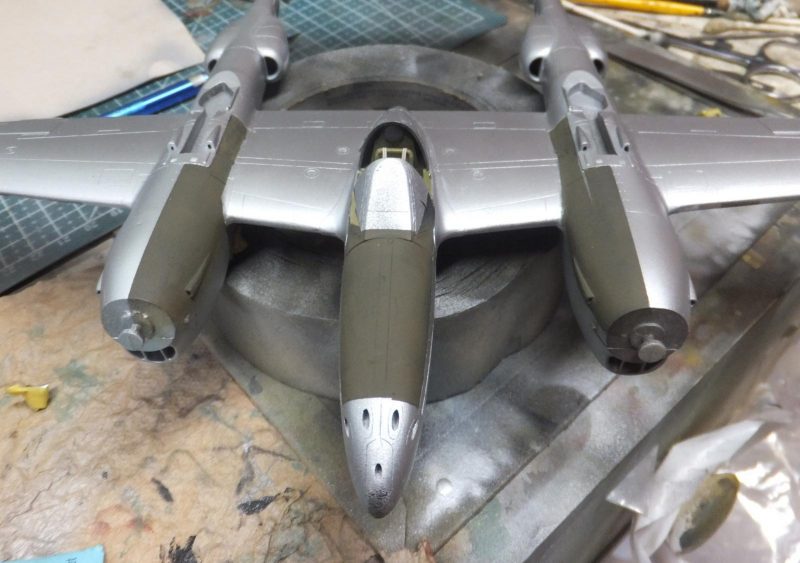
1. Don't you hate it when a spot is still exposed
The masks worked perfectly over the stripes as well.
A coat of future is applied.
next decal time.
More to follow.