Hasegawa 1/48 P-38J Lightning

Started by Chuck A. Villanueva · 76 · 2 years ago
  • Profile Photo
    Chuck A. Villanueva said 3 years, 7 months ago:

    A project that was planned for the year, and with a couple of others finished, it was time to clear the way and start on the Lightning.


    I reviewed this kit last year along with the Tam kit with a side by side comparison. Again not to bash it as the Hase kit is a good one, but with challenges. I have built 2 of the Academy kits which are recent while building the Monogram years ago. This will be my first attempt on the Hase kit with the new Tam P-38F waiting in the wings. With this WIP I will pass on the whats in the box feature as I have reviewed the contents already. Will go straight to building.
    Starting with the cockpit.

    As per my usual technique I painted all the Interior Green pieces before assembly. Starting with the cockpit floor.

    Next the kit seat is used, and attach the seat frame to the seat.

    Next a PE armor plate is placed on the upper seat back as well as the height adjust lever on the RH seat panel.

    Before starting on the seat belts, I paint the battery Nato Black on the rear deck shelf.

    Now first the lap belts.

    While letting that RH seat belt set, I then attache the armor plate which also has the headrest mounted on it. The attach it to the rear bulkhead.

    Next the rudder pedals are attached, I used the Eduard's pedals, hard to tell but has the Lockheed logo on them.

    Back to the seat and place and set the LH lap belt.

    The LH/RH shoulder harnesses are then place on the upper seat back and set for about 30 minutes.

    Once set I carefully bend each harness over the seat frame. Then place the seat on it's mount on the cockpit floor.

    next up is the control column, and the instrument panel.

    More to follow

  • Profile Photo
    Erik Gjørup said 3 years, 7 months ago:

    And with the belts in place, I'll be strapped in for this build as well, and looking forward to it!

  • Profile Photo
    George R Blair Jr said 3 years, 7 months ago:

    I'm in for the ride, Chuck (@uscusn). It always seems that the cockpit is the slow part, and then the rest of the plane moves quickly after you close the cockpit into the fuselage.

  • Profile Photo
    Spiros Pendedekas said 3 years, 7 months ago:

    Count me in too, Chuck!
    I have the Hase kit to build too, so it will be an extra temptation!
    Looks perfect already!

  • Profile Photo
    John vd Biggelaar said 3 years, 7 months ago:

    Going to follow this thread as well.
    Great looking start, Chuck.

  • Profile Photo
    Chuck A. Villanueva said 3 years, 6 months ago:

    Good morning Eric, yes strap in and enjoy the flight.
    Yes George, but on the Lightning not so bad, even with the PE, maybe then I also recently just built an Academy P-38 and has a similar approach in getting the cockpit together. Not so the Tam kit. Which I just started as well.
    Spiros, thanks this is my first Hase P-38, so will see how much different it is with 2 Academy Lightning's on the shelf.
    Thanks John welcome aboard, looks like I am going to need a bigger plane!

    Next is to assemble the column and install that into the cockpit.


    Now to work on that very distinctive instrument panel. First by removing some very good details to accept the PE parts.
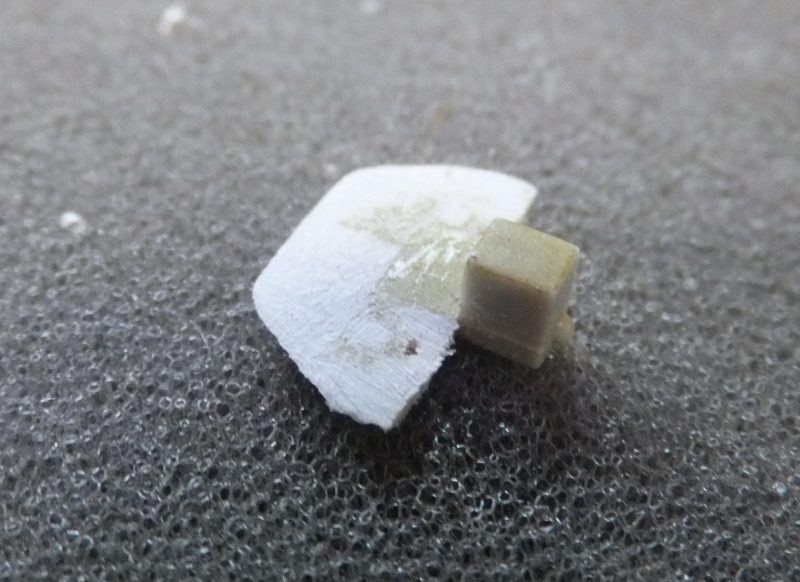
    Once the panel is sanded smooth. The gauge/dial panel is then placed on the IP. Next the cover is placed over the gauges.
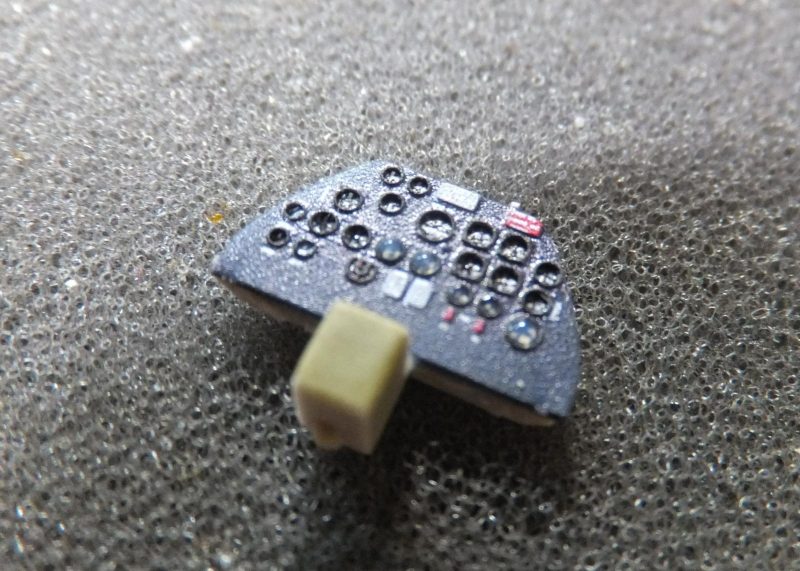
    Next the lower console is placed on the bottom edge of the IP. This is what makes the P-38 unique.

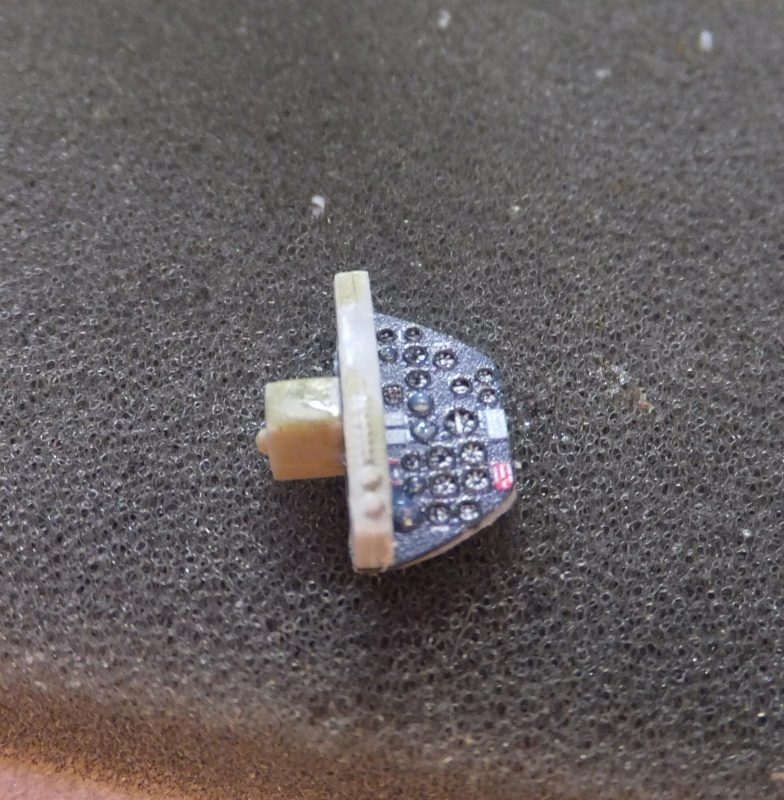
    The PE parts are placed on the lower console.

    Once the PE bits are set then the IP is installed into the cockpit. Good fit so far within the cockpit.

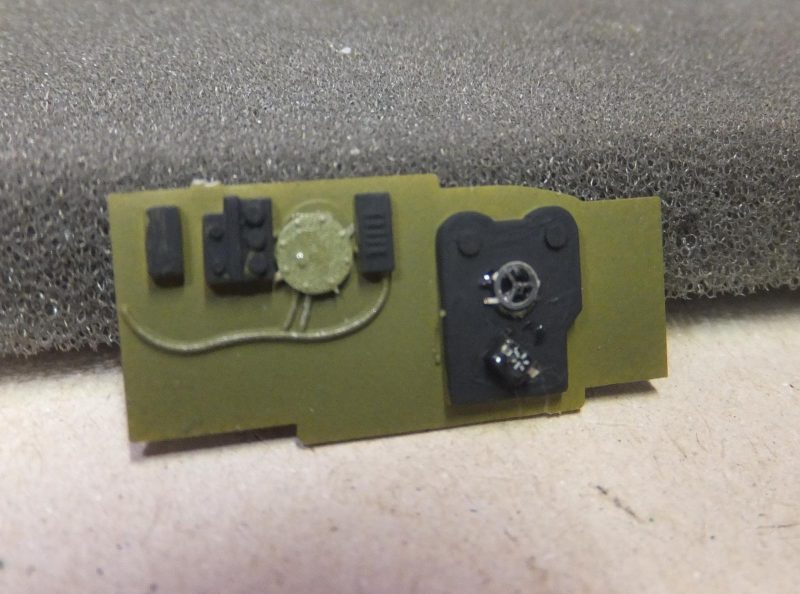
    Next the side interior panels. Starting with the RH side, using Nato Black for the black components, highlighted with silver pencil.

    Then the panel is attached to the cockpit floor.

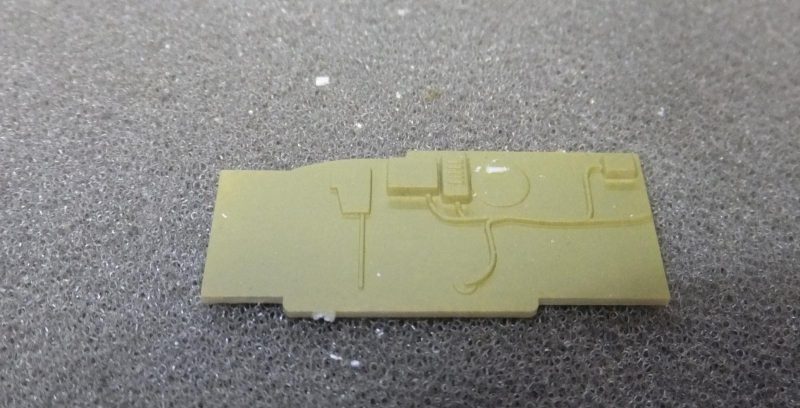
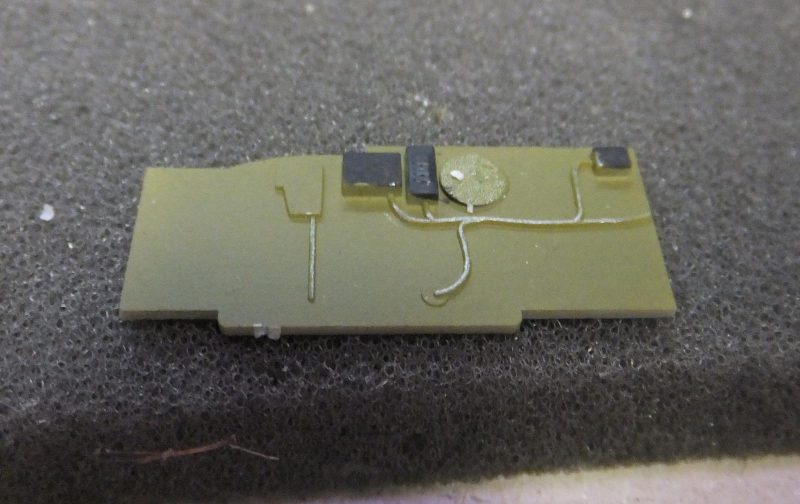
    Now the LH side panel is worked and requires a bit more details on this side.

    Details are sanded off and replaced with Eduard's PE parts. Boxes painted Nato Black and highlighted with silver pencil.

    Then the LH side panel is attached to the cockpit.

    The lower fuselage half, before installing the cockpit tub, first holes are opened up for the pylons. That will carry bombs or drop tanks.

    Then the cockpit tub is place into the lower fuselage.

    Next the main gear bays. more to follow.

  • Profile Photo
    Spiros Pendedekas said 3 years, 6 months ago:

    Wow, Chuck @uscusn, this looks wonderful!
    I love how the cockpit turned out with the use of PE.
    Standard Hase cockpit is not bad, but with the PE you went stratospheric! The more I see your build proceeding, the more temptation rises for me to bring out of my SoD my "Beautiful Lass" 1/48 Hase P-38!

  • Profile Photo
    Erik Gjørup said 3 years, 6 months ago:

    Great stuff - even if it is a bit cramped with all those good people on board!

    If I may; I noticed you use white glue for glass. I did that a lot too, but now I nearly always brush the back with some clear gloss and after a few rounds of trial and error it works like a charm for me. You have to be careful with the glueup later though, as the new "glass" will take absolutely no chemicals whatsoever!

    Anyhow, the PE additions once again looks the part big time!

  • Profile Photo
    George R Blair Jr said 3 years, 6 months ago:

    Cockpit will really look the part when it is all sealed up in the fuselage, Chuck (@uscusn).

  • Profile Photo
    John vd Biggelaar said 3 years, 6 months ago:

    Superb detailing, Chuck.
    If this result is indicating the outcome of your build, which I'm pretty sure of, it will be a fantastic.

  • Profile Photo
    Chuck A. Villanueva said 3 years, 6 months ago:

    Spiros you are correct, a steady hand can surely pick out the details with paint and markers, then a bit of weathering will end in a very good result on the Hase P-38.

    Erik, I use Testors clear cement which in actuality is a form of white glue. It does dry clear and makes excellent windows. But Elmer's glue (sold in the USA as a white glue under the Elmer's brand name) works and some have used Future as well to hold the PE bits. On areas where there is a bit of tension I use CA cement as well.

    George, thanks, as Erik mentioned how tight the cockpit is just for the pilot as some taller seemed hunched under that canopy. You had to be pretty short to ride in the back of the P-38M Night Lightning and the F-7F-3N Tigercat were extremely tight

    Hi John, hope that it motivates you to get one, and experience the build, this kit the Academy of the Tam kit, and even the Monogram P-38 old molds and some work builds a decent Lightning as well.

  • Profile Photo
    Chuck A. Villanueva said 3 years, 6 months ago:

    Next to build the main gear bays.


    Now you may notice the bays are interior green, as more over zealousness to paint the interior components IG, the wheel wells bays and doors are painted.

    Add a PE details part on the back wall of the wheel bay on both sides

    Next to attach the sides of the wheel bay to the roof panel. I will leave the landing off for now and attach towards the end of the project. Except for the warp on one of the gear bays they went together very well.
    ]pic12]
    Next to build the tail booms.

    So far the fit of the sub assemblies are going well. Just take it easy and methodically attach each part carefully. The booms are straight, no warpage, details are nicely done.

    Next to insert the gear bays into each assembled boom. The fit is good here as well. The sides of the inner walls meet the edge of the bay opening with no gaps.

    ]
    I just removed the cooling pipes from the sprue and place them within the gear bays.

    The strut actuator is then place on the forward section of the wheel bay and helps retract the landing gear.

    Next up is to install the booms. Not so bad so far...more to follow.

    1 additional image. Click to enlarge.

  • Profile Photo
    Spiros Pendedekas said 3 years, 6 months ago:

    Very nice progress, Chuck, and excellent craftmanship.
    Happy to see that the Hase kit is to a good standard so far!

  • Profile Photo
    John vd Biggelaar said 3 years, 6 months ago:

    Progress is looking great.
    Fitting seems to go quite well.

  • Profile Photo
    Chuck A. Villanueva said 3 years, 6 months ago:

    Spiros, so far typical Hasegawa in the quality of the build and details on the parts.
    John, yes so it has been ok so far. This will be in a Bare metal finish so let see when that time comes when the airframe is together.