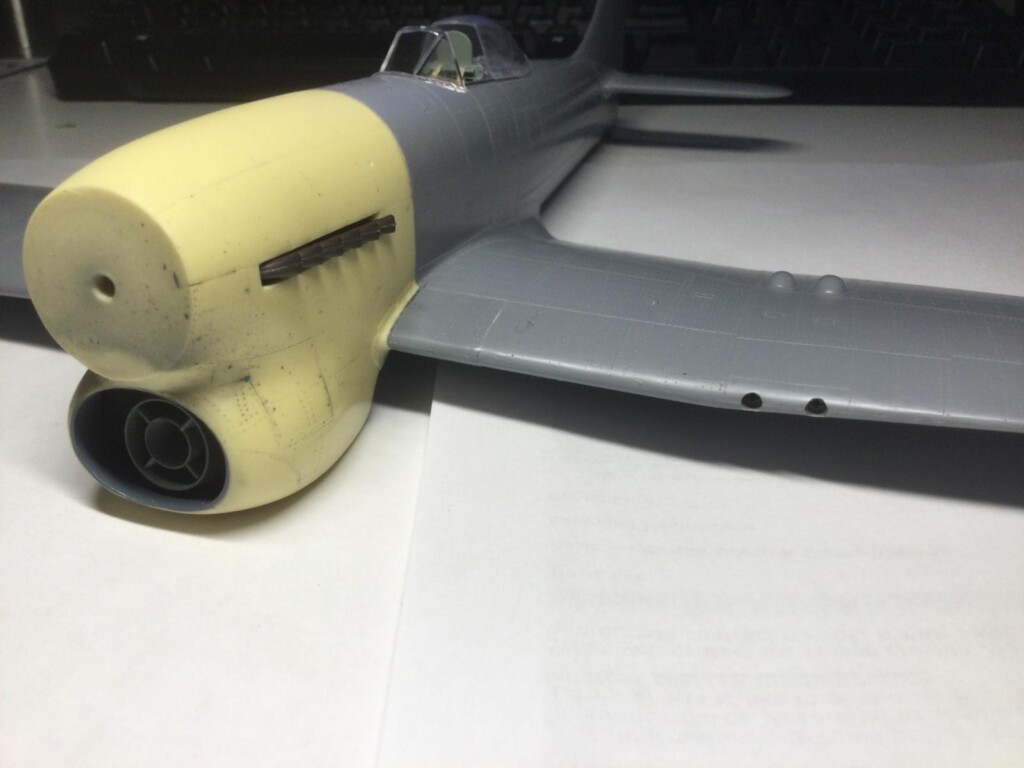
This kit has fought me all the way, but I have finally beaten down the worst roadblocks and am closer to completion. Since my last post, I glued the fuselage halves together and the wings and tail section on. Getting the resin nose on straight was quite tricky and I had to pry it off after gluing to fix the alignment a couple of times. I noticed the whole solid resin piece was skewed after the wings were attached. BTW - with all major plastic parts attached i.e. wings and tail planes, it became much easier to judge if the resin nose with intake was straight.
For the next stage, I had all seams sanded and all intake screens and filters in place in the intake and sealed up when I decided to try fitting the resin exhausts. At that point disaster struck! The boxes to accommodate the exhaust stacks - glued in from the inside – broke off and fell into the fuselage.
-
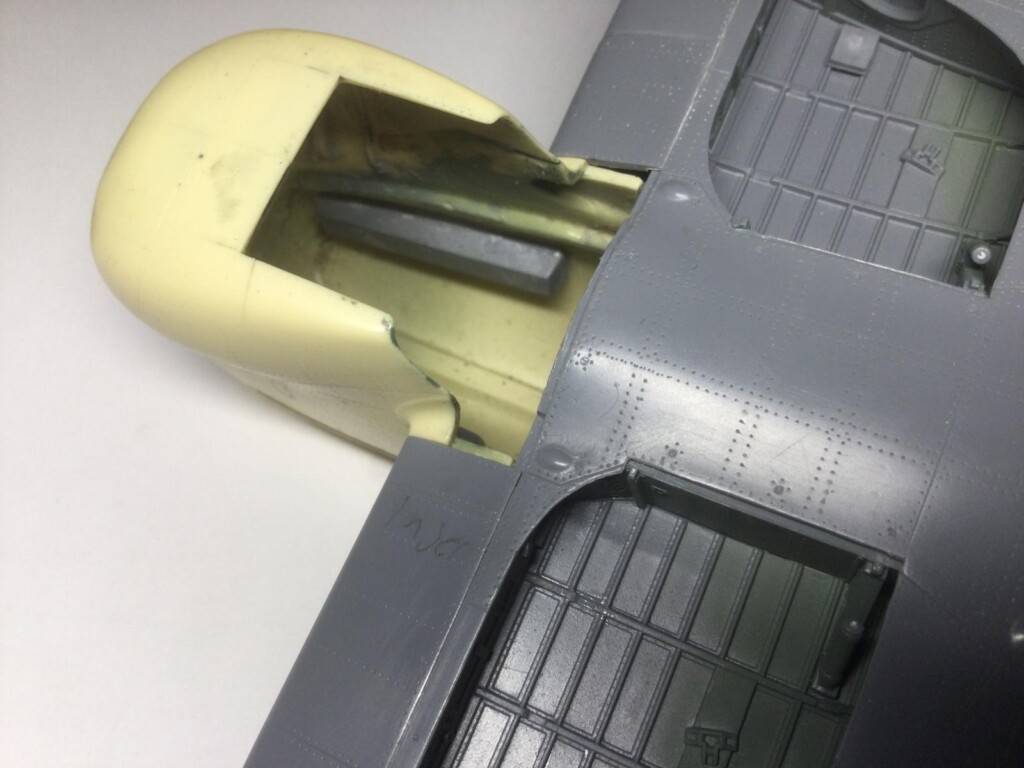
1. boxes fitted inside the intake to house the exhaust stacks
2. Access to the interior was blocked by the intake fittings so these had to be pried off to gain access and fix the boxes.
-
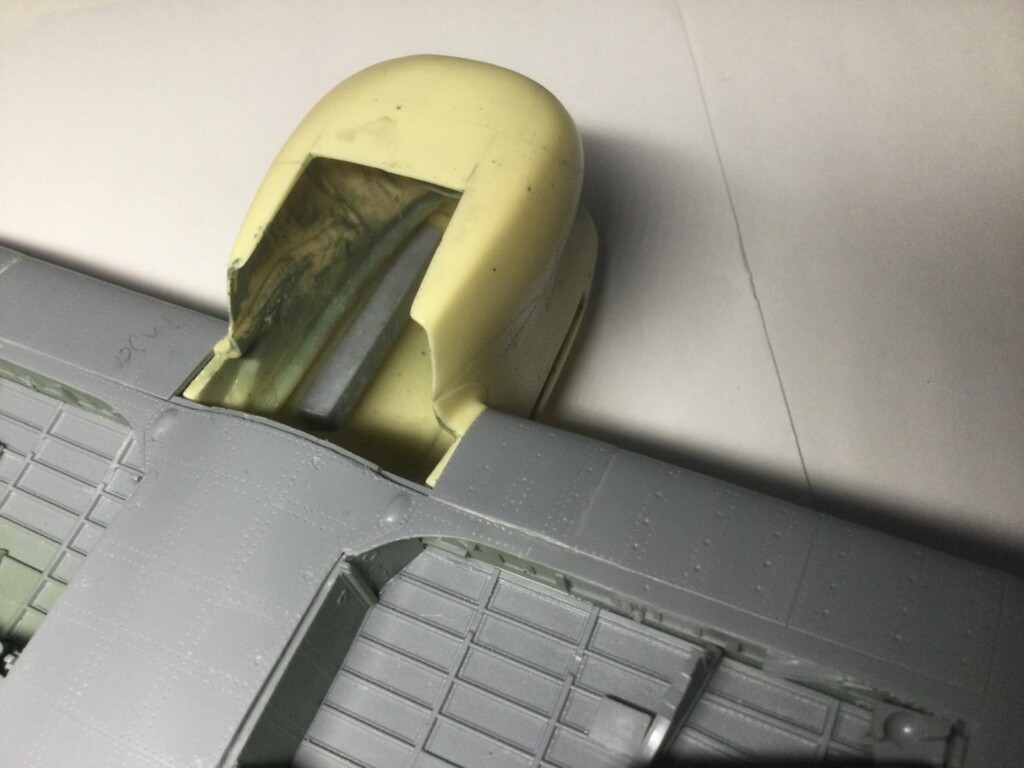
1. other box that also came loose.
2. Note the damaged interior paint after parts forcibly removed
Once again, I had to pry off super-glued resin parts to reattach the boxes from the inside. I managed to get some of the intake fittings off with careful application of brute force. This was enough to refit the boxes and awkwardly slop some super glue inside to make sure they didn’t come off again. Bad idea not to do this carefully! The super glue managed to flow around inside the intake and leak downward and out around the front intake screen. It finally gooped all over the face of the screen and ruined all the paintwork and plastic surface.
-
1. Part damaged by glue disaster -part solidified glue and part gouged plastic.
I was desperate to save it, so I ripped out all the intake interior and tried to wash the superglue off with soap, water and mild solvent.
-
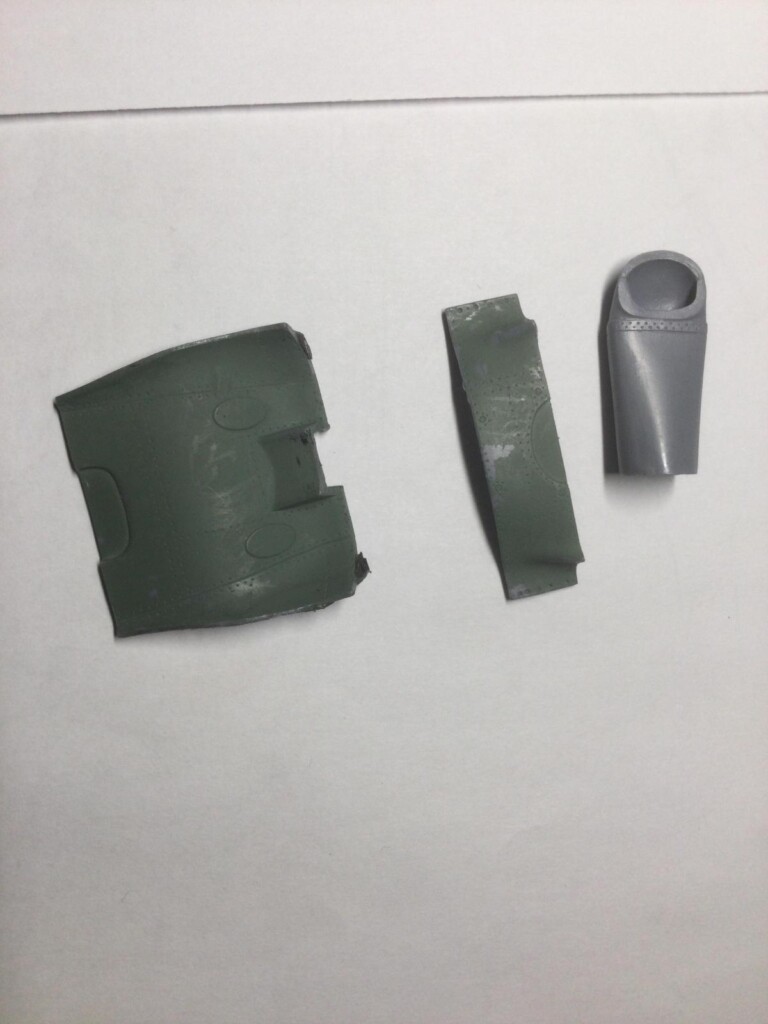
1. These parts that blocked intake filter access were luckily not damaged by the glue accident. and were eventually re-fitted.
No go. The glue got through the paint and on to the plastic and permanently ruined the mesh facing of the intake screen. In addition, my efforts to pry everything off left gouges inside the resin intake and screen parts. I was almost ready to chuck the whole model. It seemed like a complete write-off. I even bought a completely new SH Tempest and Barracuda intake set to start all over again.
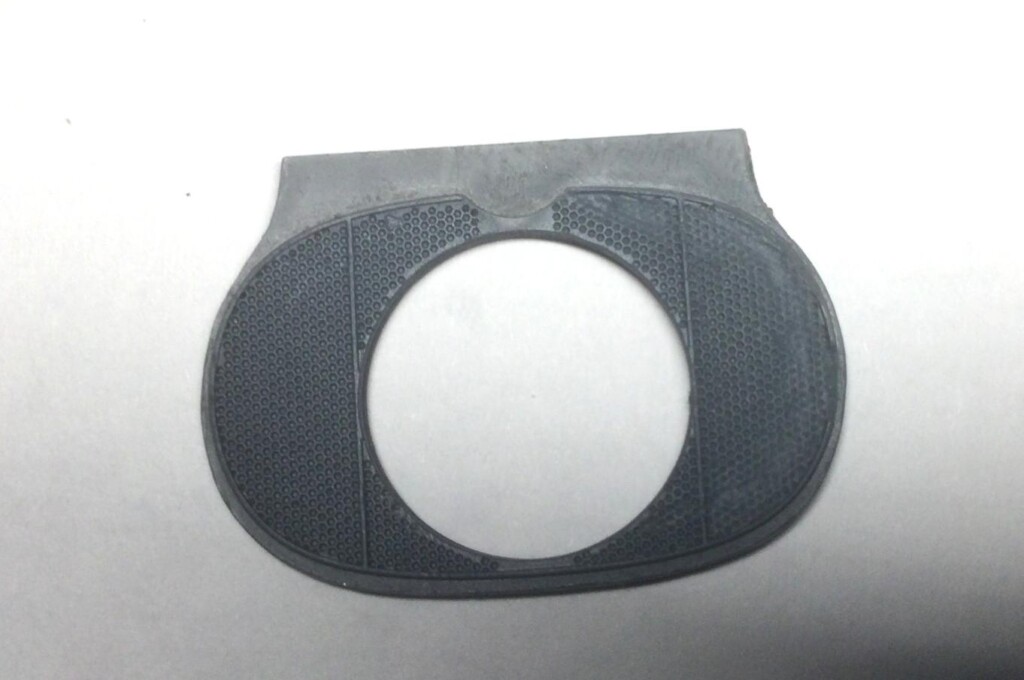
Then, I had second thoughts. What if I got some something to dissolve the caked-on superglue? Could I salvage the model I had worked so hard on? I found some super glue remover on eBay that is made in Poland. It is completely safe for styrene, resin and metal photoetch. Although it was pricey, it was well worth it. It melted away all the gooped-on mess inside the intake and off the parts that I hadn’t ruined from prying and scraping. It took a while – several days patient work - but I cleaned things up inside sufficiently to refit a new screen. The “new screen” actually came from the kit as an unused part that simply lacked the large hole in the center to accommodate the air filter. There are two of these in the kit which seem to come from some earlier version of the intake assembly - indicated as unused on the instructions.
-
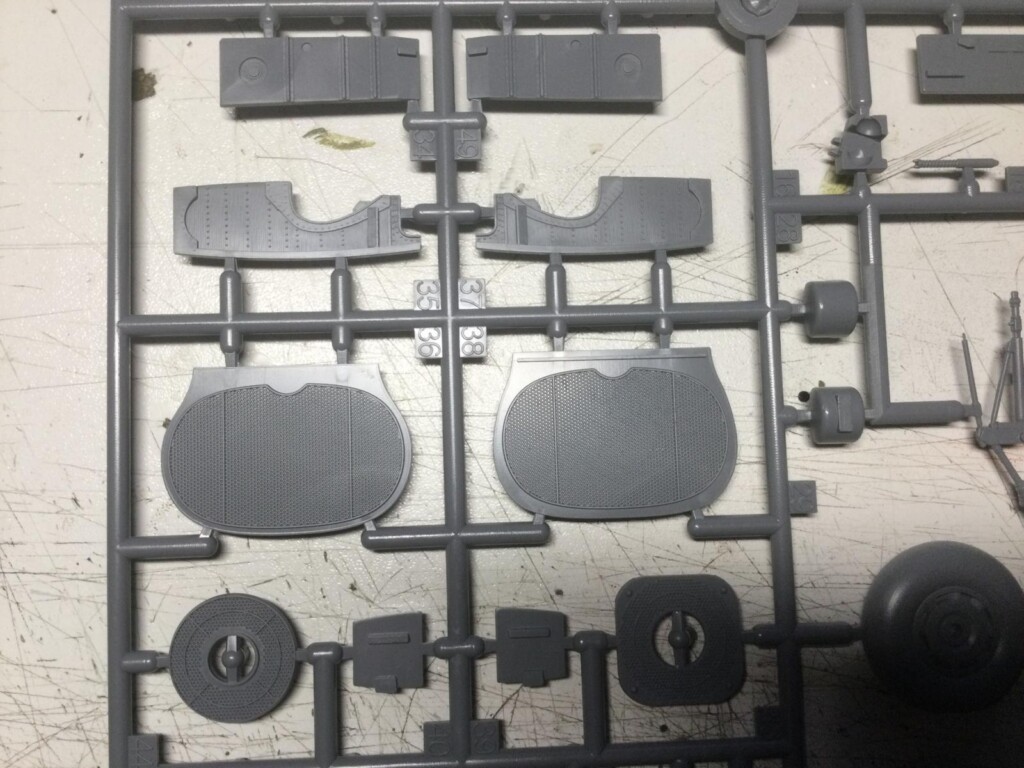
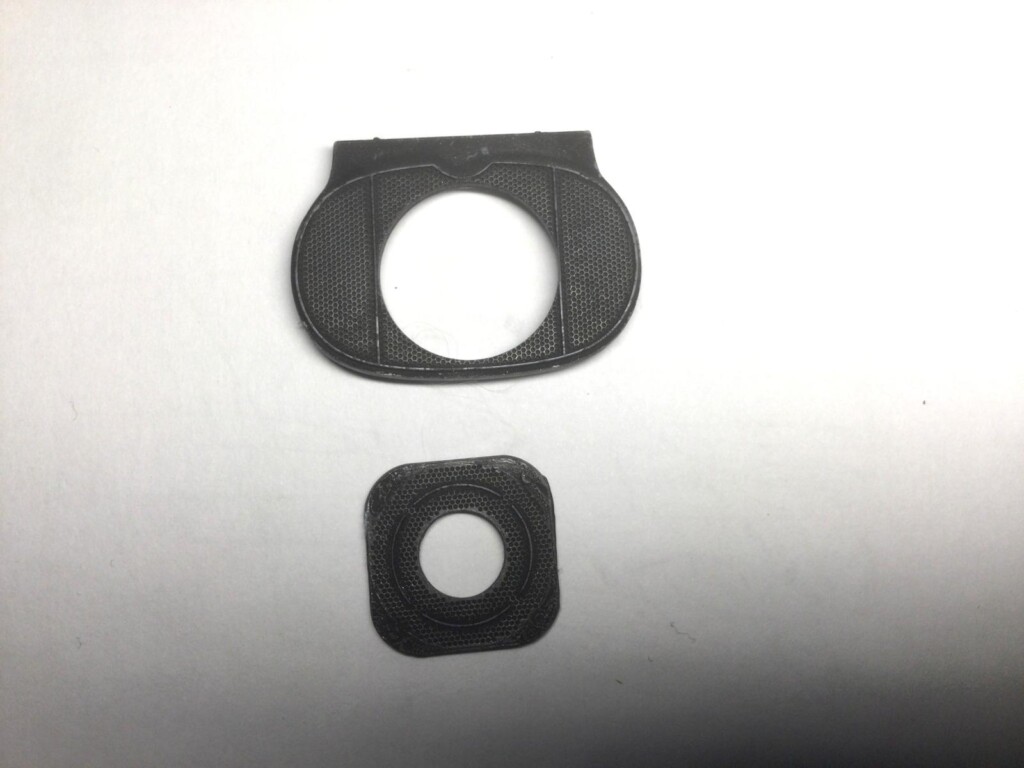
1. There are actually two of these extra screens in teh SH Tempest kit. This is what they look like before drilling out the hole for the filter.
-
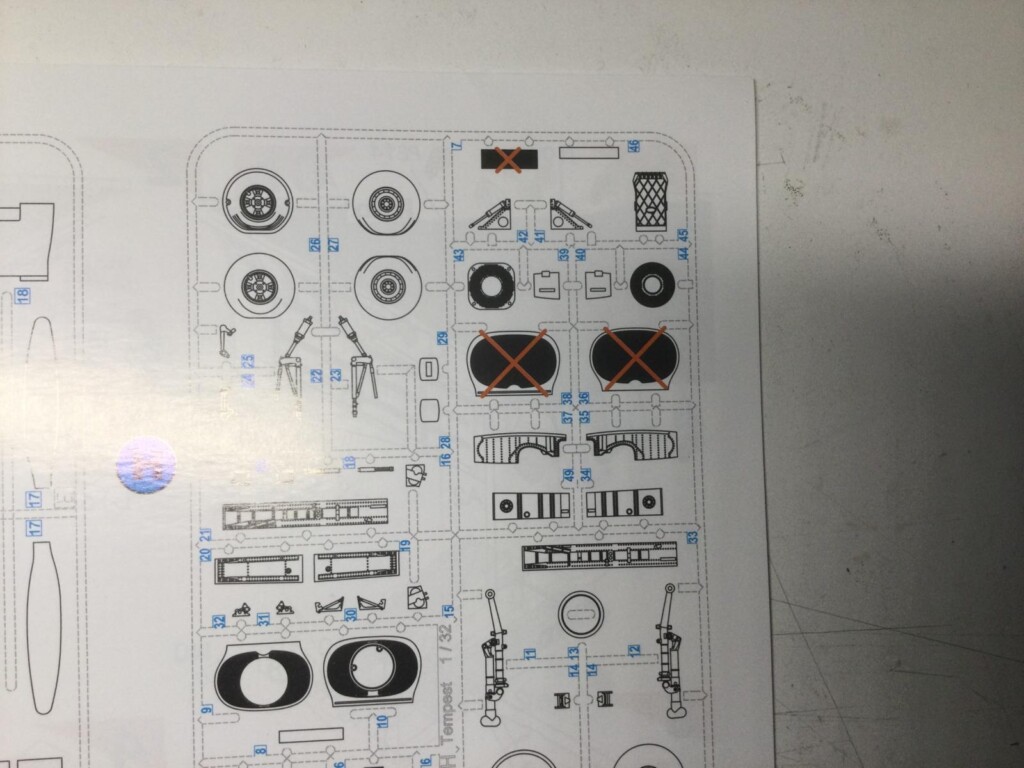
1. "X" shows unused parts
I carefully drilled this out and sanded the center hole larger than a drill bit would allow and kept checking and rechecking the fit of the filter inside. Success. The new screen was equal to the damaged part in every way.
-
1. New hole made in solid spare part
2. old screen insert was luckily unaffected by glue accident.
-
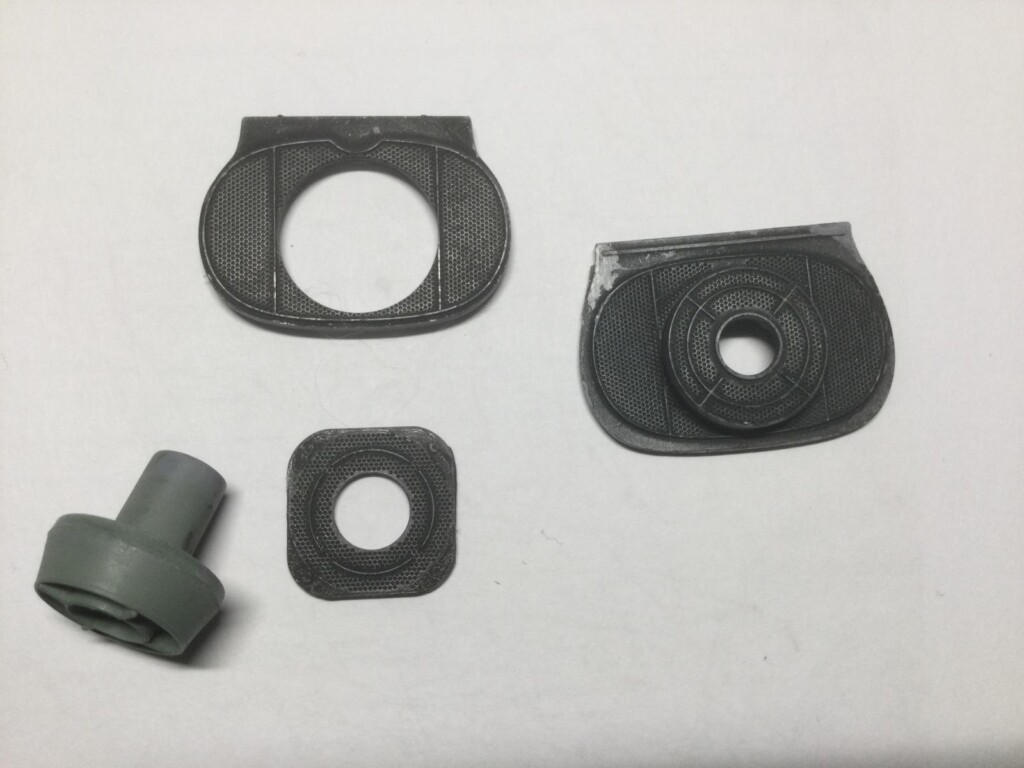
1. i had to make the opening in the scratch-modified screen exactly the right size to receive this filter piece - success!
The next challenge was to fill in the gouge marks inside the intake and sand the curved interior surface from inside without distorting the interior shape. This took several days again, using a combination of super glue/zap kicker and then Mister Surfacer 1000 for the final smoothing out. Finally, it was 100% restored. I then proceeded to the stage of refitting the intake interior parts, including the re-crafted screen. I modified how the parts fitted together this time to make them stand up better to the pressures of snapping everything into place. Working inside the solid resin intake is almost maddeningly restrictive to movement but after all the sanding and cleaning I have now done to rescue the model , I have gotten used to it.
-
1. sanded and filled intake lip - as good as new
-
1. repaired intake
2. The real task was cleaning out all the superglue along this inside edge. I used the debonder and lots of carful scraping with a toothpick to allow the new screen to fit snugly.
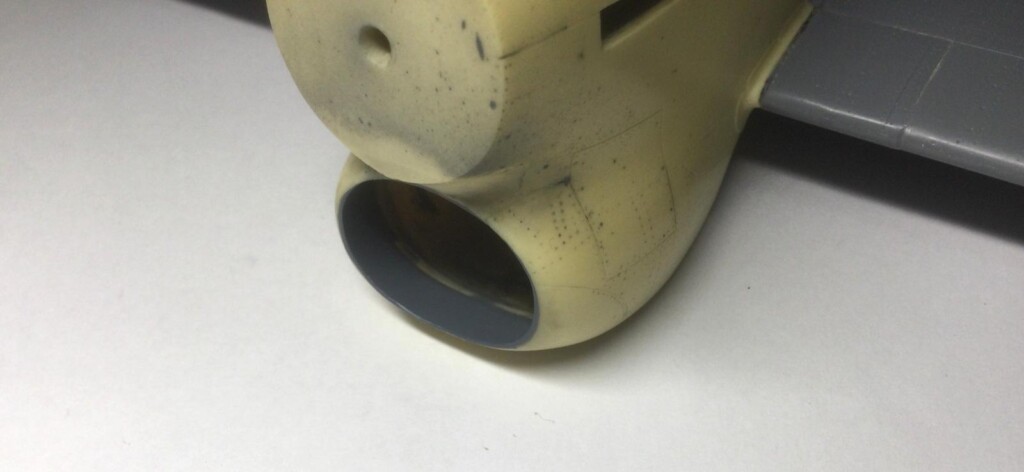
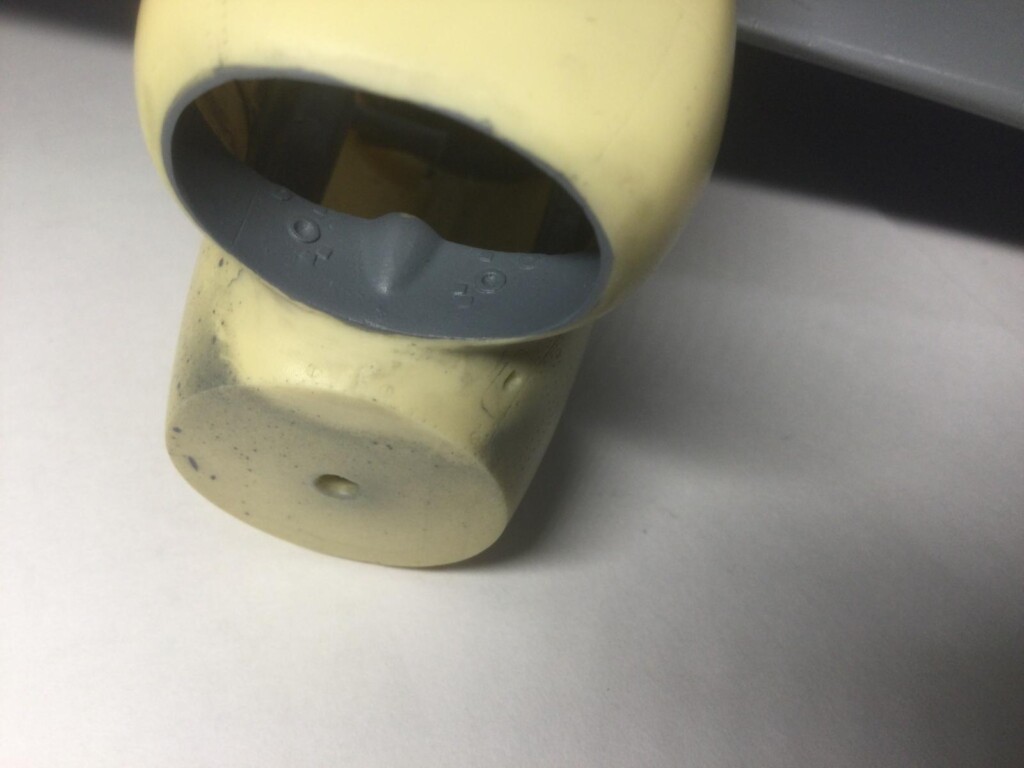
So, I didn’t take any pictures of the intake disaster before I fixed it, since it was too depressing to contemplate. I have a few pics of the fully cleaned up model with clear parts test fitted.
-
1. Entire intake interior now finished and properly aligned.
I will attach the gun sight next, glue in the windscreen and mask all the clear parts for painting. I am happy with the stretched sprue filling I did to get a good fit of all parts. Everything is nicely sanded smooth without loss of any of the fine rivet retail on either resin or plastic parts. Time for some primer and paint for the undersides!