Thanks, Spiros, John and George. I appreciate the kind words. I had been in the habit of copying and pasting all the text of a post in MS Word, in case of sudden loss but I didn't do that last night. I will be smarter tonight and follow my usual safeguards. The above pics show that I finished painting the wheel wells and gear covers and painted the main undercarriage and wheel hubs with Vallejo Metal Color Semi Matte Aluminum. What I wanted to describe was a technique of painting the wheels by first hand painting the rubber immediately around the already-airbrushed hub then masking with silly putty and airbrushing the remainder of the tire. The hand painting is done with very thinned paint which flow nicely around the hub and makes a clean boundary. The technique works well because you don't have to mask the hub perfectly for airbrushing afterwards. Just squish on the silly putty in form of a ball a bit beyond the hub. The boundary between tire and metal hub will be already clearly defined under the putty. This pics show it works quite well, I think.
I also managed to fit the windscreen. This required quite a bit of filing at the attachment point ( a sunken ledge) so that it would fit tight and flush. I then had to fill some gaps with very fine stretched sprue.
I should also mention that it takes some work to fit the gun sight before attaching the windscreen. The resin version that came with the Hi-Tech kit I have wouldn't fit under the windscreen at all. It sat too high.
-
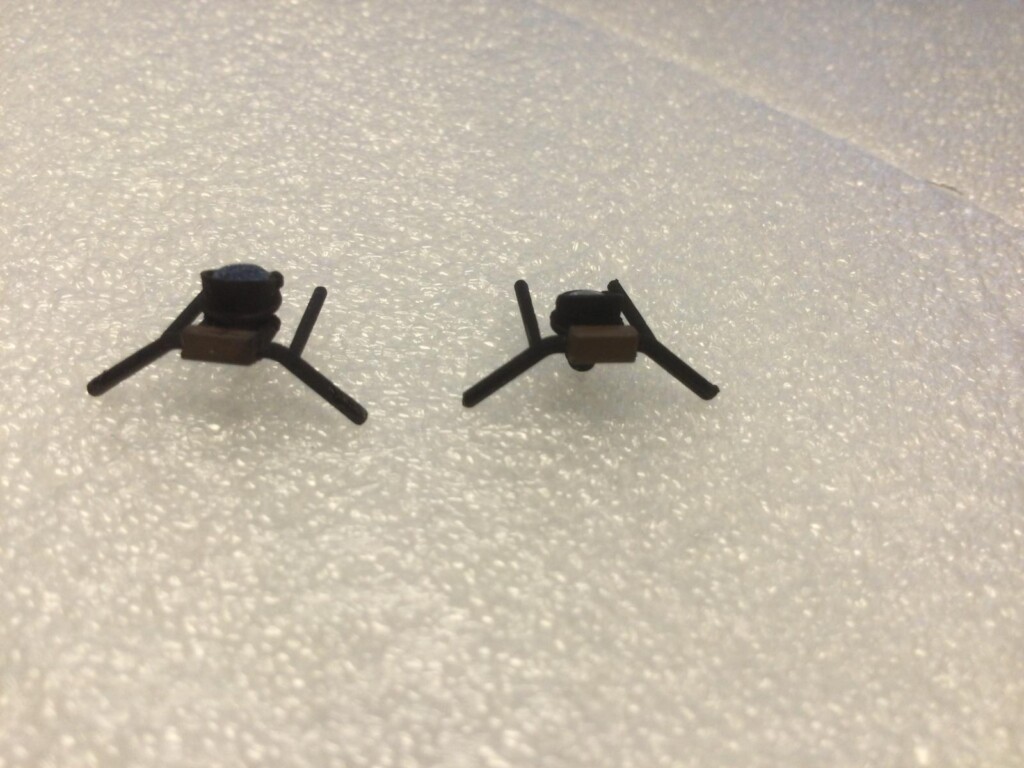
1. styrene part has a lower profile so it actually fits!
I found the original styrene one as a part "not needed" on the sprue and it fit perfectly. I think it looks just as good when painted properly.
-
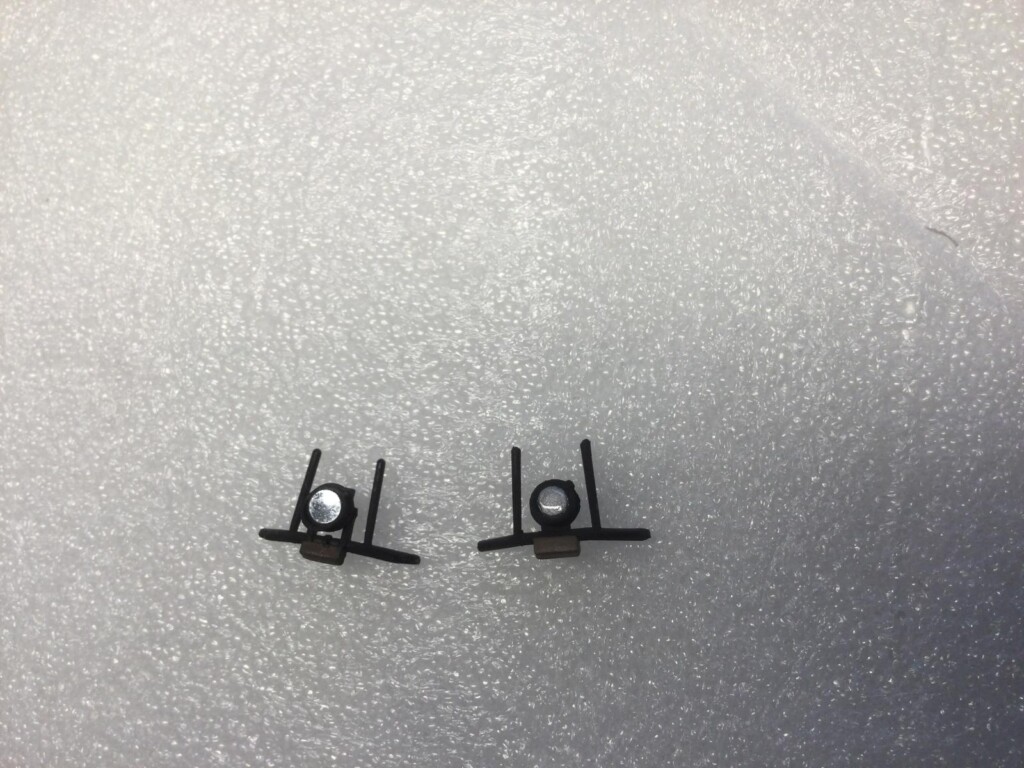
1. I think the "lens" I did on the styrene gunsight actually looks better than my original mirror work on the resin piece
-
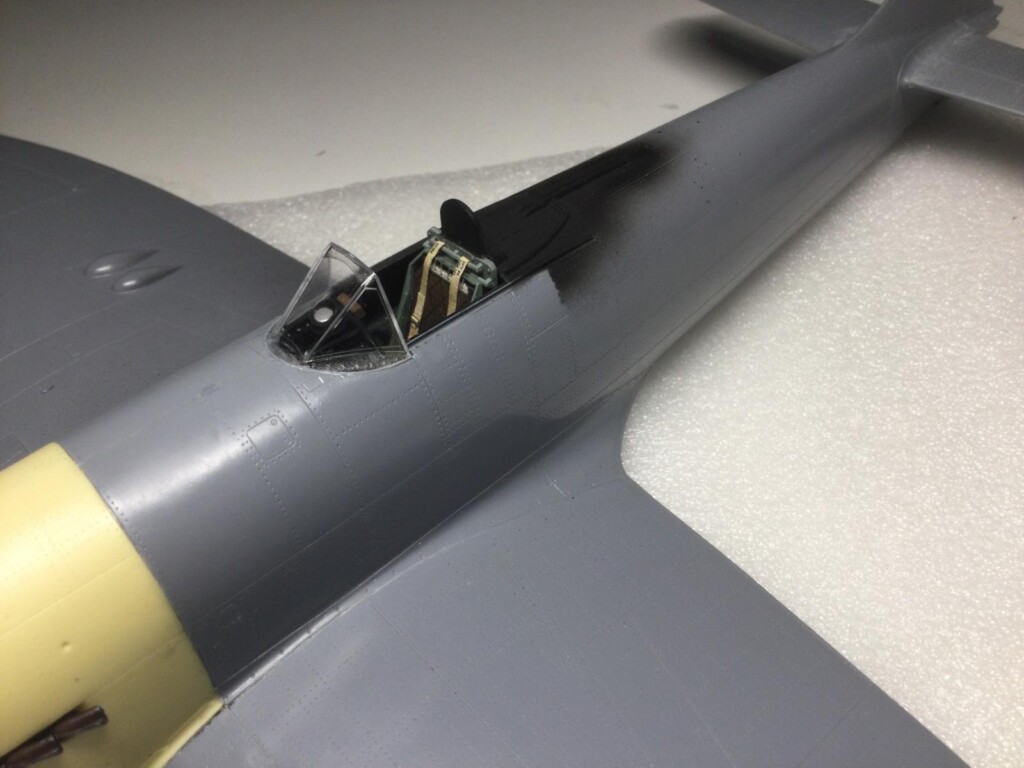
1. The gunsight looks good when fitted. finally, IMO
BTW, the sight fits oddly because it was mounted backwards as a field modification by Roland Beaumont. He also removed the glass so that it would project the sighting crosshairs directly on the windscreen, much like the HUD does on a jet fighter. Most Tempest sights were adjusted afterwards to follow the "Beaumont modification". I've added a pic from a sim to show how it worked.
Anyway, tonight I am adding pics of the masking, which took most of my day today along with some other prep before painting. I fitted the vinyl masks to the windscreen and sanded the seams I had filled the previous night. Since the camo on the Tempest extends under the sliding hood, I couldn't paint the model with the hood attached. I therefore created a box arrangement with paper tape and sponge to protect the cockpit while spraying the fuselage. This kind of thing is best figured out by doing it rather than planning it all first. A few pics show the steps.
I wanted a mask arrangement that wouldn't start to peel away when saturated with paint, as masks sometimes do. I think I got a good seal on the paper box so that it will be held tightly in place no matter what.
OK, not to be too long winded, I masked the wheel wells, and the intake at the front and back with paper and silly putty. This is quite a chore with the Tempest and Typhoon but now it is done.
I masked the complex red/green navigation light with peel-off white glue.
I've been experimenting with Gunze and Tamiya paints to get the right look to the Ocean Grey/Dark Green/Medium Sea Grey camo. It is interesting how much work is needed to modify existing paints to get the authentic colors - as least according to the usual Internet Illuminati. I will be ready to paint over the next few days. Hope you can see it coming together now.