Let there be light
First – thanx for the comments and kind words! Now, I think that if you have seen some of my other Bf 109’s you will know that I like to see glass at the wingtips. Here we go..
To make the navigation lights, first you flatten a piece of clear sprue (it is free as opposed to clear sheet) and drill some holes.
-
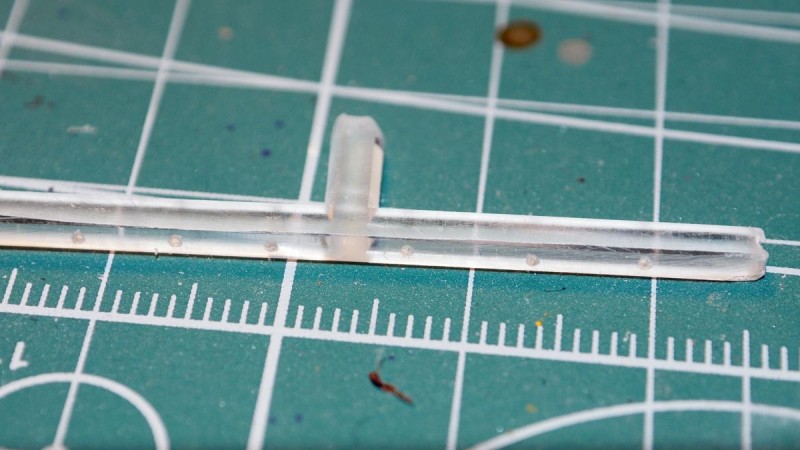
1. Remember NOT to make the flattened sprue thinner that the wing!
The sprue is then painted red and green to make left and right nav-lights
-
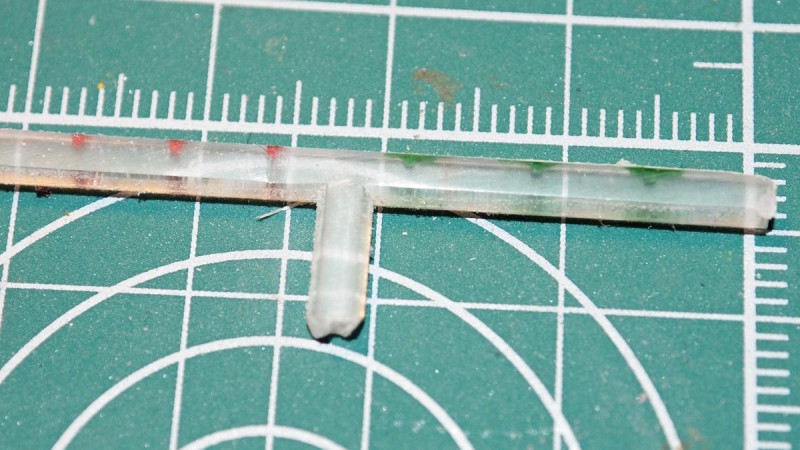
1. Red / Green paint (thin!) in the drilled holes, and you have a row of raw lights.
Then you drill out some space behind the fairing, and perhaps mount a small piece of scrap alu inside to simulate the mounting plate (there should ideally be some space in front and behind of it, as a wing is hollow)
-
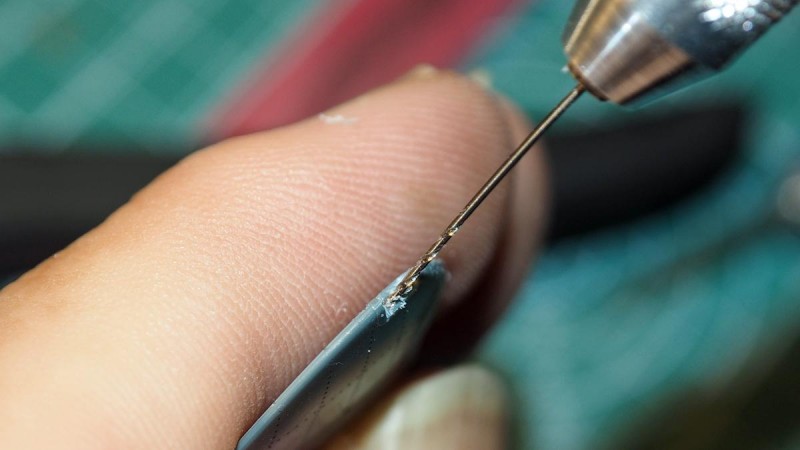
1. Do NOT drill in your finger (yes - experience from working on my own hand..)
Cyano then does the trick, and you can start roughing out the shape
-
1. A bit oversize - saw, file and sanding needed
Use tape to protect the wingskin, starting with a saw, moving on to files and then sanding
-

1. Protective tape keeps the wingskin free from scratches
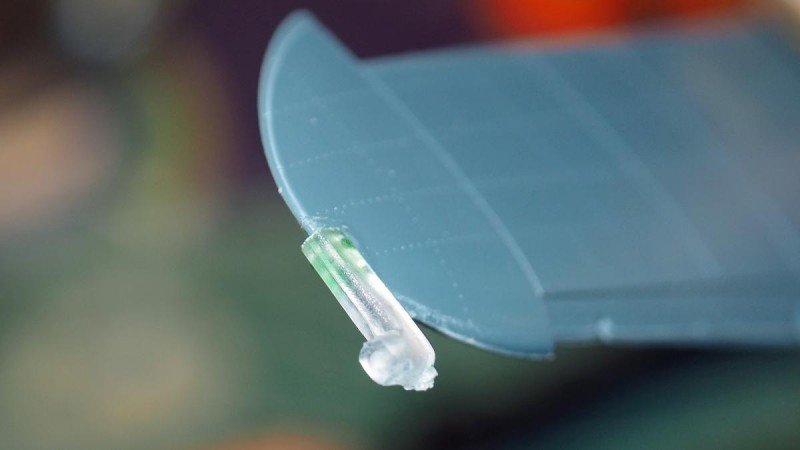
And finish off with some polishing.
-
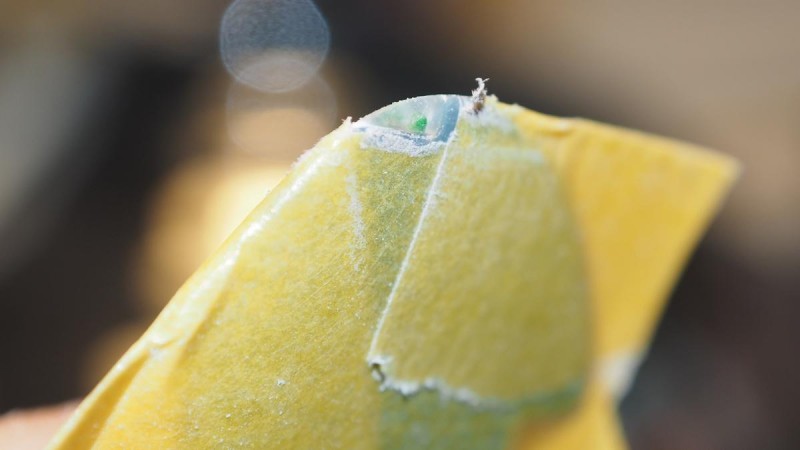
1. a few moments later, and it seems almost right (and as we know, right is green)
-
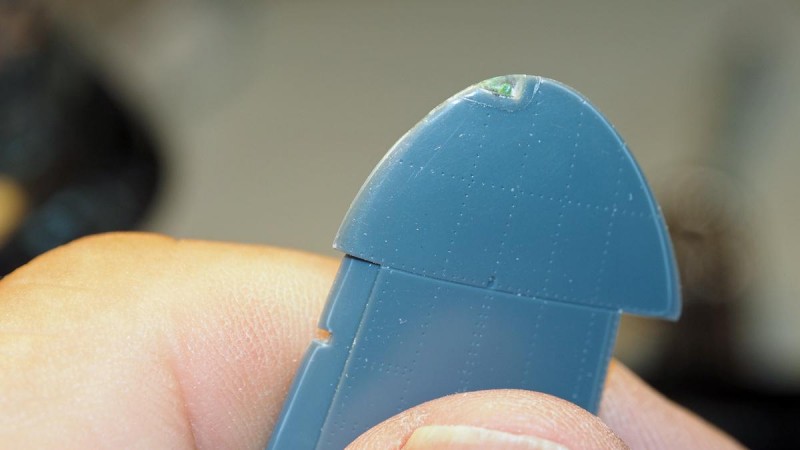
1. Not easy to see from this angle, but a plate is in place under the bulb
Sorry it got a bit longish, but that is the step-by-step nav-light as done here at “Hald-Werk” (I live in a place called Hald, and as it is approaching ironworks style assembly I thought that might be an appropriate name?) (I also have to admit that I have started a small shop at my “local” airport and named it in a similar fashion – sorry for the ad-style comment, hope it will pass)
next up will be detailing of the office I think