Tamiya Heinkel HE-219 UHU 1/48

Started by Chuck A. Villanueva · 94 · 4 years ago
  • Profile Photo
    Spiros Pendedekas said 4 years, 5 months ago:

    Great progress, Chuck! i took note for the PE plate and grilles to attend when I decide to give my Uhu a go!
    What can I say about the tubes? Tamiya engineering at its (usually) great level.
    All the best, my friend!

  • Profile Photo
    Chuck A. Villanueva said 4 years, 5 months ago:

    Spiros, yes very unique those tube spars. The precise fit is excellent the wing to fuselage contact point. Though some have left them loose before painting. Unlike the Lancaster which I did leave loose, the wings on the Uhu are permanently attached. Though it may been ok to just have them just pressed on. The grille work does really help the final look inside those leading edge ports.

  • Profile Photo
    Chuck A. Villanueva said 4 years, 5 months ago:

    With the basic air frame assembled. Now to do some work on sub assemblies. First some detail bits inserted into the nose wheel bay. Eduards PE interior side panels painted RLM02.


    Next the rear lower antenna is placed on the lower portion of the tail.

    Tamiya gives you the option to configure the flaps on the wings.

    I will configure the flaps in fully deployed down.

    Next to assemble the engine cowlings.

    You can display the cowling with open or closed cowl flaps. I opted with opened flaps. Made up of 4 pieces each which also includes the poly cap.


    First the polycap is inserted into the back of the cowl face. The cowl ring internal parts are painted RLM02 and Aluminum. The crankcase cover is sandwiched between the cowl ring and cowl flaps and completes this step. These will be painted overall RLM76 Licht Grau(Light Grey) and will be installed after the airframe itself is painted.

    Next the nacelle tail cones are separate parts and are attached to the back end of each Nacelle. Surprisingly the fit here is not the greatest.

    Finally the 4 exhaust dampers, made up of 3 pieces each, are assembled. These will be attached to the engines after the air frame is painted, decaled and weathered.

    more to follow!

  • Profile Photo
    Spiros Pendedekas said 4 years, 5 months ago:

    I have to say this PE inner door detail looks fantastic.
    Engines also look very sporty.
    That's a beautiful work and a great progress, Chuck!

  • Profile Photo
    Erik Gjørup said 4 years, 5 months ago:

    I like the progress here - will have to check if my local kitpusher has this on sale too. Some inspiration for weathering on the second one in existence can be found here; https://abpic.co.uk/pictures/view/1345195
    Not for the faint-hearted though!

  • Profile Photo
    George R Blair Jr said 4 years, 5 months ago:

    I wouldn't have known it was a 219 if you hadn't told me. Obviously a fixer-upper. Didn't realize the engines on the model would be that complex.

  • Profile Photo
    Spiros Pendedekas said 4 years, 5 months ago:

    What a pic of the Uhu wing @airbum!
    I can say the weathering is extreme...

  • Profile Photo
    Erik Gjørup said 4 years, 5 months ago:

    @uscusn, forgive me for intruding, but I just found the pictures of the "Danish" Uhu, and thought they might be of interest as opposed to just the link above.


    First, a gunbay


    Then some enginenacelle and wheels


    I THINK this may be the nose, but not entirely certain.


    And finally the picture I shared in a link showing the wing with some severe weathering.

    I might add that it has since migrated to Germany, I do not know where, for a new owner and some TLC.

  • Profile Photo
    Chuck A. Villanueva said 4 years, 5 months ago:

    Wow Eric, you are more that welcomed to post any reference pics or info that is good for everyone to see and check out. I love it, those are rather interesting pics of a 219 or whats left of it.

  • Profile Photo
    Erik Gjørup said 4 years, 5 months ago:

    @uscusn, and most people think the only one that exists is the one in the states. Sadly the Danish one got sold before I could get more pictures, but boy was it interesting to get to check it out. As far as I know the build number never showed up, and loss-reports did not mention any at the location in the sea off denmark. Looking forward to the next progress report on your build Chuck!

  • Profile Photo
    Chuck A. Villanueva said 4 years, 5 months ago:

    Erik I hope it went to a museum or shop that needed the parts to rebuild one in the future. Even at that state you can feel the purpose of that 219. It did have a presence that most aircraft don't have, such as the P-61 Black Widow in a black scheme has that sinister purpose about it.
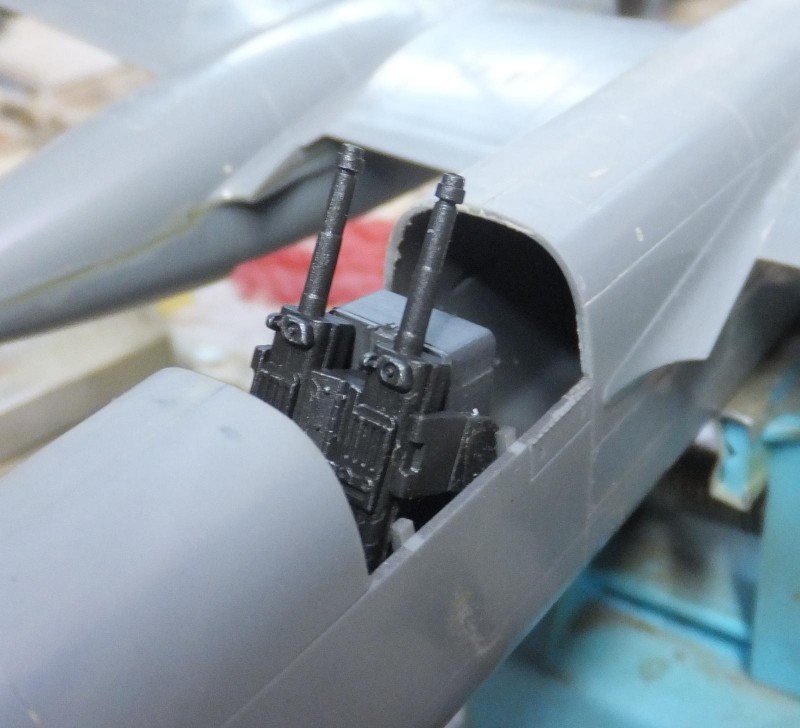
    Now to work on some of the sub assemblies and details. Starting with the Schrage Musik upward firing cannon mounted towards the rear of the upper fuselage about the trailing edge of the wing.
    The gun mount belt feed assy is painted RLM66.


    The 20mm cannon are painted Vallejo Gun Metal, and highlighted with silver pencil. The Guns are then mounted on the base.

    The assembly is placed in it's bay in the upper rear fuselage.

    The gun bay is RLM66, however once the bay door is installed there will be no view of the interior other than the muzzles peeking through the gun ports.

    The fit of the door is probably more me than the kit, not perfect but after some clean up it will be ok.

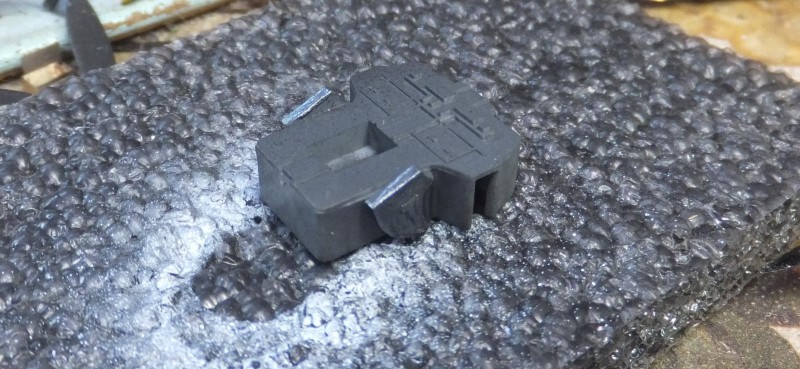
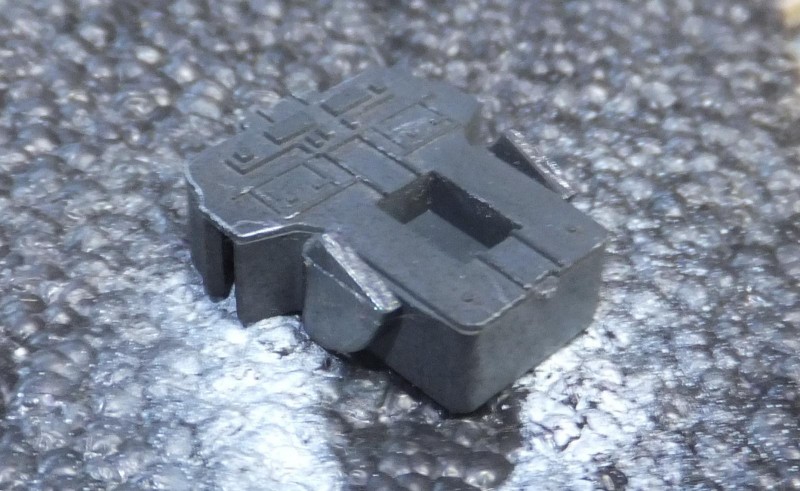
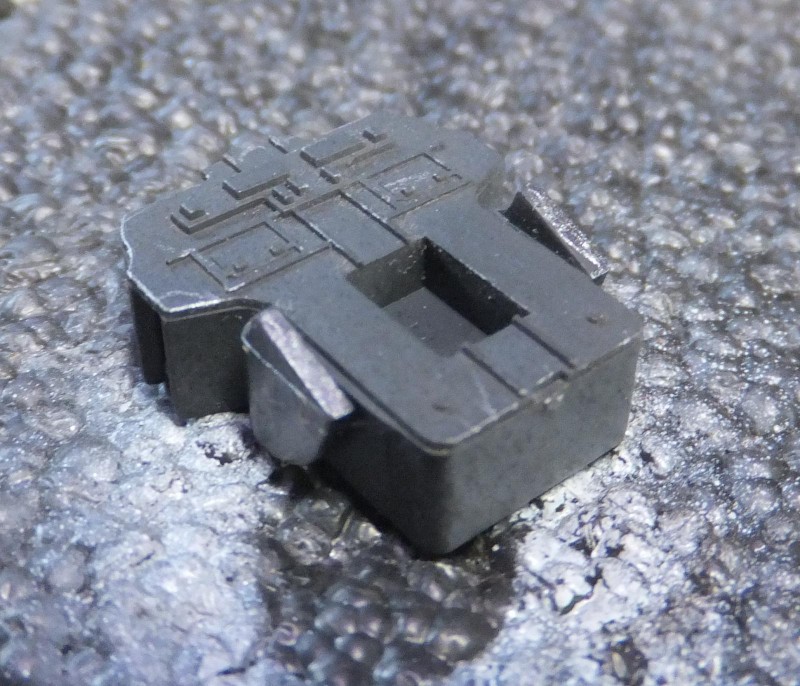
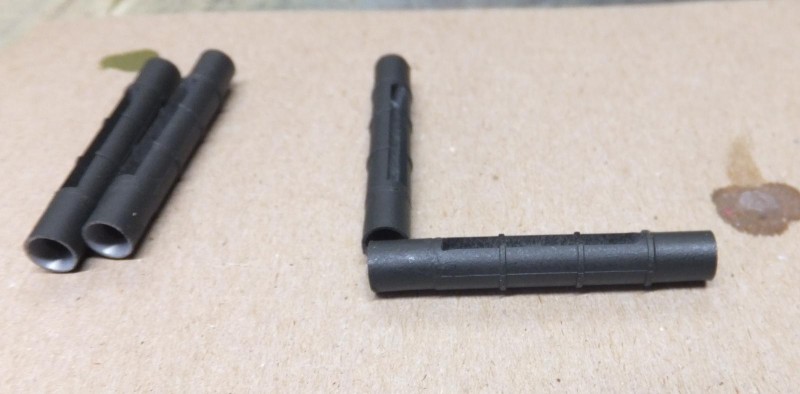
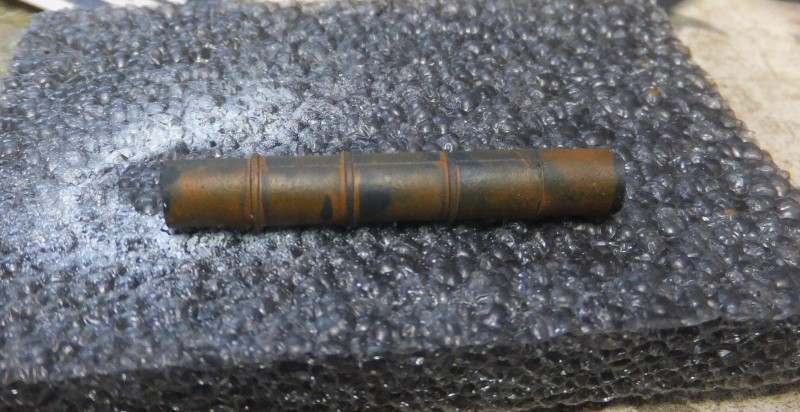
    Next up is the exhaust dampers. I painted these Burnt Iron, and then went over them with a rust wash very thin one application at random, so not one are alike. Hope fully when installed I get the desired effect. These will be installed after the paint and decal stage.

    Now I work my way forward to the nose.

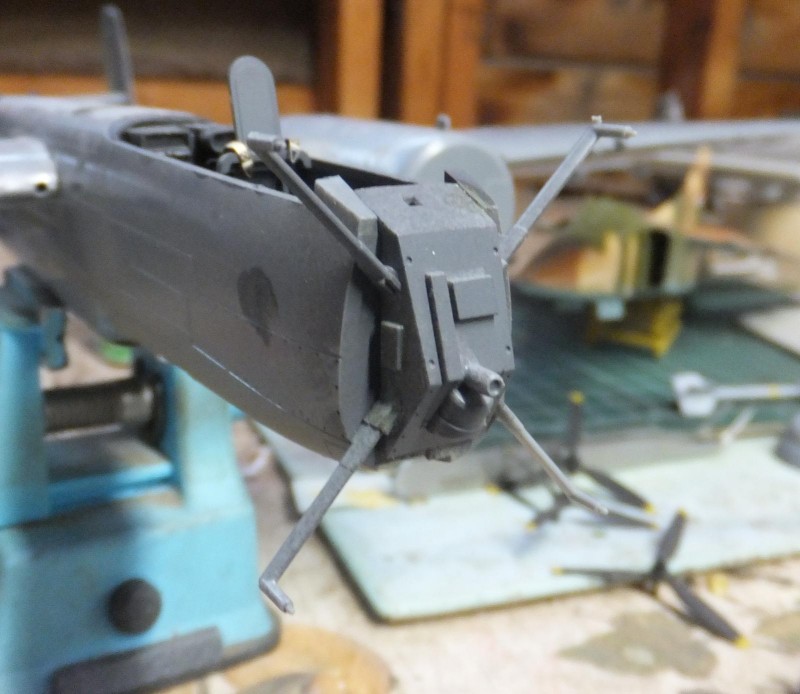
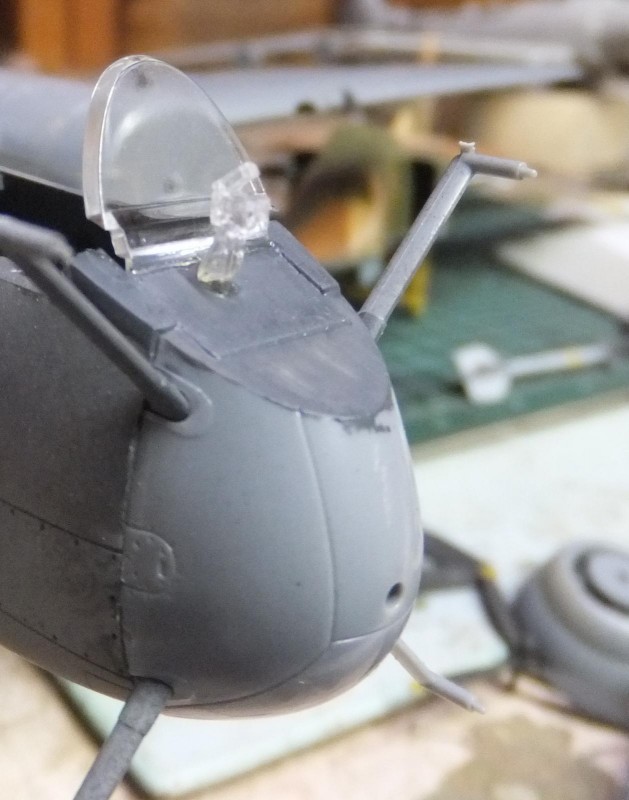
    The FuG radar and antenna base are one piece (yay) reason why I say that, I have a Monogram BF-110 G4 night fighter, all finished except I cannot find a good way to install the Fug Antenna masts, tried but couldn't get one to stay on, so I gave up. Still have the antennas, some day I will get them attached. Any suggestions? The radar set is RLM66, masts are Grey also for now, the scheme will have all 4 masts in black, with the antennas in Grey, Red and White.

    The nose cap/radome is next. Easy fit on this piece.

    Now the radar set that a lot of the Luftwaffe twin engine schnell bombers carried just aft of the cockpit. Unique set in its own bay. Part of the unit is prepared and place with in the bay.

    This piece is painted Natural Steel. The bay is RLM66.

    Back to the cockpit. The armored plate glass is attached. Crystal clear.

    Finally the gun sight also clear is attached in front of the armored glass and painted Nato Black.

    Next to seal things up, clean the seams and add the glass.

    More to follow.

  • Profile Photo
    Spiros Pendedekas said 4 years, 5 months ago:

    Hi Chuck @uscusn!

    If I got it right (which is rare for me - lol!) you want to glue each one of the four assembled antennas at your Bf-110 nose...

    Here's my idea for your Bf-110 antennas:

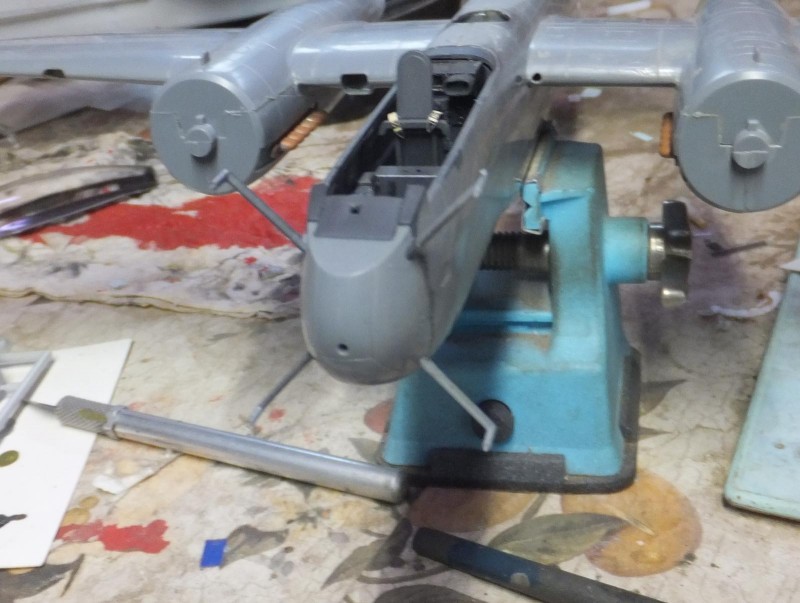
    Place your Bf-110 on your jig (like the UhU) at the above pic horizontally, or lay it firmly on a cardboard home made base.

    Clamp one antenna from the middle of the strut at this (or similar) clamps device.

    Take care here (please improvise), as the clamps spring can be strong and may bite and deform the antenna strut.

    The arm can be twisted to your desire, so turn it to the desired angle and approach the whole device to your Bf-110 nose, with the antenna strut end just touching the spot it is supposed to be glued on at the nose.

    When you feel confident about the positioning, move them apart and smear glue (maybe cyano will be the better choice here) at both strut and nose spots and reattach them.

    Leave them "as they are" for the glue to cure .

    Repeat for the other three antennas.

    Hope this sparkles some ideas for your solution!

    Your Uhu looks amazing and your pic coverage (tutorial) is exceptional.

    All the best, sir!

  • Profile Photo
    Erik Gjørup said 4 years, 5 months ago:

    What a treat. Great update here - and yep, it looks like a 219 by now.

    For antennas, might I add that Gaspatch just launched a 3D-printed two-piece unit a few weeks back!
    http://www.gaspatchmodels.com/products/fug-202-radar-1-48.html

    Spiros' suggestion will surely be cheaper though 🙂

  • Profile Photo
    Chuck A. Villanueva said 4 years, 4 months ago:

    Finally at that stage to add the clear parts mask and start painting. Almost to the finish line, yet still a ways to go.

    The Uhu has a 3 piece canopy, the windscreen, canopy and back window. First the rear window panel will be attached first.

    Next the RH side hinged canopy is placed and temporarily placed with white glue, as I will display this open once all the painting and decaling is completed.

    The front windscreen has a unique shape, any uncharacteristically have a struggle getting in to sit in place properly.

    Next up to mask the glass with Eduards masking set.

    Starting with the front windscreen. The newer Eduards masks seem to just outline the frame work and use extra left over masking material to fill in the center section of glass. With the masks, the process takes about an hour.

    Next the radar disc that sits aft of the cockpit, under a clear window. Eduard's PE enhances this better than the molded array on the glass cover that Tamiya provides.

    Using Testors clear cement dabbed on the center of the glass panel, the PE disc is placed on the window disc and let set for about 30 minutes.

    The assembly is then place into the upper fuselage and masked. Excellent fit here.

    Next up prep the air frame for paint, Interior color over the framing and pre shade the upper section of the fuselage. More to follow

  • Profile Photo
    Erik Gjørup said 4 years, 4 months ago:

    Always a great place to be; Masks on!