Time to get the 219 to stand on her own. Starting with the nose gear.
The nose strut is pretty sturdy and remember that it attaches to a metal bay. The retracting actuator arm is attached.
The wheel is then attached to the nose strut.
Then the strut is inserted into metal roof of the bay, good tight fit held with Super Glue.
The main and rear nose gear doors are attached. Good points of contact for a good fit.
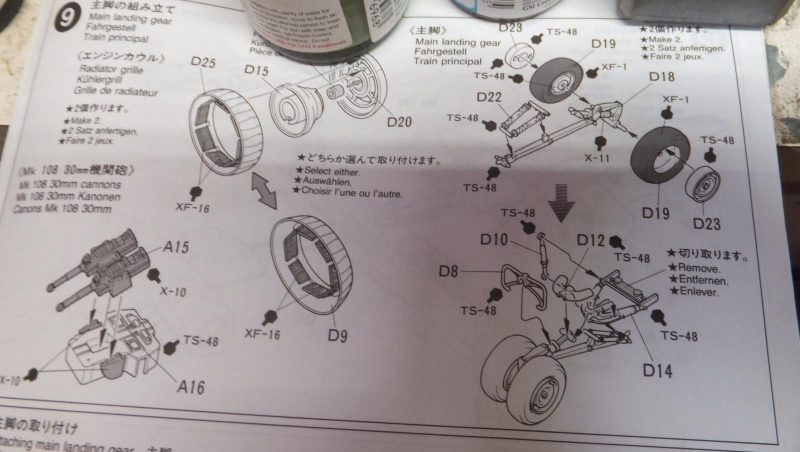
Now to work on the main gear. At first glance it looks rather complicated and fiddly. Tamiya approach alleviates any fear of being weak and difficult to assemble. It goes together very well.
-

1. A few parts but easy to assemble
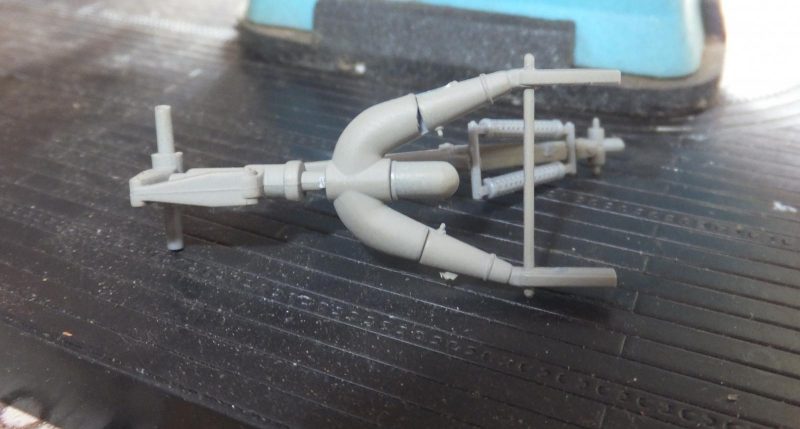
Starting with the main strut. Again sturdy and should withstand years parked on a shelf.
The spring loaded strut shocks are attached to the strut. These will be painted RLM02
The main upper strut assy are quite strong and this what makes contact with in the wheel bays.
-

1. Very strong and sturdy main strut
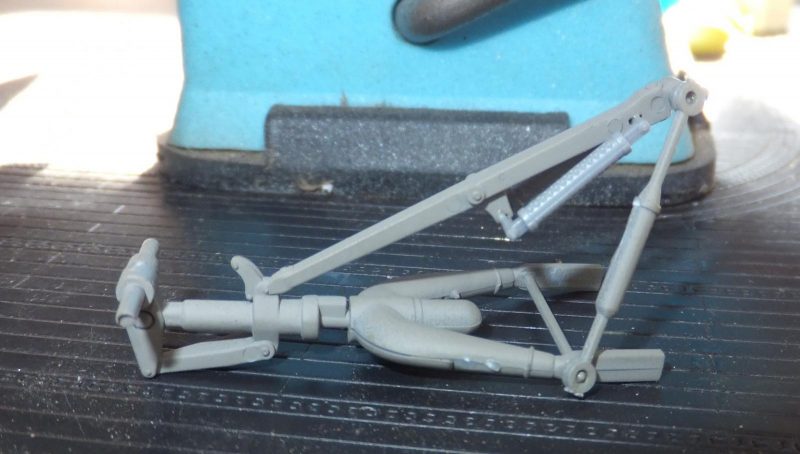
The retractor arm is attached outboard on each main strut and then the door guard stops as well.
-

1. Arm is attached on outboard side of the strut assy
With the strut assemblies completed. They are placed in each wheel well bay. Again excellent tight fit. On quite a large place and not very light.
The main gear bay doors are attached. Doors on multi engine bombers can be fussy at times with weak attachment points. Not in this case. All 4 doors no muss no fuss.
Before assembling the wheels, I went ahead and attached a pair of counter weights on the lower ailerons.
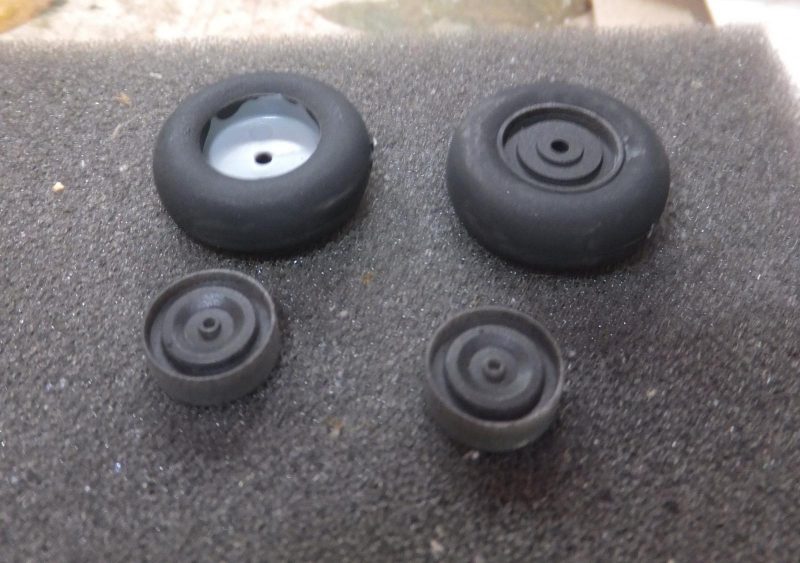
4 main wheel assemblies are assembled. The wheels are satin black and the tires are painted NATO Black.
-

1. Satin Black
2. NATO Black
A pair of attached to the struts.
Then the other pair are installed. Perfect fit, alignment is excellent. All 4 of the main wheels touch the ground.
The He-219 now on her wheels, nose down just as it should be.
Now that this endeavor is completed next to get the props built up and attached and those daunting antennas..
More to follow.