Erik I hope it went to a museum or shop that needed the parts to rebuild one in the future. Even at that state you can feel the purpose of that 219. It did have a presence that most aircraft don't have, such as the P-61 Black Widow in a black scheme has that sinister purpose about it.
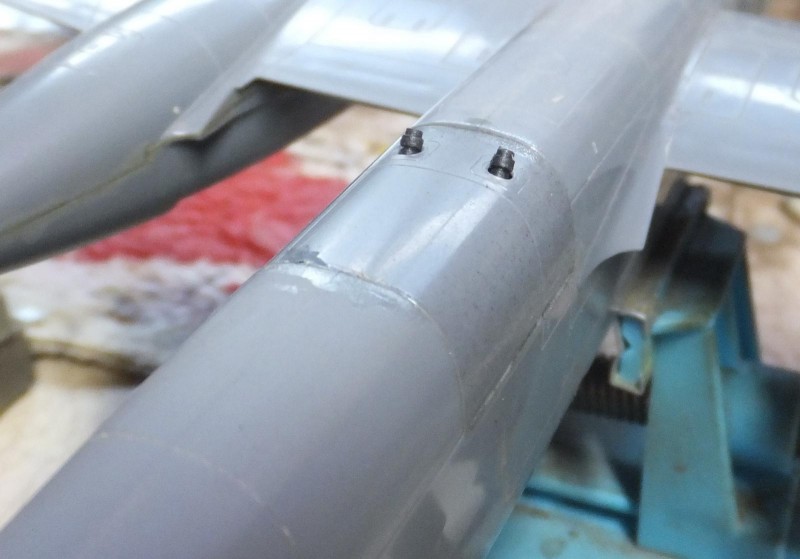
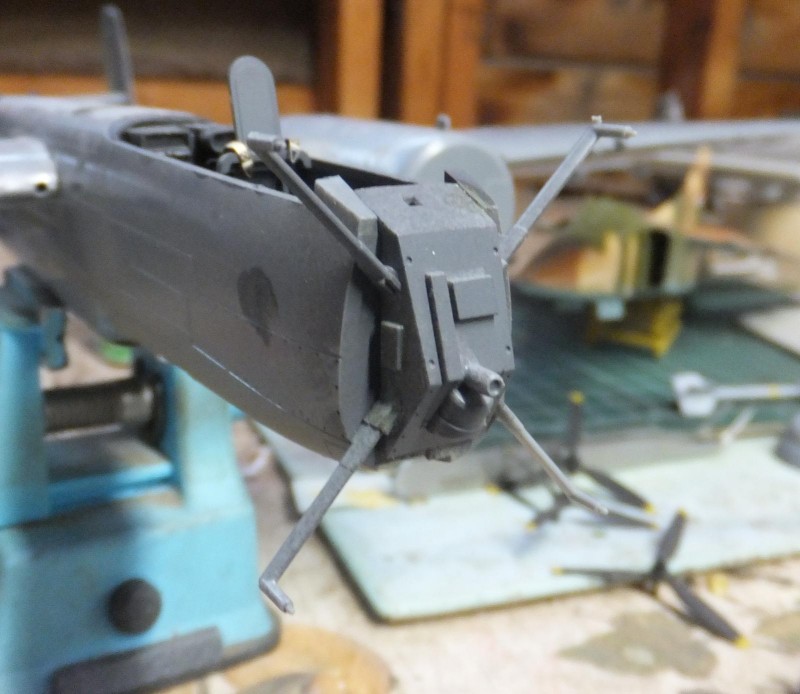
Now to work on some of the sub assemblies and details. Starting with the Schrage Musik upward firing cannon mounted towards the rear of the upper fuselage about the trailing edge of the wing.
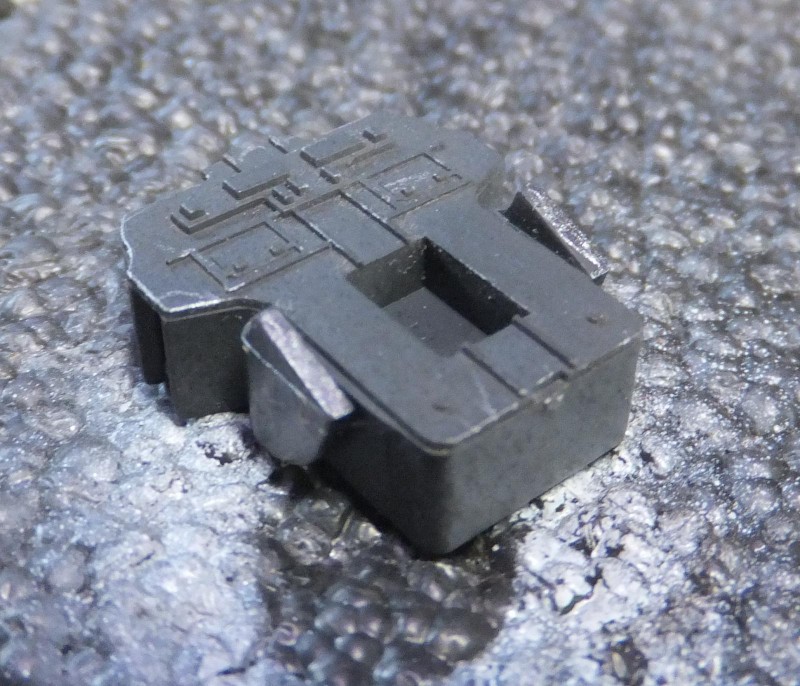
The gun mount belt feed assy is painted RLM66.
-
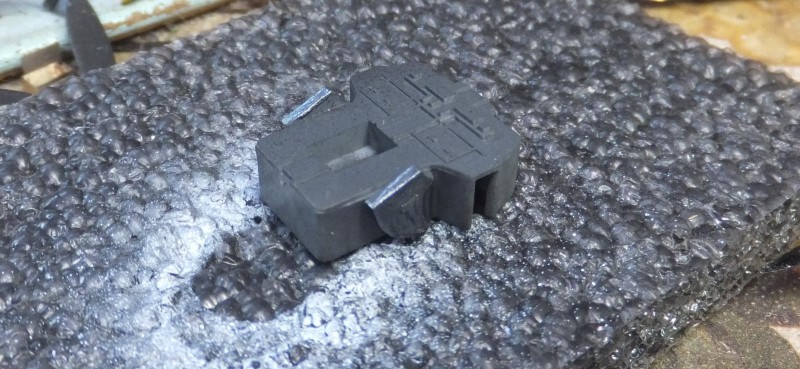
1. Schrage Musik gun mount and belt feeder
-
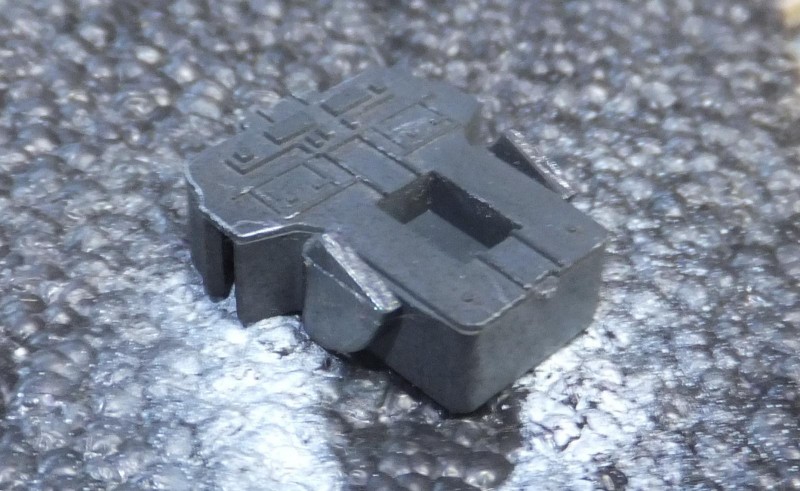
1. RLM66
2. Vallejo Steel
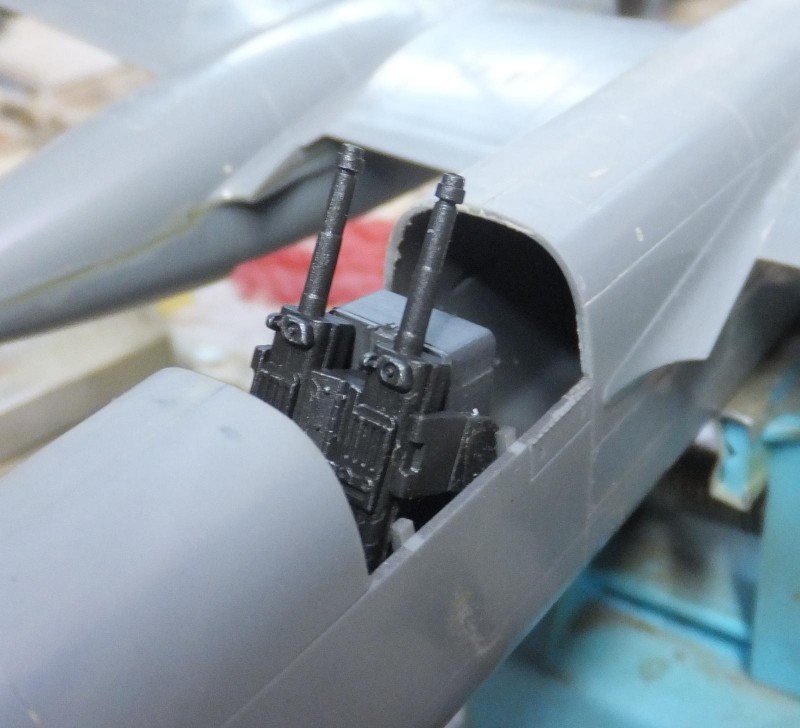
The 20mm cannon are painted Vallejo Gun Metal, and highlighted with silver pencil. The Guns are then mounted on the base.
-
1. Silver pencil highlights
The assembly is placed in it's bay in the upper rear fuselage.
The gun bay is RLM66, however once the bay door is installed there will be no view of the interior other than the muzzles peeking through the gun ports.
-
1. Won't see anything once the gun bay door is installed,
The fit of the door is probably more me than the kit, not perfect but after some clean up it will be ok.
-
1. Only the muzzles are seen
-
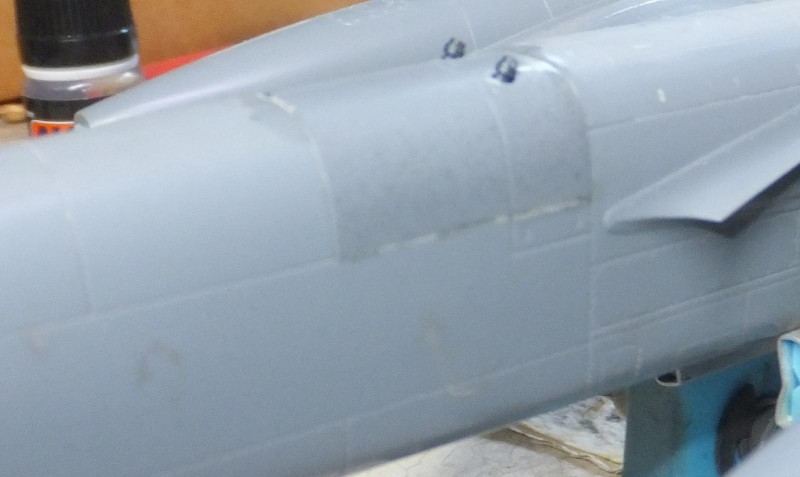
1. Fit is ok, not perfect.
Next up is the exhaust dampers. I painted these Burnt Iron, and then went over them with a rust wash very thin one application at random, so not one are alike. Hope fully when installed I get the desired effect. These will be installed after the paint and decal stage.
-
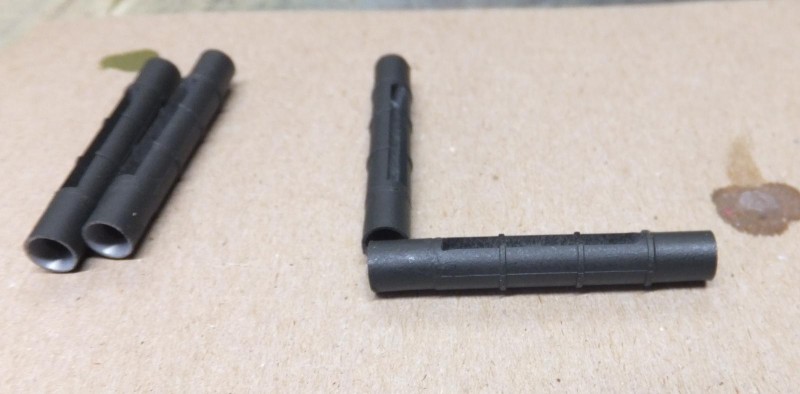
1. Burnt iron non polishing
-
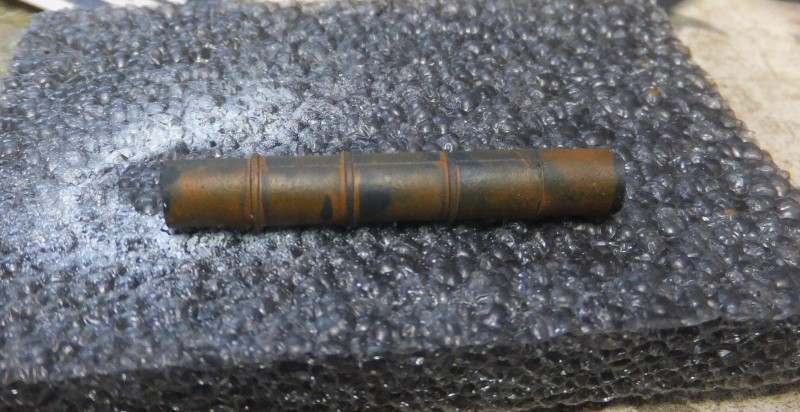
1. Ak rust wash very thin
Now I work my way forward to the nose.
The FuG radar and antenna base are one piece (yay) reason why I say that, I have a Monogram BF-110 G4 night fighter, all finished except I cannot find a good way to install the Fug Antenna masts, tried but couldn't get one to stay on, so I gave up. Still have the antennas, some day I will get them attached. Any suggestions? The radar set is RLM66, masts are Grey also for now, the scheme will have all 4 masts in black, with the antennas in Grey, Red and White.
-
1. So nice to have this with masts in one piece
The nose cap/radome is next. Easy fit on this piece.
-
1. He-219 finally getting it's distinctive look
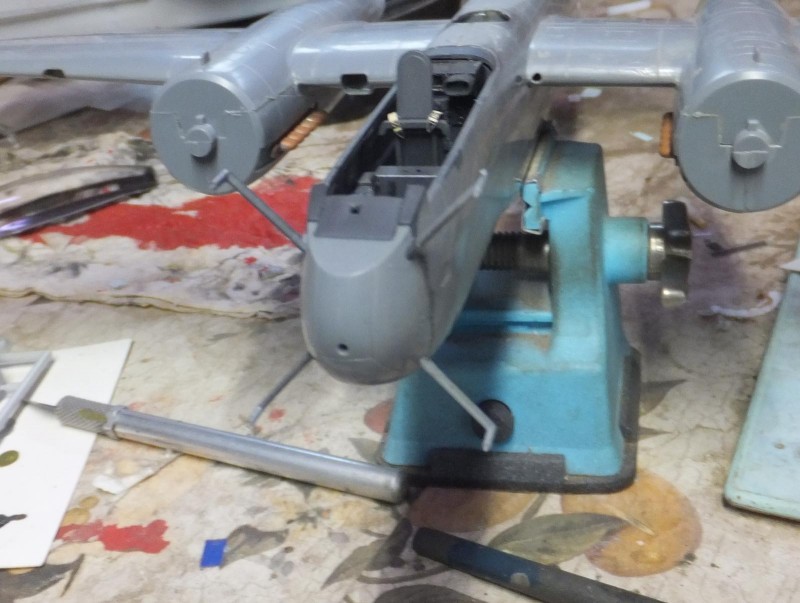
Now the radar set that a lot of the Luftwaffe twin engine schnell bombers carried just aft of the cockpit. Unique set in its own bay. Part of the unit is prepared and place with in the bay.
This piece is painted Natural Steel. The bay is RLM66.
Back to the cockpit. The armored plate glass is attached. Crystal clear.
Finally the gun sight also clear is attached in front of the armored glass and painted Nato Black.
-
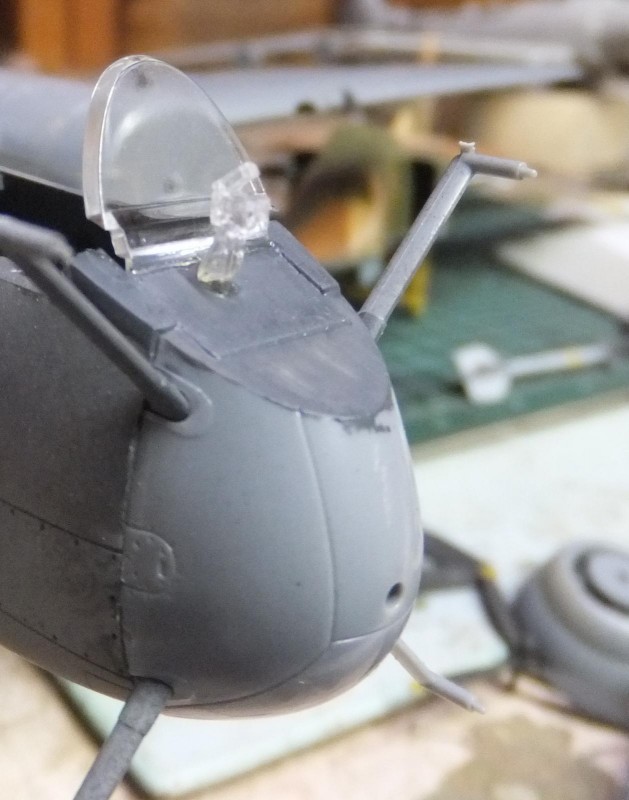
1. in front of armored glass
Next to seal things up, clean the seams and add the glass.
More to follow.