Well it is that time to start the paint process. Taking it all in knowing that this is a rather complicated top scheme of RLM76 over 75 scheme. (Lt Lichtblau/Grau). Reading up on several build reviews of several other similar schemes, not 2 aircraft are alike, in fact even on the same airframe the scheme was painted by more than one painter.
1st is to go over the glass framings with RLM66. Including the radar glass on the spine.
-
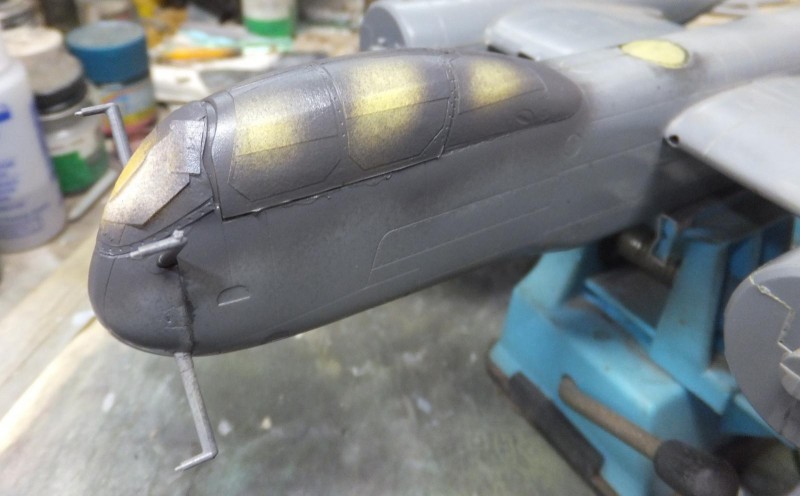
1. RLM66 over the glass framing
-
1. Ring framing on the spine
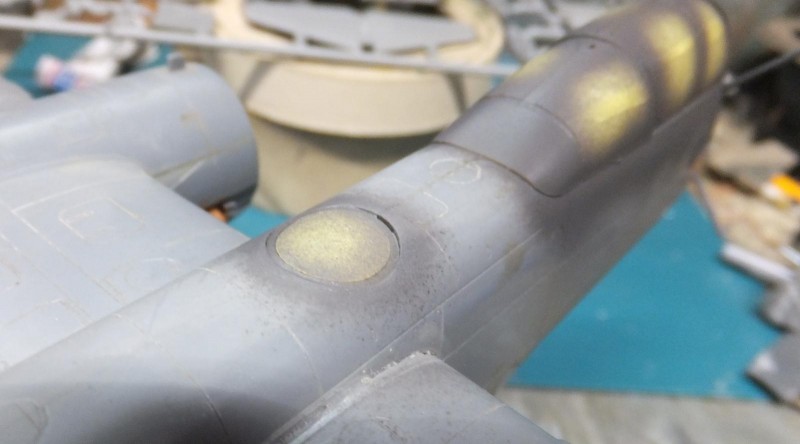
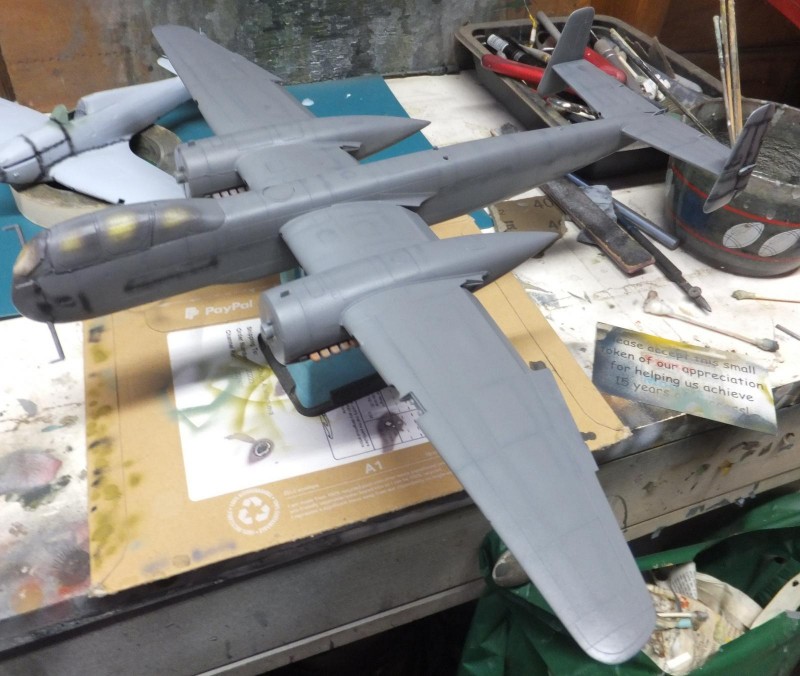
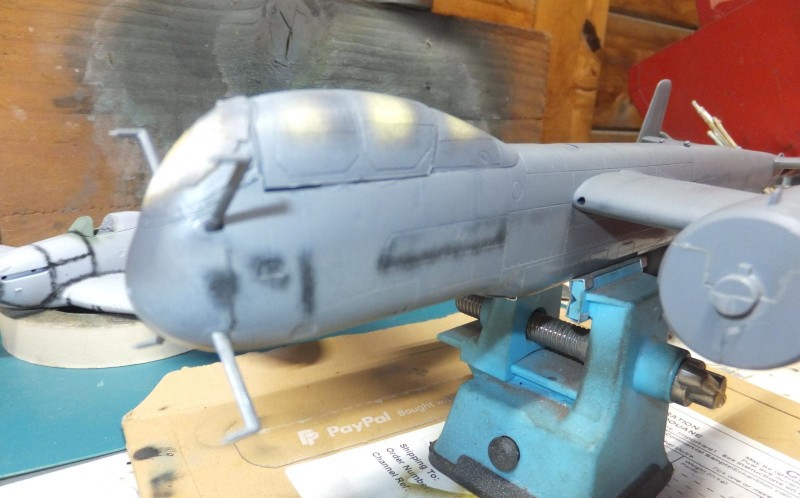
Next using Nato Black to preshade the upper surfaces.
-
1. Nato Black used to preshade the panel lines.
-

1. Upper surfaces are preshaded
Like I did with the Lancaster, I will paint the undersurfaces black after painting the top scheme. I will also airbrush RLM75 Grey overall over the top. Using Gunze Acrylic.
-
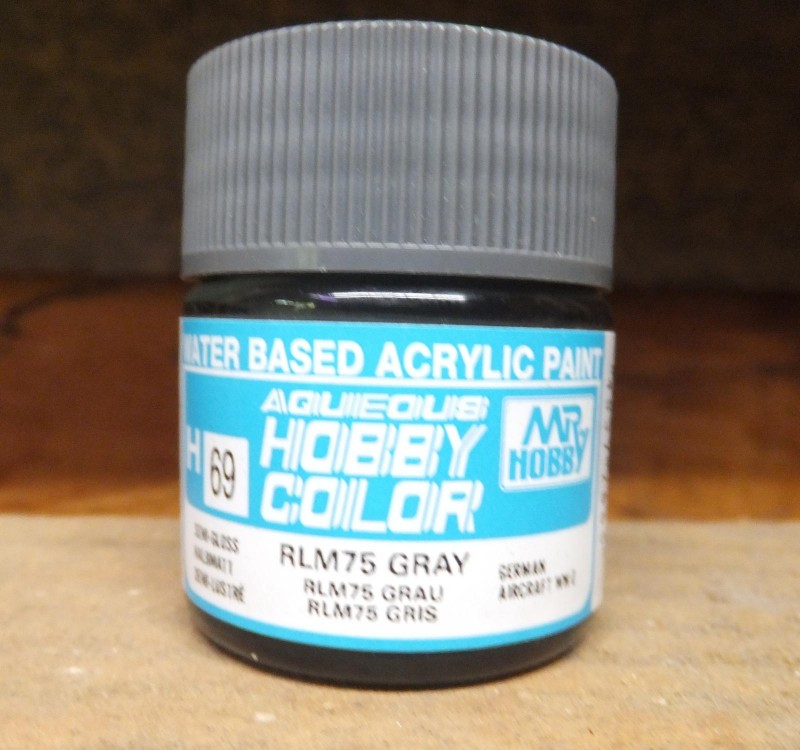
1. Gunze Mr Hobby Acrylic RLM75
This is the easiest step through the whole process. No worries about demarcation lines or edging. Just airbrush the Grey over the top surfaces. And whats nice Gunze airbrushes very well and dries semi glossy. No clogging no fuss.
-
1. This paint lays very well smooth and even
-
1. It is easier to mask off the Grey upper surfaces to paint the lower surfaces black
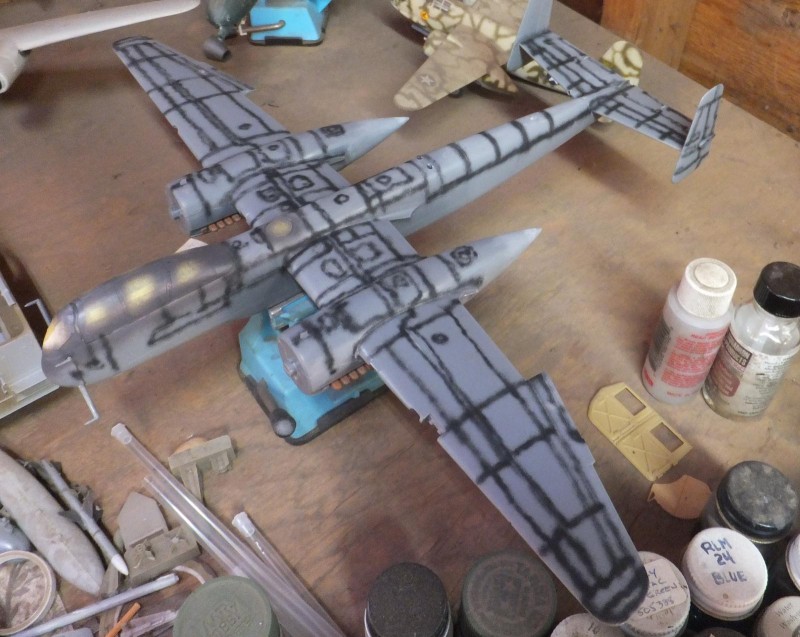
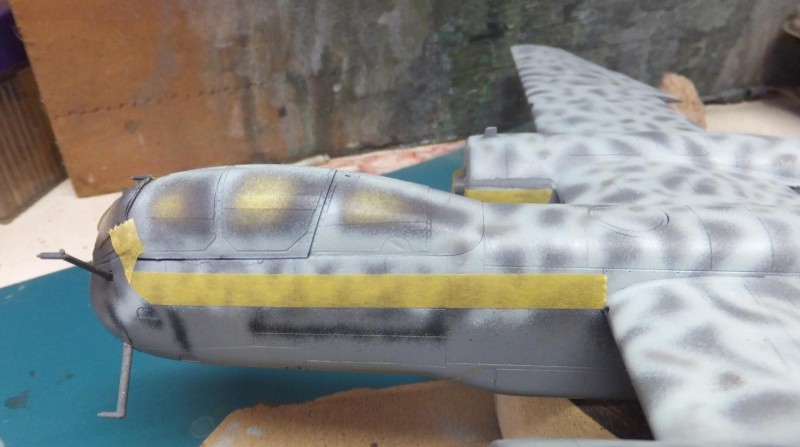
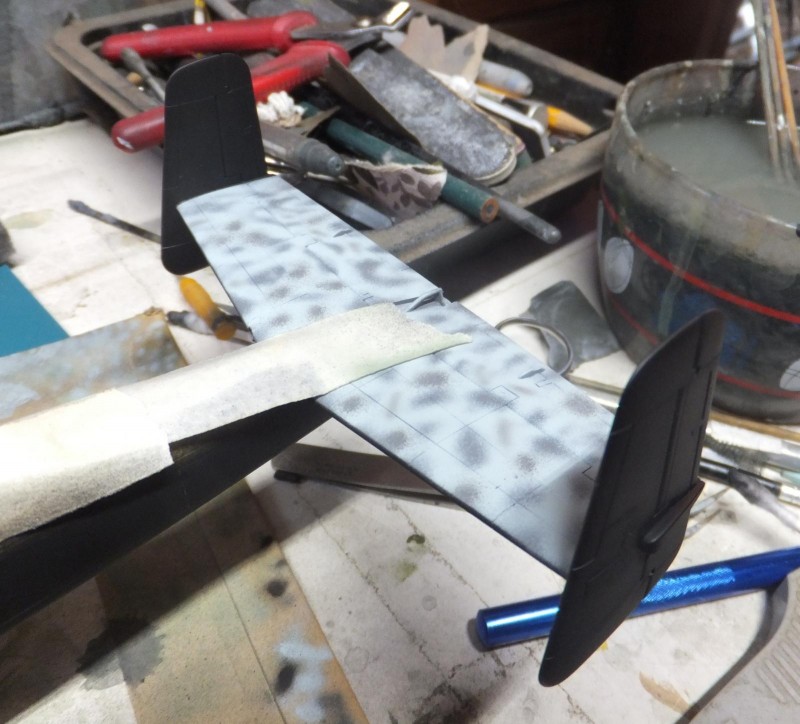
Now for the squiggle pattern. I will use Mig RLM76 Light Blue some will list it as Lt Grey.
Starting at the LH side of the nose I just randomly painted an unending squiggle in up and down zig zag pattern to wing root and over the top of the canopy. Then from the nose to the LH side wingtip to nacelle. I also had the inner and outer flaps temporally attached to get them painted as well. Then over to the RH wing tip to nacelle. Then from the tail over the spine to the canopy. At first it was uneven pattern as you want it to be. Meandering over the top. I tightened up the grey going over some of the exposed larger dark grey areas. Once I finished up with the Lt Blue. I then took some RLM75 and went over some of the larger patches of grey to break it up a bit more. Not really worrying much about overspray.
-
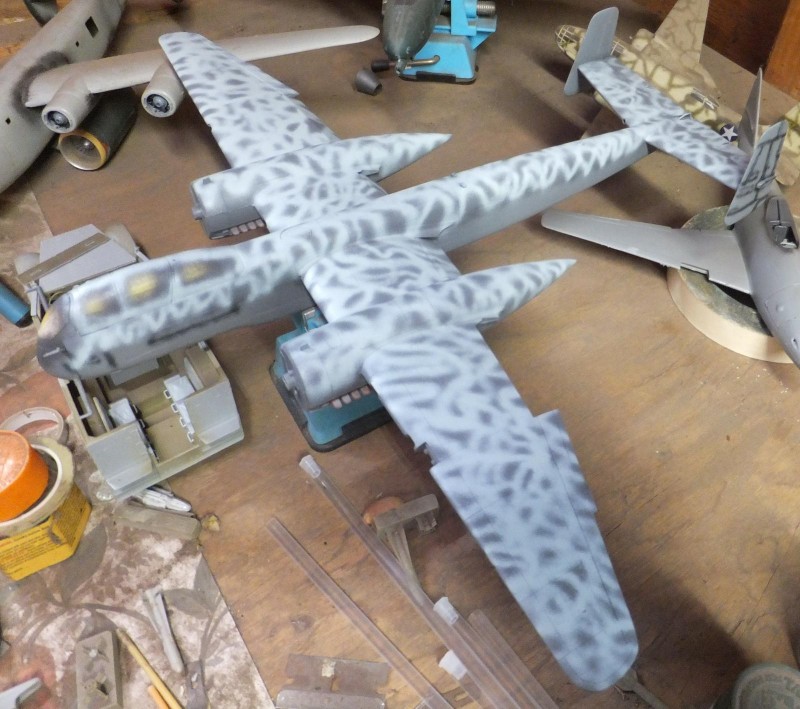
1. First go over with RLM76
2. Will tighten these larger RLM 75 areas
-
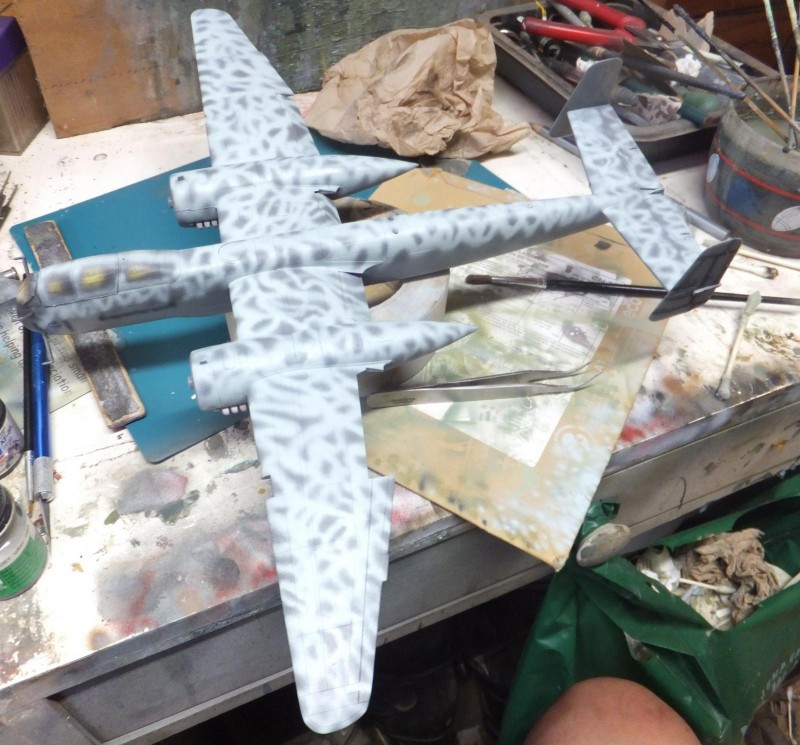
1. Little more RLM76 squiggles for better coverage of the RLM75
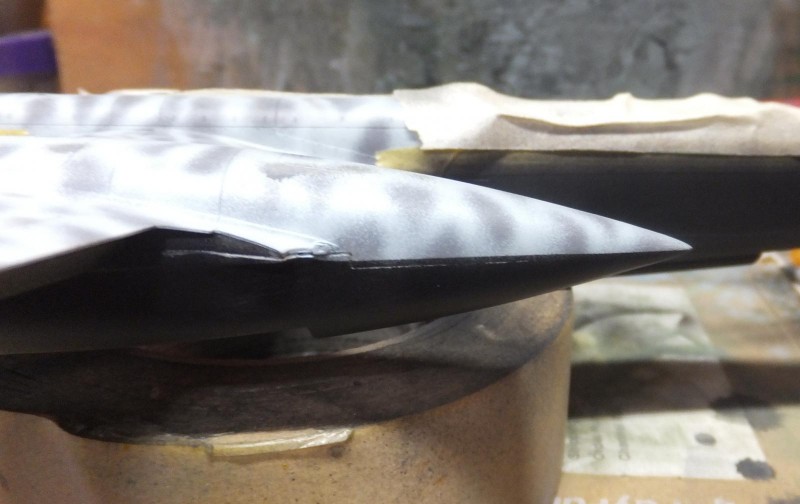
Next was to mask off the upper grey scheme to set a sharp demarcation line for the black under surfaces. And black twin rudders as well. Both sides are black.
-
1. Sharp demarcation line
Using Lifecolor Glossy Black though it dries more semi gloss which is ok. The under surfaces, side and both twin rudders are painted black. Also the wheel hubs and gear doors.
-
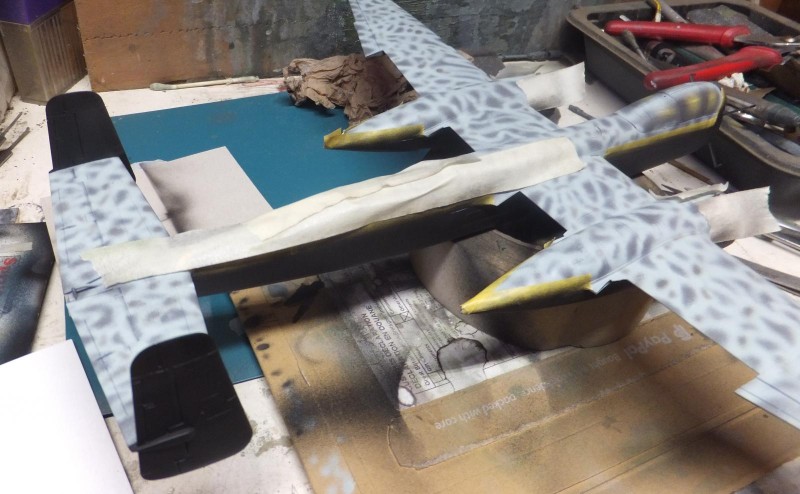
1. Amazing how the black really enhance the top camo
-
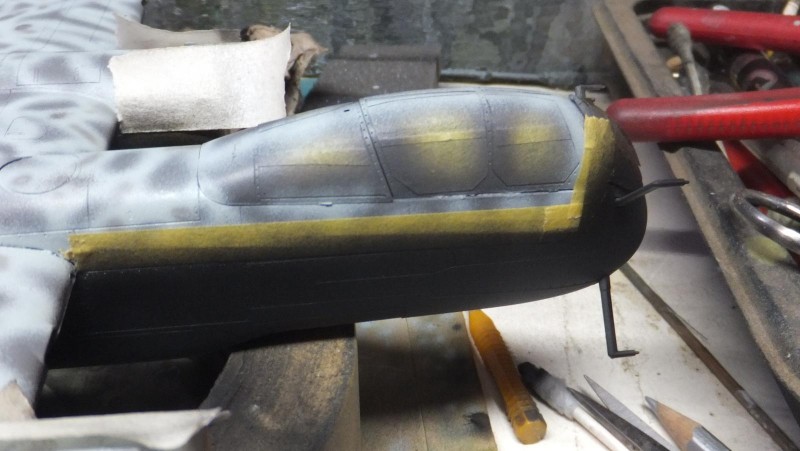
1. This scheme has the black area behind the upper Flug antenna not ahead of it.
-
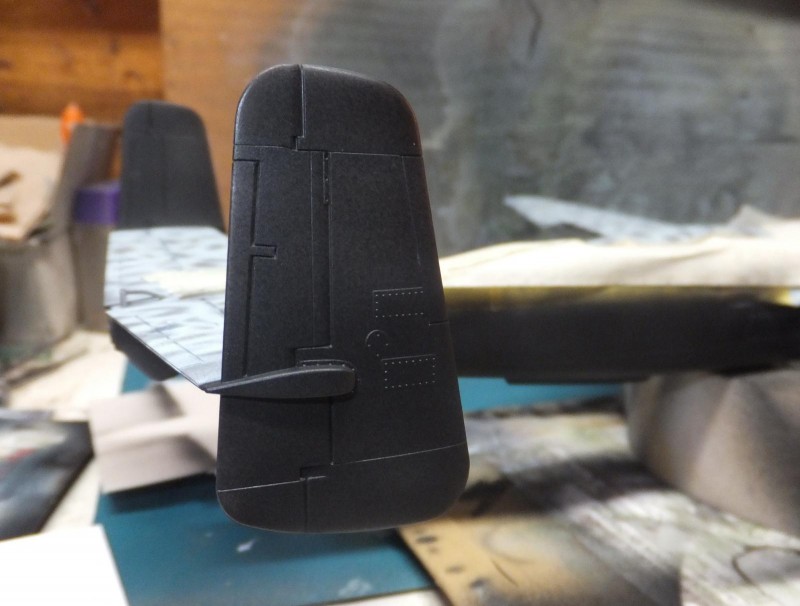
1. Both sides of the rudders are black
The black covers very well and will let sit for a couple of hours and then paint the RLM02 flap well areas and any black overspray in the wheel wells. As I carefully start to remove the masks.
-
1. Start to remove the masks
-
1. nice edge when the masks are removed from the horizontal tails
Once the RLM02 is painted I remove the masks. Also had edged the lowered flaps as well. Not shown.
while having the 219 on it's back I also post shaded certain areas on the wings and some areas under the fuselage Nato Black.
-

1. RLM02
2. Nato Black post shading
The engine cowlings are overall RLM76.
A little bit of clean up and now we are about ready to get into the decal process.
Future clear coat is applied and will let it sit a week and start decaling it.
more to follow...