Thanks John So far this has been a nice well thought out process in assembling this kit. A very enjoyable build so far.
Thanks Erik it is in many ways.
That Spiros is my thoughts exactly.
Now time to assemble the booms.
All the sub assemblies prior to building each boom will now come together when building each side boom assemblies.
First with the wheel bays. A model within the model.
-
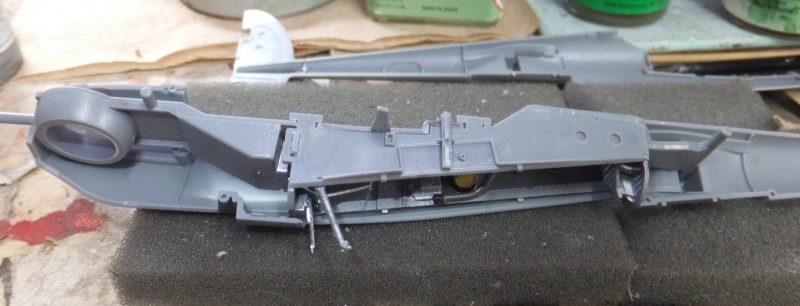
1. Round pins fit into round slots locking the wheel bay in place here
2. And here
3. Round pin
Once the bay is placed into the RH side bay half, the ball bearing weight is then placed into each wheel bay assembly. Still an excellent feat of engineering in Tamiya's part in incorporating this feature.
-
1. Round pins fit into round slots locking the wheel bay in place here
2. And here
3. Round pin
-
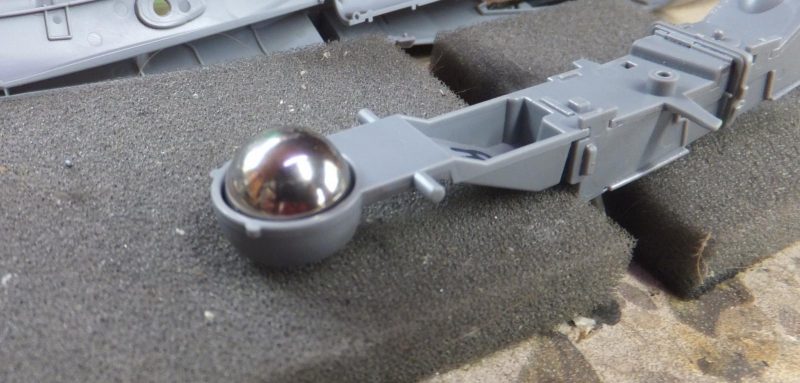
1. Kit supplied ball bearing weight
2. Locating pin
Both halves snap in place, wheel bay is locked in place and in alignment.
Now to install the air intakes in front lower portion of the booms/engine nacelles.
Now both booms are now installed to each side wings. Contact points on each boom to the wing is flawless.
The seams follow natural panel lines and will not need much to clean them.
Now to work on the wing details.
Tell tale sign that Tamiya may have more Lightning variants in the works with the separate wing tips. So each side are assembles and attached.
Next are the ailerons. These are in upper and lower halves.
They can be posed if so choosing, I left them neutral position. Again excellent fit.
Now on the booms the lower boom intake panels are installed.
The side scoops are left off for now until after painting the interior of the scoops.
Next up to install the stabs and rudders, and complete the rest of the boom details.
more to follow.
1 additional image. Click to enlarge.