The fit of the wing to fuselage is a problem on the under side of this kit so I had the brilliant idea of gluing a tab to the rear of the lower wing. This worked well when dry fitted. But at this point I didn't have the fuselage tub added to either the fuselage or wing structure.
The problem is, that with the rear bulkhead attached to the wing, the wing needs to be inserted vertically and I was trying to insert it at an angle to get the tab in under the rear fuselage surface.
I had to remove the tab and added it to the fuselage instead.
Still, I couldn't get a good fit of the wing to the fuselage because the cockpit tub, which I had glued to the wing, was causing interference.
I detached the tub from the wing and, with a bit of judicious trimming managed to get it to fit to the fuselage.
Note that I added some yellow painted copper wire to the rear of the instrument panel and seen in the pictures below.
4 attached images. Click to enlarge.
-
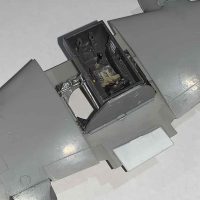
1. This seemed like a good idea until I tried to attach the wing to the fuselage
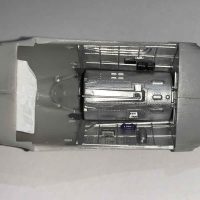
2. I originally attached the cockpit tub to the wing, but had to attach this to the fuselage, with a bit of trimming to get it to fit
-
-
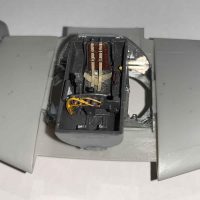
1. Wiring added to rear of instrument panel
-
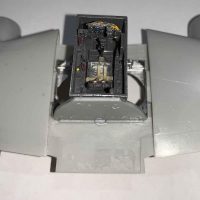
1. Tab added here instead
2. Cockpit tub added to fusealge