OK, so the has been a fair bit of progress, after a lot of research on P-40 variants.
In 1942, the RAAF took delivery of 163 P-40Es Kittyhawk 1As in Australia.
They were actually a mix of P-40E and P-40E-1.
First up is the P-40E-1/Kittyhawk Ia.
The "dash 1" refers to P-40Es built to UK specifications.
They had two blue formation lights either side of the cockpit and one ID light on the spine behind the cockpit and one lower starboard behind the flaps. They may have had a British gun camera mounted under in a fairing under the starboard wing - mine does not.
Also fitted were a ring and bead gunsight mounted to starboard on the cowling.
The Hasegawa kit provides for all of these features.
The P-40E-1 was also fitted with a RAF Sutton harness for the pilot.
The kit includes a later model P-40 gun camera in the starboard undercarriage fairing that had to be filled and sanded - it would have been nice had Hasegawa provided an alternative part here.
-
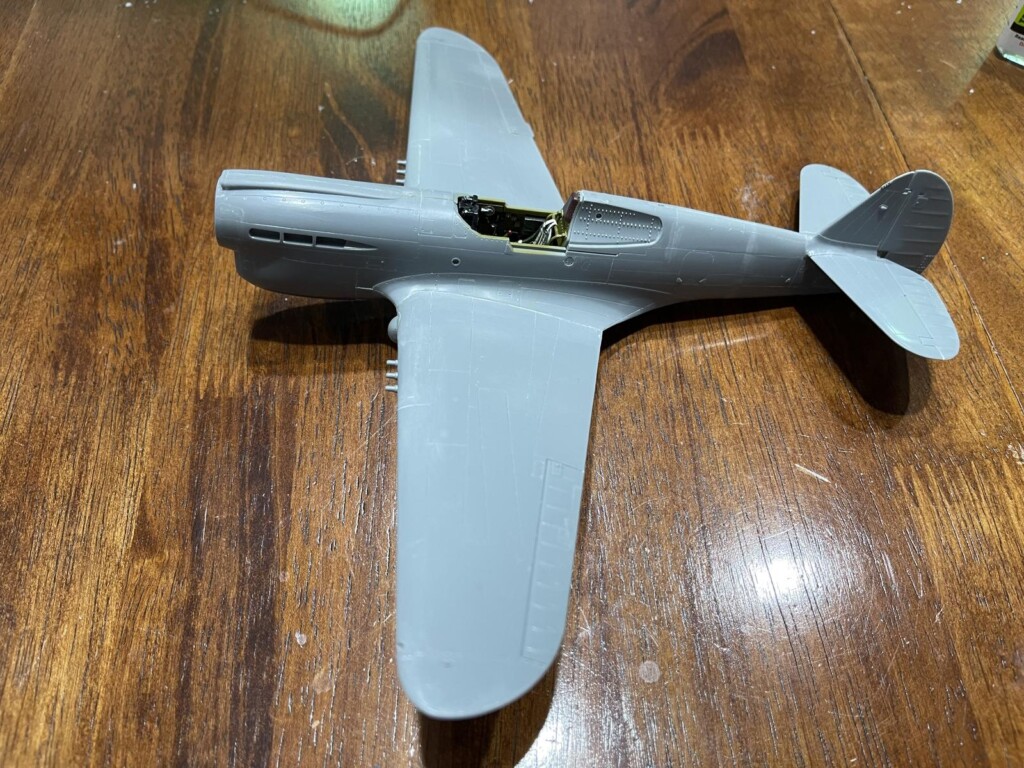
1. Formation light
2. ID light to be added
3. Ring and bead gunsight to be added
4. Painful tail join eliminated
5. Rear cockpit insert join eliminated
-
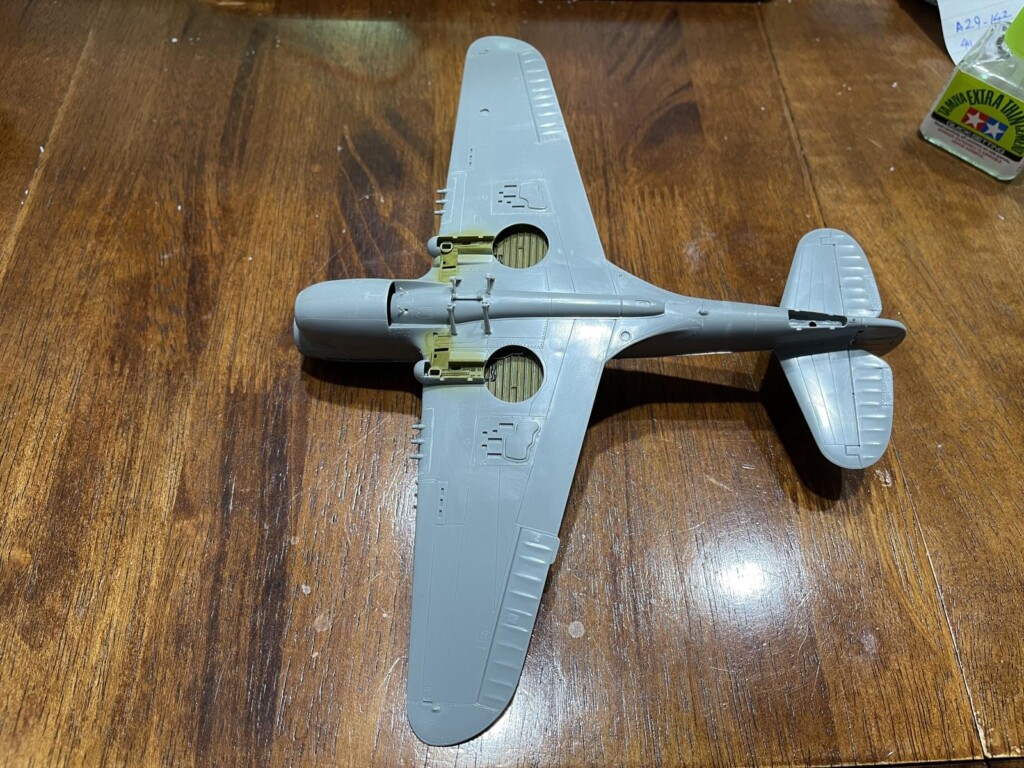
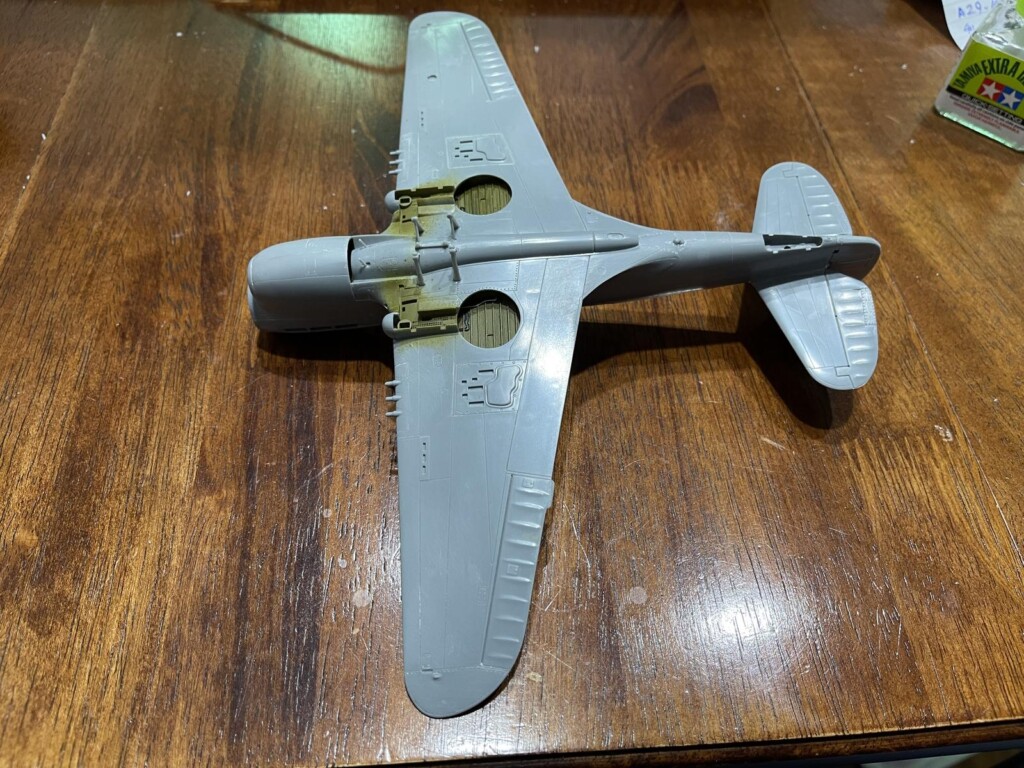
1. Lower ID light
2. Gun sight on undercarriage fairing filled and sanded smooth
3. Sink marks
-
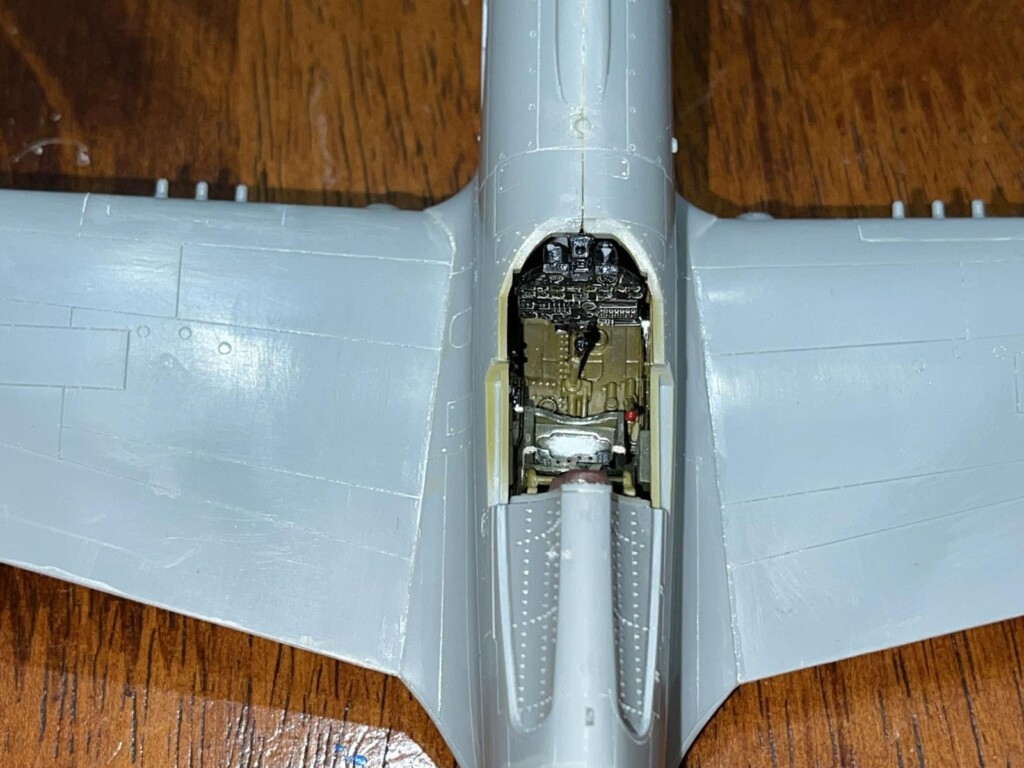
1. Gun barrel insert joins eliminated
2. Filler in used forward wing root
Next is a P-40E.
Naturally enough, this didn't have any of the above features, so they had to either not be installed, or removed from the kit. So, more filling and sanding to eliminate the unwanted lights.
I'm not sure about the gun camera in the u/c fairing yet.
The RAAF did install Sutton harnesses (instead of the USAAF lap belts) when they took delivery.
-
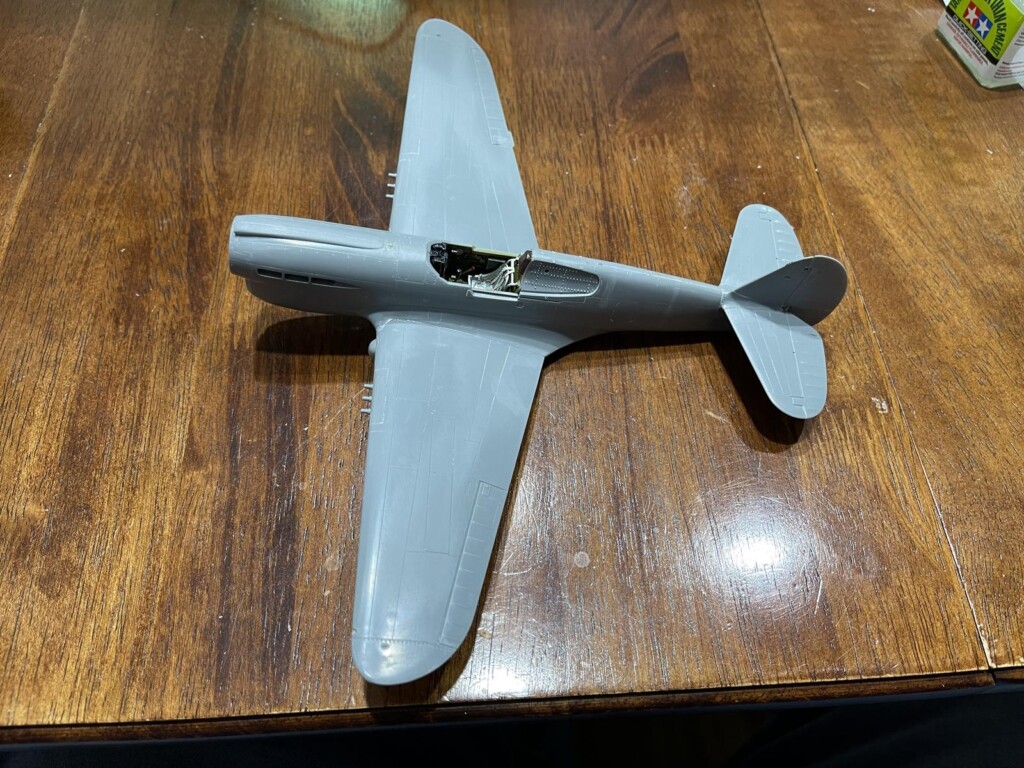
1. Formation light filled and smoothed
-
1. ID light filled and sanded smooth
The various inserts - tail, fuselage aft of cockpit, wing gun barrels - are tedious to attach and eliminate seams.
Also, the inserts are not quite the right size, so filling and sanding is required to adjust things.
I can't wait for Eduard to release a series of P-40s that are version specific - one can't help but think they saw these types of multi-version-through-inserts kits and determined it was just as cost effective to take the approach they have.
Also, there are two sink marks under the wing that I only just noticed, plus numerous raised circles that seem to correspond to internal ejector pins on both the top and bottom wing surfaces. I've sanded these back where I can.
Lastly is the P-40B/C Tomahawk I/II (I'm not certain yet which version the aircraft I'm building is).
The difference between the two is that the latter was plumbed for a drop tank/bomb.
This will be an Australian flown RAF aircraft in the Western Desert.
The RAF/RAAF aircraft had Sutton harnesses and RAF installed gunsights, which I will have to scratch build.
Detail on this kit is good, but the fit is not up to some of their other kits and requires some effort to remove seams, not to mention the ejector pin marks right in the centre of the otherwise excellently done wheel wells.
-
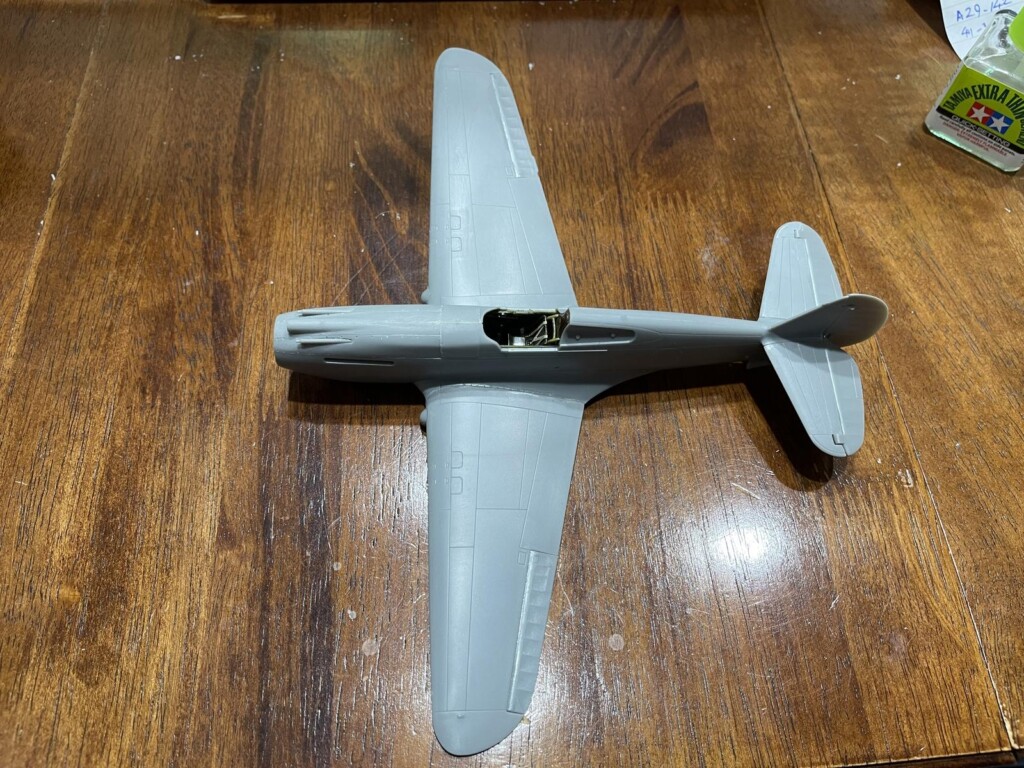
1. Wing root join was good
2. A lot of filling and sanding to eliminate upper seams
-
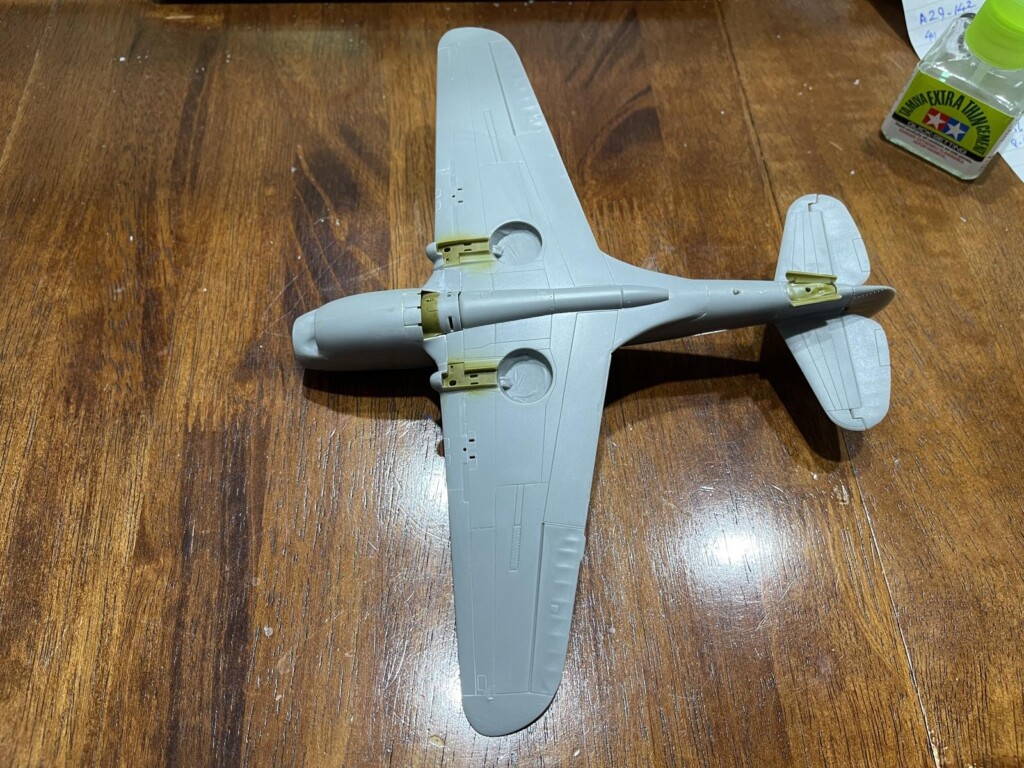
1. Careful elimination of ejection marks inside wheel wells
2. Filling, sanding to elimiate seams
3. Leading edge here is part of fuselage resulting in uneven surface at the join
-
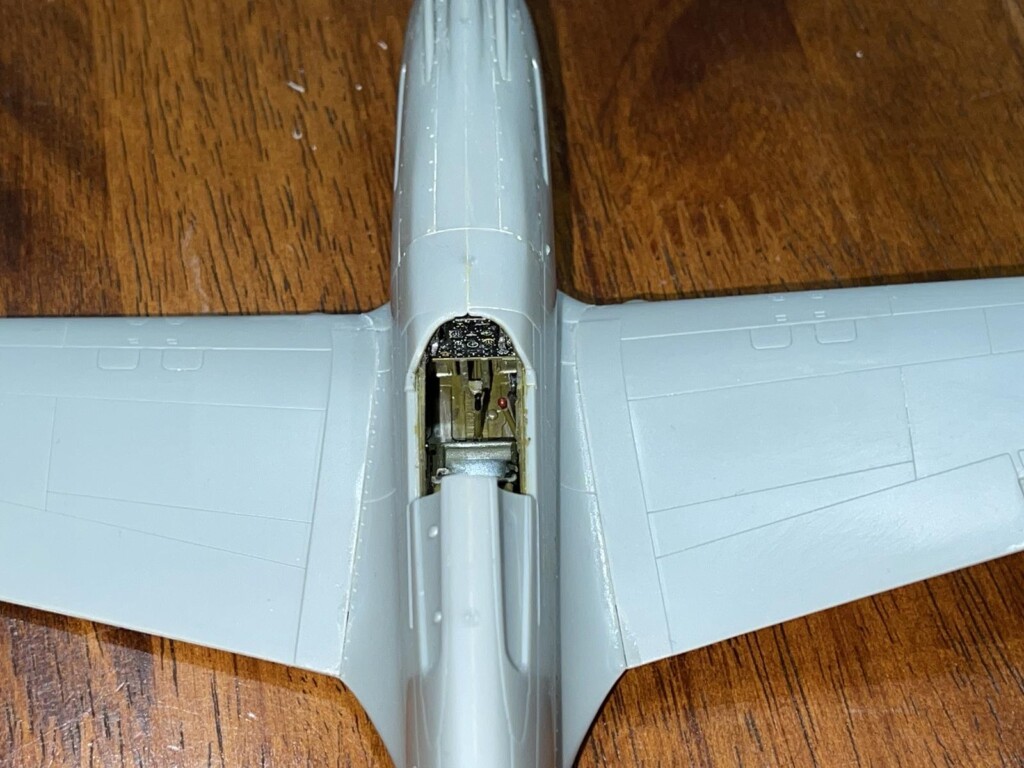
1. Need to scratch build a gunsight