Review: iModeler Review – Hobby Boss 1/35 M911 C-HET
This article is part of a series:
At the end of 2017, both Meng and Hobby Boss announced upcoming releases of the same mammoth vehicle – the M911 Commercial Heavy Equipment Transporter, or C-HET. Granted, we have seen more and more of the big trucks come out lately, but this one was still a surprise for me. It is not as well known as the M25 Dragon Wagon, and it is not in current widespread use like the M1070 HET. All the more reason to take a closer look at one of the kits!
Heavy Hauler
The history of the US Army's tank transporters is somewhat interesting, as it shows how requirements can change and how an organization reacts to that change. And it uses a lot of M-numbers, so brace yourselves.
The M25 Dragon Wagon of WWII fame was a reliable, if somewhat slow and heavy vehicle. It consisted of the M26 armored tank recovery tractor and the M15 trailer, capable of carrying 40 tons. Getting rid of the tractor's armored cabin resulted in the M26A1, while strengthening the trailer resulted in the M15A1 (45 tons) and M15A2 (50 tons). In 1955 the M26/M26A1 started to be replaced by the M123 10-ton 6x6 tractor, but the trailer stayed the same.
In the 1960s a joint US-German program was created to design the future Main Battle Tank, and a new tank transporter to go with it. The MBT-70 program ultimately was a failure and the two countries went separate ways in 1970, developing what are today the Abrams and the Leopard 2. The accompanying HET-70 program resulted in the M746 HET, which was used by the US Army in small numbers, and the M747 60-ton trailer. Germany took some of the design ideas to create their own thing, the Faun SLT-50.
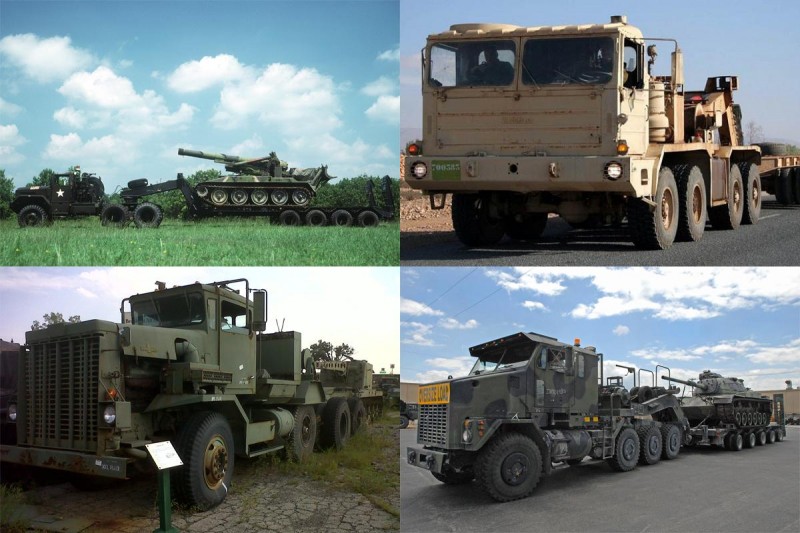
Not content with the M-746's performance and cost effectiveness, The US Army went to the Oshkosh Corporation and took a look around their show room (well, maybe it did not happen exactly like that, but I like the image). The Model F2365 truck seemed to fit the bill, and after some modifications the vehicle was put into service as the M911 C-HET. Pulling the same M747 trailer, more than 1,000 M911's formed the backbone of US tank transportation during the 1970s and 80s.
All went well as long as the M60 series of tanks was in use – the 60-ton payload of the trailer could deal with the Patton and its variants without issues. The 70-ton Abrams however turned out to be a bit too much for the poor little C-HET, something the Army learned during Operations Desert Shield and Desert Storm. Lacking heavier trailers, the Army had to make do, and it wasn't always a pretty sight. This led to increased efforts to field a replacement quickly, and by 1995 the first units of the new HETS (Heavy Equipment Transport System) appeared on the scene, consisting of the Oshkosh M1070 Truck Tractor and the 70-ton M1000 Semi-trailer.
Big Beautiful Box
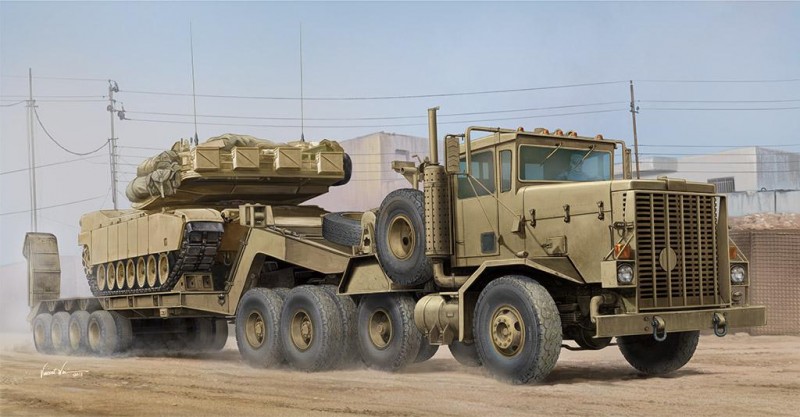
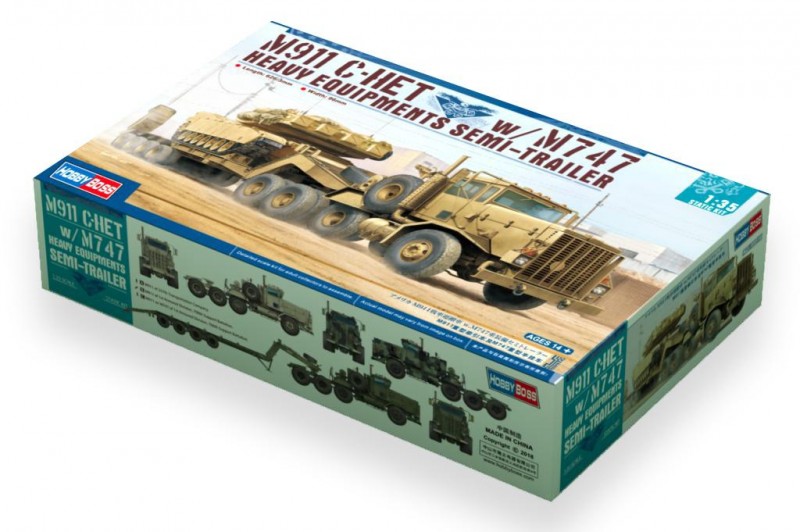
As is to be expected from a vehicle this big, the kit comes in a rather large and heavy box, sporting a drawing of the M911 hauling an Abrams through a dusty environment. It seems to me design departments have stepped up their game lately, with attractive artwork and flashy labels on the boxes. Maybe this is done to attract a younger audience – and if it works, it is a good thing.
The kit number is 85519, and according to the box the finished kit measures 626mm in length and 96mm in width. So you might want to make some room. And according to the pamphlet, the kit contains “more than 602 parts”. So make that 603 then…
Inside the box you will find:
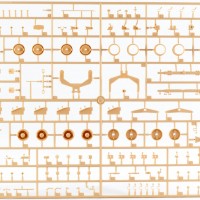
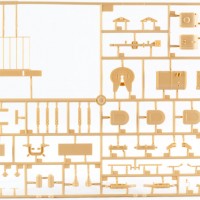
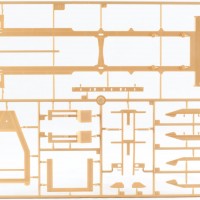
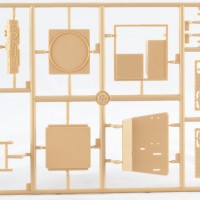
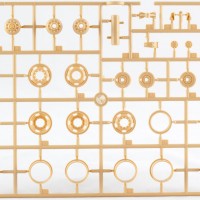
- Ten sprues of sand-colored plastic (sprues B and E are included twice)
- Four separate plastic parts
- One clear sprue
- 30 vinyl tires
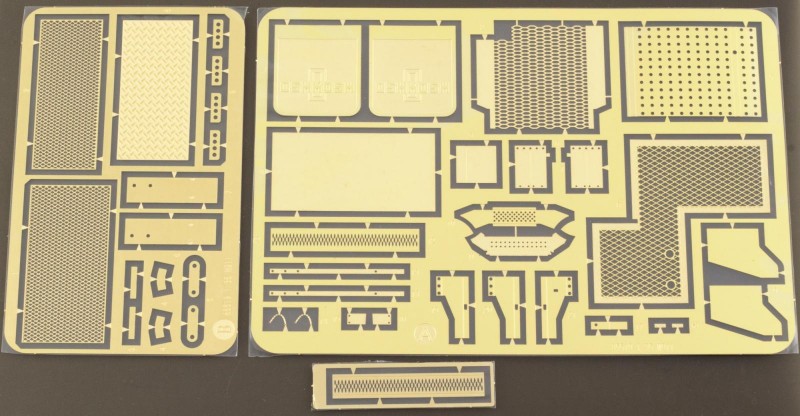
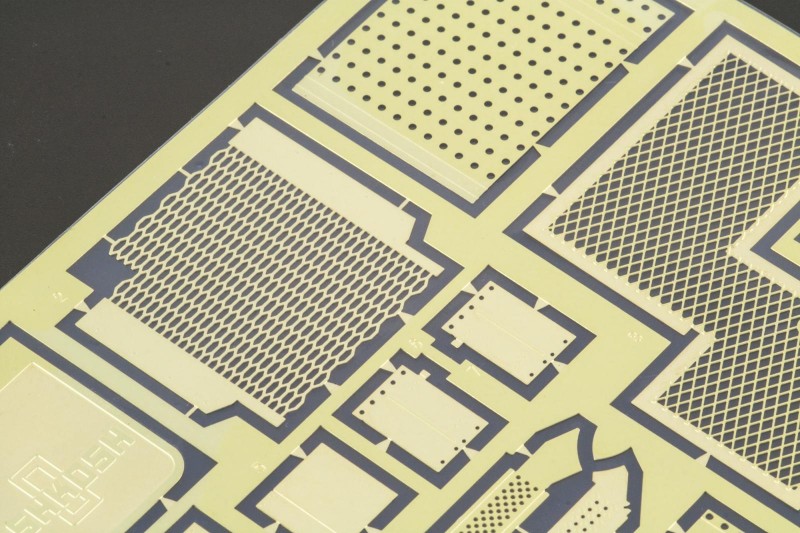
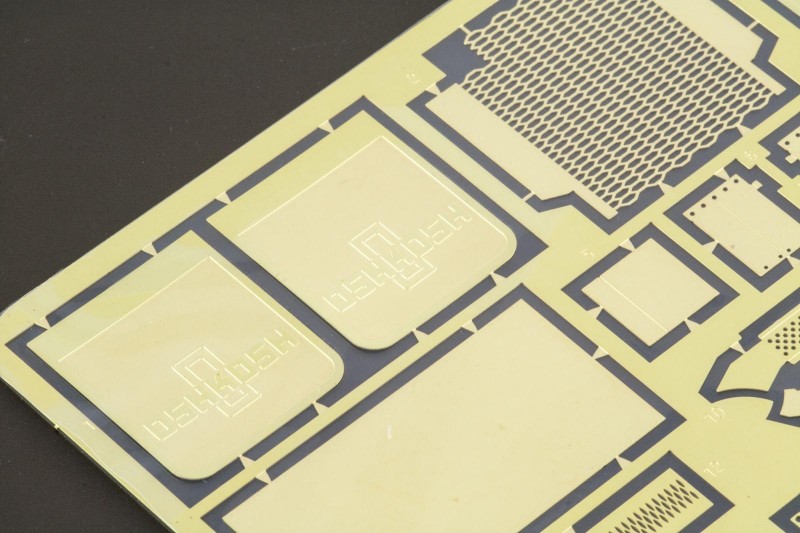
- Two PE frets
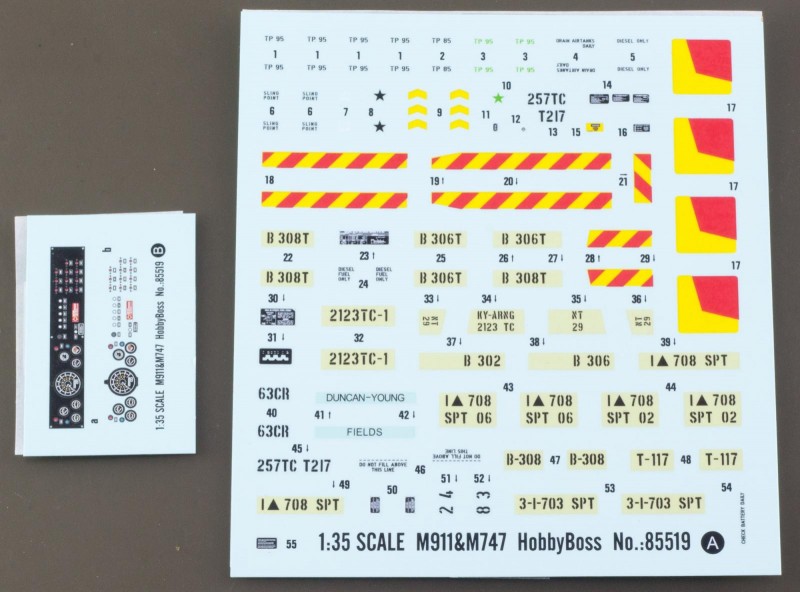
- Two decal sheets
- One sheet of pre-cut masks for the clear parts
- An assortment of wires, chains and rope
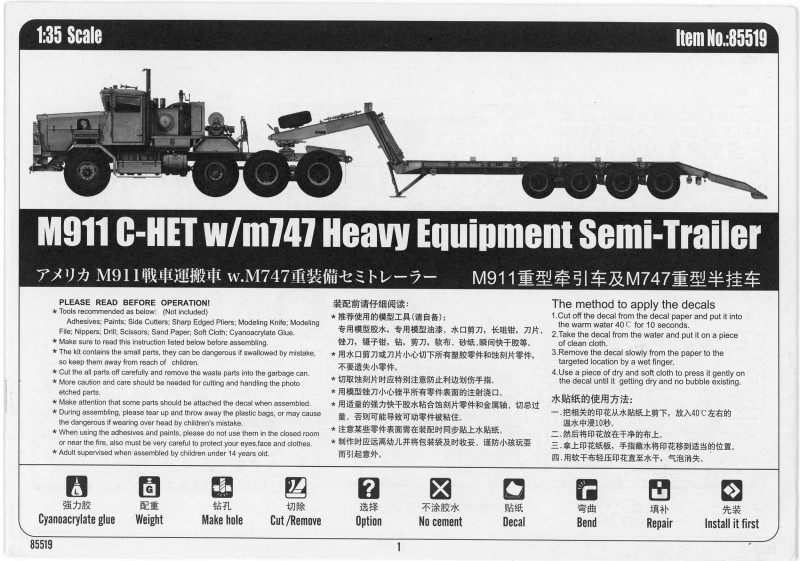
- A 28-page instruction manual
- A full-color painting guide
Papieren Bitte!
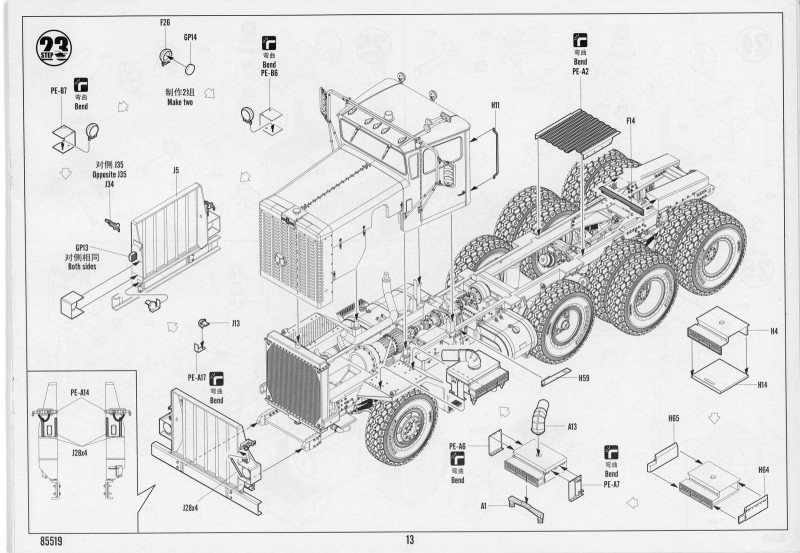
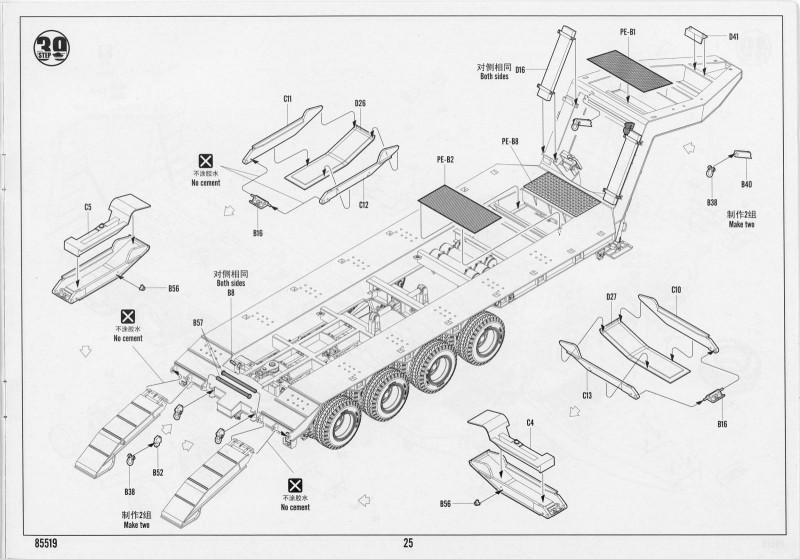
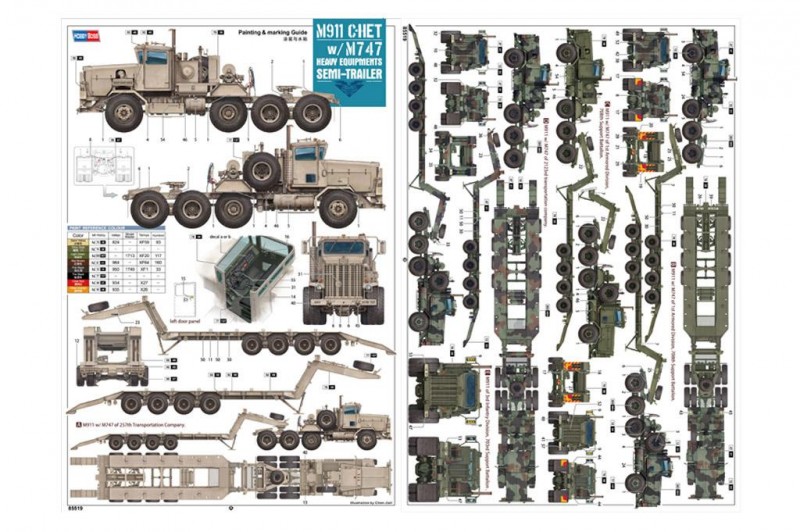
The manual leads through the construction in 42 steps, 28 of which are dedicated to the tractor. In standard Hobby Boss style, the drawings are large and clear, but color call-outs are few and far between. Where you can find them, they state Mr. Hobby paint numbers, and the painting guide contains a conversion table for Vallejo, MM, Tamiya and Humbrol.
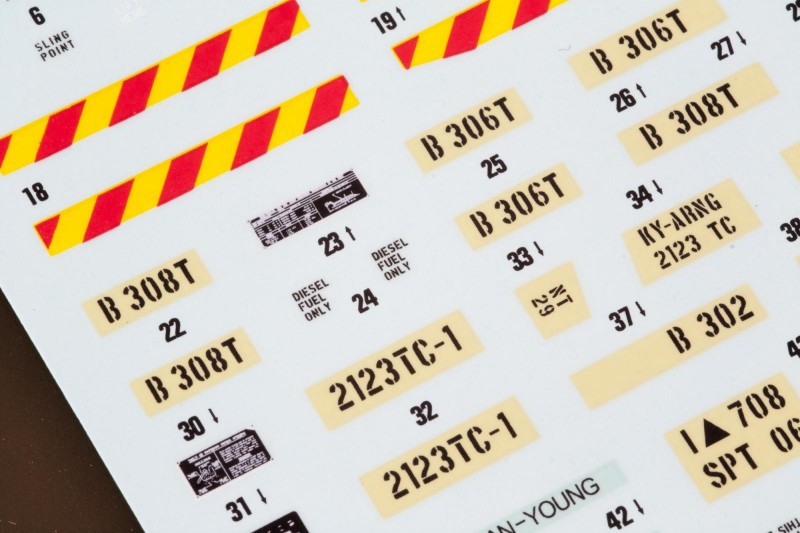
Marking options are given for five different vehicles in Tan, NATO three-color camouflage or plain Forest Green. What I find particularly attractive are the red and yellow warning markings for the trailer, which will make for some nice contrast. I wonder, though, why none of the options is for a vehicle in MERDC camouflage – after all, half their lifespan was defined by these unique schemes, and not offering them seems a bit uninspired.
More than 602 parts.
No one ever accused me of letting go easily… Anyway, let's take a look at some of them, the complete sprue overview can be found at the end of this article.
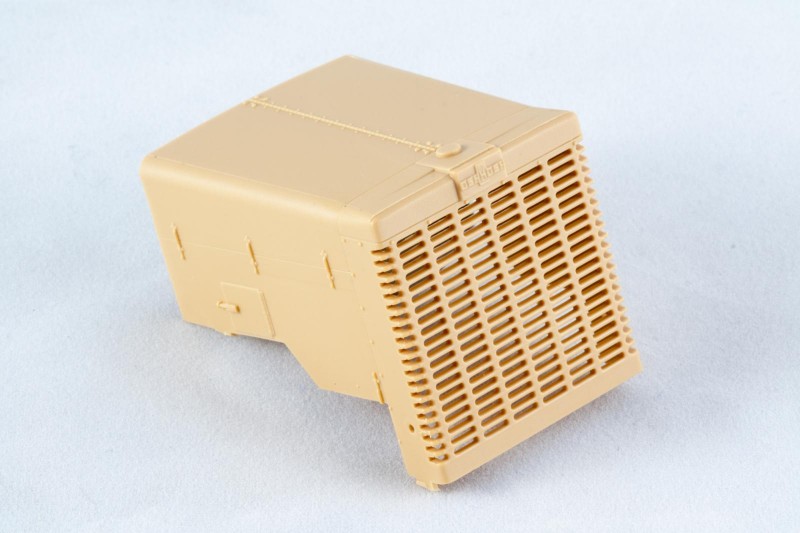
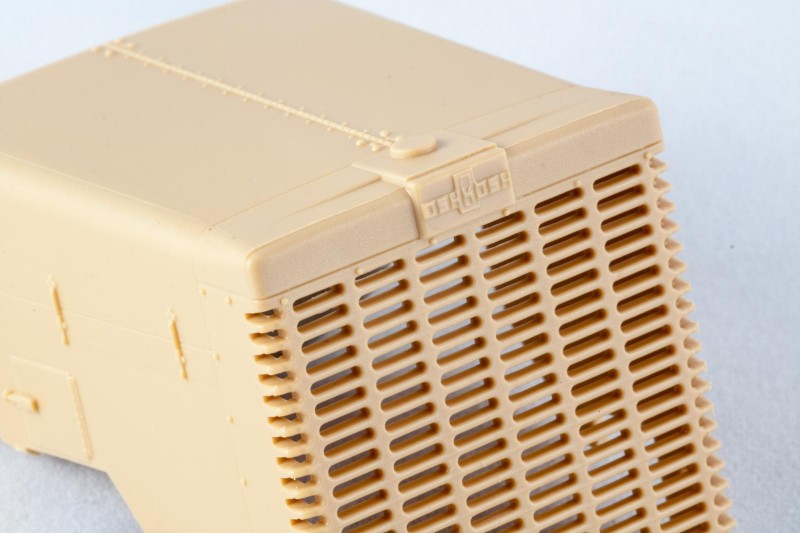
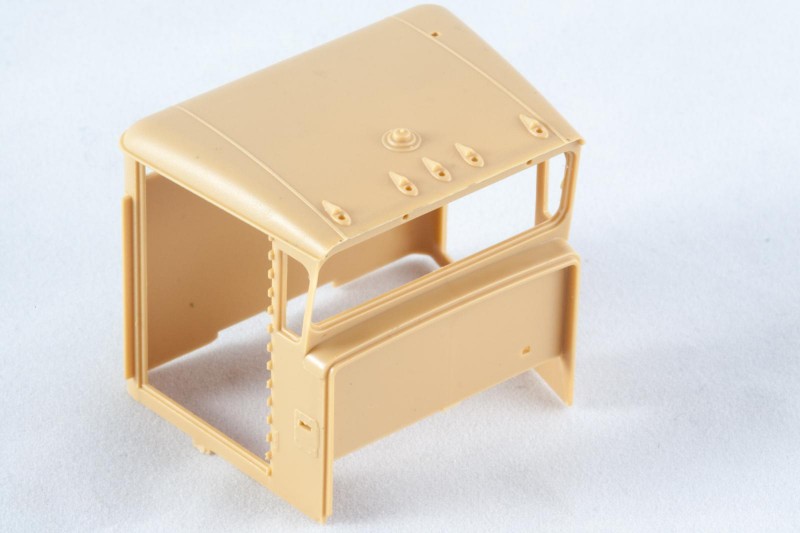
What impressed me right away were the separately packaged hood and driver's cab. These parts are slide-molded and show very crisp and fine detail, even down to a correct Oshkosh logo, copyright be damned.
The only downside of this molding process is the seam you will have to remove from the parts. With the hood, it runs straight across the top and down the sides of the grille, so you will have to be careful.
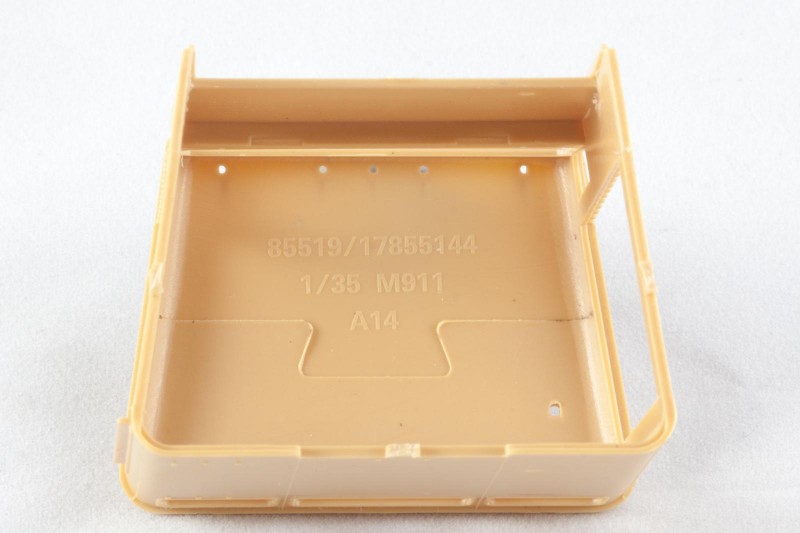
The inside of the cab's roof is shows a heavy seam line and the actual kit and part number. Very Monogram. As there is no insert for the roof, you might want to remove all of that.
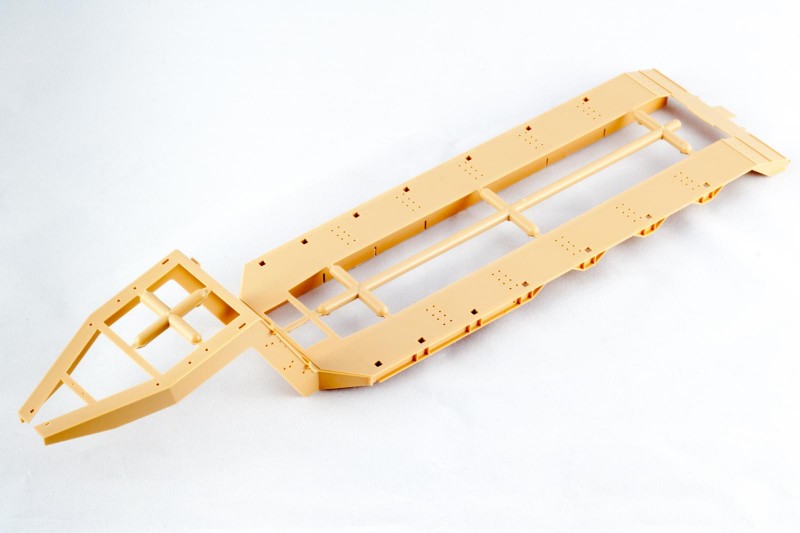
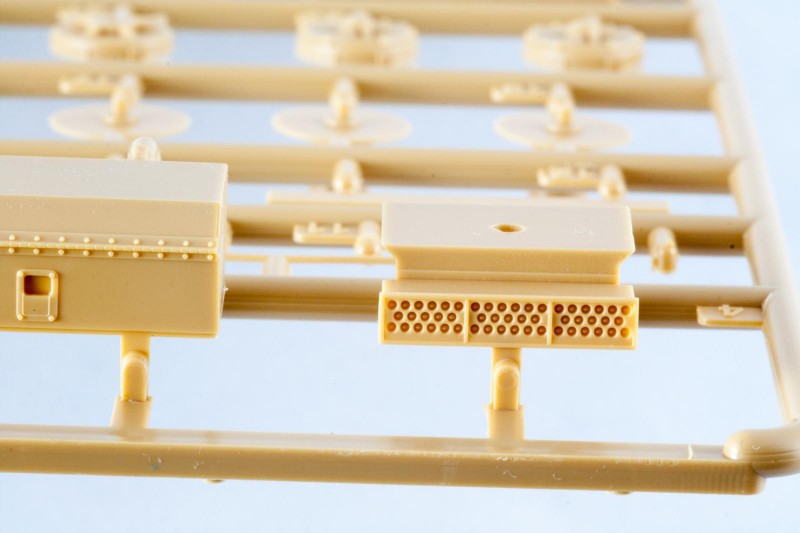
The next impressive part is the one-piece trailer top, with goose neck and all. This will not only cut down on build time, but will also ensure a proper fit and alignment of the trailer. It is not unusual to have sink marks in parts this large, but so far I was not able to find any. The attachment points of the two sprues inside the part are rather heavy, so you might want to use a razor saw to remove them.
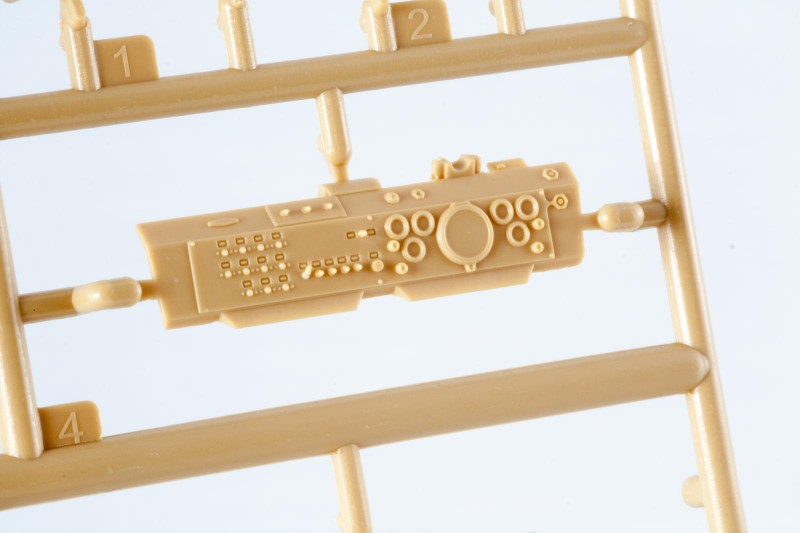
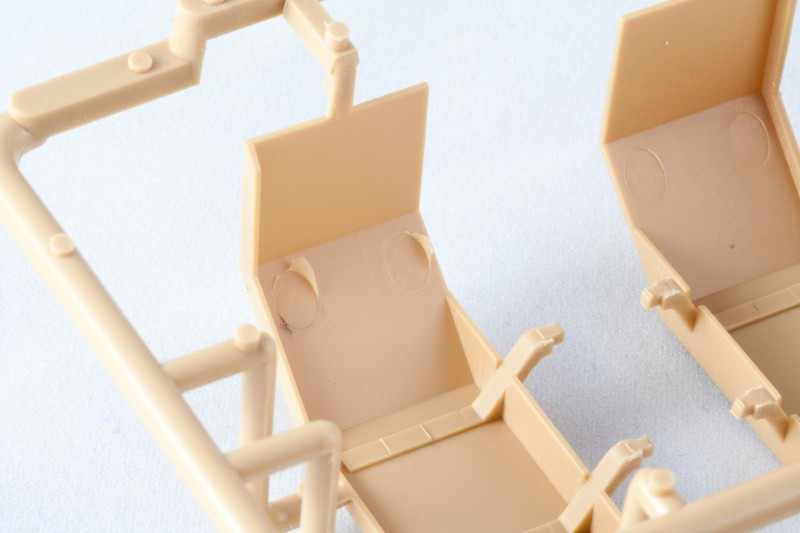
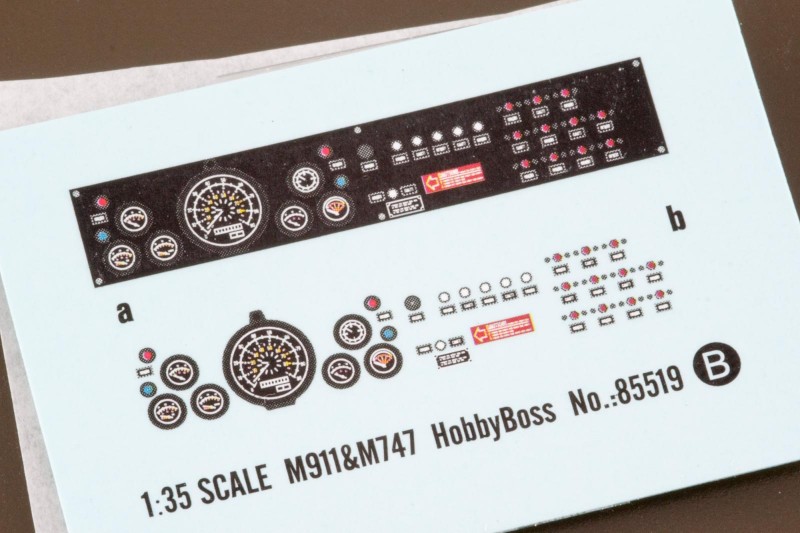
The parts which go inside the driver's cab feature good detail all around, most prominently the huge dashboard. With careful painting and using the kit's decals for the instrument bezels, this should look fine indeed.
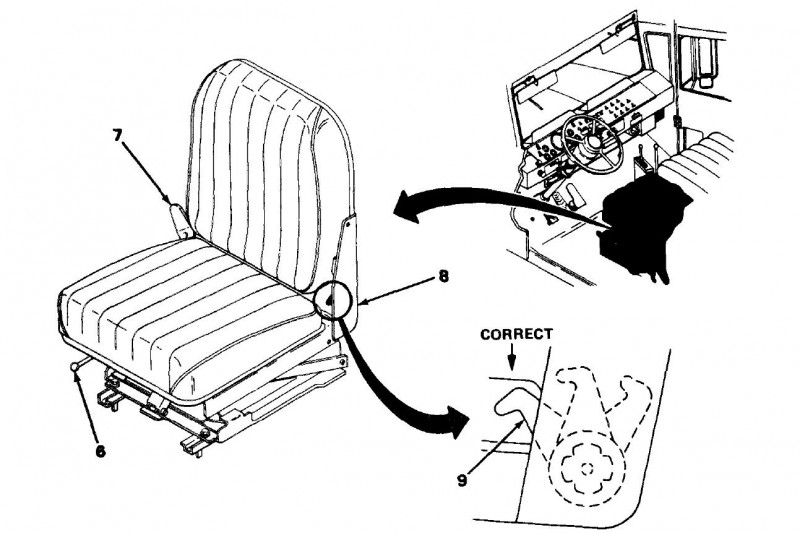
The cab floor sports a nice texture for the rubber mat, and the driver's seat gives a nice rendition of the height adjustments. In case you want to detail this further, take a look at the Technical Manual's drawing.
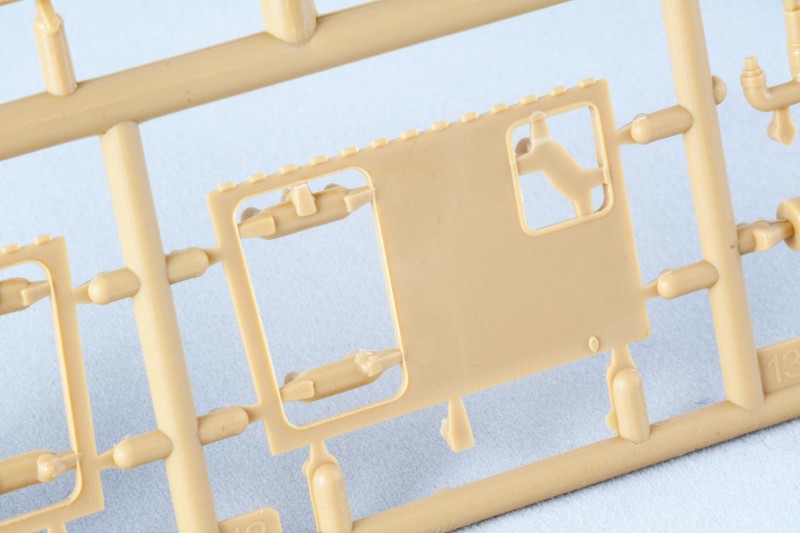
The doors again show nice detail on the inside, but are slightly let down by the way the knock-out tabs are positioned. When removing these tabs, you will have to be careful to not damage the raised lips around the window cut-outs.
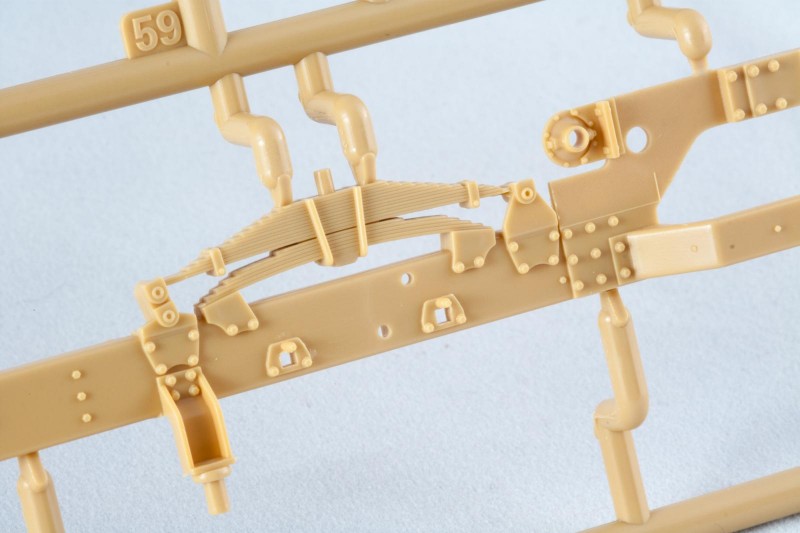
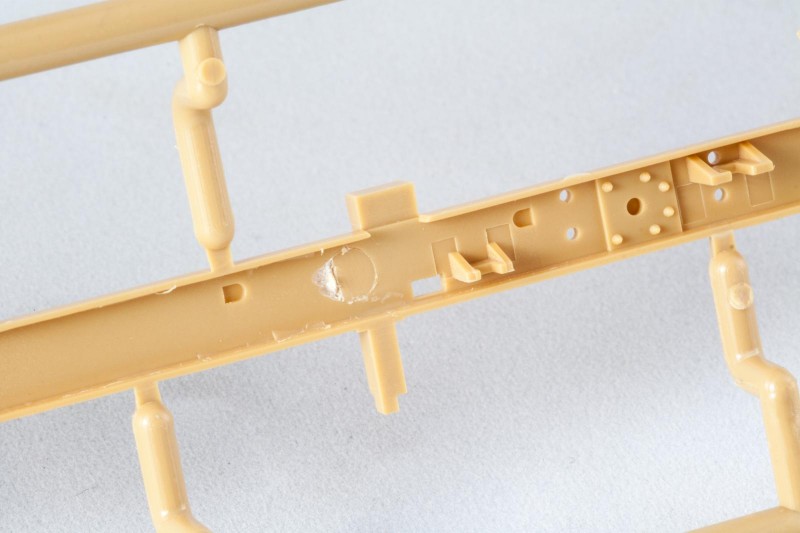
Moving to the tractor's chassis, the frame is made up in the usual way – two long beams connected to each other by a couple of cross beams ad other doo-dads. The double leaf springs for the front axle are molded in place, which makes alignment a non-issue.
The insides show some nasty pin marks, but then again it remains to be seen if any of these will be visible in the finished kit.
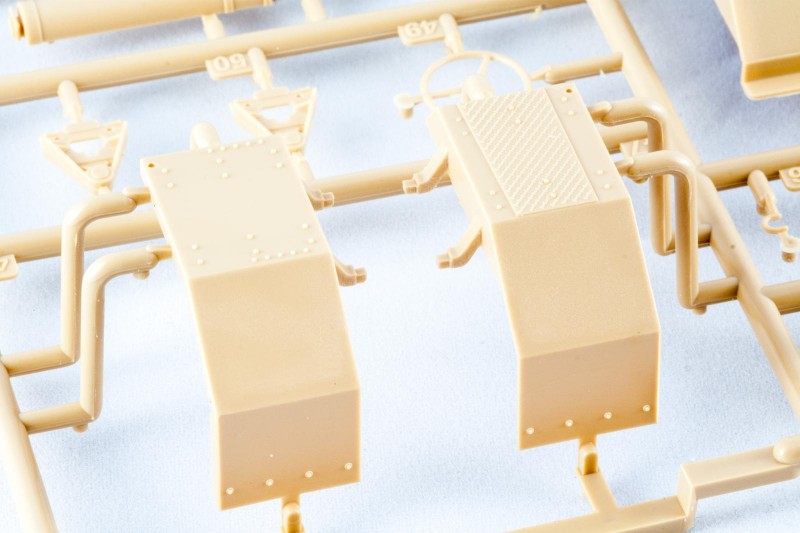
The fenders come with excellent bolt and screw details, and the thread plate on the right fender looks the part. The fender's insides, however, are marred by the same pin marks.
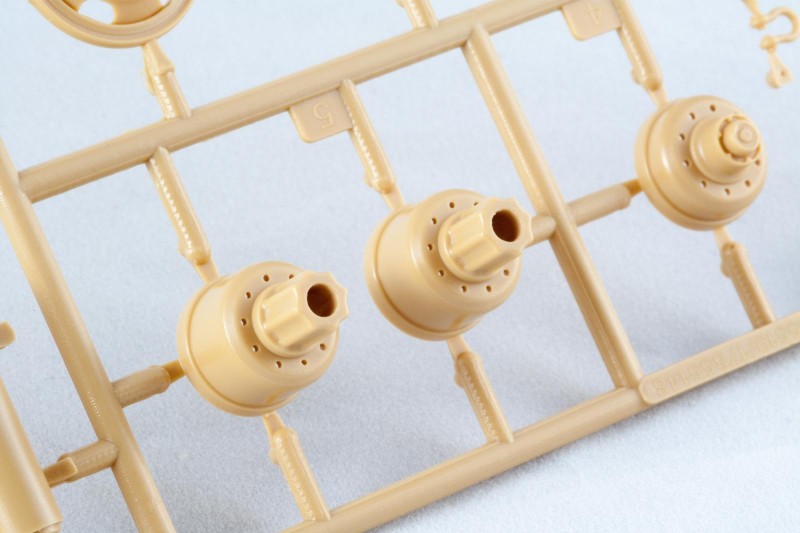
In general I am really impressed with the level of detail and the molding quality. The wheel hubs and the parts which make up the drive train are very nicely done, as are the small details like the shackles and the air filter.
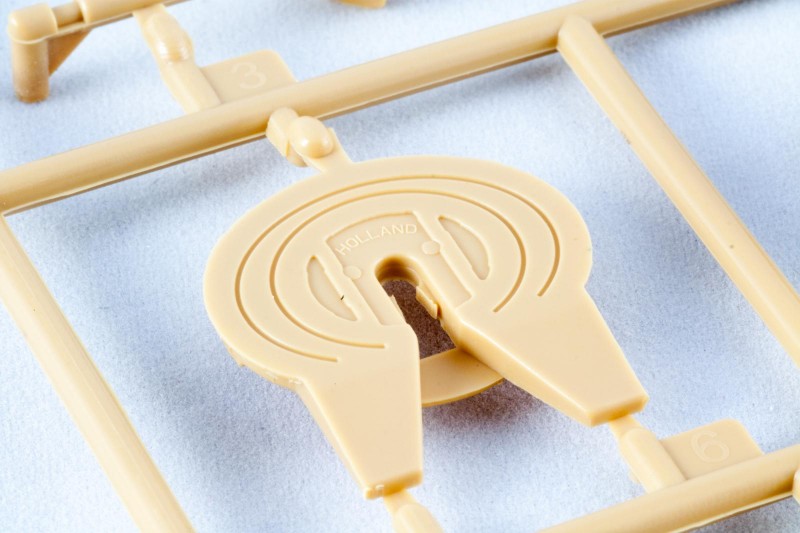
To give you an example of the kind of detail I love seeing in a kit, here is the fifth wheel, including manufacturer's stamp:
I think it is details like this that really bring a kit to life and give you something to catch the eye. Well done.
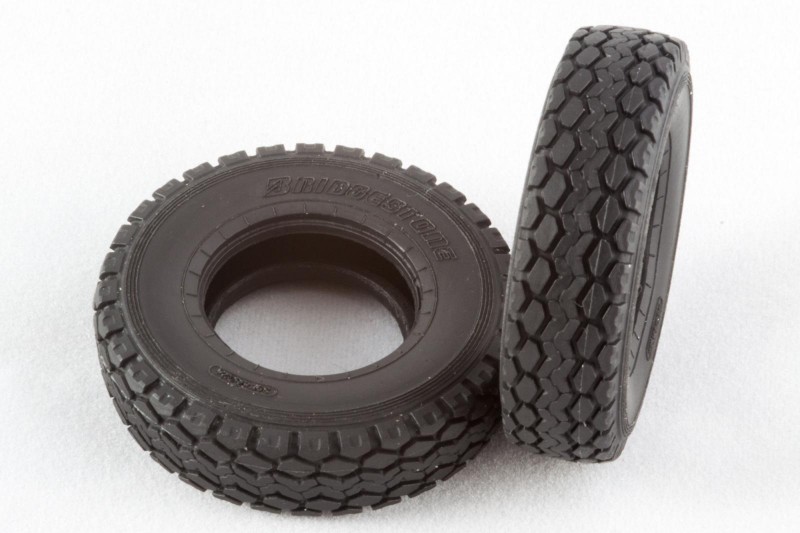
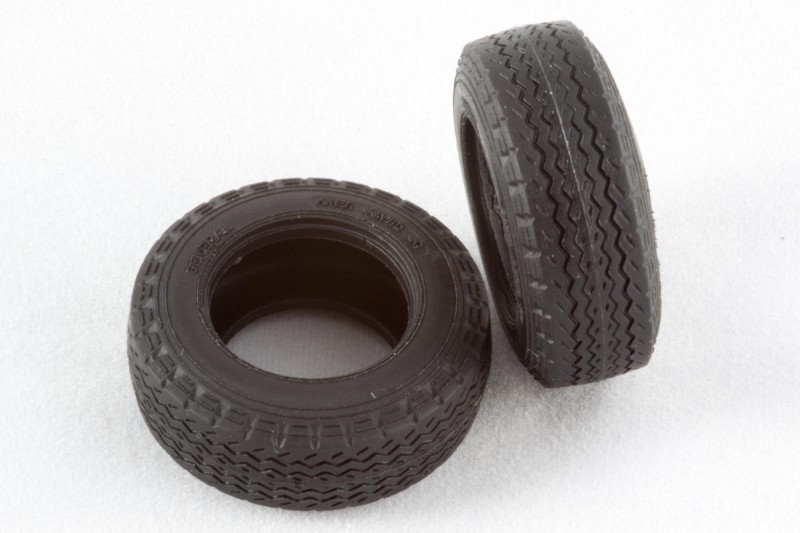
The vinyl tires (13 for the tractor, 17 for the trailer) might not be to everyone's taste, as it is difficult to add sag to them. But if you can live with that, there is absolutely nothing wrong with them. The thread patterns are cut very sharply, and again we will find accurate manufacturer's logos on all of them. The seam lines are in fact rather faint and should be removed easily.
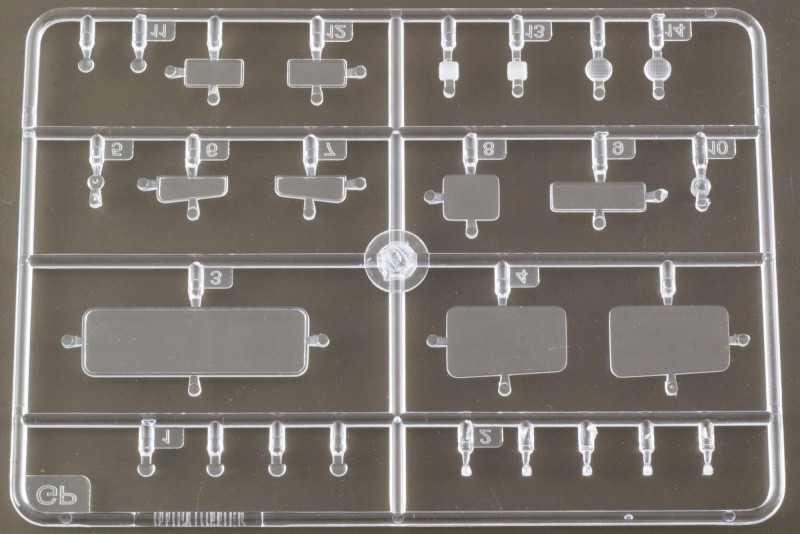
The clear sprue is surprisingly large for an armor kit. On it you will find all the windows as well as inserts for lamps and signal lights.
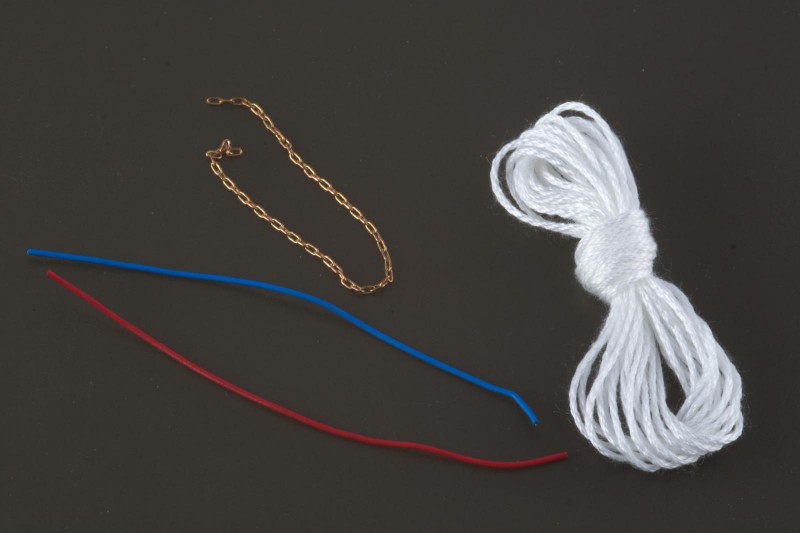
Finally, the kit provides you with string for the two winches, a chain to secure the trailer's ramps, and blue and red vinyl tubing to depict the connections between tractor and trailer.
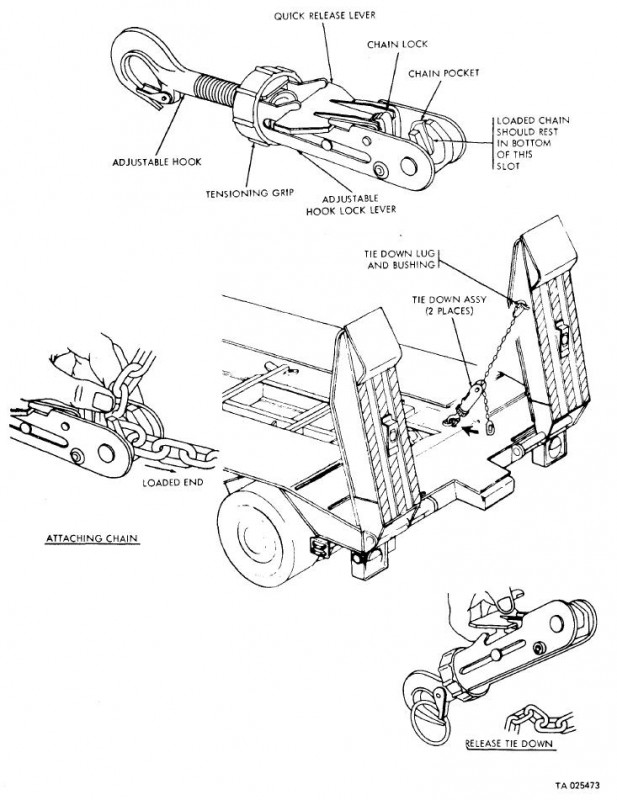
The way the chain is to be used is somewhat simplified. For a proper look you will have to get (or scratchbuild) a tie-down assembly which should look like this:
PE and Decals
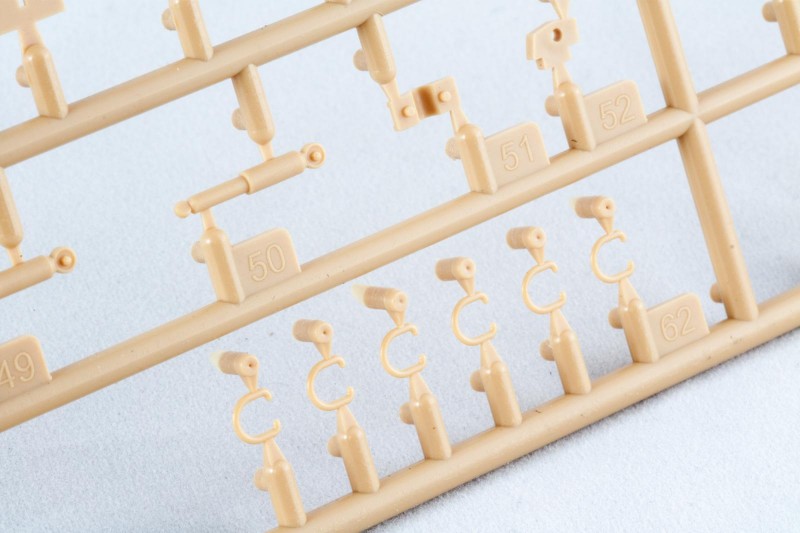
The two PE frets contain a plethora of meshes, braces, and the rear mud flaps. Protected by clear tape on both sides, etching quality is excellent, and the sheets themselves are suitably thin.
The large decal sheets holds bumper codes for all marking variants, as well as general stencil data and placards. Printing quality is good, but the carrier film seems a bit thick. The separate sheet for the dashboard gives you the option of using only the instruments or the instruments on a black background. Yay, you just saved yourself 30 seconds of painting the dashboard black! Sometimes I wonder…
As good as the main sheet's printing quality is, the dashboard sheet looks a bit weird, with a visible rasterisation effect. Your best bet will be to use just the instrument faces and paint the rest by hand, using the decal only as a reference.
First Impressions.
Boy, have we come a long way! There was a time when vehicles like this could only be had as resin kits - Hobby Fan actually produced one, and it cost an arm, a leg, and all your spare kidneys. And now we can have an injection-molded, state of the art kit for a fraction of the cost. For me this release is a symptom of a couple of developments: Increased interest in exotic subjects, more space in our display cabinets, and the focus on painting and weathering something unique, with a detailed yet uncomplicated kit as foundation.
There are some things about this kit I think are worth mentioning. First, it does not come with a full engine. That's okay for me, but if you want to go that route, fitting Meng's resin engine for the M911 should not be impossible.
Second, out of the box the lift axle can only be built in the down position. I always liked the look of huge trucks with one foot in the air as it were. Let's see, maybe I can make it work.
I would have liked to see accessory parts included to actually secure a tank to the trailer, like chains, hooks etc. But then again, this kit retails for around 64 US Dollar / 55 Euro from Hong Kong, so there you go.
Apart from these quibbles I am really looking forward to starting this kit, so stay tuned for a full build review!





Top-notch presentation, my friend...very impressive.
Thanks Craig!
This looks like such a hot model! May need to build this at some point. Thanx for the great review!
Thanks Paul! So far it has been a good experience, I think will start a WIP thread to keep you guys updated.
Its great to see these kits being produce Boris.. Now i wish they would give us an affordable Antar in this scale.
Anthony, I completely agree. And I think patience is a virtue here - a few years back I wouldn't have thought we would ever see kits like this one, so who knows what the next years are going to bring.
What a very comprehensive review... and it brought back some memories for me as I was a former US Army tanker. I have included a photo of my "Baby" (an M-60A1) getting loaded up on one of these in the mid 1980's... If it's any consolation to you on the paint schemes, I remember ours in service with the tractor part in a standard overall green color, and the older trailers were painted in the MERDC desert gray color scheme. A few years later they could be seen with both the tractor and the trailer painted in the MERDC gray desert scheme. I also have seen these in overall desert tan.
Well done my friend...
Louis, this picture is awesome! Thank you for the info on the color schemes, I was already thinking about a mix-and-match finish of MERDC and plain green. And looking at these tires, I think I will have to come up with a way of making the vinyl parts sag...
great review! So great that it made me want to buy it ASAP
Thanks David! I am working though the build right now, so let’s see if the kit keeps what the first look promised.
Great write-up Boris; the photos are impeccable. I wonder how Meng have done theirs in comparison with Hobby Boss.
I will read on, considering I have just received the M1070+M1000 as my next project.
Great review.