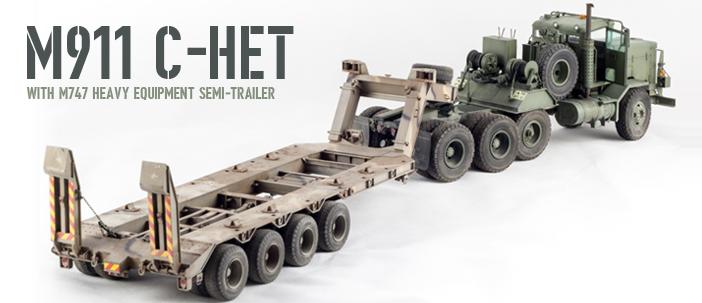
Hobby Boss 1/35 M911 C-HET, Part 3 – The Trailer
This article is part of a series:
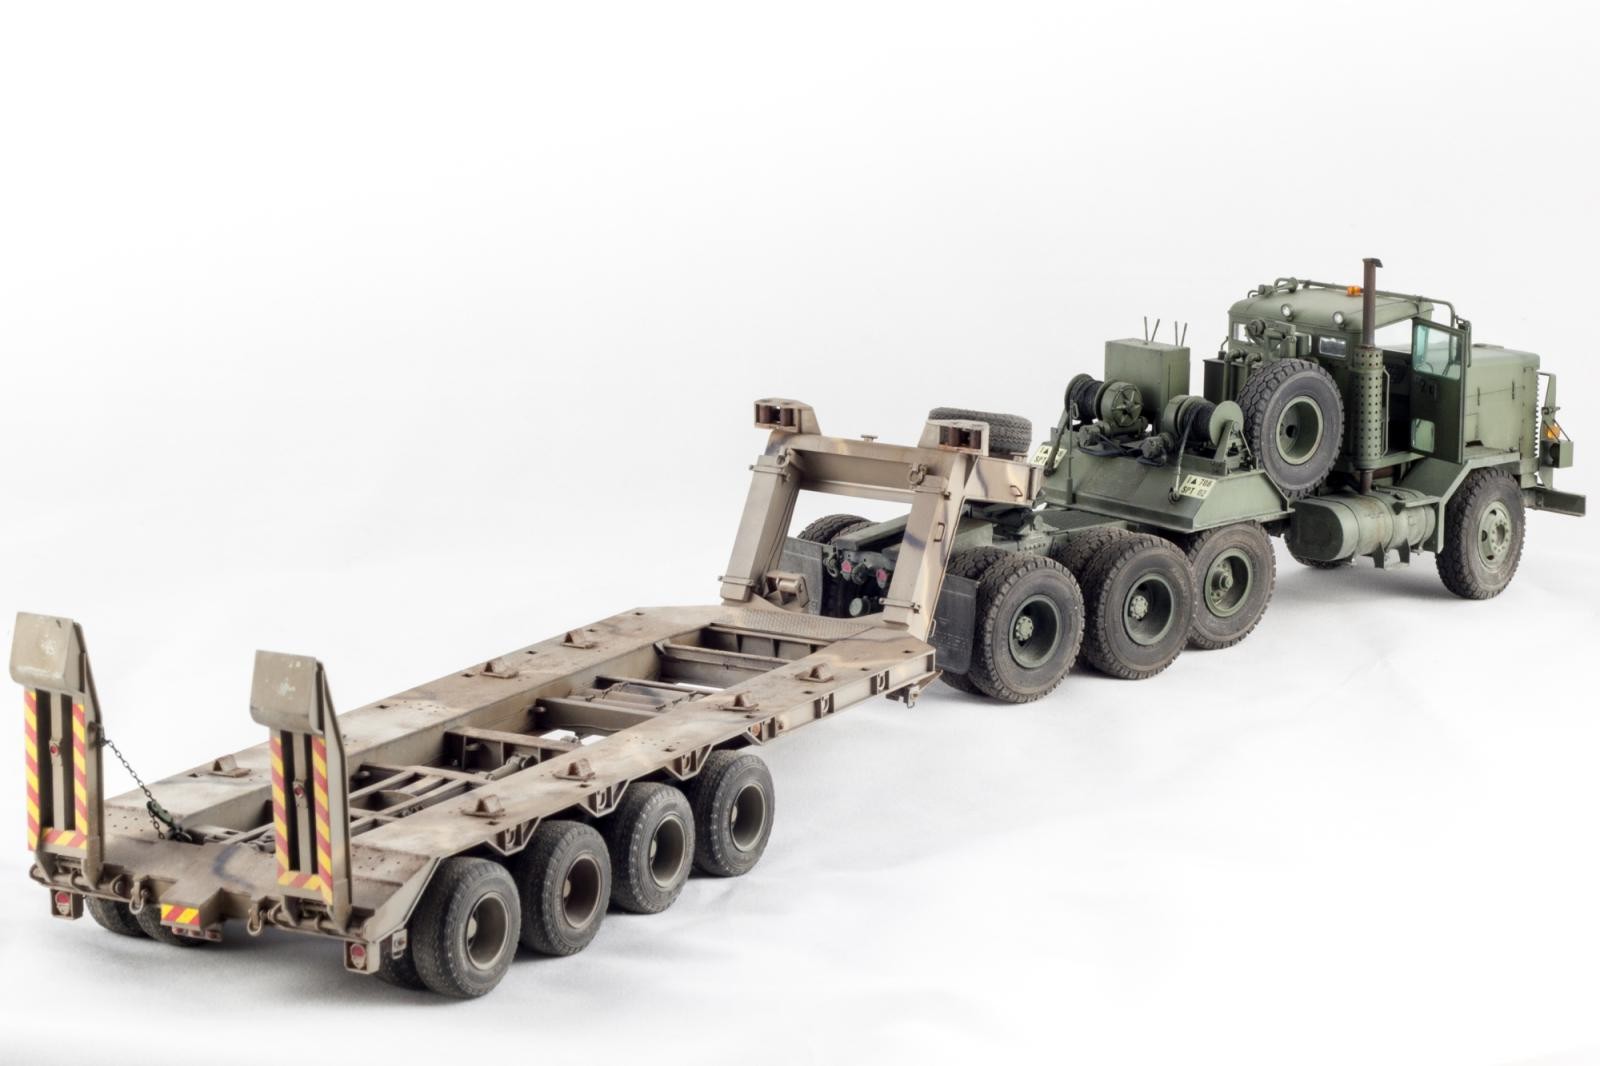
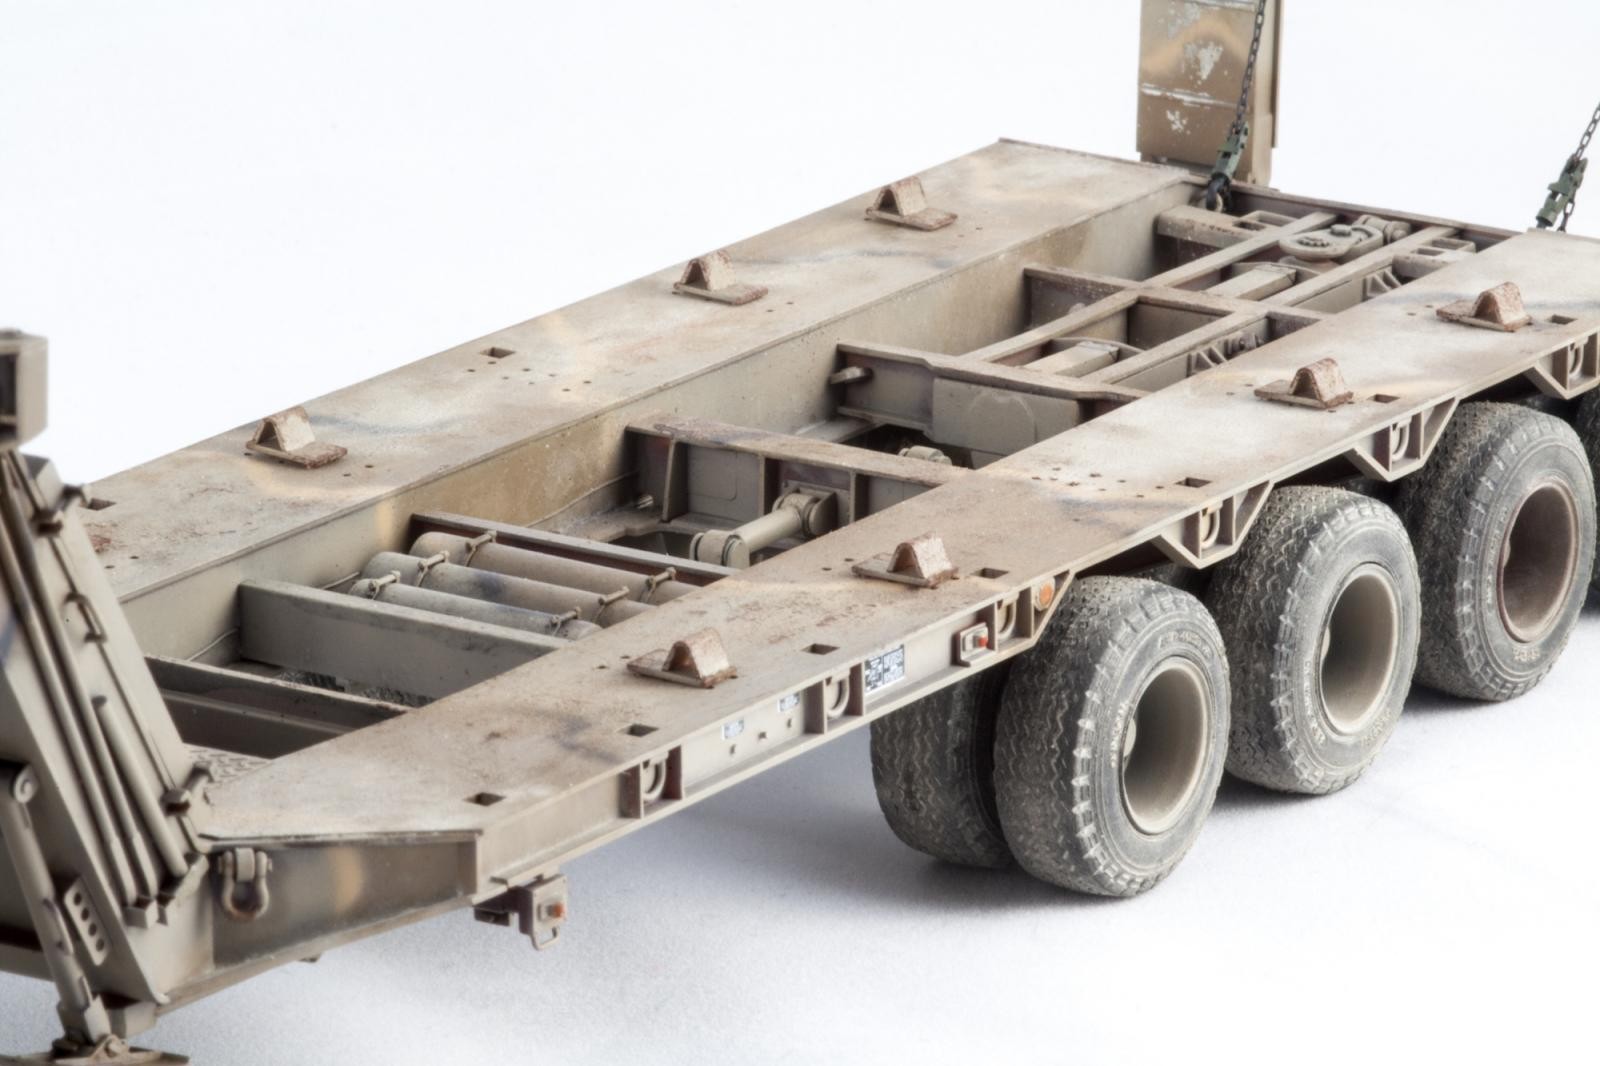
The M747 trailer is, by its very nature, a rather simple looking piece of equipment. As the name “flat-bed” already suggests, we have to deal with something, well flat. And therefore possibly boring.
Having found the Technical Manual online and comparing it to the kit parts, I was able to identify areas which could be improved to add more detail and create visual interest. Apart from that I decided to create a trailer that had way too much time sitting in some forgotten depot, as a contrast to the clean looking tractor.
The complete list of additions reads as follows:
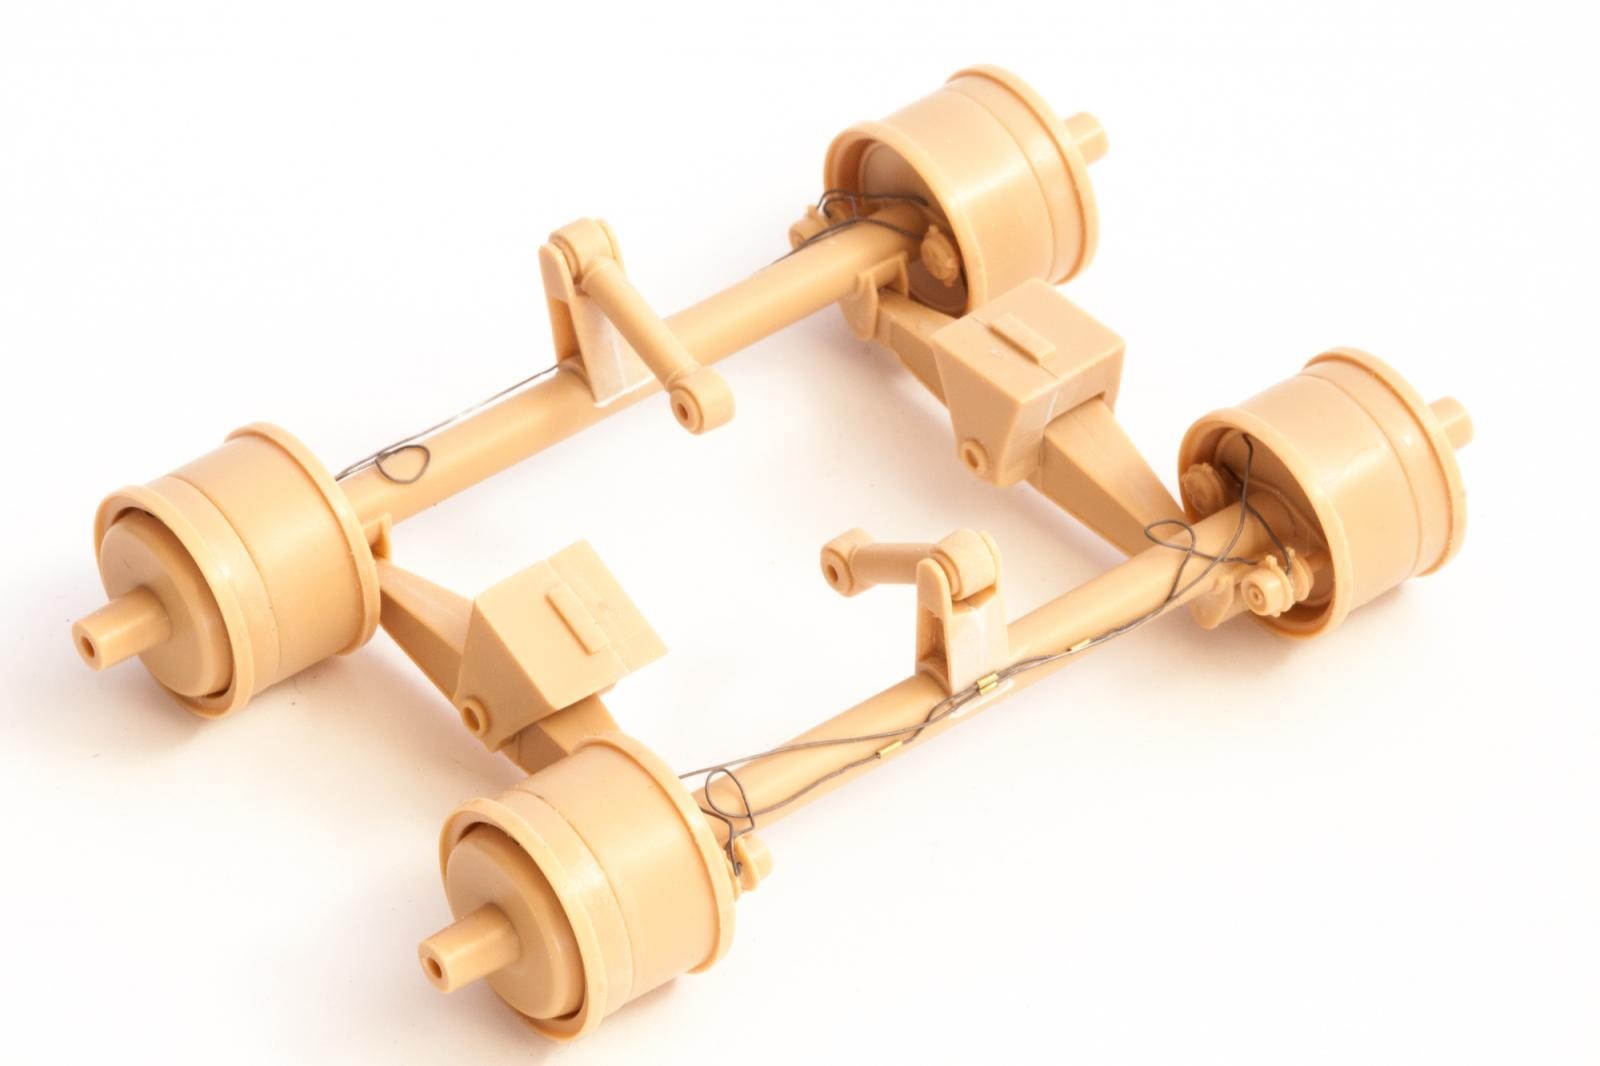
- Add brake lines to the chassis, axles and air tanks
- Add some prominent weld seams
- Replace reinforcement parts on the goose-neck
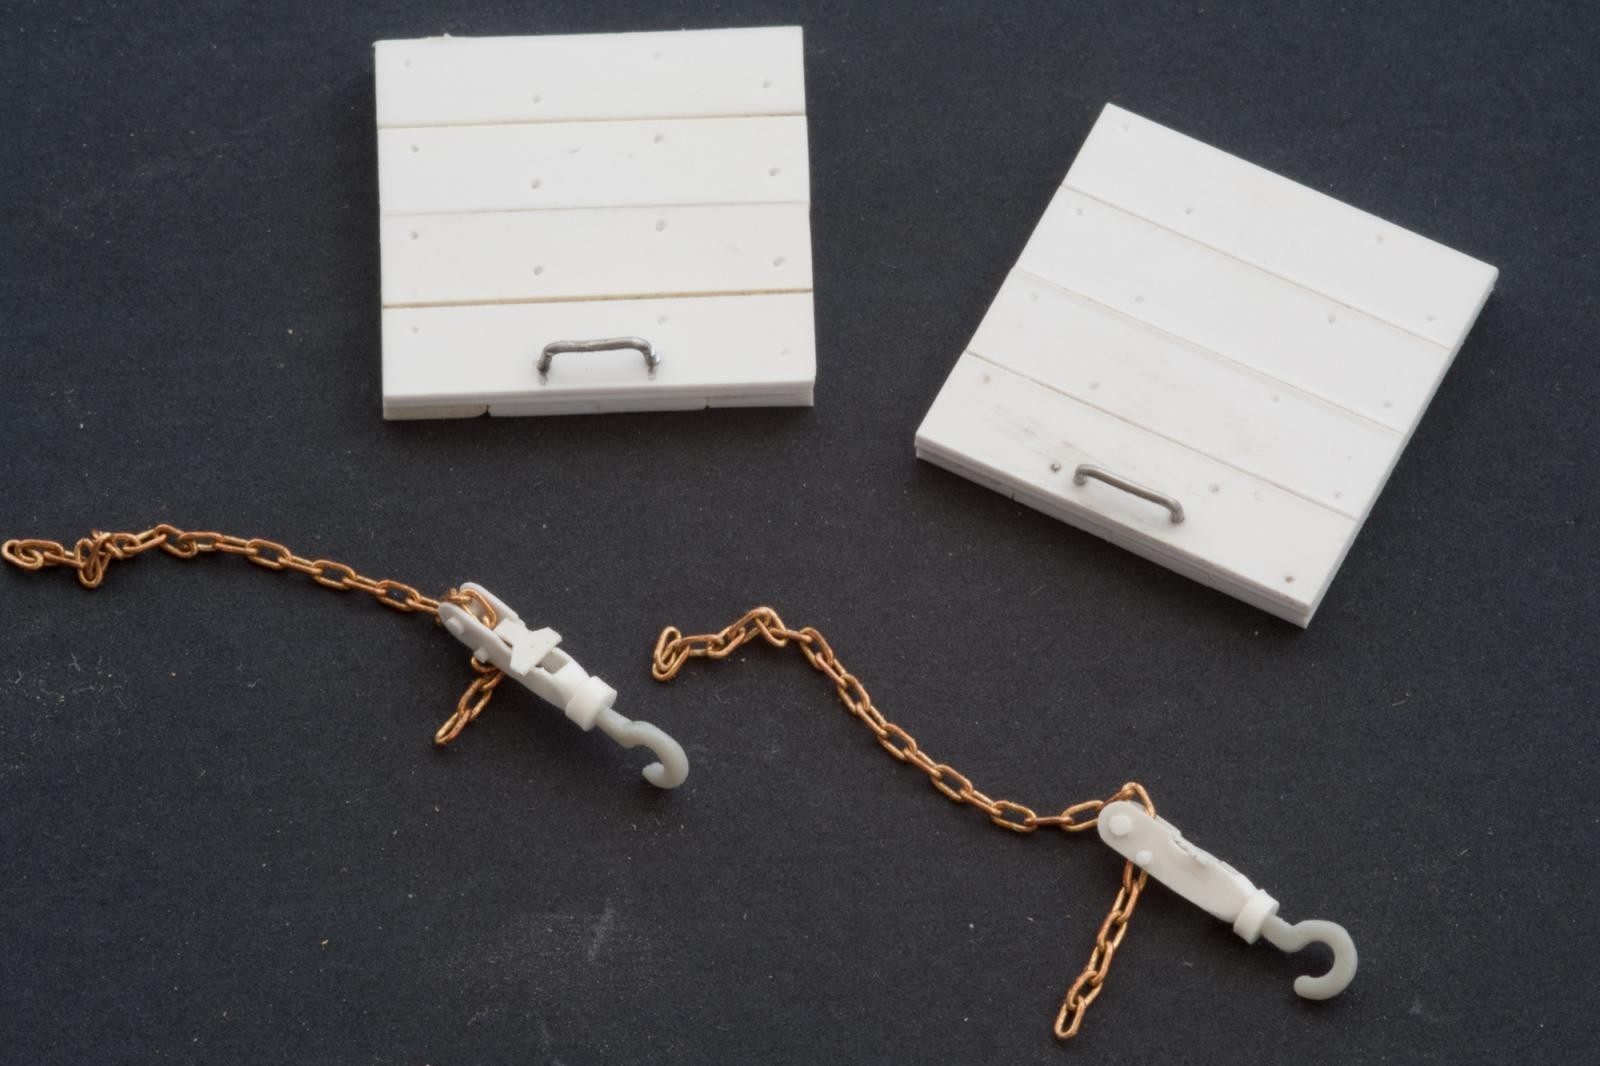
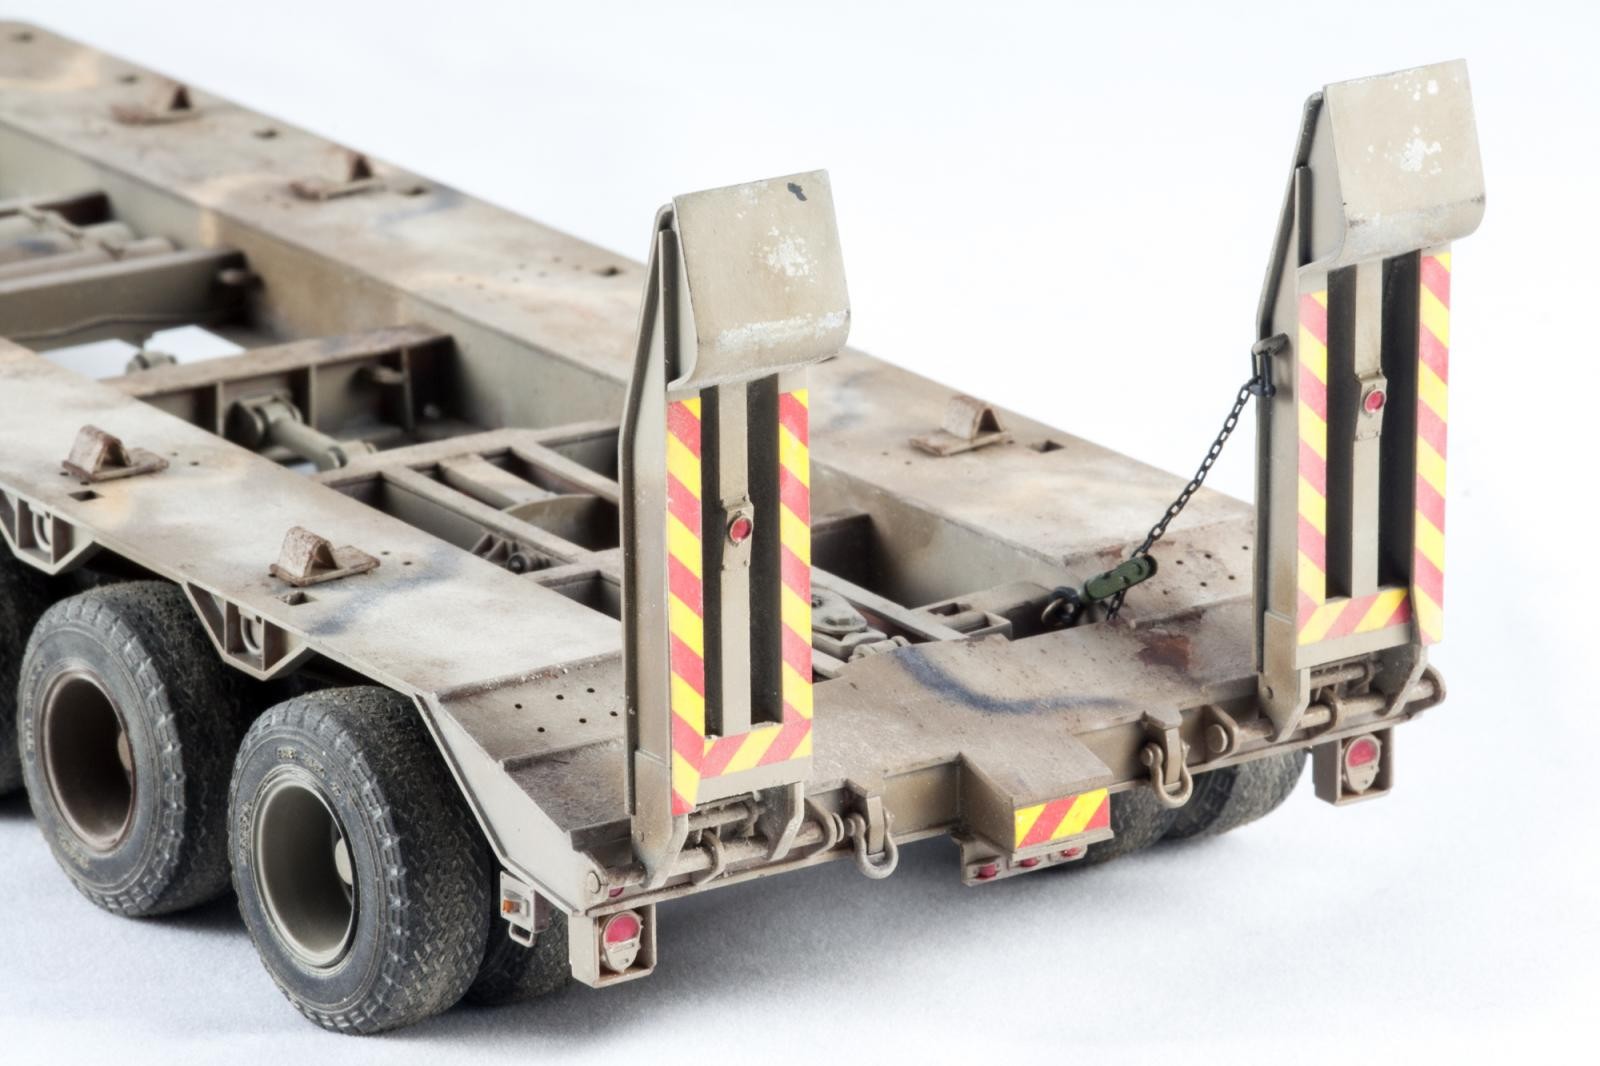
- Detail the chain assembly that holds the rear ramps in place
- Scratchbuild additional equipment usually found on the trailer
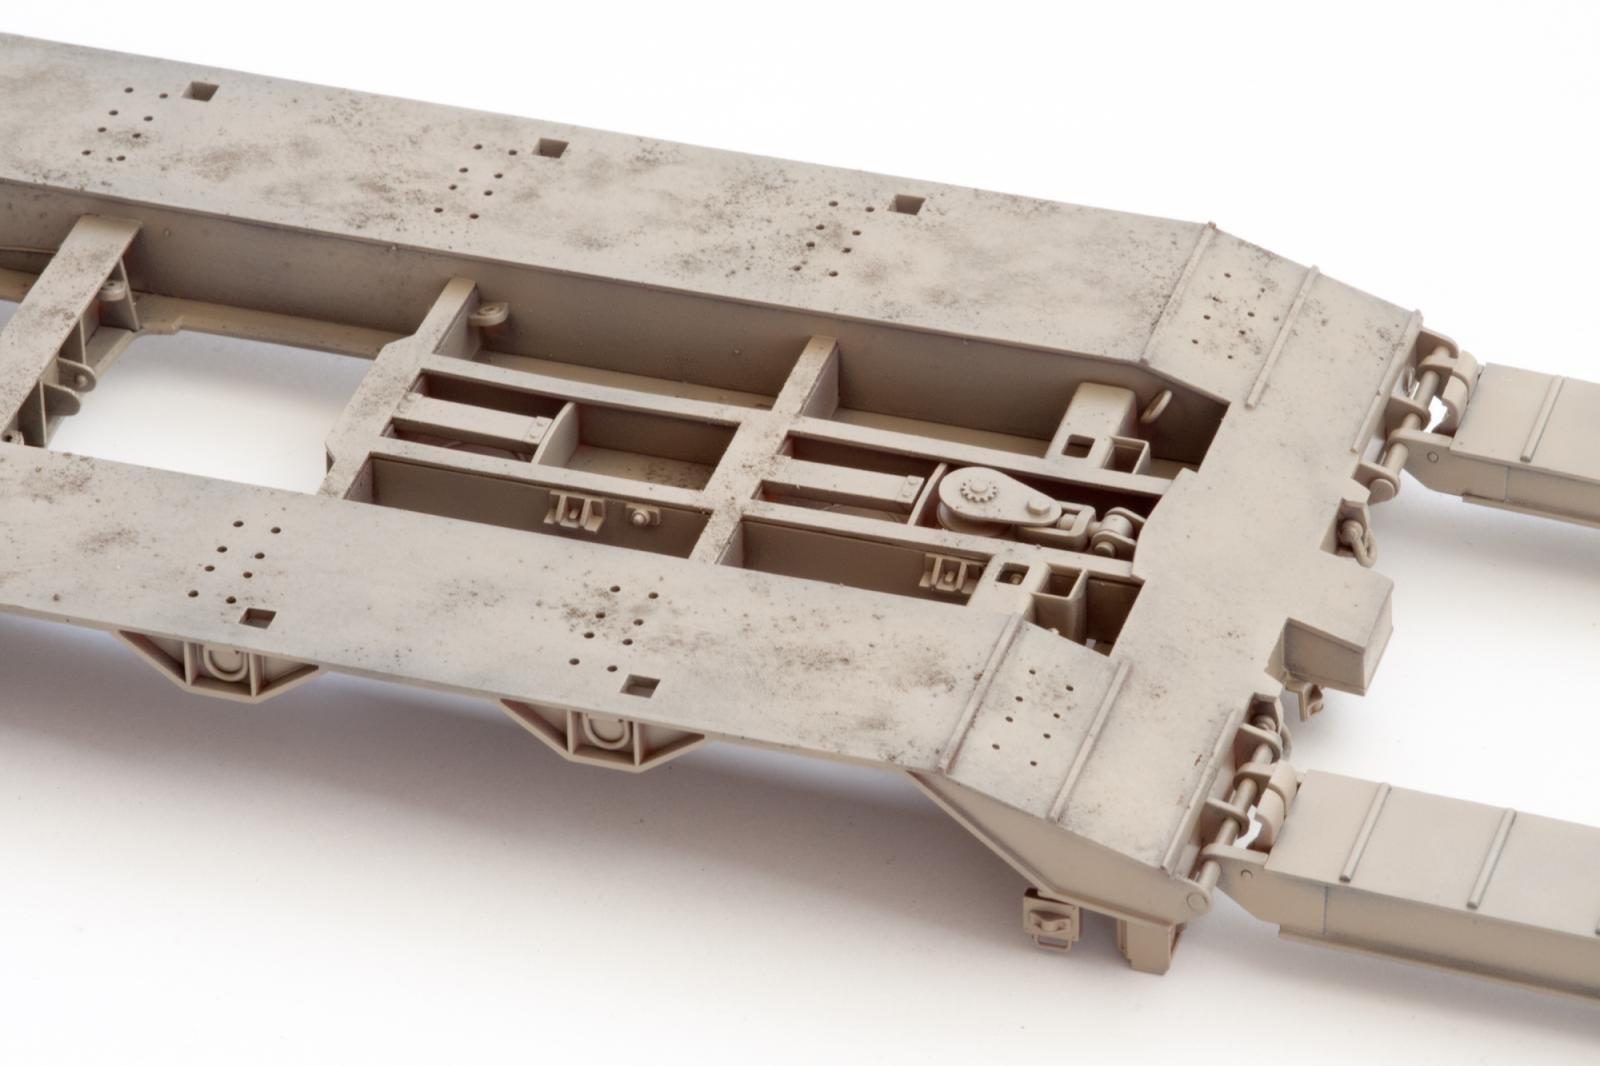
The Basic Structure
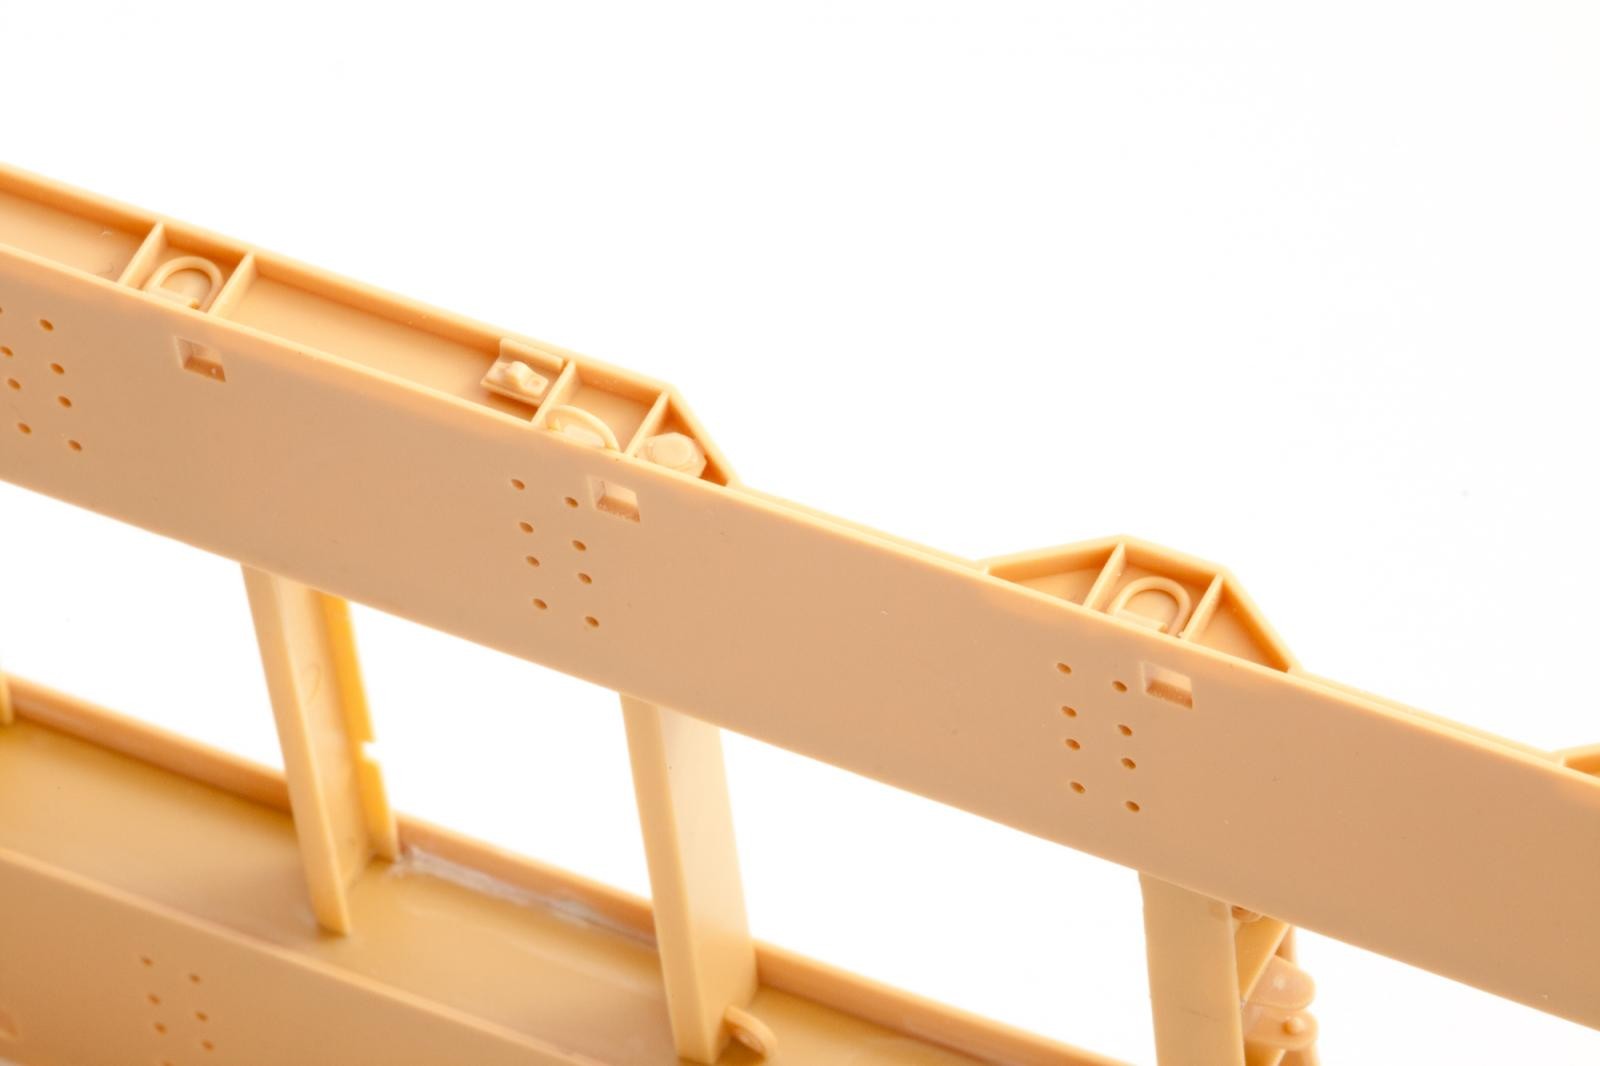
With the whole upper part being one big piece, basic construction should be a breeze, right? Well, kind of. Many of the parts suffer from ejector pin marks and mold lines due to the multi-directional slide molding. This results in a surprising amount of filler work that needs to be done.
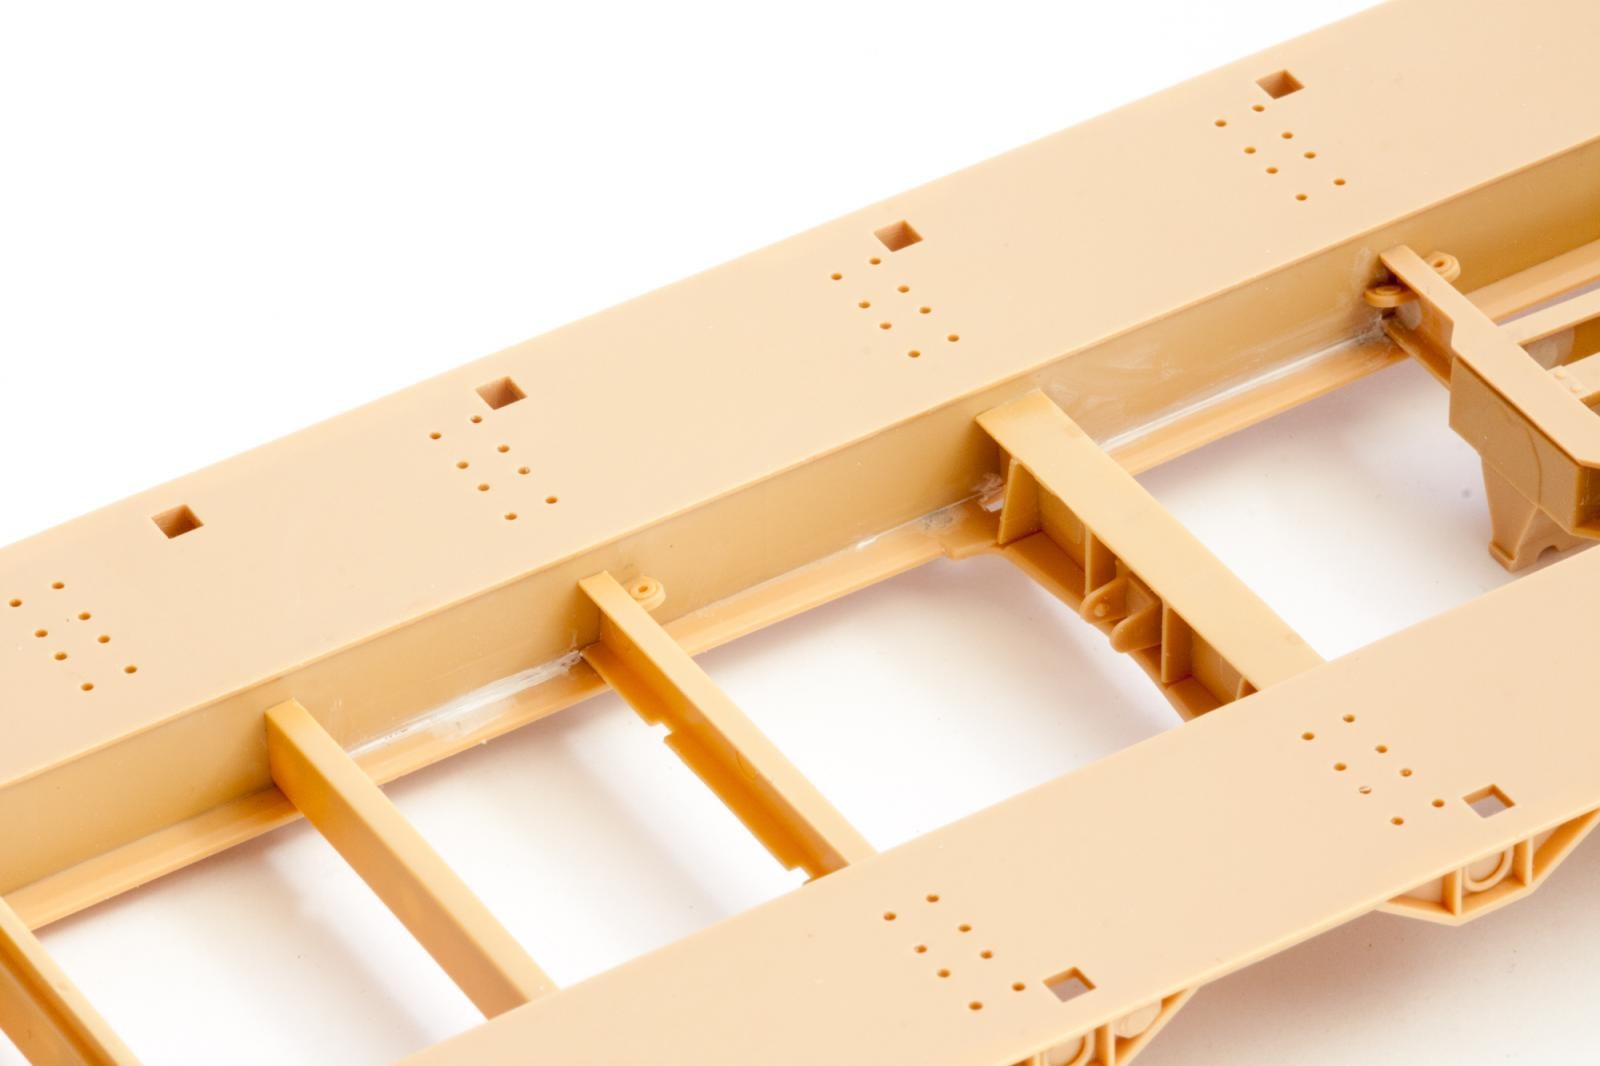

For filling the corner seams I used AK Interactive's White Putty, as it allows you to remove excess filler immediately with a wet cotton bud. Way more convenient than sanding in these tight spots.
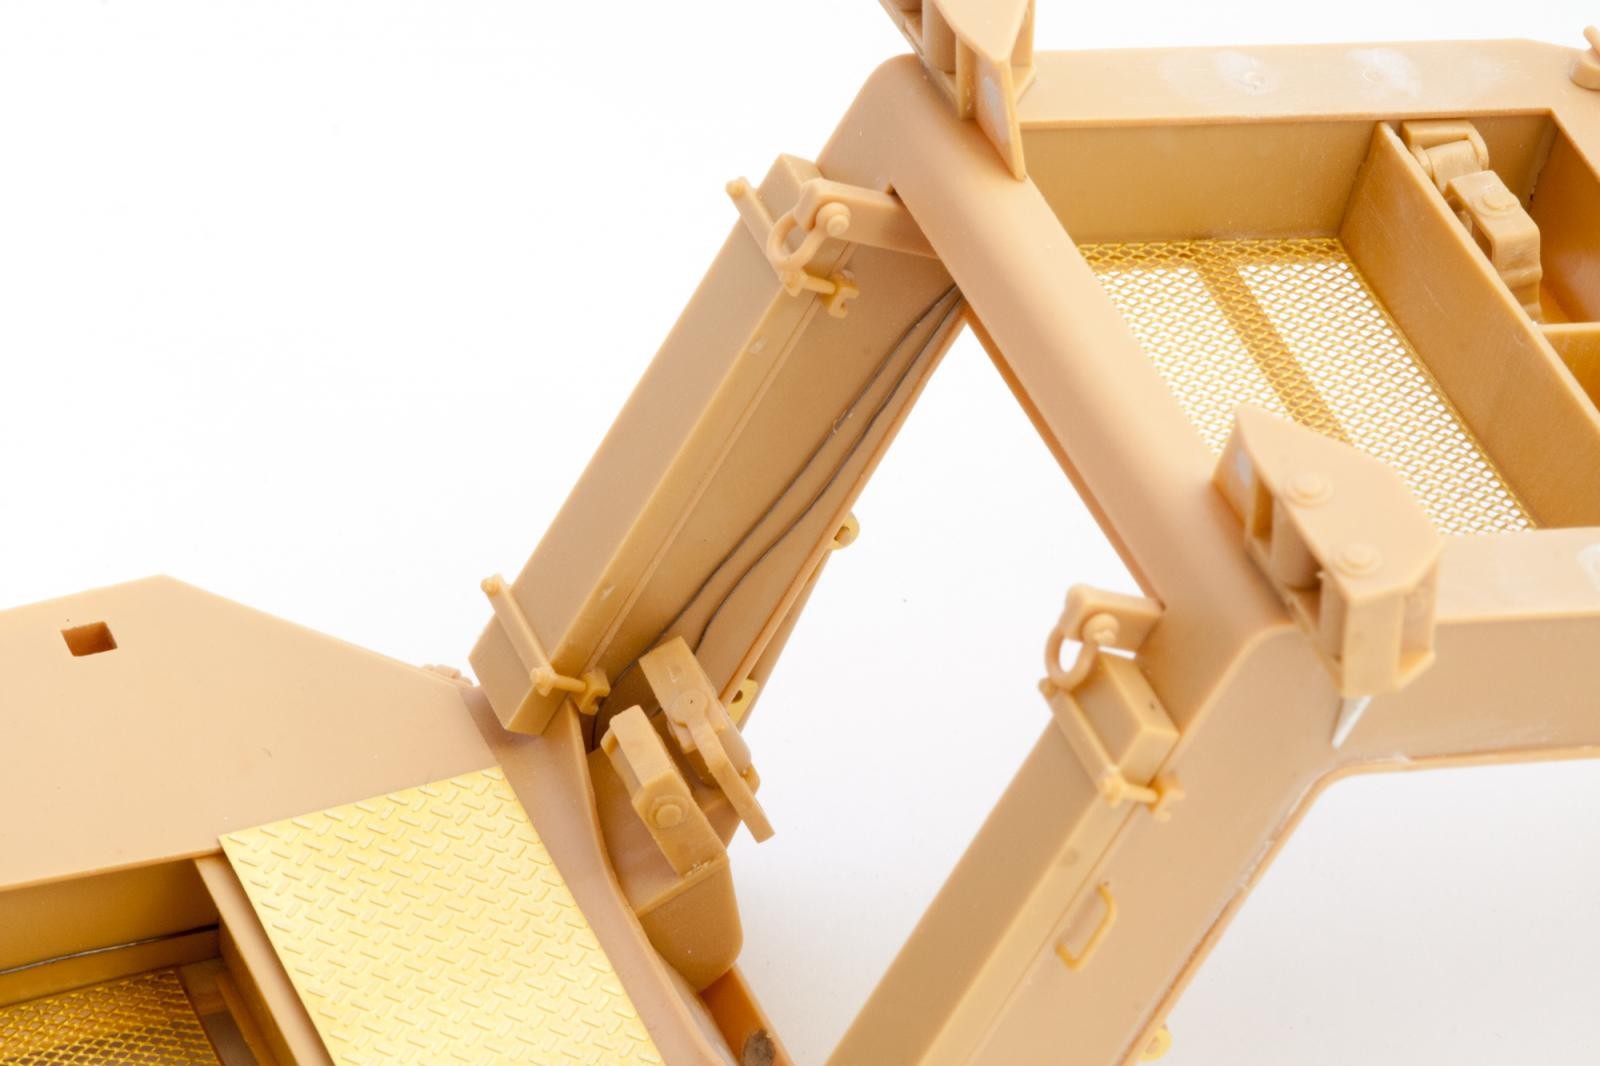
The trailer's sides are covered in D-rings - if you glue their attachment clips carefully you should be able to keep them moveable, quite practical if you decide to use them for securing a load to the trailer.
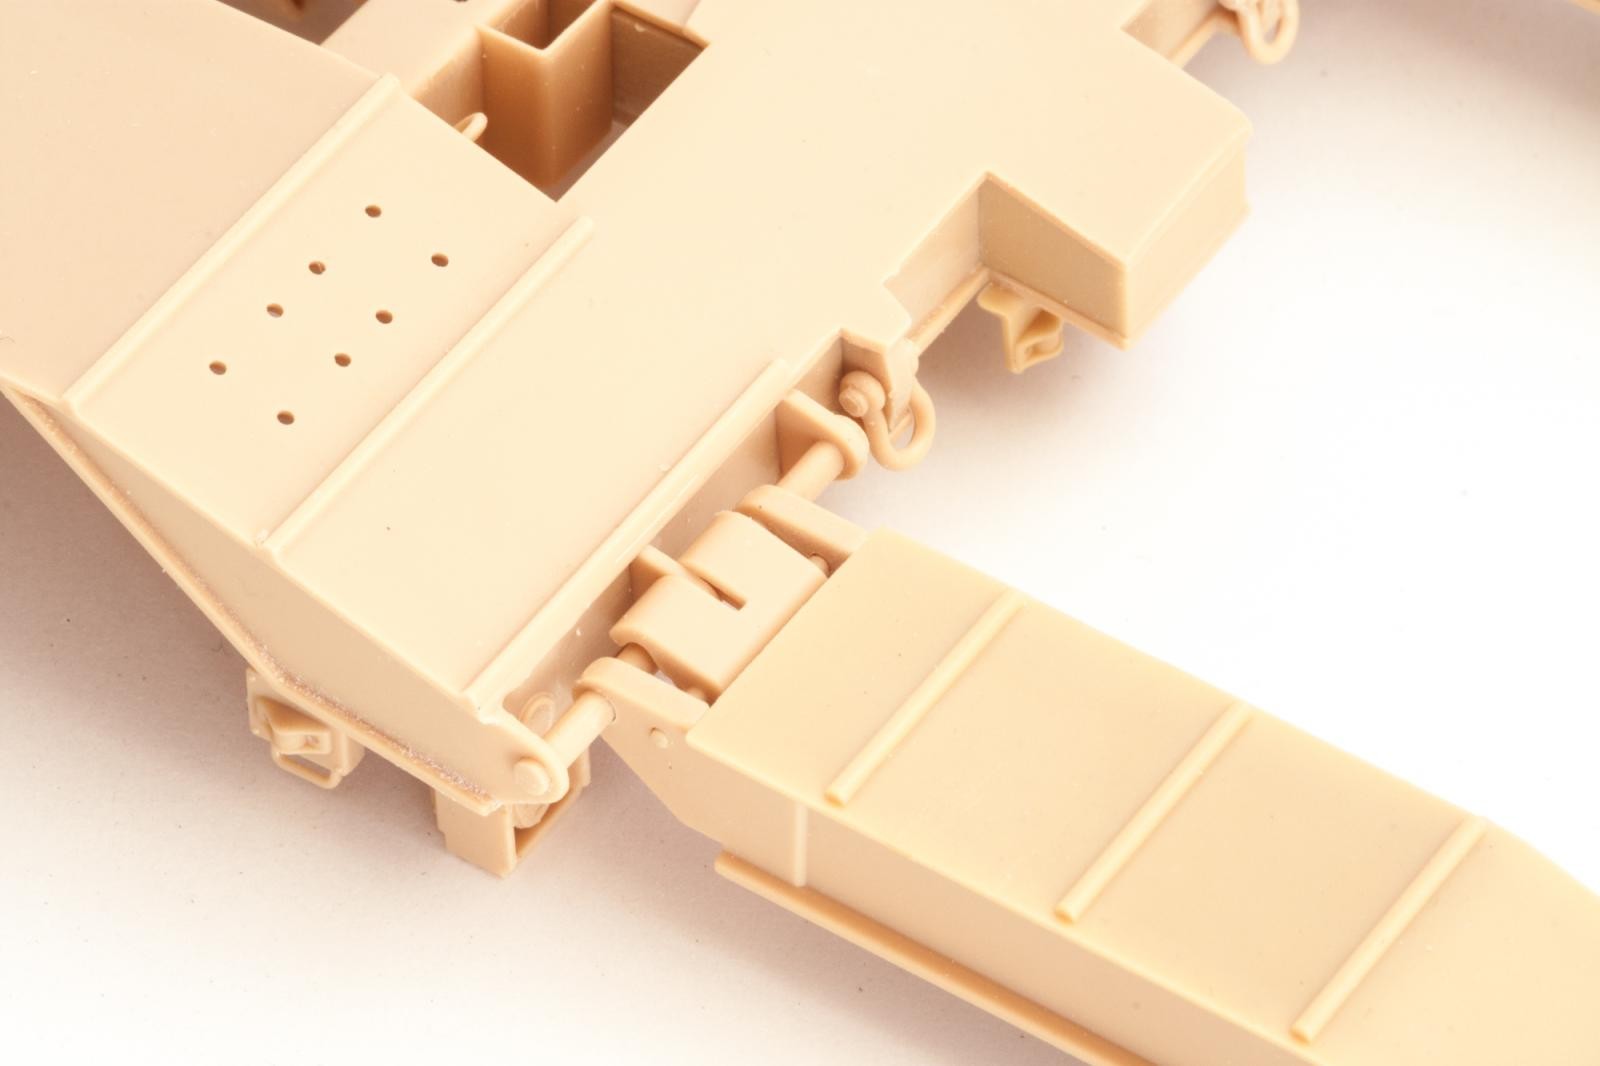
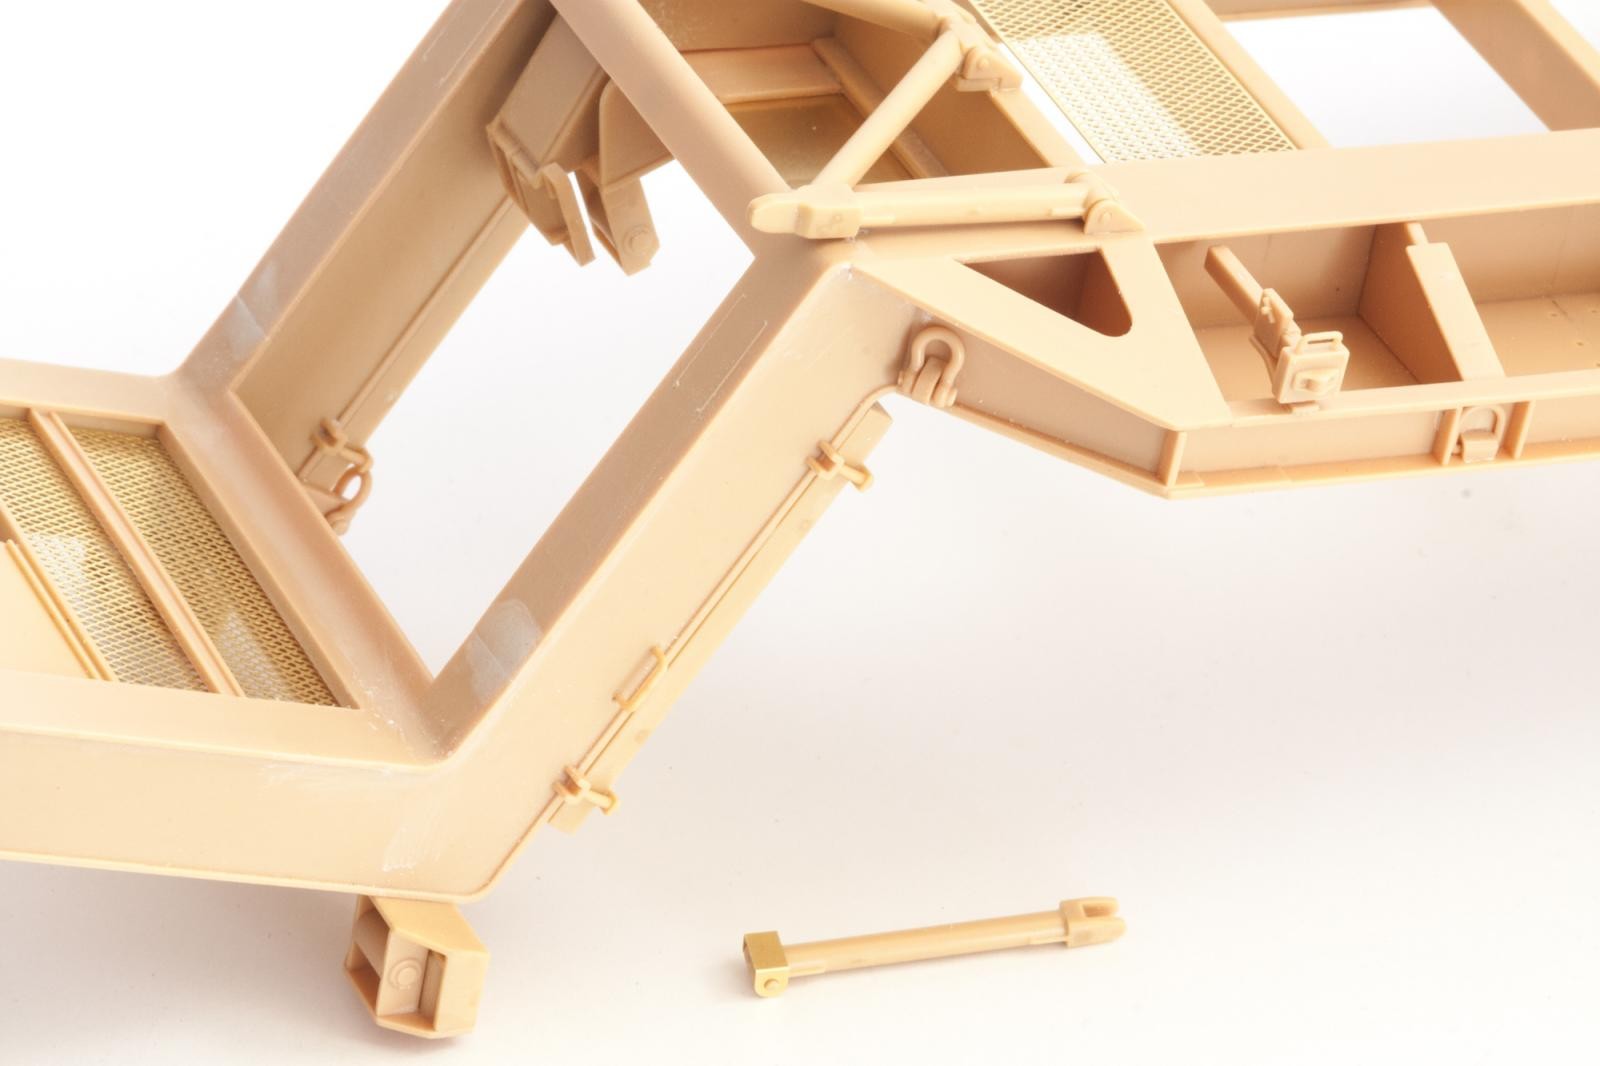
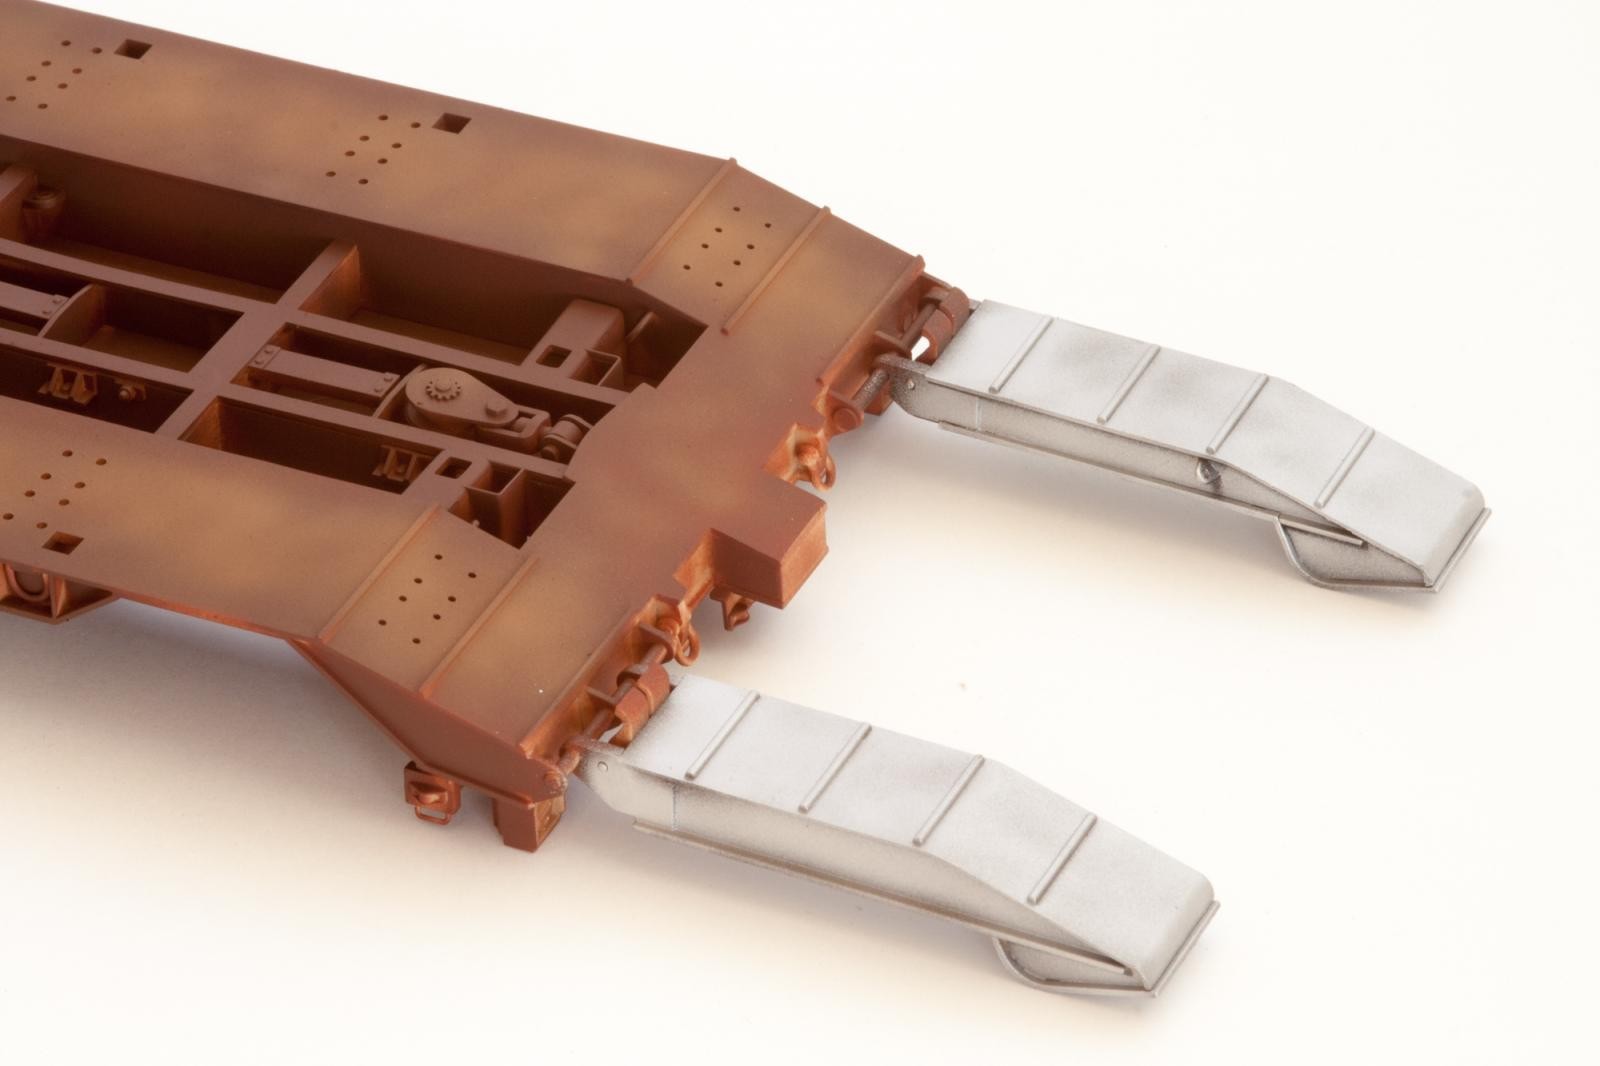
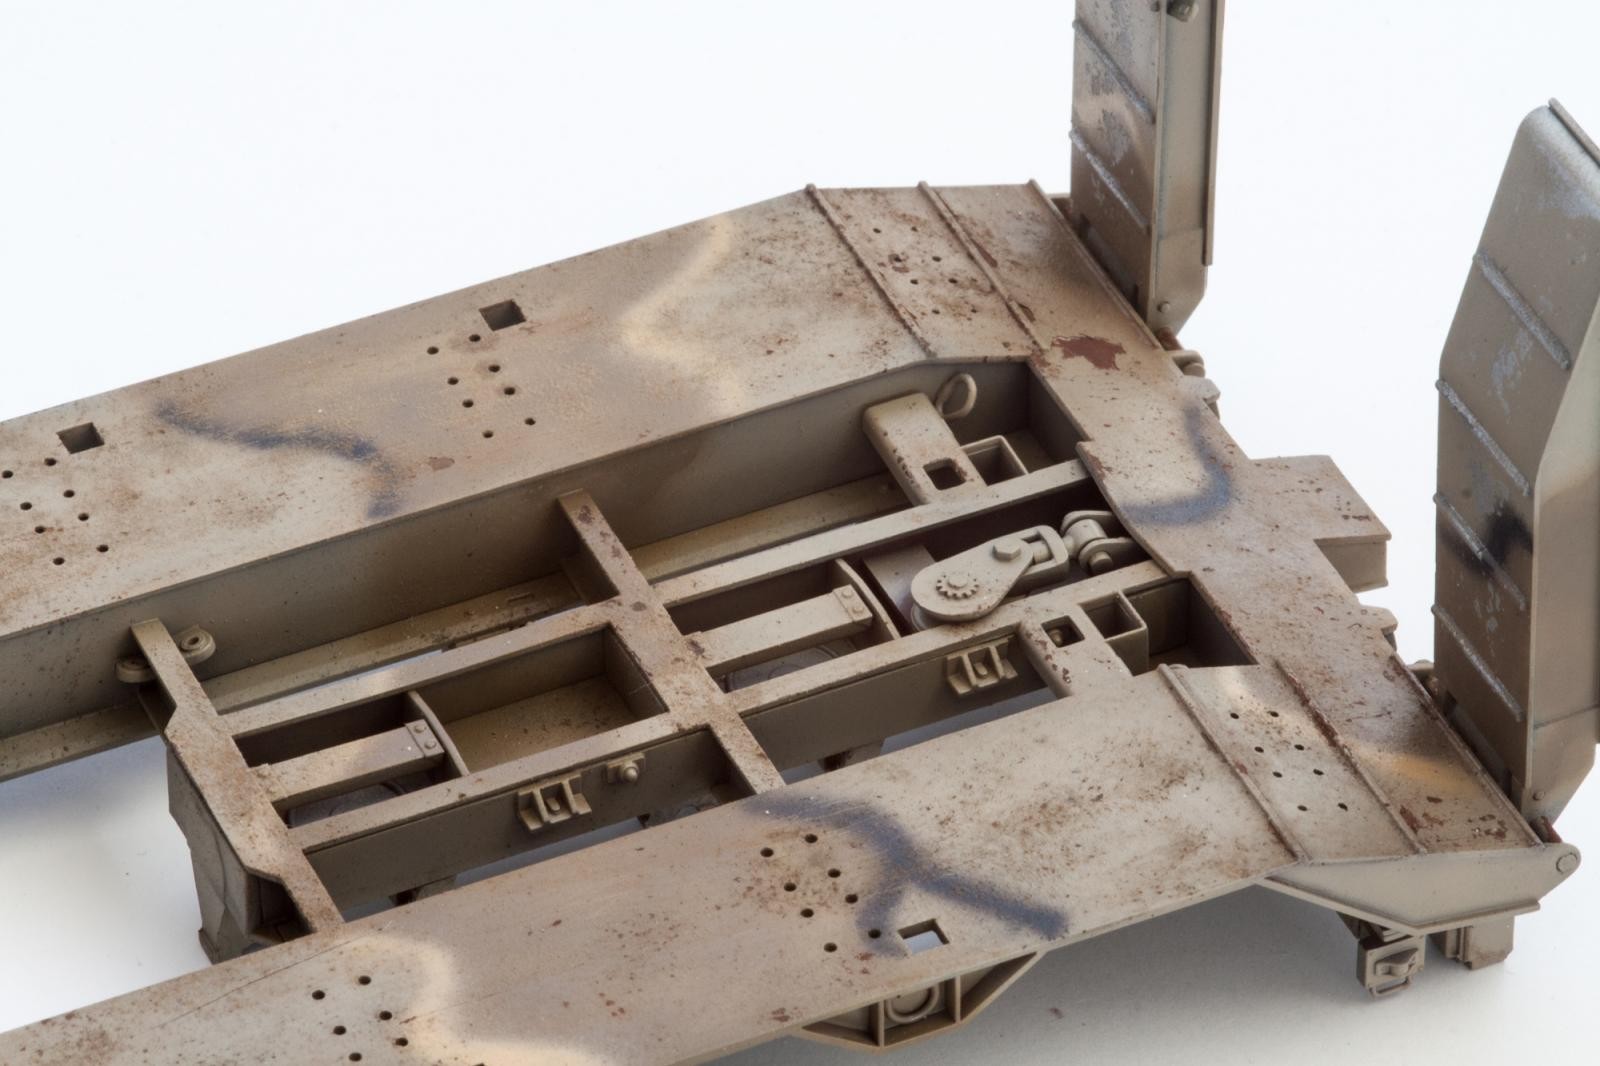
When adding the ramps, I advise against following the instructions. Hobby boss wants you to first glue the triangular braces in place and then insert a rod into them and the ramp parts, leaving the assembly moveable in the process. This will not work, as the rectangular protrusion at the trailer body's rear interferes with the rods. You will rather have to assemble the whole affair separate and glue everything in place afterwards.

The landing gear (yes, that's what they call it) could be made workable – at least in theory. You would need to drill out some holes in the support struts and use plastic or metal rod to create the bolts holding the struts in place in either deployed or transport position. As the braces or holding these struts in place are thin PE parts, I decided to no do that – sooner or later everything would come apart, so no playing around in my personal model tank depot!
Adding Interest
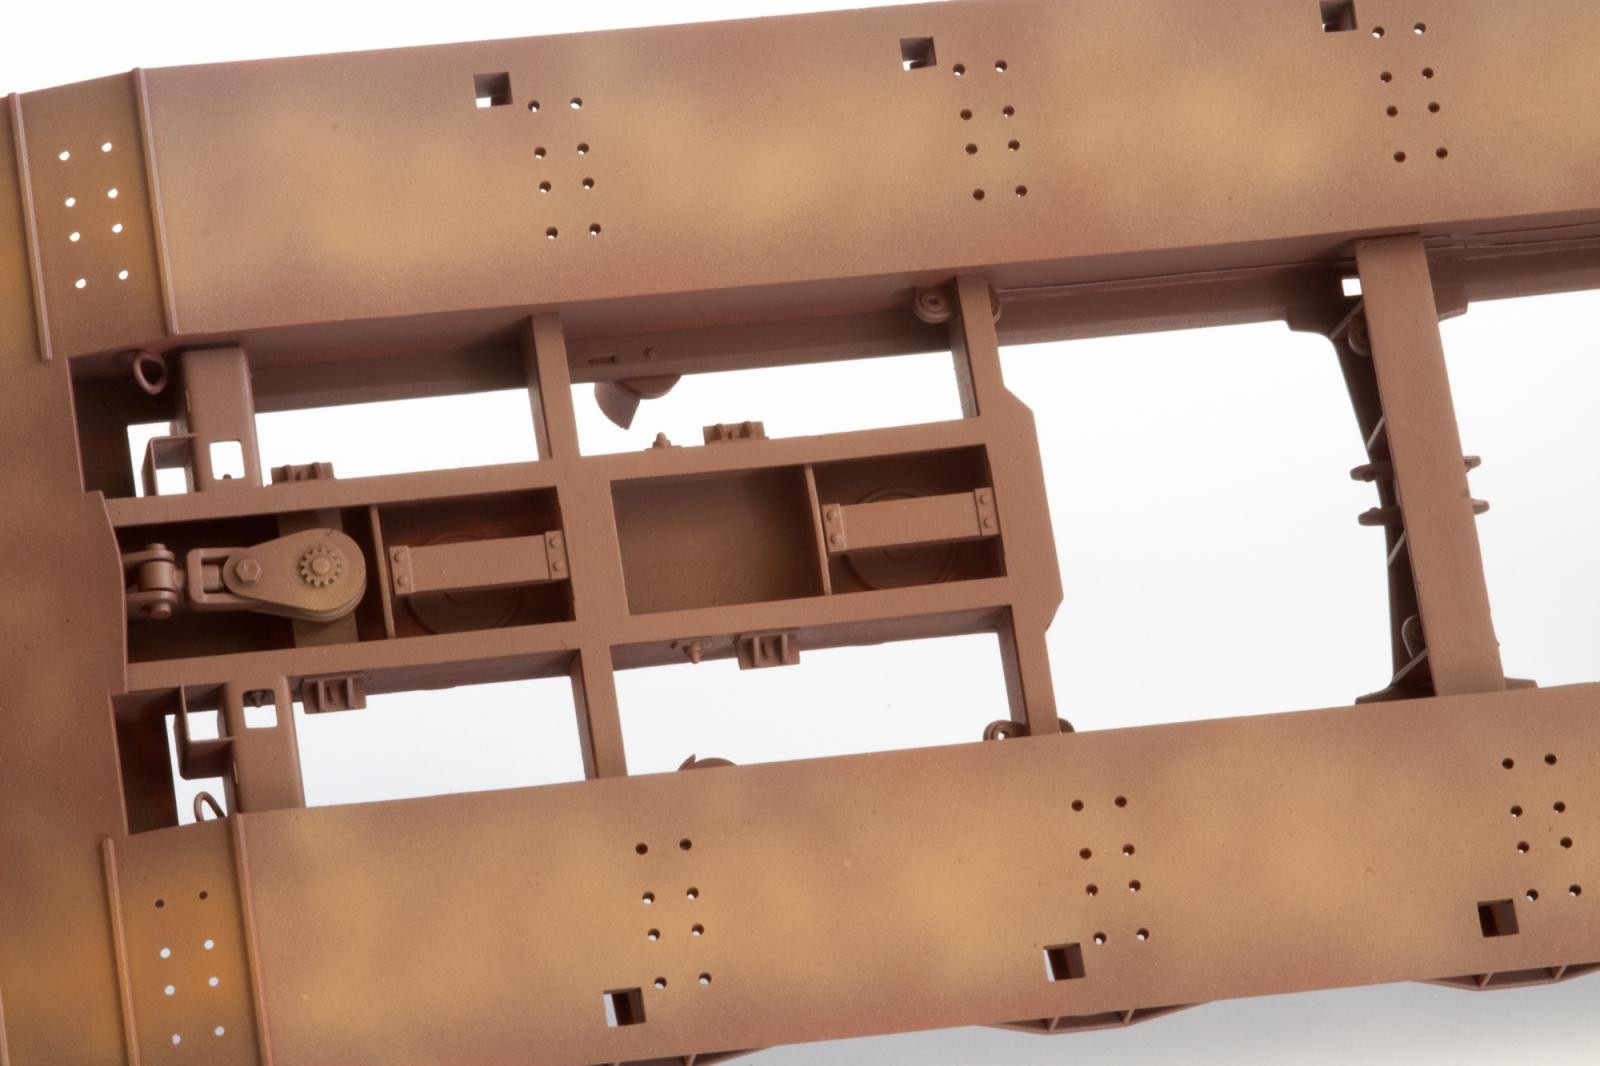
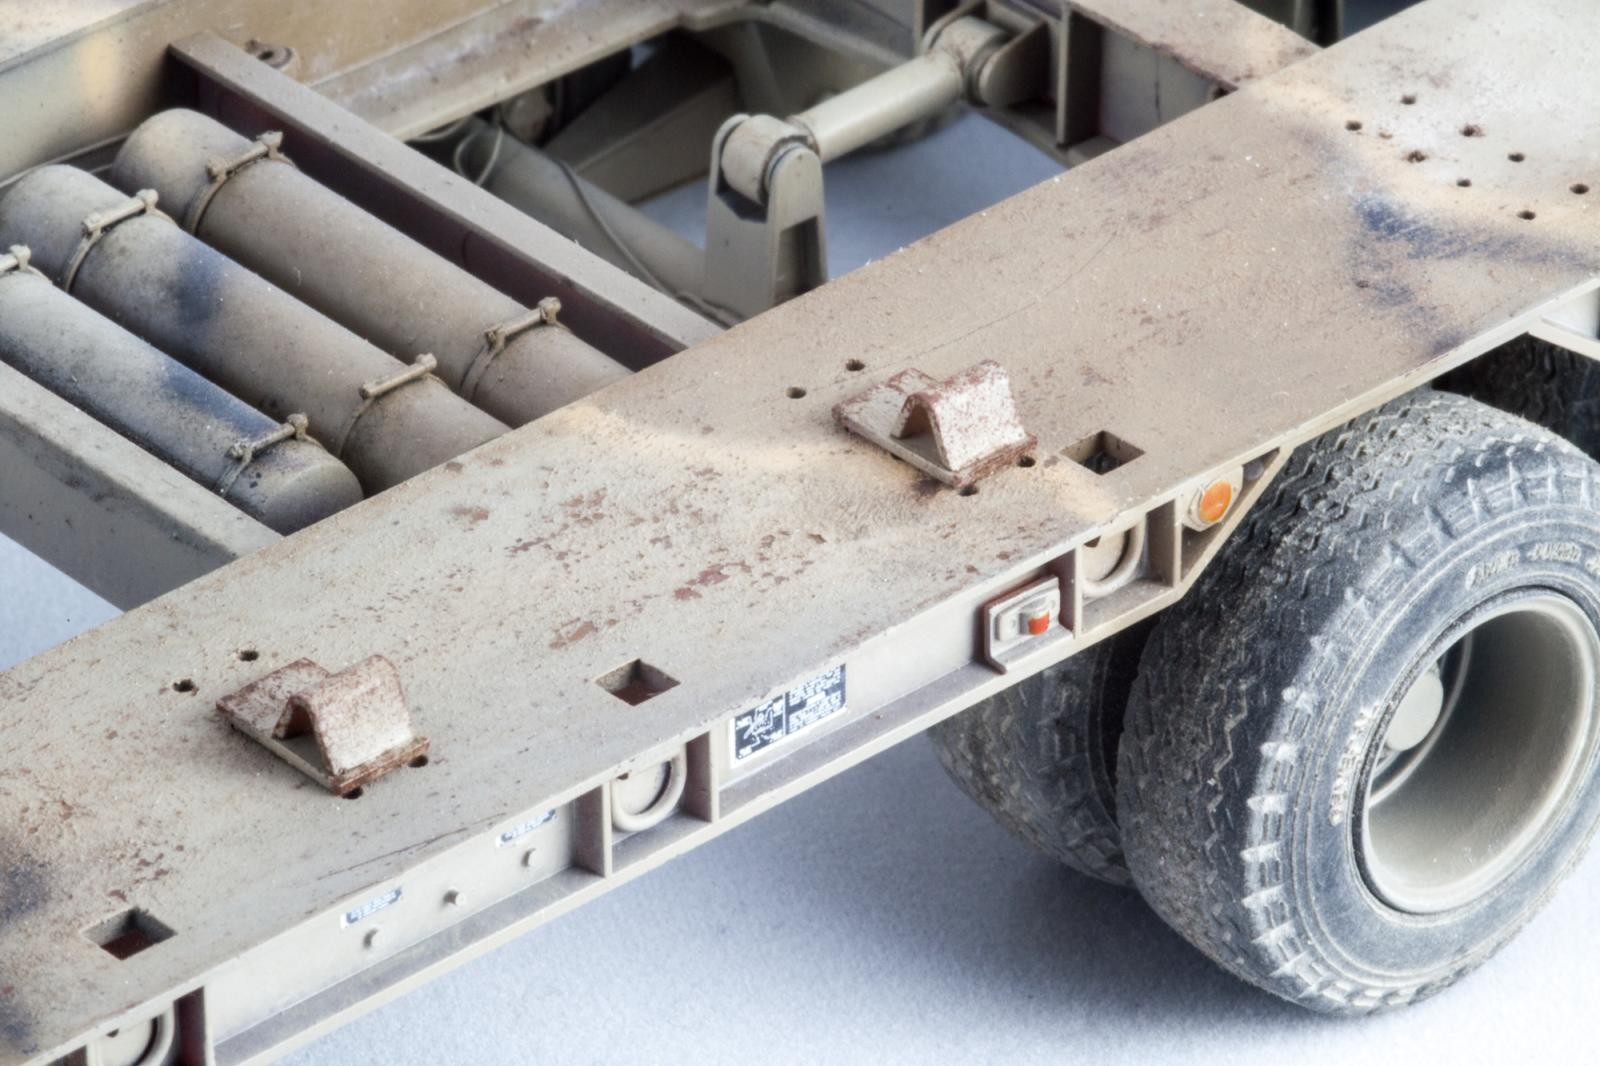
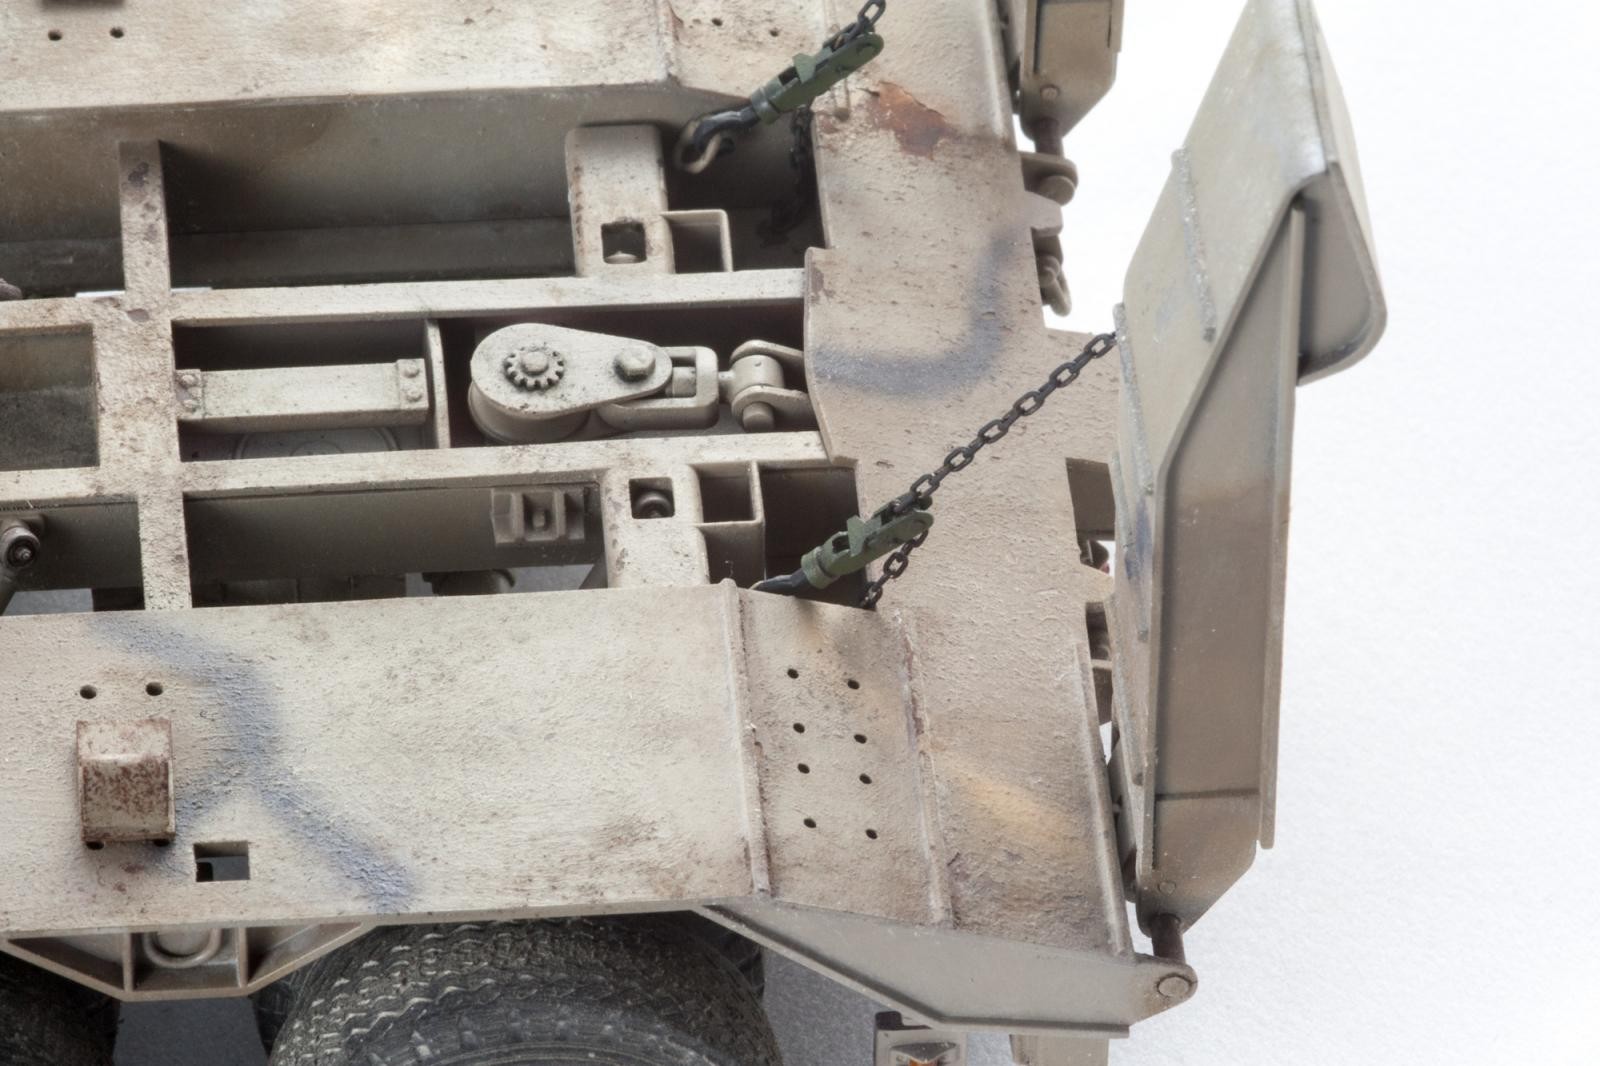
After everything is built up, the trailer lacks a certain finesse, so it is time for some additions. First I added brake lines, using 0.2mm solder wire and 0.5mm brass tubing for the connections. I did not reproduce every single line, but tired to focus on the more exposed areas, like the front axles and the air tanks.
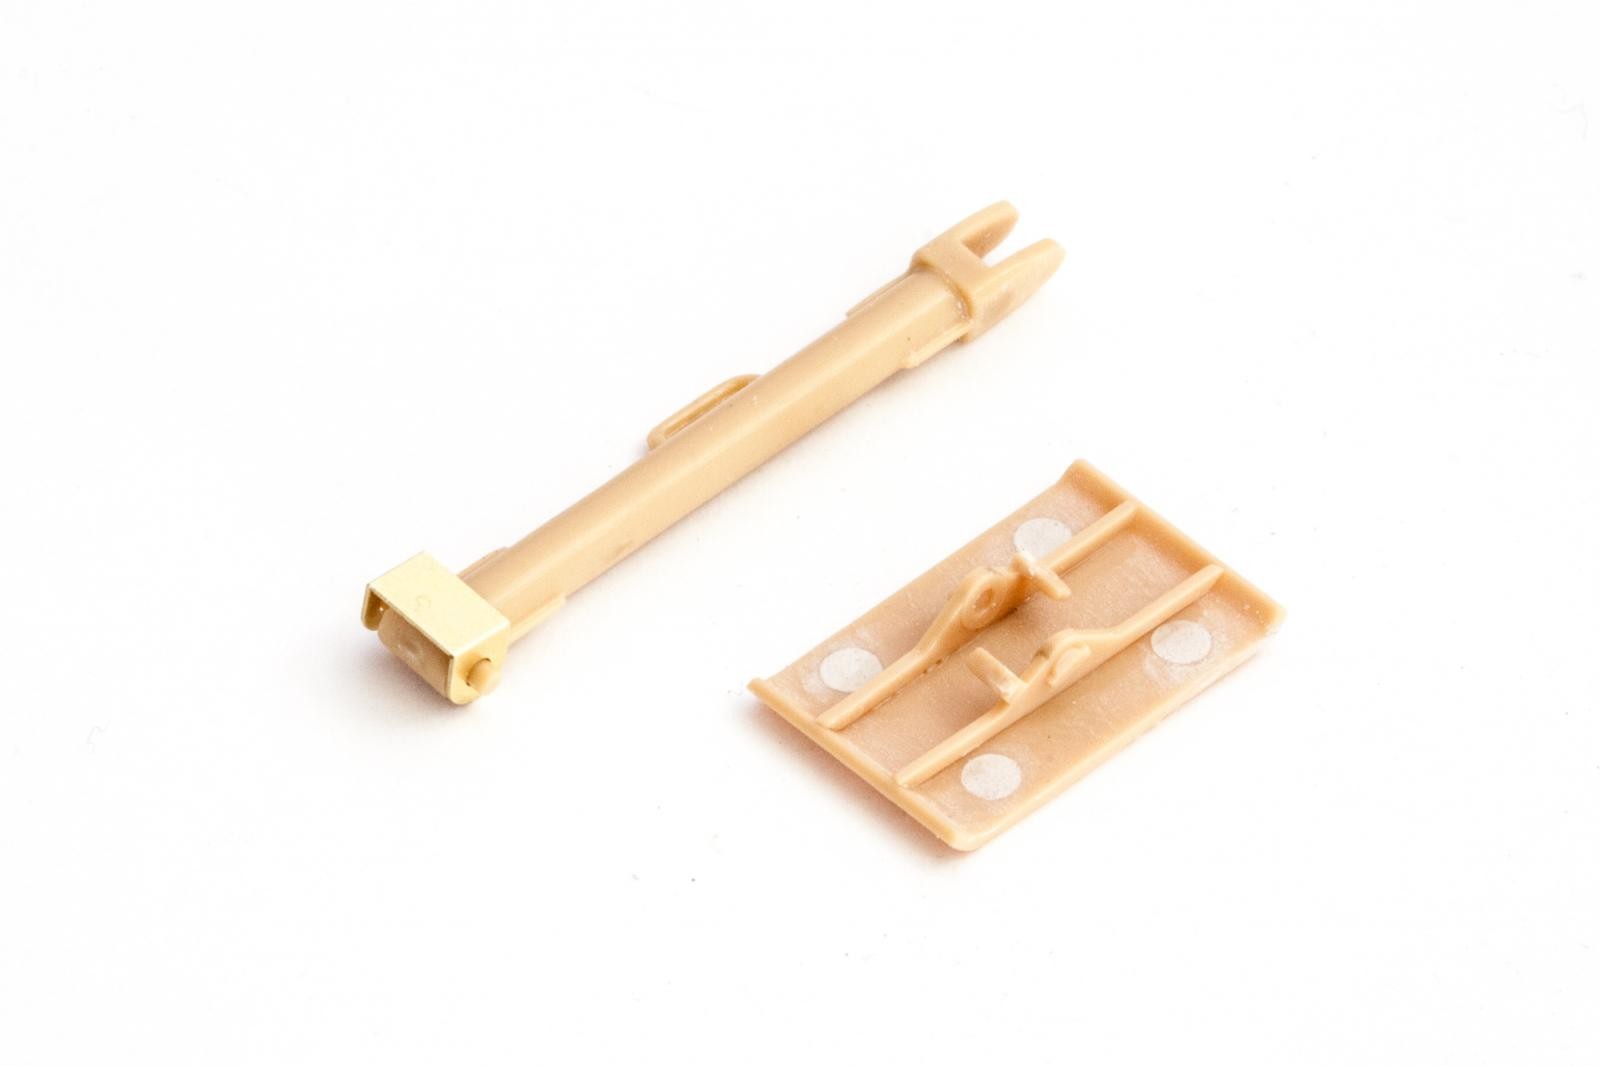
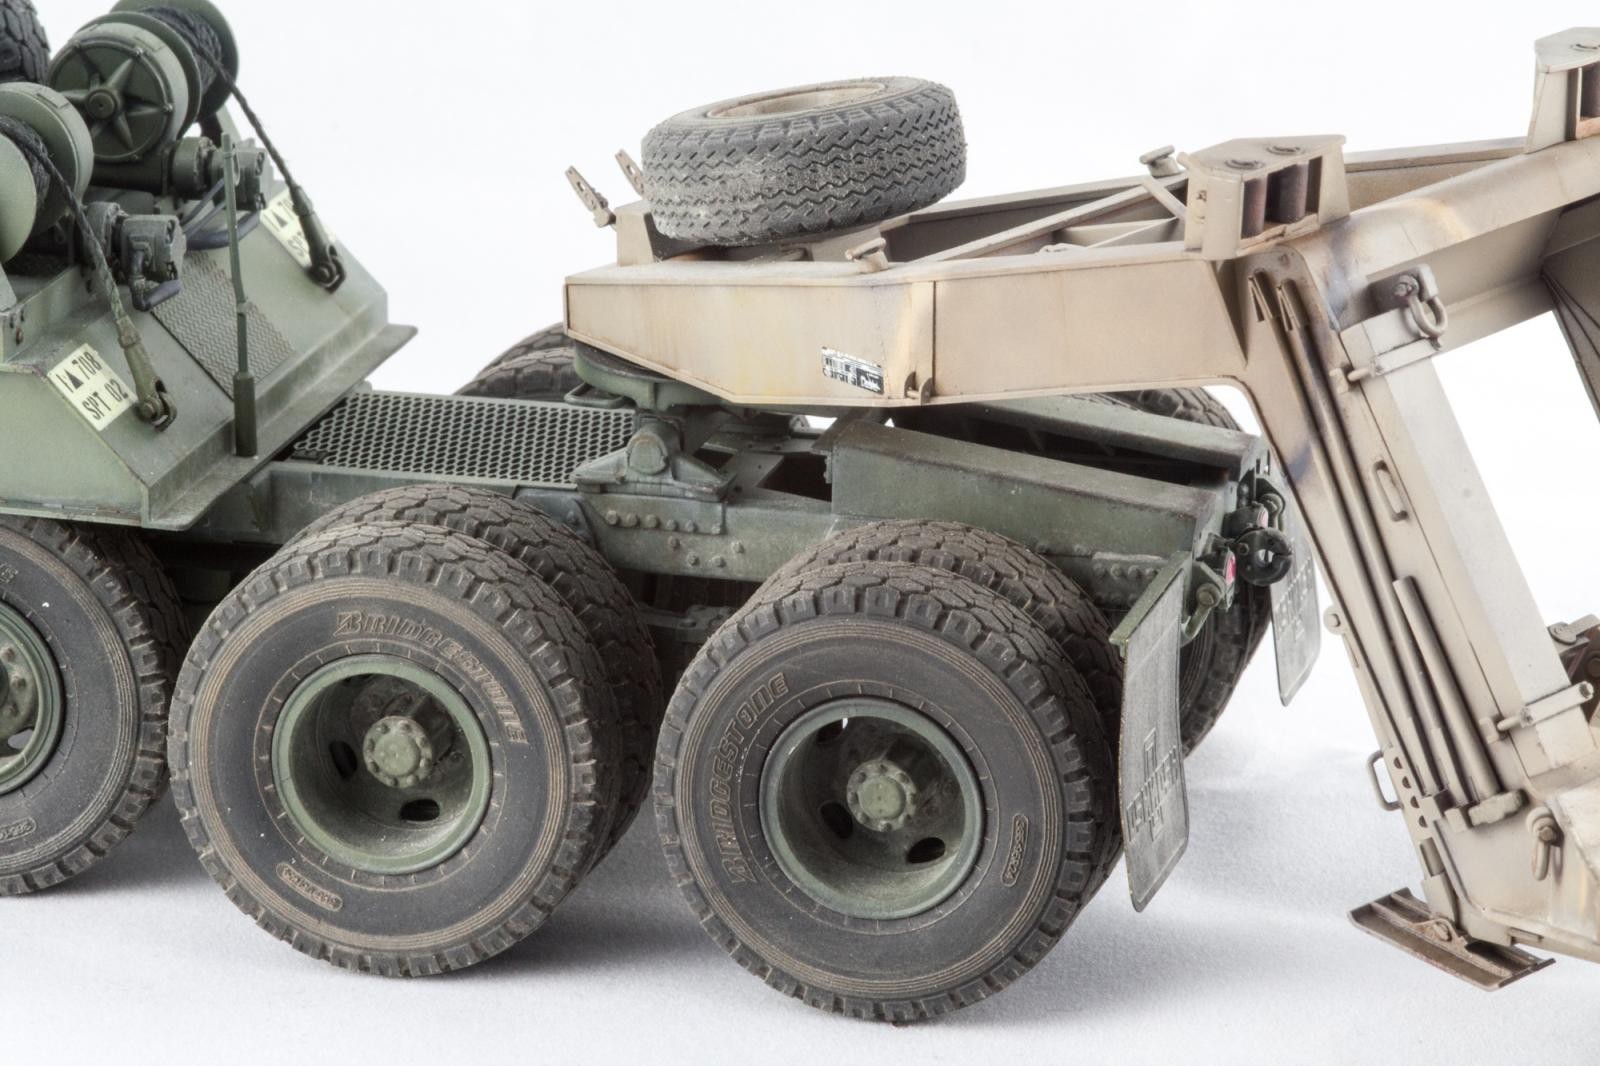
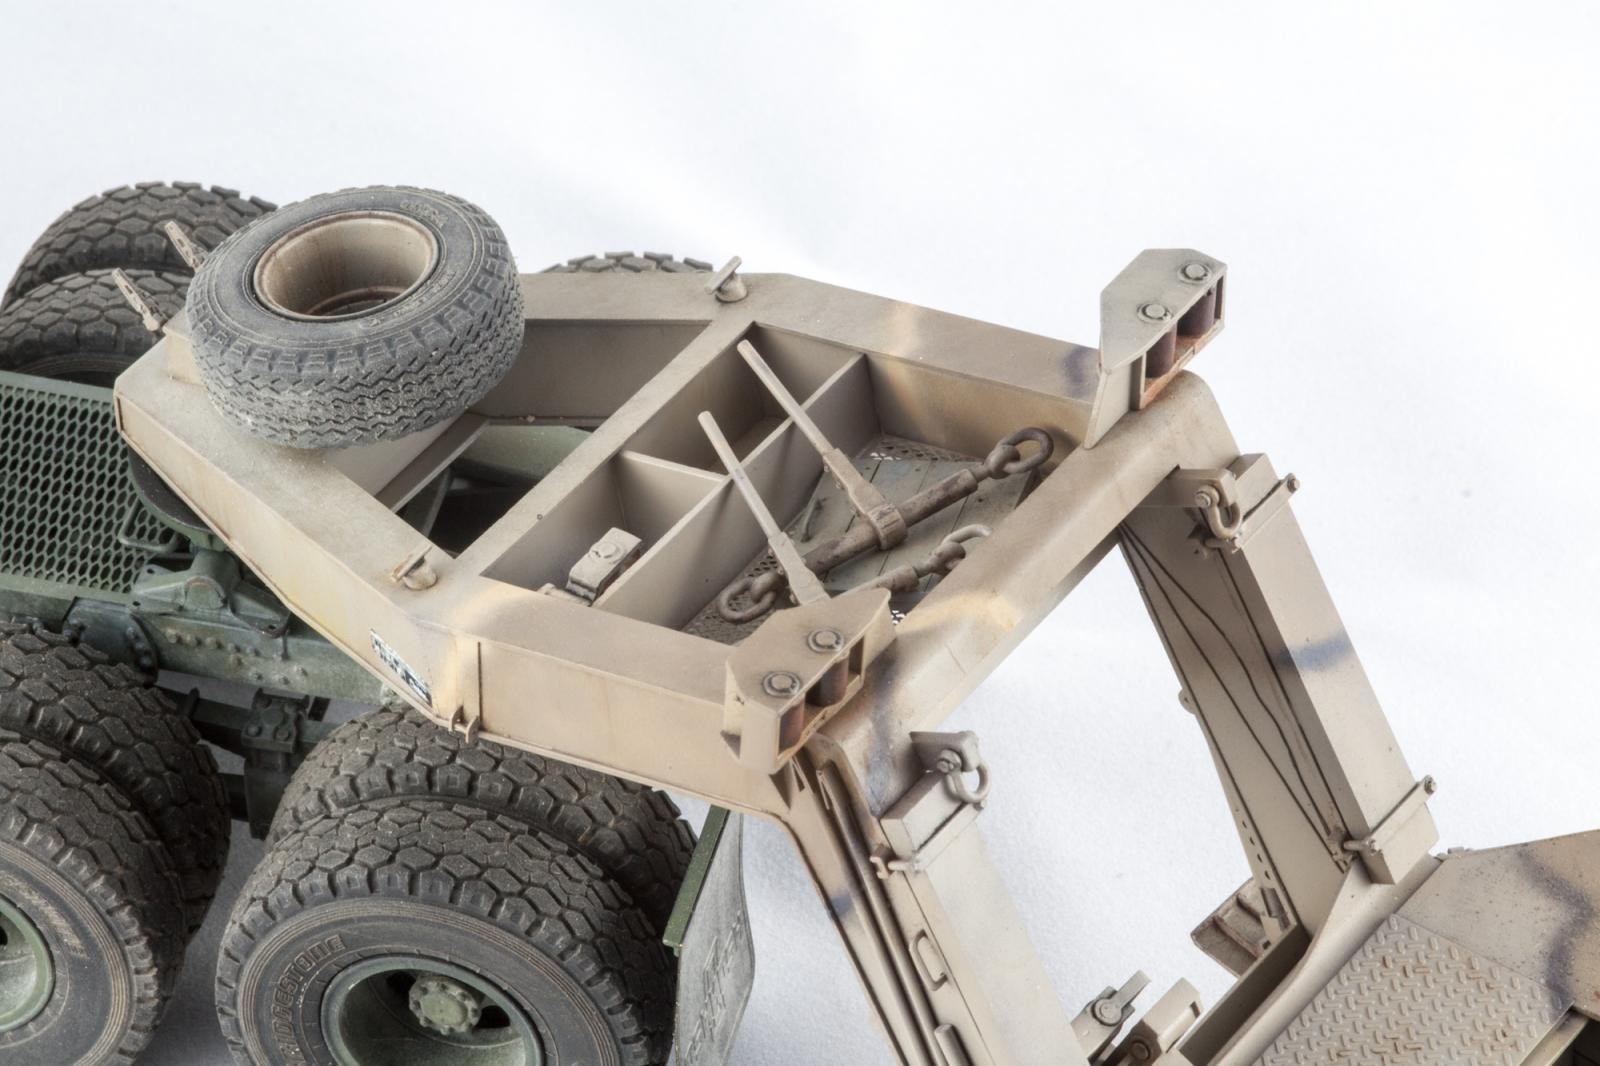
Switching to styrene, I replaced the somewhat ugly looking supports for the top roller assembly, and added a fixture on the goose-neck's left side and a mount for an auxiliary crane. This was sometimes used to hoist the spare wheel and was a field modification suggested by the Technical Manual. Weld beads were created using putty.

Adding three tiny air valves to the trailer's left side concluded this part of the operation.

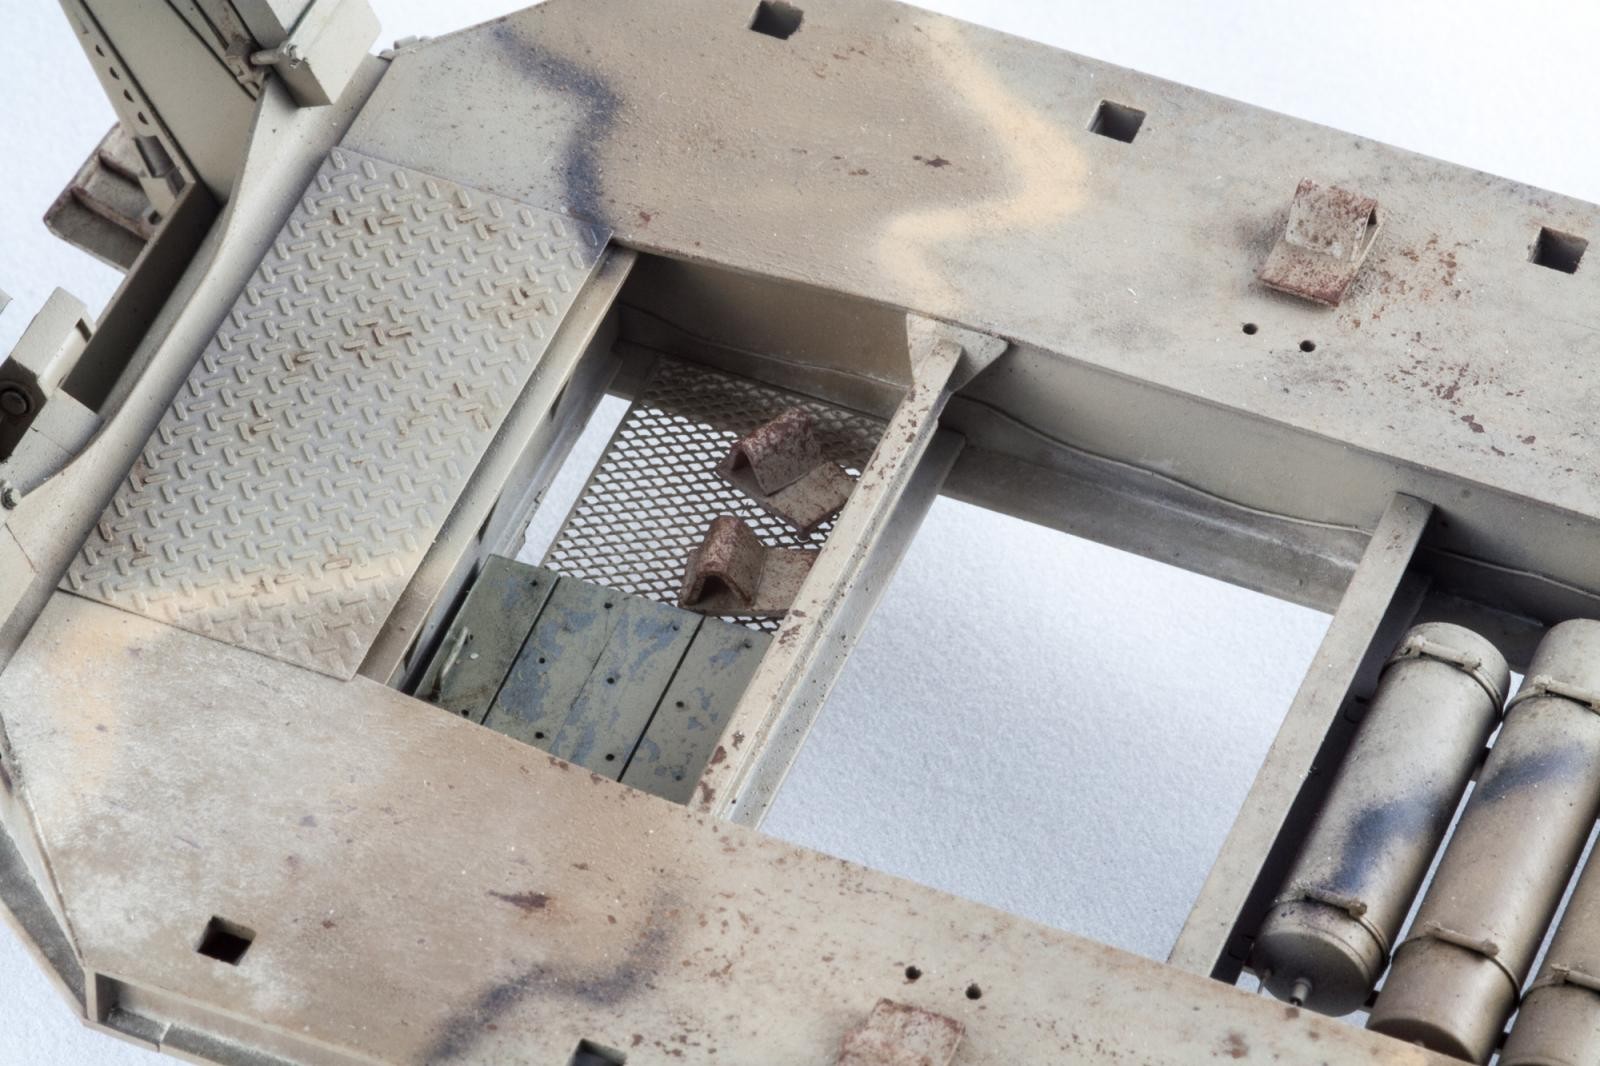
Scratchbuilding the tie-down assembly was a matter of guesstimating dimensions and cutting tiny pieces of plastic. It is not perfect, but still better than Hobby Boss' way of simply gluing a chain to a D-ring. The wooden boards on the other hand went together quickly. I would guess they are used to support the landing gear on soft terrain, so they would look quite beaten.
Finally, I still was not happy with the way the air hoses connecting tractor and trailer looked, so I decided to make my own. Using 0.6mm copper wire, they were wrapped around a drill bit, bent into shape and painted with Mr. Hobby Red and Blue. Compared to the kit's hoses these look way better, but I will only add them after the whole vehicle has been fixed to some sort of base.

Rust'n'Dust
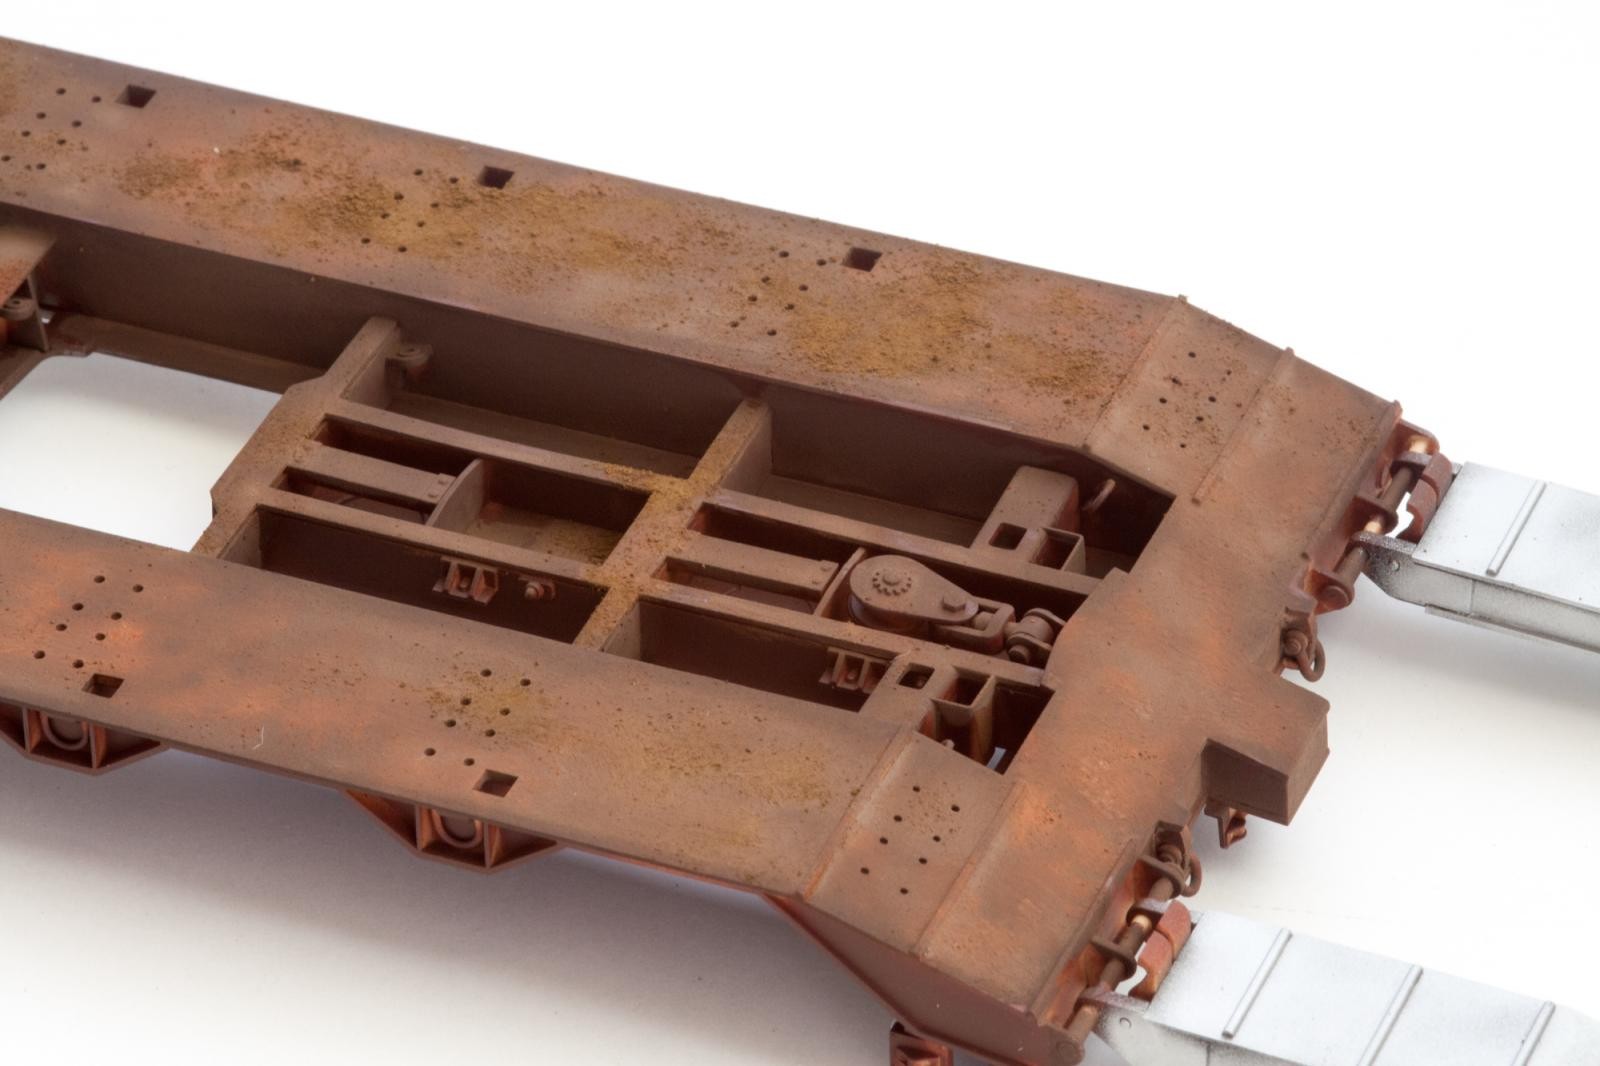
Sticking to the plan of creating an “old dog”, the whole trailer was primed with Tamiya XF-68 NATO Brown, over which a cloudy pattern of different lighter and Orange colors was applied.

The ramps, on the other hand, are aluminum and would not rust, so they received a base coat of Flat Black, followed by AK Xtreme Metal Aluminium.
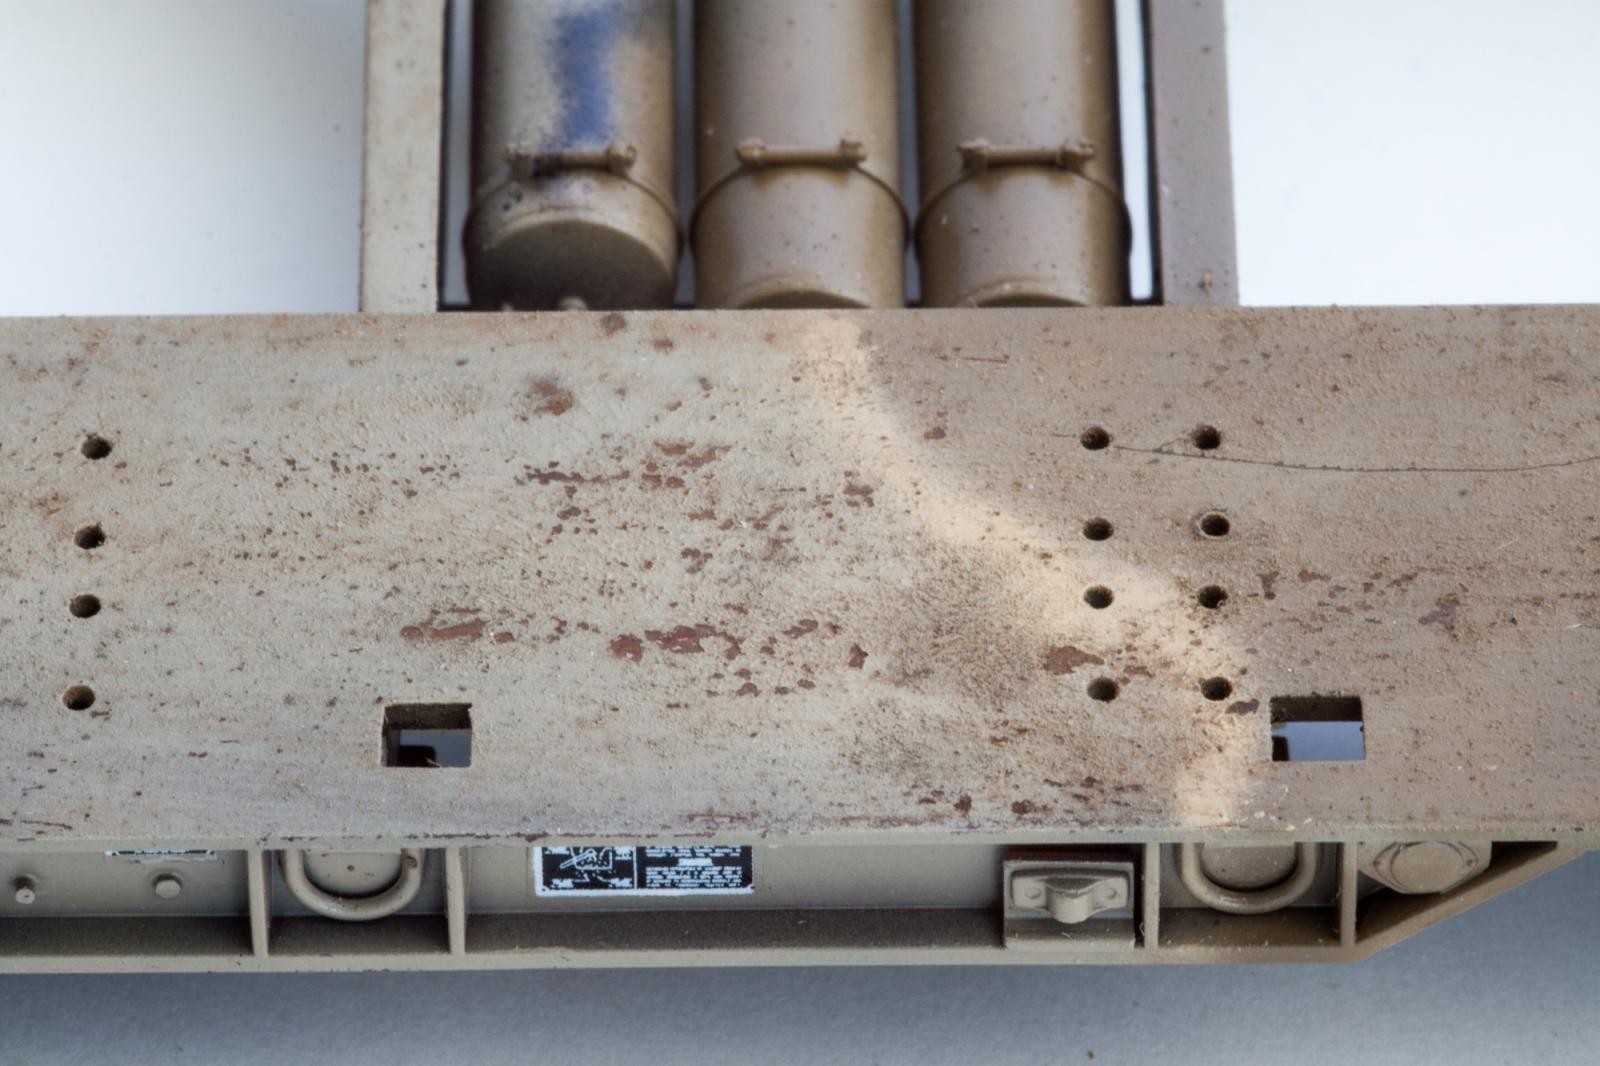
Next, the flat bed was given a wash with a mix of rust-colored pigments and Mig's Brown Wash. I added additional pigments into the still wet surface, soaking up the wash. To fix everything in place, a coat of pigment fixer was airbrushed using low air pressure. At the same time, I gave the ramps a coat of hair spray.
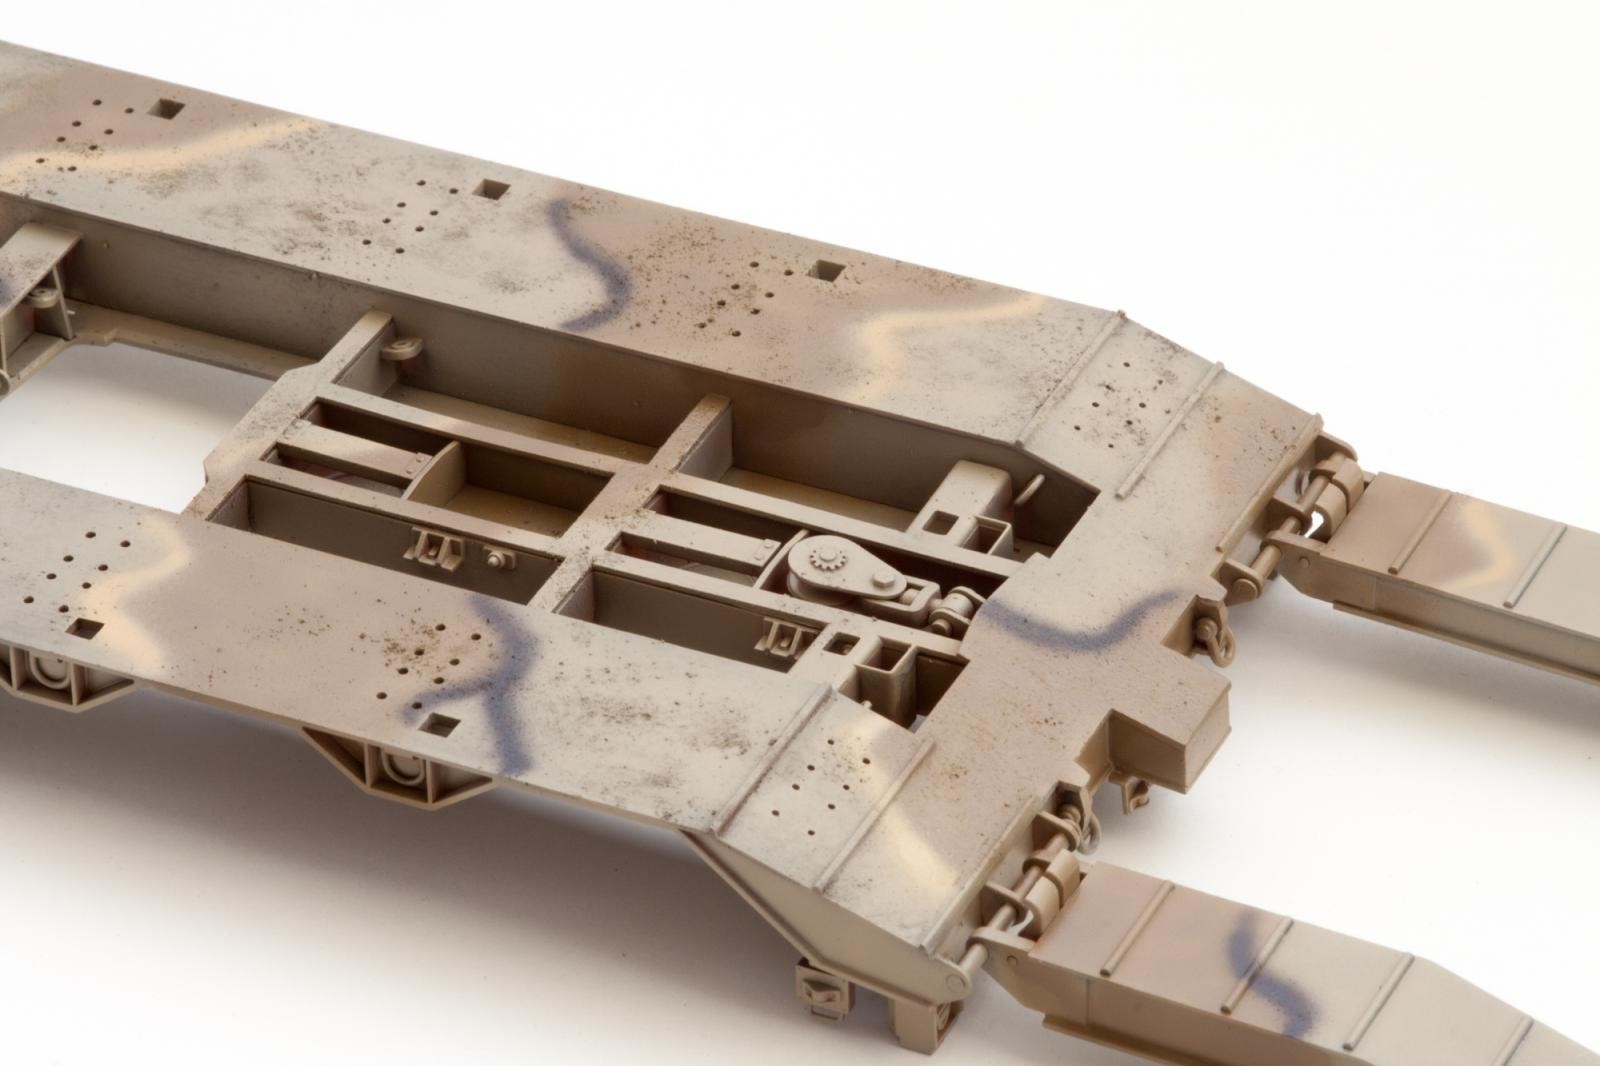
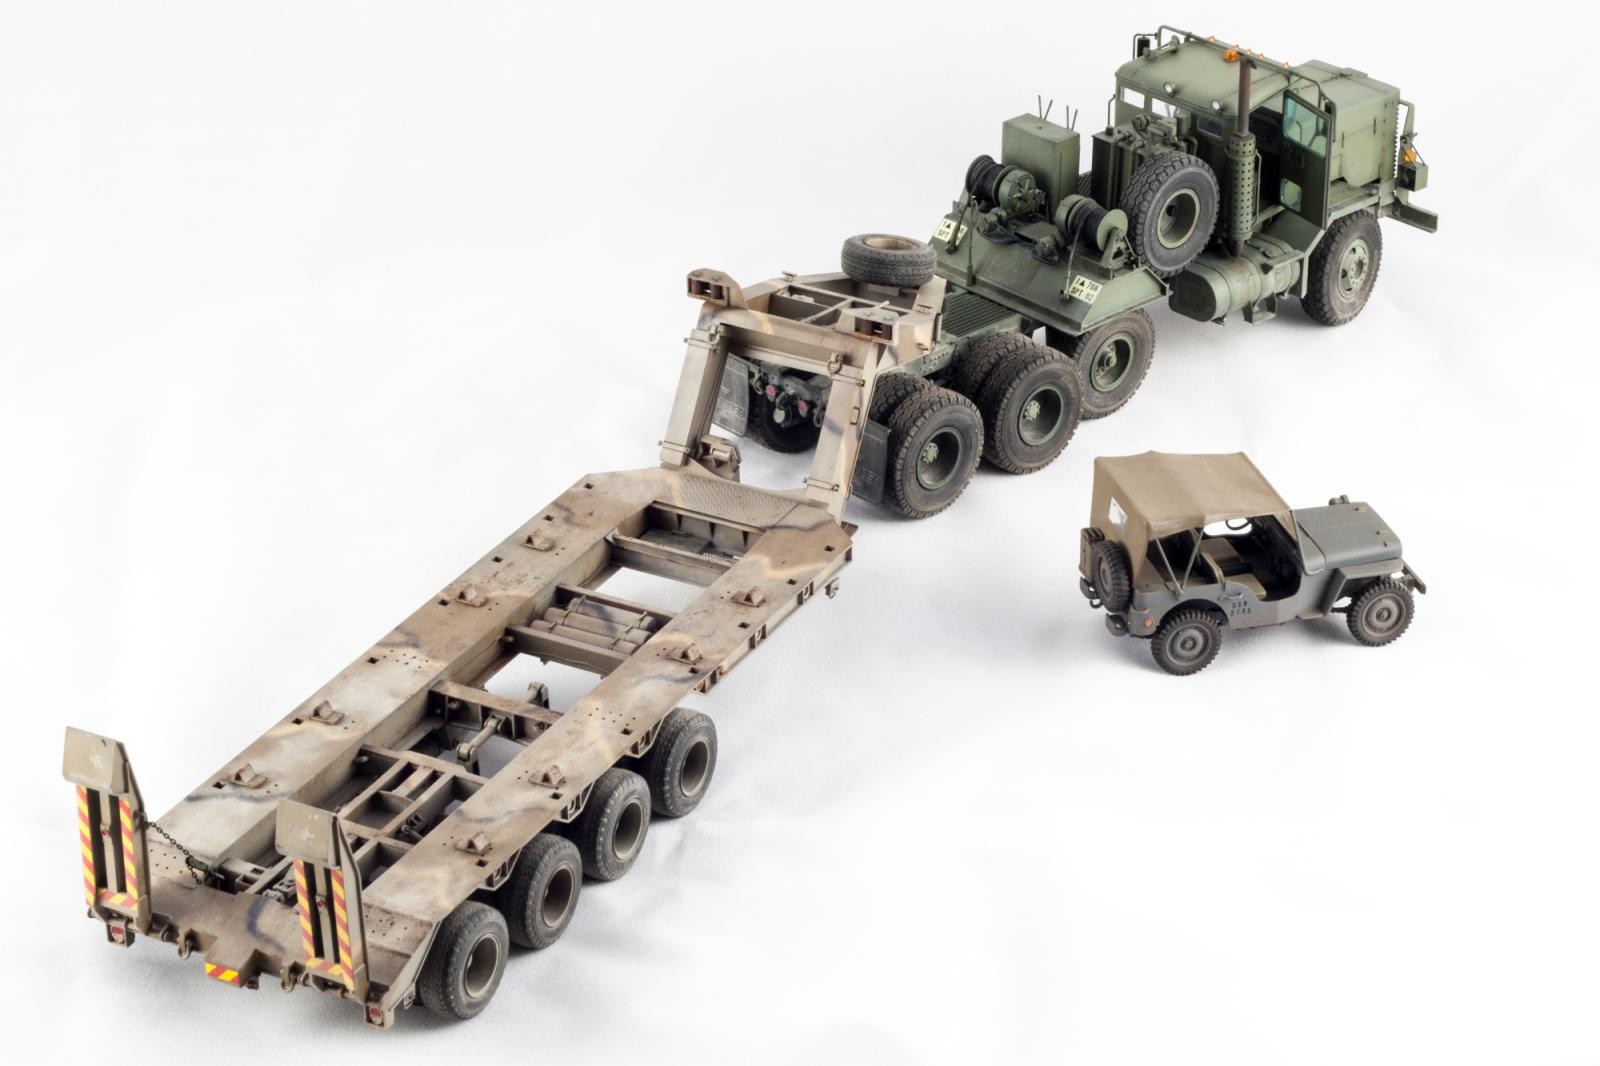
For the MERDC “Grey Desert” camouflage I used Hataka's lacquer paints, FS30277 Sand, FS30118 Field Drab, FS30257 Earth Yellow, and FS37038 Black. All of this was airbrushed freehand in a rather haphazard fashion – sticking to the official camouflage schemes was not everybody's strong suit in MERDC times.
Now for the fun part: removing paint. The idea behind the pigment base is to create paint chips and three-dimensional rust effects by scrubbing the surface and thereby removing the underlying pigments. Same with the hair spray, only you will need to use water to dissolve the hair spray under your top coat. This works very well with an Acrylic top layer, in fact you have to be careful to not remove too much paint.
With lacquers it is a bit different. Starting with a soft brush, I immediately noticed – nothing. No effect whatsoever. A stiff brush and a toothpick produced slightly better results, but not quite.
Finally I had to resort to the nuclear option – a proper wire brush. This finally gave me the
Results I was after.
The rest of the weathering followed my usual process – a mix of washes, oil paints, pigments, sponge chipping etc. pp. When working on a kit of this size, it is easy to get bored or to become repetitive in your work. I spent probably a week on it, coming back again to certain areas and adding another layer of dust, rust, or grime.
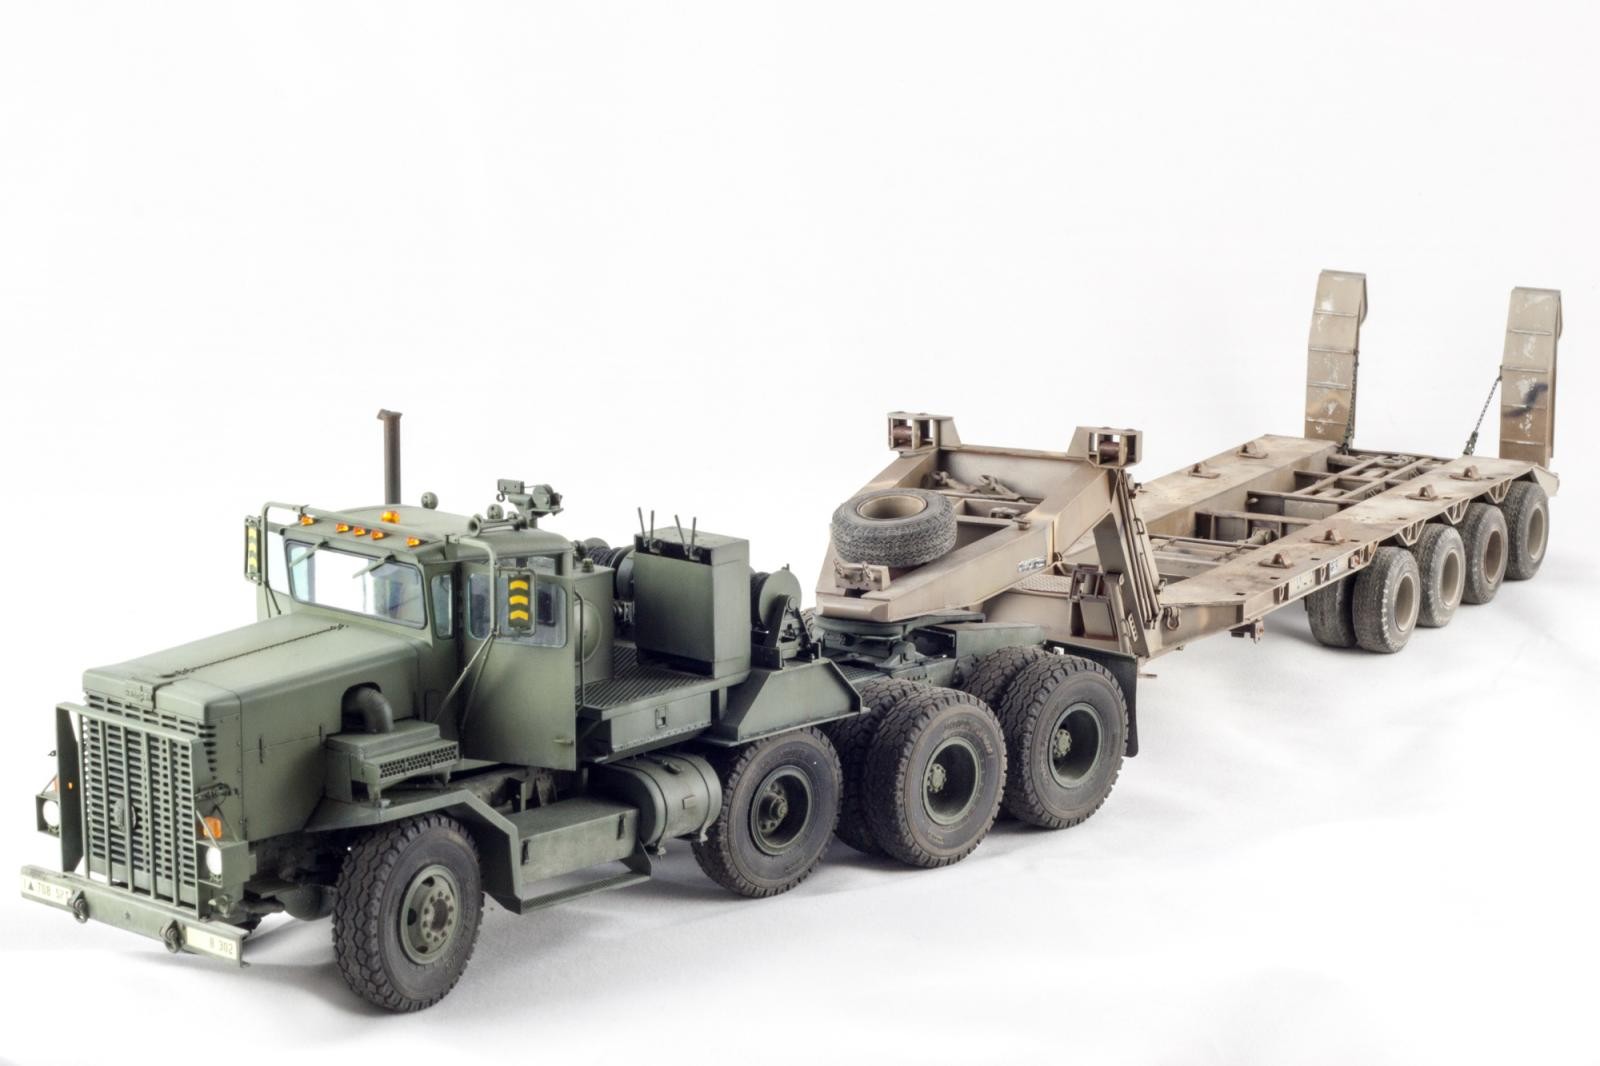
My Two Cents
With an overall length of almost 60cm (23,5in), the C-HET is impressive no matter how you look at it. At the same time, a kit this size needs lots of detail, otherwise it might look like a large paperweight. Hobby Boss, for the most part, managed to pull something off that will satisfy the casual crowd as well as the “serious” builder. The biggest challenge for the former might be working with some of the PE parts, and the complexity of the drive train. For the more detail-oriented, the kit offers an excellent canvas for further detailing.
Personally, I am still not convinced that rubber tires are the way to go. Even though the seam lines are not too prominent, they are still there, and I would not mind painting tires in exchange for styrene parts – maybe even properly sagged, how about that? If the plane folks can do it, so should the producers of armor.
On a more general note, I wish Trumpeter/Hobby Boss would produce a set of generic tie-downs, fasteners etc. With their catalogue of trucks, trailers, even containers, the REMF crowd (don't look that up) is in dire need of stuff to secure trailer loads. So Trumpyboss, please create a sprue full of these parts, throw it in your upcoming HEMTT releases, sell it separately, and make me a happy camper!
Stunning work, sir...well done indeed.
Thanks Craig!
Excellent! Love your detailed post about how and with what you detailed the build. Great result for the elbow grease you put into this.
Thanks Greg! I hope this is going to be helpful.
Well done on a beautiful build.
Thanks Charles! Looking forward to your next truck build 🙂
I believe the fine gentlemen above have said it well... this is one fine example of what model building is all about.
Now icing on the cake (for me at least) would be to add a M-60 tank loaded on the trailer. You can use the Jeep as the convoy escort and have it all covered ... AFV Club makes a fine one.
Thanks for posting my friend.
Someone is pushing the M60 agenda here 😀 Thanks Louis - I actually already have an M60 in my collection, but it is the old Esci kit I built "some" years ago and I am not entirely happy with its finish. So I guess I will have to revisit this subject anyway...
1 attached image. Click to enlarge.
Thanks for considering parking one of these on the trailer... As far as your "Old Esci" kit, you did a fine job with it. I didn't know it came with aluminum road wheels... Nice to look at, but a pain to keep serviceable on the real tank. They had a steel wear plate that was bolted to the inside of the wheel. It was in two "C" shaped sections, and was designed to keep the steel track center guides from eating the aluminum away from the wheel. Normally, the bolts would shear that held the wear plate in position, or a center guide would eventually bend the end of one where the two parts were joined together.
Shortly after that happened, the guides would start ripping the wear plate from the wheel.
And the wheel would end up being replaced. It was a good idea to shed some weight from the tank, but it didn't work too good in the long run. I ended up with all steel wheels on my tanks after a while.
Thanks for posting a picture of your model. If I didn't know better, it would pass as a real one. 🙂
Well done.
What a monster! And a "monster" build. Very, very nice, Boris!
Thanks Gary!
Wow,
Very, very nice
I made the hobby fan one a long time ago
Yours is lovely, looks like a good kit
Love it.
2 attached images. Click to enlarge.
Thanks Malcom! I contemplated the HF kit years ago, but it was a bit out of my pice range at that time 🙂
Hello Boris,
Thanks for sharing this build-up with us. Impressive piece of power.
regards, Dirk
It is indeed impressive - I would love to see one of these things "in the flesh"!
BRAVO! stunning indeed
Thanks David!
Hi Boris, I should have commented on this earlier!
Congratulations on the entire build, it's stunning!
Beautiful, Boris! I rode in the Right seat in one of these when our tanks were transported from the port of Dammam, Saudi Arabia, to where we lagered before Desert Storm's ground war began. It was about a 6 hour ride. I confess to sleeping a little (maybe a half hour) but the Driver didn't want to trade places to let me drive the beast. The one I was in had my M1A1 (Heavy) on it. It's a great vehicle and the guys who worked / drove them seemed to like them a lot.
Hello, I'm assembling this truck, and I want to put an M88A1 on the trailer, but I can't find any references, did the M911 transport these vehicles?
Great report Boris!
Nice work, my friend. It inspired me to start my model. Thanks for the tips and suggestions.