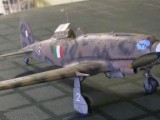
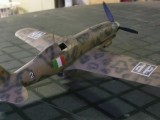
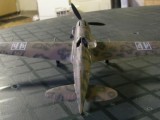
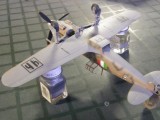
1/48th Macchi Veltro C.205,Hasegawa MTO, WWII
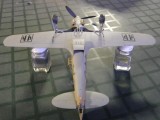
Something a little different tonite. We have Hasegawa's excellent Veltro in 48th scale. When I first started to plan on this particular project, my biggest dilemma was what scheme to replicate. Thinking this may be the only Veltro I may ever build I decided to go with the difficult smoke ring scheme. A few tips ahead of time revealed that you can get the rings in decal form, which could be the easy way out, then again how long would it take to appy each decal. So since I have done a few Luftwaffe schemes which can be quite challenging. I figured I was up to the task. Using Aeromaster Acrylics, for the Lt blue grey lower color. This version did not have the wrap around type scheme that the Veltros (Greyhound) would sometimes appear. The tan was a mixture of Model Master Tan Special and Desert Yellow, The Dark Green smoke rings was xtracolour enamel of USMC Dk Green. Using the enamel paint is much easier to appy carefully with very little clogging issues with the airbrush. Was a little sloppy at the start, but as I got into routine on apply the rings it got easier as I made my way front to back starting at the nose on the LH side of the fuselage. Using Eduard's interior zoom set, Interior Green was used for the cockpit interior, RLM02 Grey for the wheel bays and gear. Wasn't quite sure if the lower blue grey carried over into the wheel bays. Aeromaster decals for the scheme were used. Not a show plane, but a nice addition to my WWII Axis collection that participated in the MTO. A very capable fighter in the right hands. Not too many were built in time to contribute to the Italian Air Force. A little smaller than the Mustang, more in line with the Fw-190. Not too many issues with the build. Just the normal filler around the wing to lower fuselage join. The cowl was a separate piece and some work there as well otherwise a nice build. Just painting the smoke rings was the only challenge. Thanks for viewing
Chuck
Fly Navy
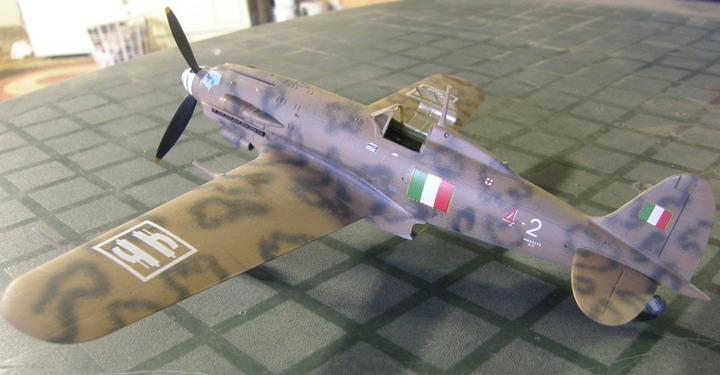

Have always admired the lines of the 202 & 205. Your build does them aircraft proud. Love your paint work. Have both kits on the shelf & I managed to latch onto a couple of the Jaguar cockpit sets which include a lower rear engine area insert for the wheel wells. Just need to build them.
You know that was the only thing that Hasegawa didn't let say bother to address, probably to keep it simple. The engine area that is exposed on the real aircraft. I have the Tauro kit which I have started but never finished, but it does capture that rear engine area viewed through the gear bay. That Tauro kit is tough.
I've not heard good things about the Tauro kit. I've got it but haven't really looked at it.
Lot of detail parts, but plastic is soft. Open panels, it has the engine, detailed cockpit. Need to replace the gear struts very weak on a plane that is not heavy at all when completed.
The Tauro kit was once described as "a Frog kit with Tamiya hopes." I did two back 20 years ago when they were all there was, and I was much younger and more patient with b.s. models than I am nowadays. But basically, a Tauro kit of these models is best used as a door stop.
Great job on that camo, Chuck. I did one of these a few years back, but used the Mike Grant smoke rings...which were kind of a PITA, because they weren't separate decals (you had to cut around each and every one). Should've done it your way - nice work.
Chuck very nice build I am finishing the same kit right now, mine came with the smoke ring decals not to sure but probably easier to do the rings with AB the decals are great but not pre cut had to trim each one took 4 hours just for rings should finish it early next week. I did the co belligerent version again VERY nice build
That's always been of my favorites, going to have to build one of those some day. Beautiful build!
It looks great - given that the "smoke rings" were applied by some guy with a spraygun and never look "nice and neat" in any photo I've ever seen, you got them just fine.
Chuck your macchi looks great to answer your question on the decals in just finished a Veltro my kit came with the decals for the smoke rings and I chose what I thought was the easy way out by using them it took well over 4 hours to apply them they look great but very tedious I think either way airbrush or decal works but I think I might try airbrush if I do this scheme again once again great job
Your kit provided the decals? Which kit was it? That makes it much easier to decide which scheme to apply. I did look into the decals, but one set was at 13.00 and the other one around 15.00. So I felt I can just airbrush them on instead. It took about 2 hours to do so. My eyes were cross eyed when I got finished.