Airfix 1/72nd scale Shackleton as an AEW2
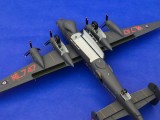
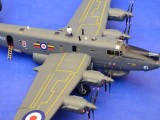
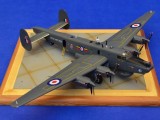
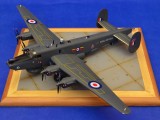
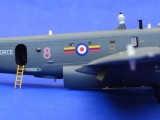
Here's my final model completion for 2015 - the new tool Airfix 1/72nd scale Shackleton finished as an AEW2.
I've completed it as Avro Shackleton AEW2, WL747 'Florence', of 8 Squadron, based at RAF Lossiemouth.
"Why not wait for the Revell kit?" I hear you cry... well I had a spare radome for a PB-1W (B-17) and impatience got the better of me so I decided to buy Xtradecal's Shackleton sheet and took the plunge.
The conversion itself was very simple - the bomb bay was shortened and a new plastic card bulkhead added to the rear of the forward sealed section of the bomb bay. I then needed to adjust the shape of radome where it meets the fuselage slightly, stuck it on, and blended it all in with Milliput. When it was painted I used a mixture of the Airfix decals, the aforementioned Xtradecal sheet as well as some Xtradecal yellow stripes for the walkways etc which were very different on the AEW2 fleet in comparison to the MR2 aircraft. There were no specific AEW2 stencils supplied with the Xtradecal set so there's a few missing, but I'm not going to lose too much sleep over that.
Although the conversion itself was simple, unfortunately my experience with the base kit was anything but. It looks lovely in the box, but was an absolute pig to get together. I'm more than open to the idea that it was me making a ham-fisted effort of it, but after reading various reviews in the mags and online I was expecting a straightforward build. However, mine was anything but:
Nose area was mis-moulded and I had to build the area up around the nose gun aperture with plastic card and filler.
The 'bomb-aimer's/gunner's' nose transparency didn't fit at all and needed much trimming and fettling to get it into its aperture.
The wheel bays just didn't want to go together at all , and when I did finally get them in position they didn't fit into the wing correctly and much trimming/sanding was needed.
The interior is beautiful, but means the fuselage won't fit together properly - despite much trimming and sanding of the interior bulkheads and floors. In the end the entire rear lower fuselage was shimmed with plastic card.
Upper turret plug doesn't some close to fitting and needed a lot of filling.
Cockpit glazing didn't fit and sat too low - the whole area had to be built up with filler.
Joins of the upper nacelles to the wing was an appalling fit - again lots of filler needed.
Now I'm one of Airfix's biggest fans and was very surprised to find these issues with a new-tool kit, especially after reading such rave reviews. As I said I'm more than happy to admit it may have been me having 'one of those builds', or even being unfortunate and getting a 'Friday afternoon' example - either way I'm afraid I won't be rushing to build another!
Anyway, enough waffle from me; enjoy the pictures.
Wishing all fellow "imodellers" a Happy Christmas and prosperous 2016.
Tom
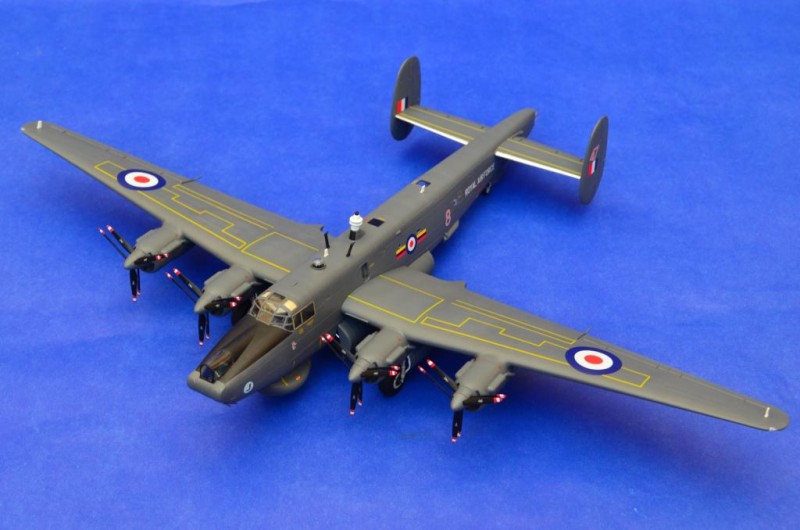

Absolutely stunning, Thomas...nicely done indeed.
From your description of the plastic this kit can be labeled as having been made into "Silk Purse from a Sow's Ear". Excellent build and subject. I've had the pleasure of seeing one fly in the states. Taking a hour to pre flight. It was being held at the former Polar Aviation's hangar. They kept it in doors for the winter and it took up a lot of space. A real treat,Thomas thank you for showing this gem.
One thing I have discovered in recent Airfix builds is that "close enough" doesn't work any more. I make absolutely sure that not the slightest trace of any "sprue nubs" remains, I thoroughly clean up the edges of parts like bulkheads and floors so they fit perfectly, same with all other parts. When I take the time to do that, the result looks great. But the slightest deviation from that clean-it-up discipline results in everything gradually going SNAFU from the point of the first mistake onwards. I just had this with two Blenheims, a I and a IV. Slight deviations in that discipline resulted in the Blenheim I being "fiddly" (but looking good in the end) while keeping that discipline with the Blenheim IV resulted in a trouble-free build.
At any rate, the result certainly looks worth the effort.
Your skills and patience has truly paid off to an excellent example of the Shackleton. Outstanding results. Thanks for sharing. Merry Christmas
I very much liked this aircraft and this new Airfix tempt me.
I hope to make it next year.
Your product is a balm for the eyes nice paint and build
I like
Hello Thomas,
"Master Modeller".
The finish is superb. Next one with the nosewheel.
Finally nice to see the Airfix kit built, but unfortunate to hear of your travails! You did end up with a very nice looking build, so you were definitely up to the task.