1/32 Revell Spitfire Mk.II – Part 1, Construction.
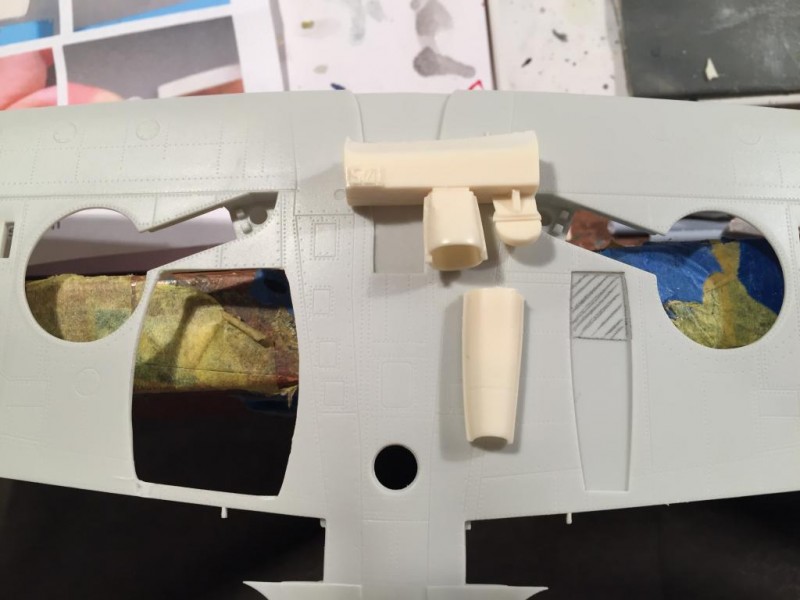
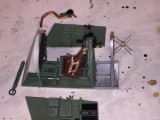
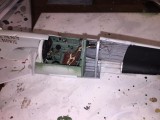
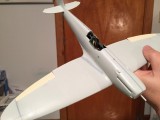
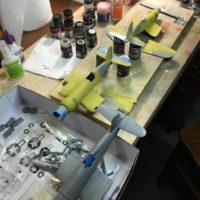
I took some photos along the way to illustrate the construction of my big Revell Spitfire. I added a lot of aftermarket parts to this one, far more then usual. I hope the photos help anyone building this kit.
The following aftermarket sets were used:
Barracuda resin - oil cooler, radiator, fabric ailerons, seat, back armor, door, wheels.
Eduard photo etch - interior( instrument panel, belts, side wall detail, structural girder), exterior (landing gear well sleeves, roof, landing gear doors and strut detail).
The Revell/Hasegawa 1/32 Mk. II kit from 2001 contributed decals and the blunt Rotol spinner which I modified to fit the new kit's back plate and prop blades. I also used the canopy sliding section from this kit because it sits better then the new kit's.
The Barracuda resin parts really make this otherwise mediocre kit something special. All of their products are well engineered, quality items. They really are a must for building this model.
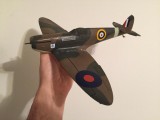

Some fiddly work there, John, but turned out well in the end.
It sure did! The Barracuda resin worked wonders! Thanks Rob.
I would hardly call this a mediocre kit. If anything, the Revell/Hasegawa Mk.II is mediocre (take it from me, I built one). I will say that this newer Mk.II has a lot of minor flaws, most of which have been taken care of by the addition of the various Barracuda accessories. Anyway, your build of this Spitfire is very impressive.
I was put off by the fact it doesn't come with seat armor, on top of all the little detail errors. It turned out fine and was fun, thanks in no small part to the Barracuda items.
What a difference the replacement parts make: money well spent for a superb result.
Thanks Tony. All of Roy's resin items are top notch and I highly recommend them. It did turn out nice and makes a nice centerpiece to my Spitfire collection.