How to build a small and easy diorama.
This time I'm not going to post pictures of one of my models. I wanted to create a little guide for all those whom want to challenge themselves in the creation of small bases or dioramas to set their own models, without wanting to engage in anything particularly complicated and demanding in terms of time and materials used, but still better than nothing.
Before beginning with the practice, better to see a minimum of theory.
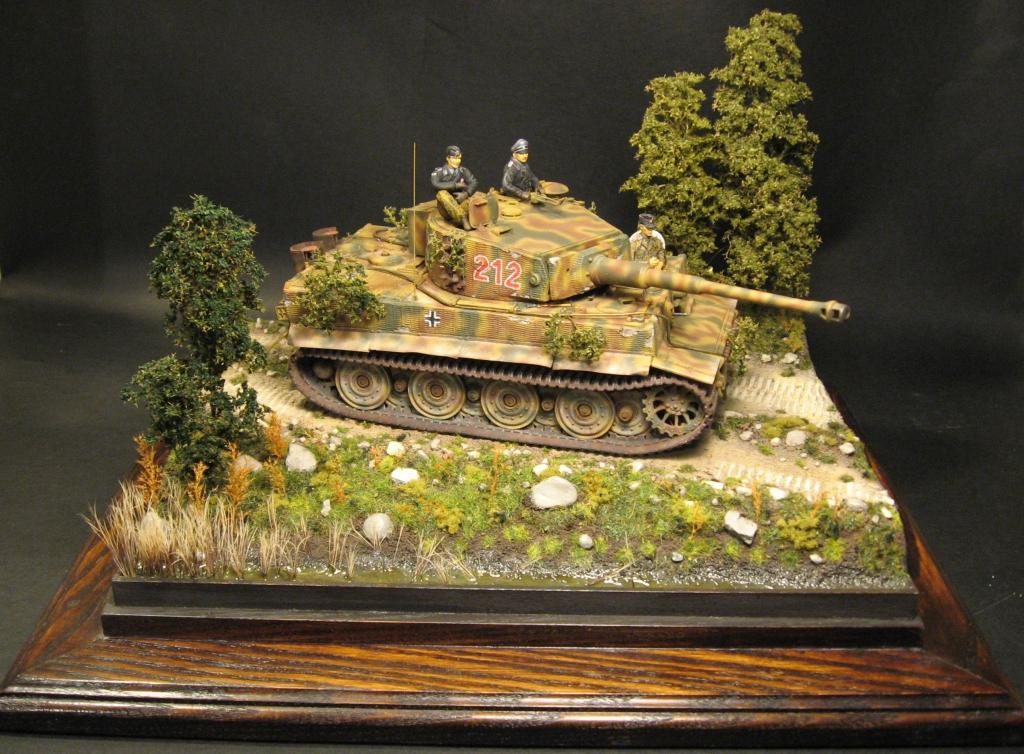
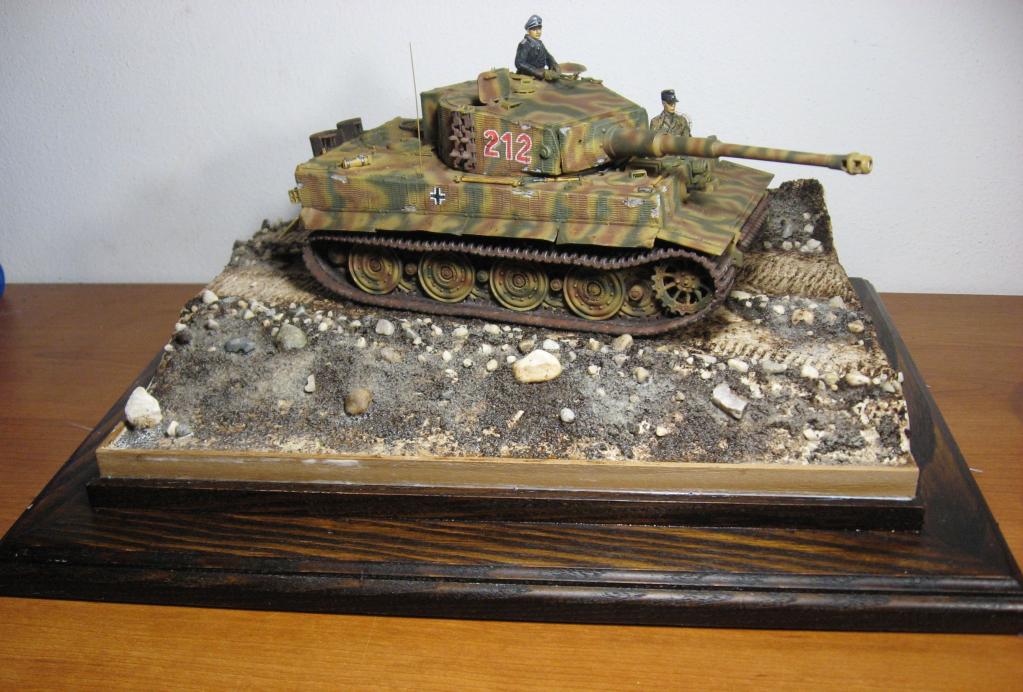
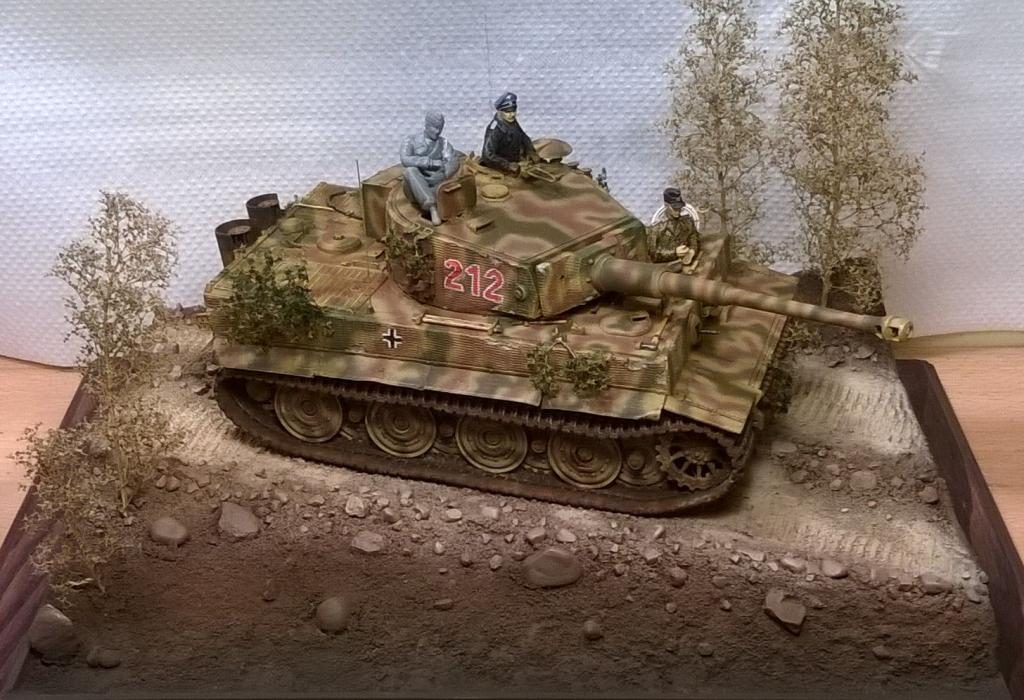
A small diorama, must not to be dispersive, and should present only one main point that attract the viewer's attention, all the object around must, push the observer to watch the focal point of the scene. In the case of Tiger, the tank and the crews. The small trees on both sides delimit the scene, helping to move the gaze to the center. If I would have add one or two foot soldiers, and I would have place them behind the tank,I would have contributed to disperse the scene, eventually, best to position them in front, facing the two in the turret, giving the 'impression that they were talking, maybe with a raised arm to indicate something in the direction in which the tank is heading. Possibly the enemy position or a direction to head on.
Another little tricks are not to create too much parallelism, and not develop the diorama on a single horizontal plane. In this case the road goes from the left back corner to the front right, mean while, the plain of the scene is lower in the front left corner, and climb going to the rear right one. The height of the trees follow also this rule. Lower in the front, taller in the rear. Finally also the turret is slightly rotated. Maybe these rules are a bit difficult to follow when it comes to an aircraft on a runaway, but sometimes a small drainage ditch, a hedge, a shield wall, can help.
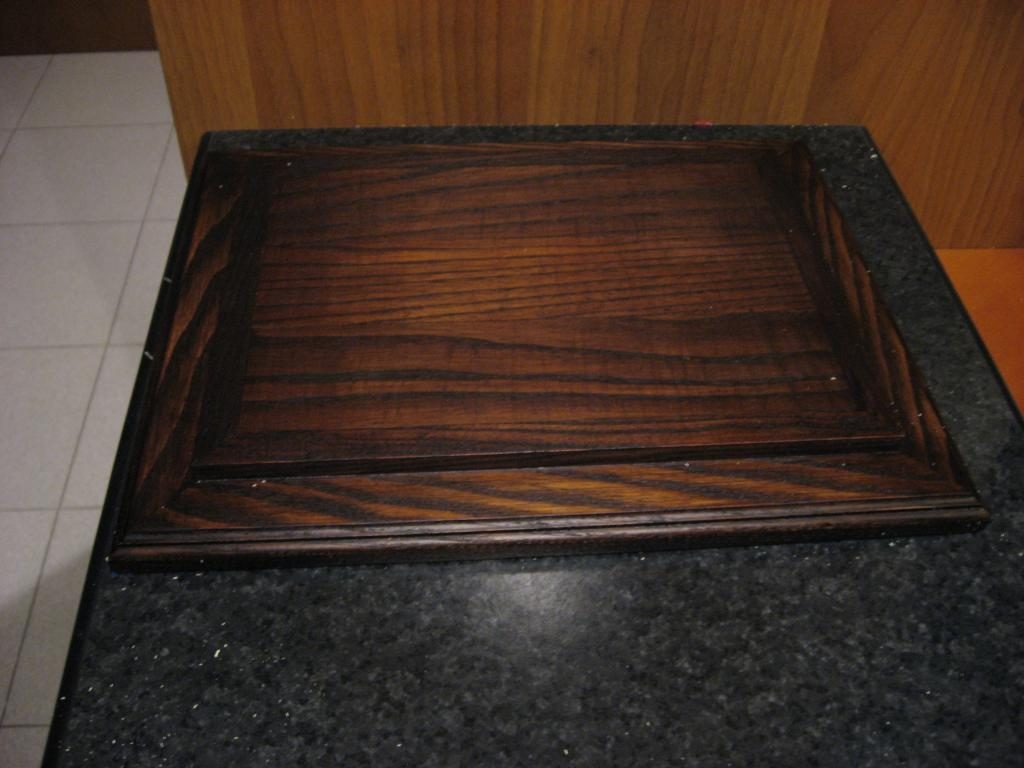
If you use a classic Ikea picture frame, better, at least, carry the level of the ground above the one of the frame. I do not like models to lay in a hole.
Let's see how I made the base for Wittmann's Tiger, published on this page in June 16. The plan, from the beginning, was to keep the overall dimension to the minimum. Some tests has been made drawing on paper a plan view in real scale. I ordered a wooden base with upward suitable to receive the Plexiglas display case that would have covered. I'm lucky to have a friend whom build wood base and sell them for an affordable price.
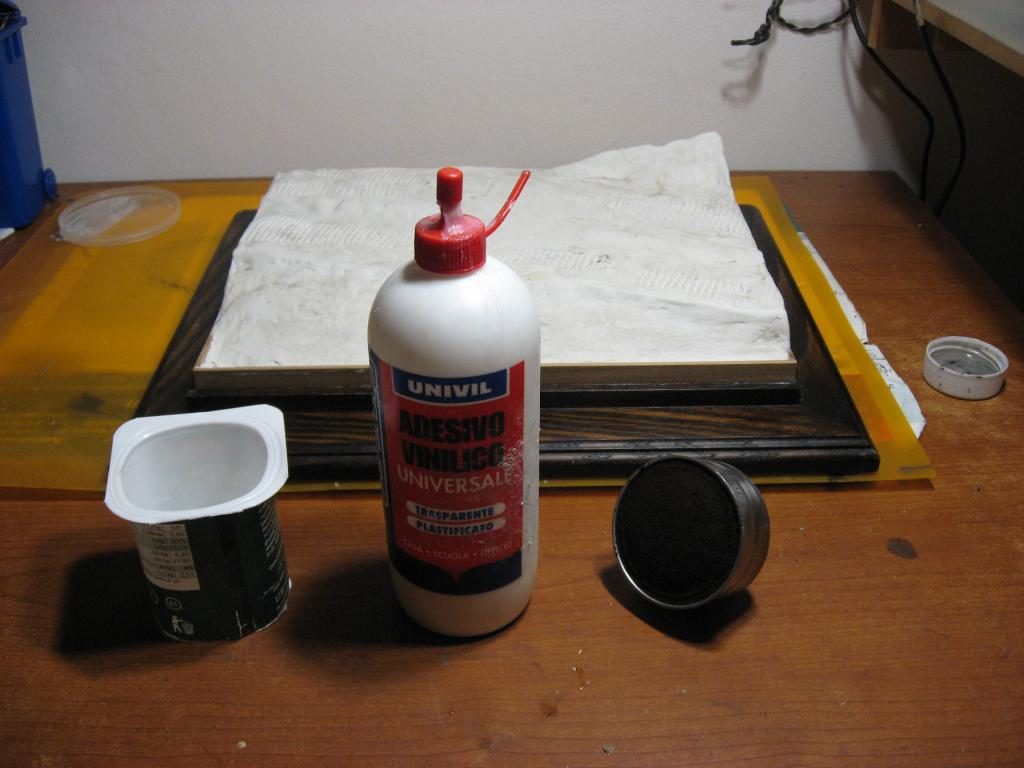
I continued creating volumes with the extruded polystyrene for buildings insulation, costs a few euro per square meter, can be easily found. It is easy to cut with a sharp blade, or with the classic polystyrene hot sewer and can be work with sandpaper. Be careful not to paint it with aggressive solvents or colors, it will dissolve easily. You can also use the classic white polystyrene foam, but better you prepare a good vacum cleaner, because soon you will be looking like e snow man.

Once glued the extruded polystyrene on the base with white glue (better scratching a little bit the surfaces to increase the grip) , I made a small containment rim with wooden rod 10x2 mm.
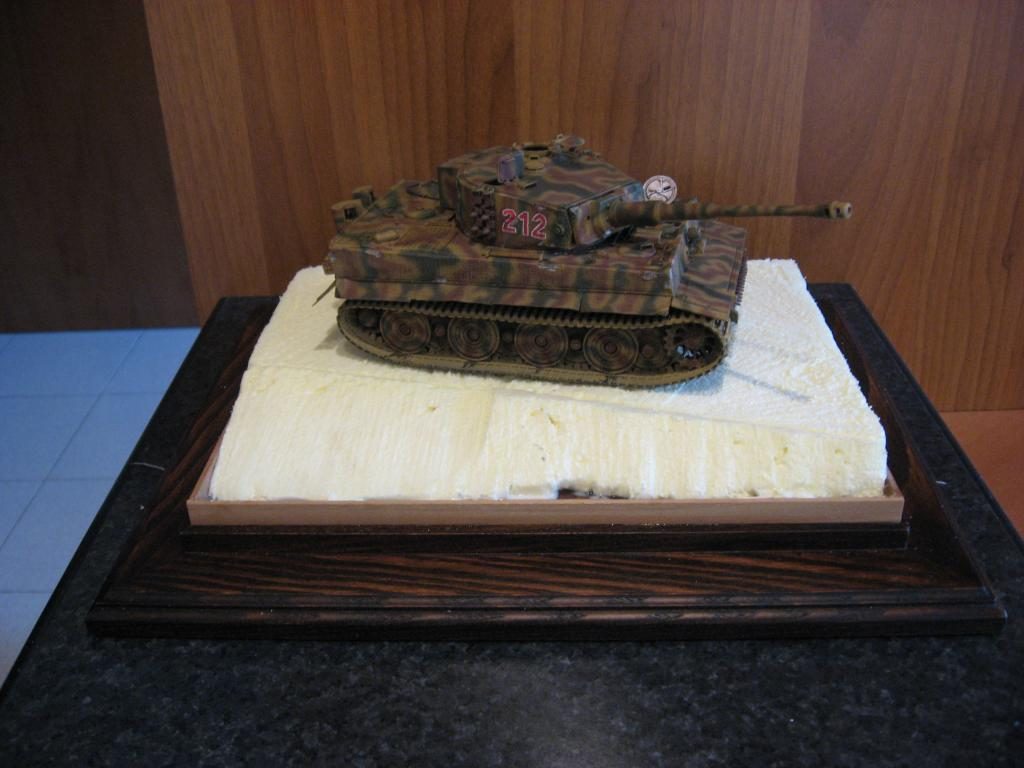
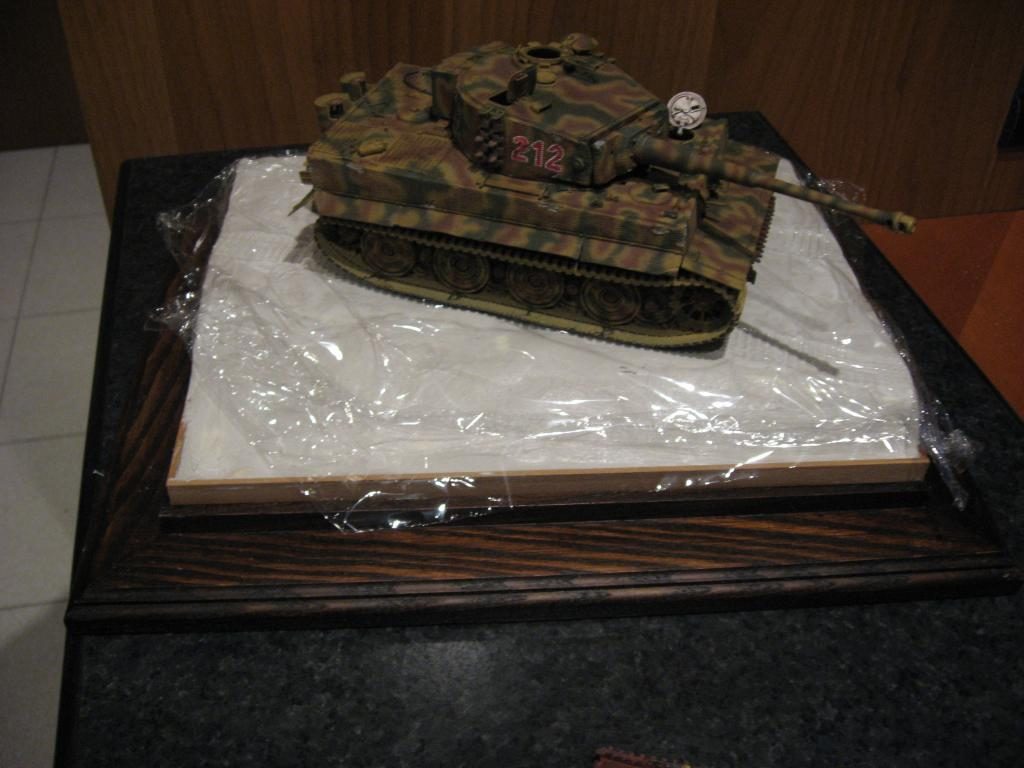
A trial when the whole surface can still be modified is always worthy, in this case I could see that there was more space for a small slope in the right rear corner. Even the idea of the small ditch with a little water came to me at this stage. I continues covering the whole surface with the Das, proceeding by medium size areas , after brushing white glue the foam .

Despite I like more aircraft then panzers, to prevent the 50-ton monster seems to fly at low altitude, I decide to press the tank on the fresh Das. Is therfore better cover the road in a single moment, keeping the DAS moist, to prevent solidify quickly, and pressing the tank, on a sheet of nylon for food, to avoid Das stick on the track. If you do not trust to work with the model already done, assembly only the rolling train and work with the tracks still not fixed to the wheels. With tracks recovered from the spare part box, I also imprinted the footprints of vehicles that preceded ours.
I do not know if you noticed the relief in the middle of the road, how many of you have observed that the center of the cart tracks, often grow grass or shrubs, because not crushed by the wheels? A little detail, easy to be done, but a great realism enhancement. The only real difficulty I encounter in making these bases, is to reproduce the chaos of nature, the technical mentality acquired in my studies and on the job, is a serious obstacle, so I always try to look a bit' of photos I took when I go to walking on the hills, or photos downloaded from the internet, in the case of exotic places, out of reach. I give you a homework assignment: close your eyes and imagine something natural, a hedgerow, a gutter, a wharf, a simple lawn, anything but you do not see every day. Look at a real one, and compare that with what you have imagined, to verify the difference.
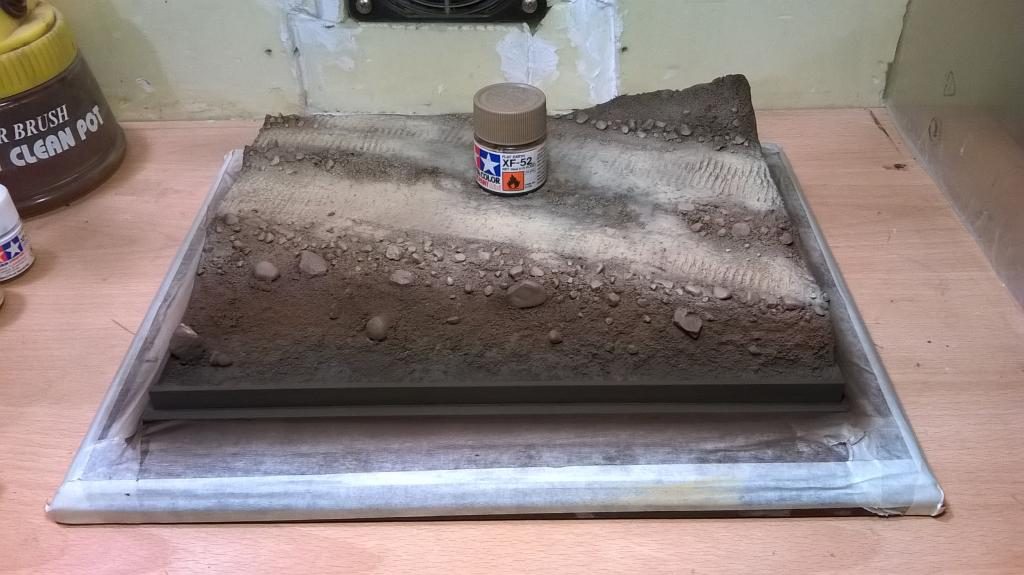
At this stage I create the soil surface. My receipt is a mix of water, white glue and used coffee powder. Mix that I had call " cappuccino ".
Stirring the coffee for a short time and with little well-diluted glue, you get bigger grain, adding more glue the surface appears smoother. In the case of nude land, different grain areas enhances the realism. Writing these lines came to my mind that no model maker has ever reproduced the small bumps created by moles on the lawns ! Another advantage of the "cappuccino" is that, when I work late at night, it contributes, with its aroma, to keep me awake. It would be embarrassing to go to work with a frame glued to my face, after I have fallen asleep smashing my face on the diorama. In the case of Tiger, to vary the consistency of the soil, I sprinkled sand on the still fresh cappuccino, and positioned small stones, after having put a drop of glue on their bottom. At this stage you have to be careful not to fill the footprints of the tracks where the tank will seats.
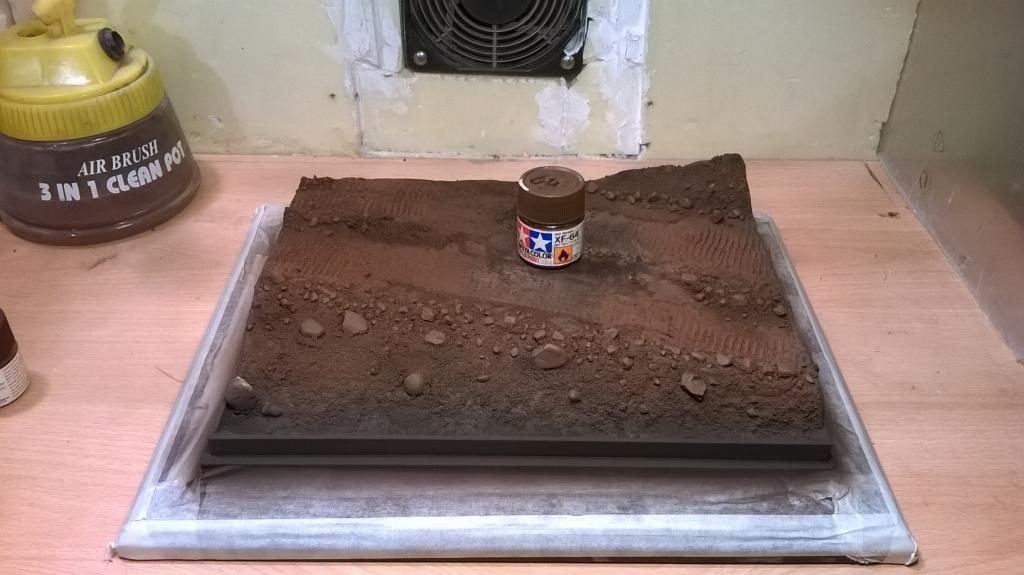
Ready for painting: opposite to what I do for the models, in the case of the soil, I start delivering first the darker color , usually black, for European dark landscape. Generally I use acrylic Tamiya. The next few picture will explain better the process than many words.

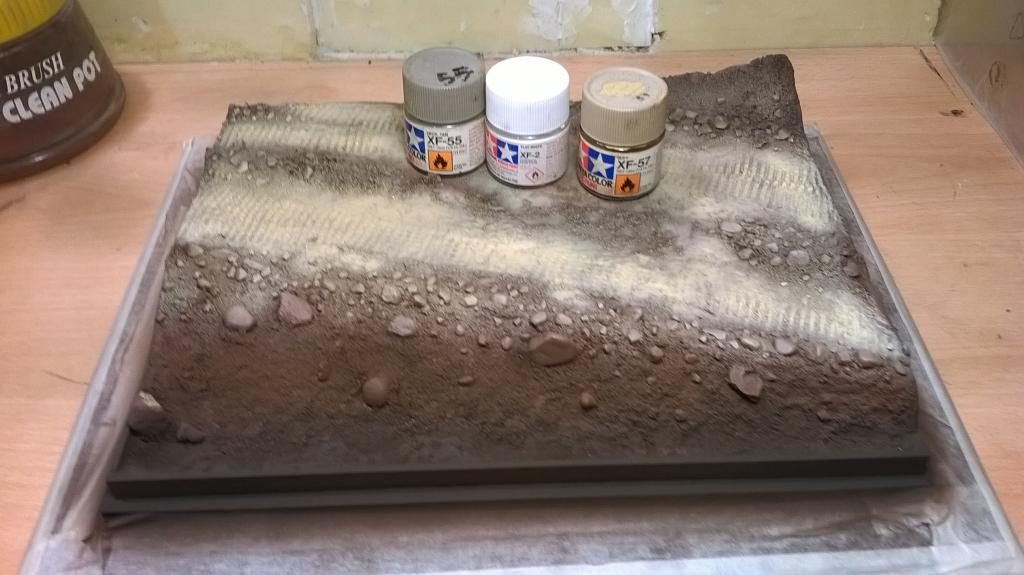
Stony road color's too light, better to touch up with a darker shade. In general, it is always better to give the final glazes on all the soil, with some of the different colors used to paint it. There is no need to work with great care, since the grass will cover much of the work done. Notice how, next to the lower part of the ditch, the black prevail.
Now I had color the stones, by brush and Humbrol enamels. Better to use them well thinned, so they do not completely cover the brown earth color, giving a dirty appearance. I did not take pictures of this stage, but we can still see the effect in the finished diorama. If the appearance is not convincing, most of the time a wash with well thinned oil color, solve the problem.
To lay down the grass I tapped withe glue on the soil, and drop the ' grass, I like the Noch range, preferably of two or three different colors. I proceed by small areas at once, and if I' m not satisfied with the result I add more. I also glue small floke bushes, them too, of two different colors , but in photos are barely noticeable.

The orange twigs is Zekum, another natural product of the Noch range. Canes that emerge from water are made...sacrificing my shaving brush. I will soon have to post a new portrait, to make myself recognizable even with a long beard. To set the twigs and reeds, I did a little hole in the soil, with a metal tip and I dipped the base in white glue. For the trees, I starts again from Zekum twigs, you have seen them already positioned for testing on the base. Tools needed are just a plastic basin, an old paintbrush, white glue, and Noch leaves, again two different colors. Working by small area, I get the twigs wet with white glue thinned in fresh water, then I drop the leaves as when the salad is seasoned. Try to drop down the light colored leaves on the bottom of the twigs, the darker ones on the top, and to use different mixes of the two on different branches. Airbrush touch can be use, to vary shades of green, no more than fifty, please.


Even on the trees you can proceed in stages, adding layer upon layer, as soon as the previous one is dry, obtaining the foliage density you like. When had come the moment to make the water, I realize I run out of resin, i therrefore decide to try with future floor wax. It did not work good; when the future dryies, tend to loose all its volume, so the ditch, at the end, does not look full of water like eexpected, but just a little bit wet.
Once you have decrypt the above tip sfrom my "maccaroni" english, to a more common lenguage, the execution of the above process is simple, you need just a few good products, good observation of the nature surrounds you, and a little bit of fantasy.
Hope you enjoy reading and possibly take advantage of the Tips.
Greetings from Italy.
Roberto
Thank you for a most informative tutorial, Roberto (and no apologies needed for the English). Your diorama turned out beautifully. Well done!
Great tutorial, Roberto.
Great tutorial Roberto, a picture can say a 1000 words in any language .
"Grazie!
Great tutoria like
Thanks for sharing this with us, Roberto, lots of useful tips here.
Great job. Thanks for the tips. Brings kits to life. 🙂
Thanks all, glad you like it.
Roberto
Roberto, thank you for a really informative post, absolutely lovely!
Tank you! This is brilliant and has definitely inspired me to work more with dioramas.