TAMIYA FLH CLASSIC
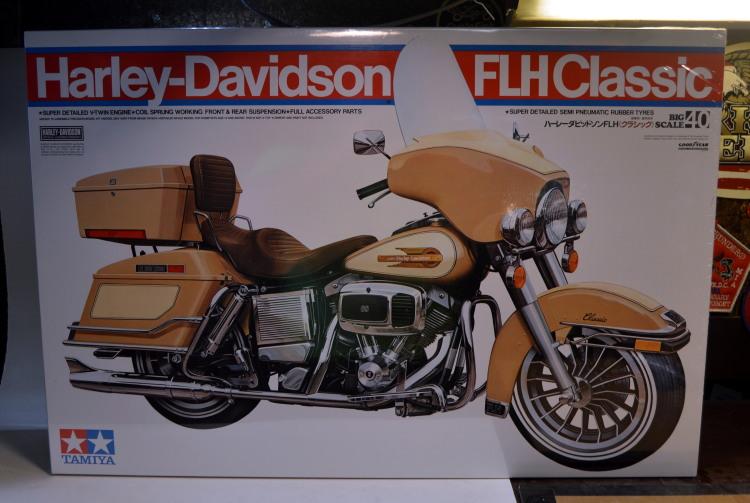
Once again I am in the 1/6 realm with my fourth FLH Classic. I decided to build this one using both black metallic and blue metallic Dupli-Color from the auto parts store. As with 99% of the Tamiya kits this was packaged nicely and was missing no parts.
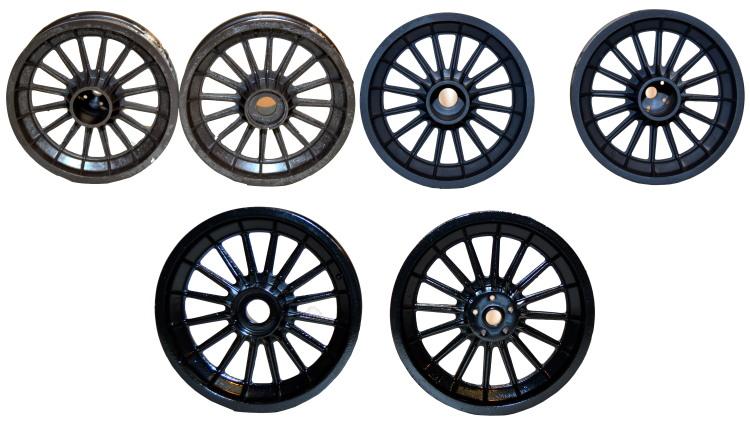
As with a lot of the kits I build one of the first things that I do is to go through and strip the chrome off of a number of parts. In this case that included the wheels. I just didn't feel as though the chrome wheels would look right with the direction that I was going.
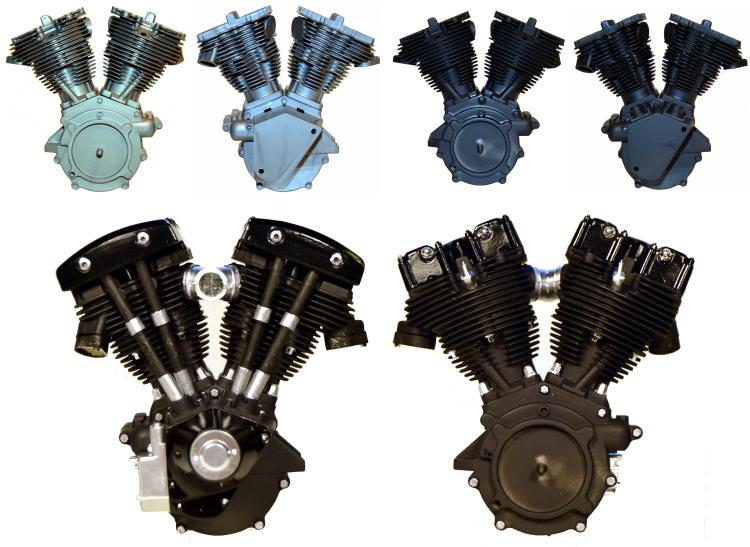
Next up is the engine. This too had multiple chrome parts that needed to be stripped. The photo takes you from stripping to priming to almost final paint. Paint is a matte black with the metallic gloss black to help bring out the details.
Frame went together with little, if any, issues. Although, as is always the case, you must keep an eye on the rubber grommets that go on the inside of the frame for the mounting of the fuel tank. Yes, you DO need those...
This is the priming and painting of the main body parts. This is done early on to allow for plenty of time for the paint to cure out as I knew that I would be handling these parts later.
This is the rear trunk and the lights and wiring. These particular lights are the 1.8mm LED's. Everything that's seen here will not be viewable once the model is put together. But I wanted you to see the wiring on the inside.
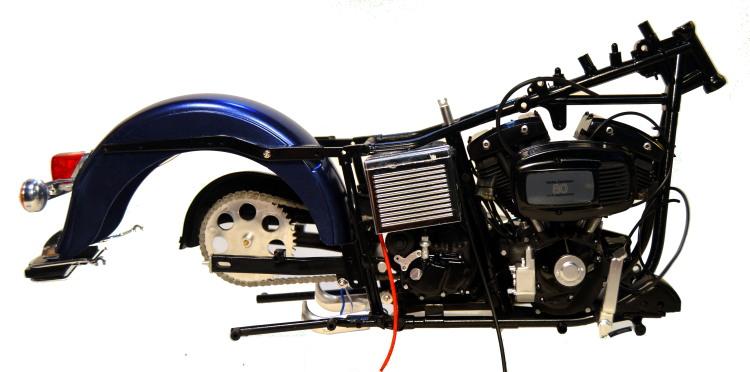
This is the frame that has the engine mounted as well as the battery case, oil tank and the rear fender. Again, other than the tight fit for the battery case, these went together with little effort.
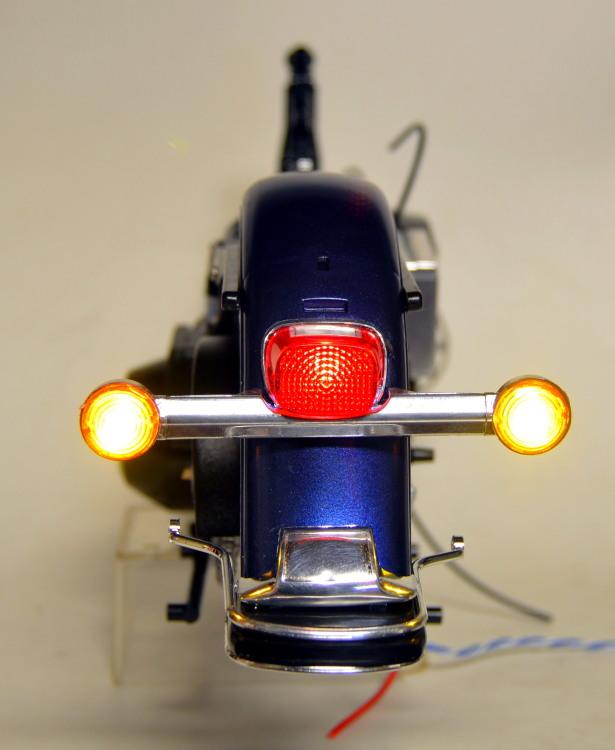
This is the test of the rear lighting after the fender had been installed. The lights used here are the 1.8mm LED for the red brake light and the turn signals are the SMD style LED's. These are the 0402 size and are about as big as a pinhead with wires that are smaller than angel hair pasta. I decided to give these a try due to the extreme small wire size as I thought that it might be a bit easier to hide.
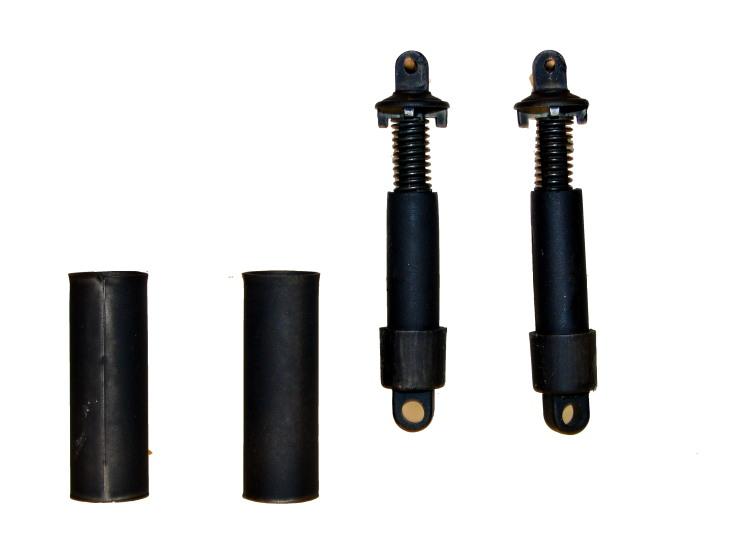
I decided to go with the blacked out rear shocks. This included stripping the chrome yet again. And since part of these are metal they had to be sanded and primed separately.
I am always impressed with the seat spring setup on the Tamiya 1/6 scale models. They go together quite nicely and, after installation, continue to work like they are supposed to.
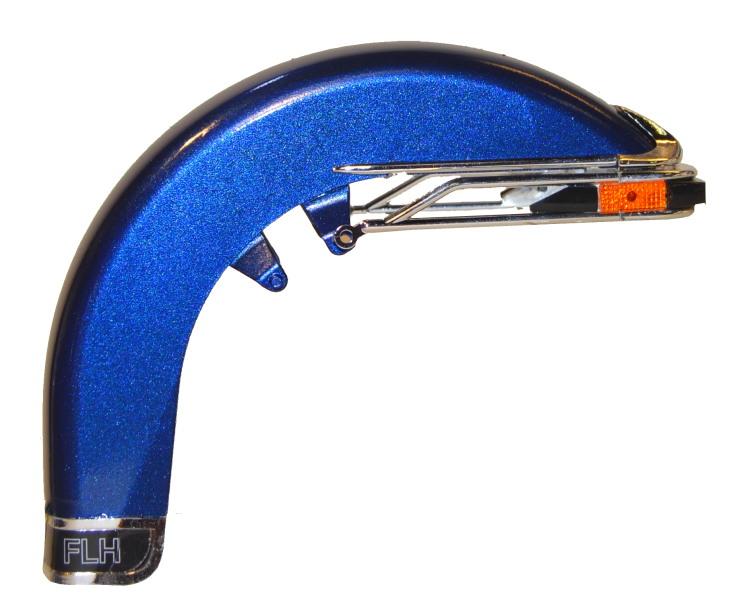
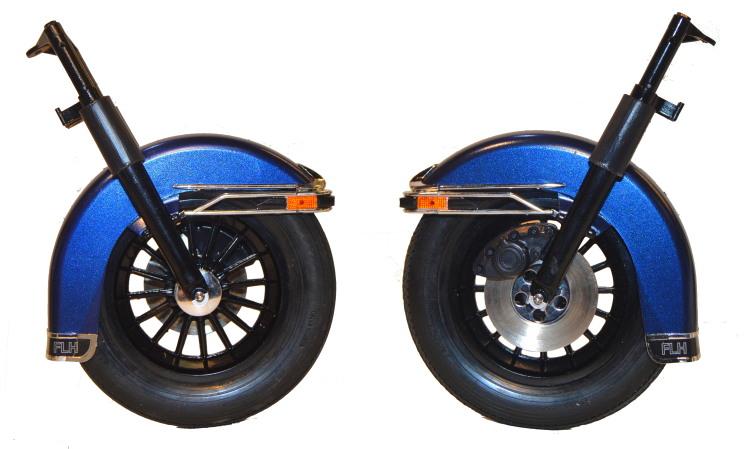
These are photos of the front forks. A closeup of the fender and then a photo of both sides before installation onto the bike.
And here it's finally starting to look like a motorcycle. This is where the fun really begins as all of the wires, hoses and lines that are visible will soon be placed at their required locations. I have added the positive and negative battery cables as, surprisingly, that's one of the things that Tamiya managed to leave out. Also, the wiring for the lights will also be hidden away.
This photo shows the progression of the lighting. Yes, these are the SMD style LED's. You can see that they are quite small but do generate a ton of light. Perfect for use here. The bottom right photo is the lighting test. I test and retest the lights throughout construction in the event that a wire gets pinched, cut or otherwise disconnected. Better to find a mistake before the completion of the model.
This is a photo showing the model after the wiring has been run through.This will take me in to the final detailing steps for the completion.
Saddlebags have been added to the model. These went into place with little effort.
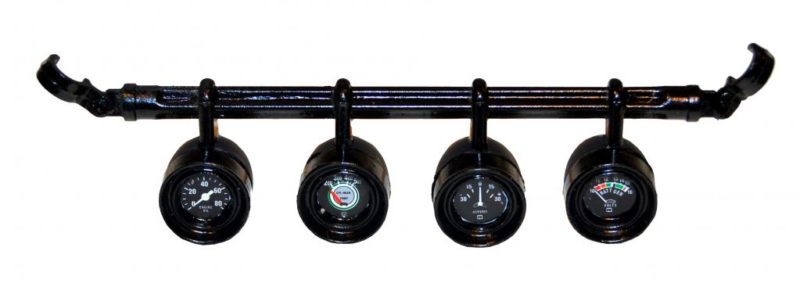
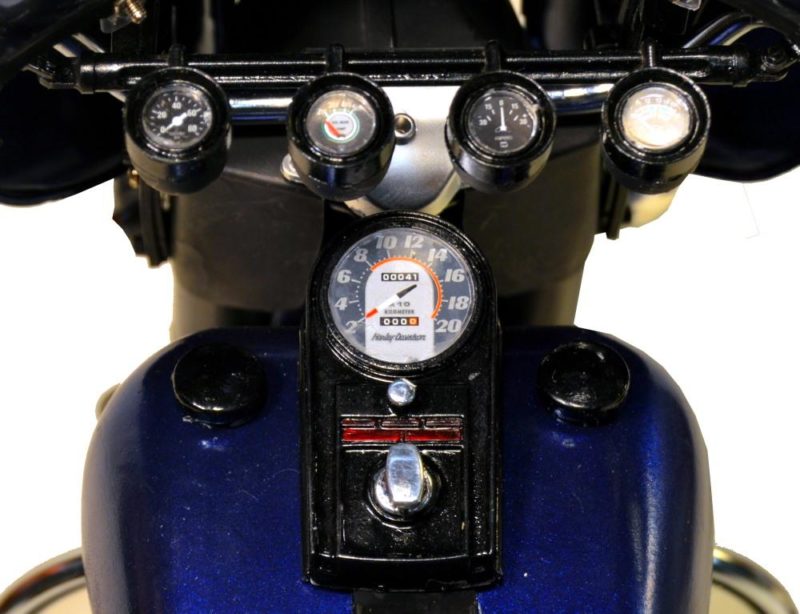
I am working on the gauges at this point. These come, as packaged, fully chromed. Obviously, the chrome has been stripped and these have been repainted to color match what I am using on the bike. I left the X-Acto knife in one of the photos to help to give these a little scale. Since we ALL have, I hope, an X-Acto on or benches.
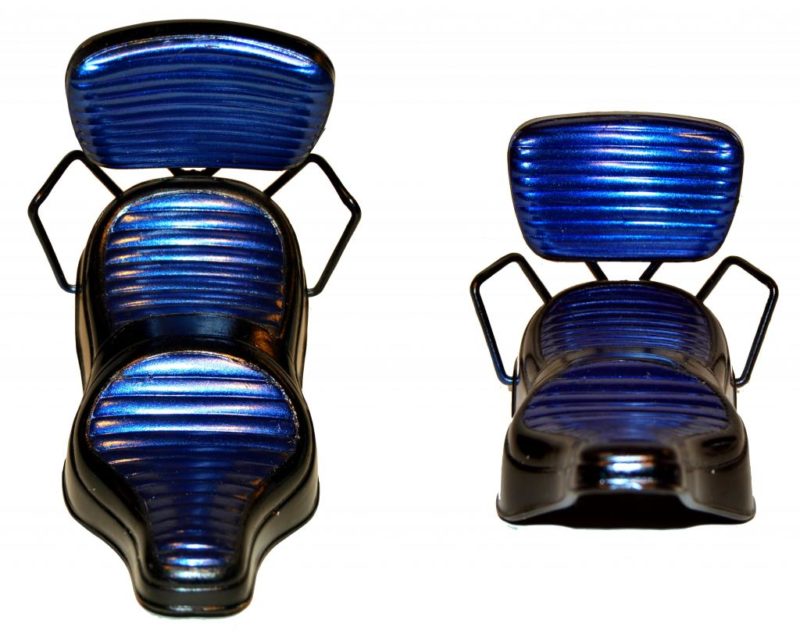
I went with a color-matched seat for this model. I am sure it will blend nicely once installed. Looks a little on the bright side in the photo.
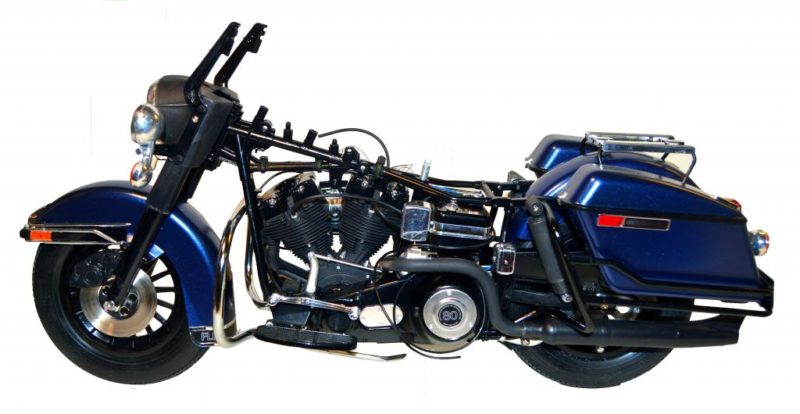
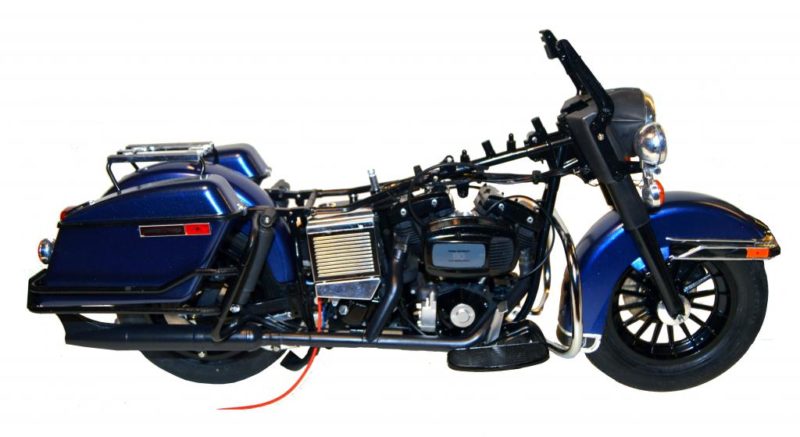
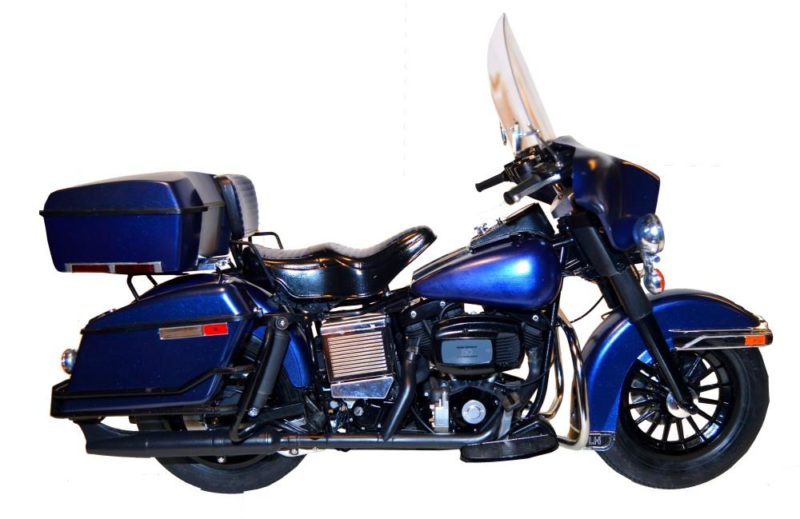
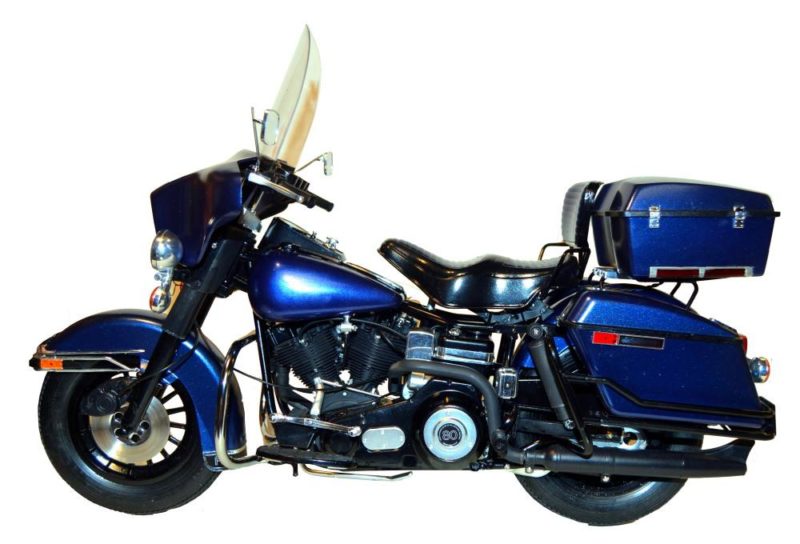
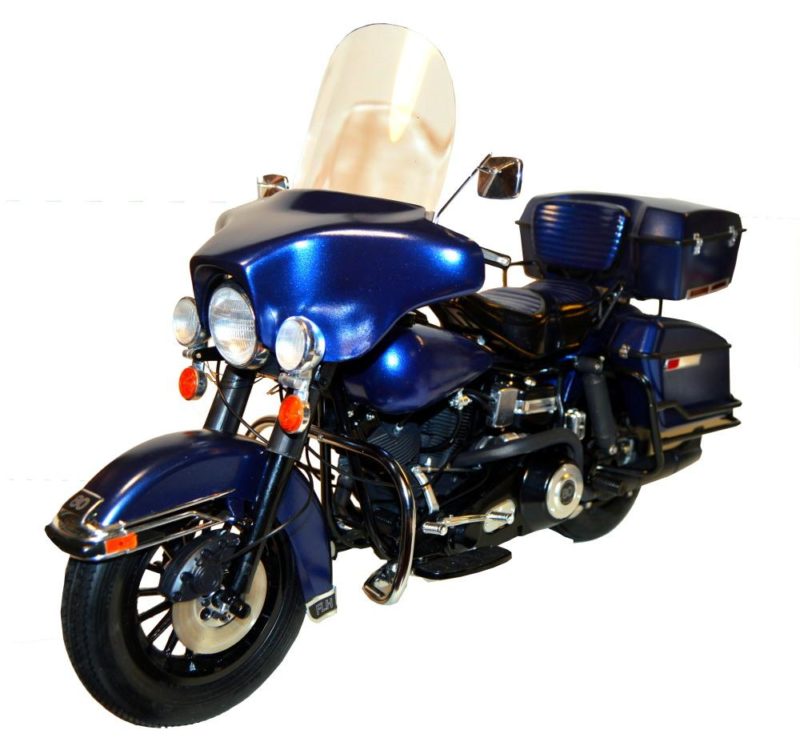
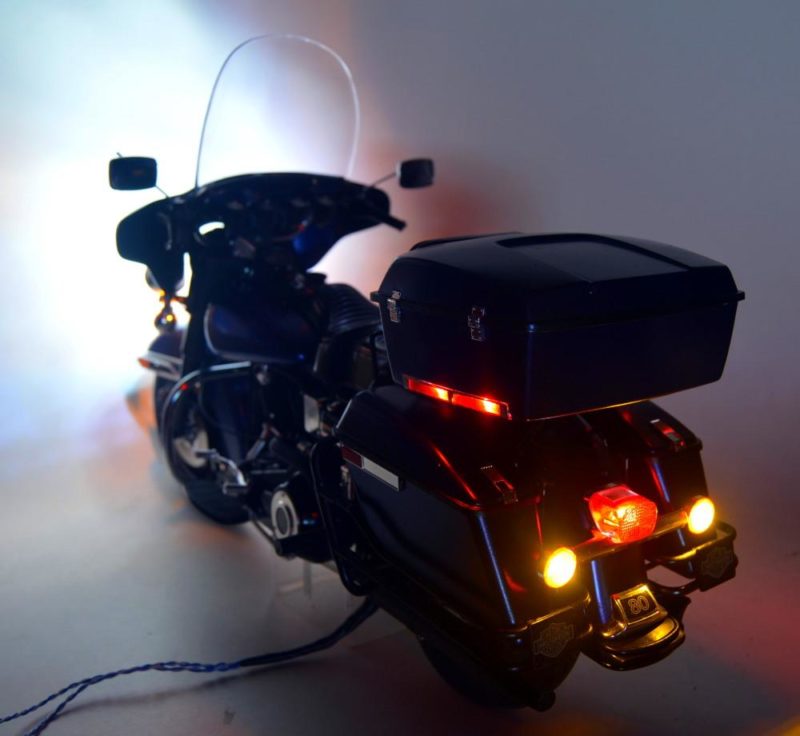
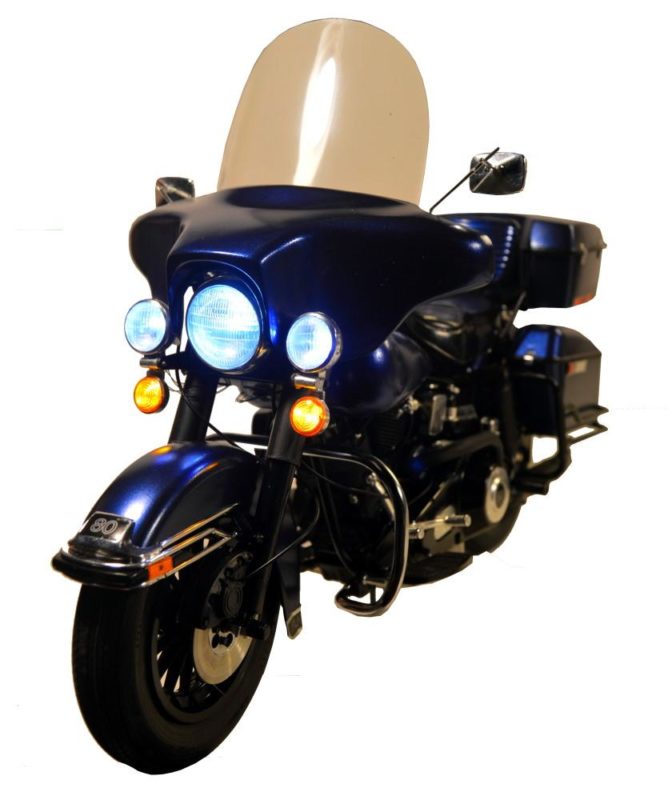
And now for some photos of the completed model. As you can see I stripped the chrome off of multiple parts on this one. Including the crash bars around the saddlebags. As well as the air breather and the exhaust pipes. Among a host of other things. Even the gauges were stripped and blacked out.
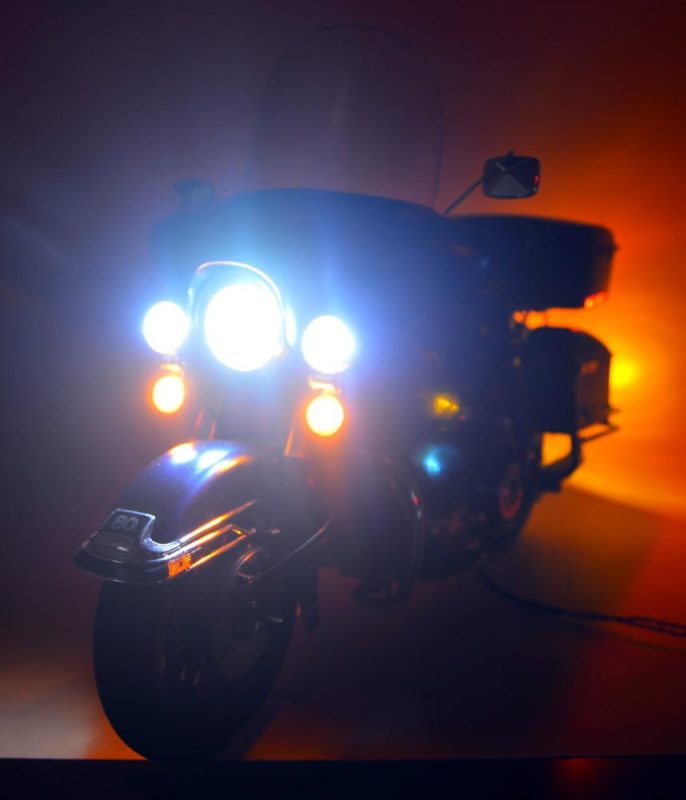
And here are the operating lights actually working. Two of the photos were taken in complete darkness and the last one was taken in standard room light.
I will be mounting this to a base for a permanent display. That will be done later this week.
I am glad to have received so many comments during this build. Now it's on to the next one.
Again, if you have ANY questions please don't hesitate to ask. I am always happy to answer them!








Looking very neat. Makes me want to build a motorcycle. How do you strip the crome off?
I use the Wally World el-cheapo version of Easy-Off oven cleaner. Letting the parts soak in a bath of that for a while until the chrome is coming off. Then it's a good scrub in hot-as-you-can-stand-it water with Dawn and a toothbrush. Anything leftover is usually easily removed with an x-acto knife, sandpaper or a toothpick.
That could be a real one you're building from the photos!
Thanks!
Beautiful build coming along, Harry (as usual)...very nice work.
Thanks!
Double Wow. Can't wait!
There will be mote photos coming relatively soon.
that should be MORE photos...sorry
Memories ! Yours looks really great. A few years ago it KILLED me when I sold my Fatboy. I had a 2005 Firefighter's edition... Fuel injected, alarm system, the works. Miss it...
Thanks for posting.
Looking good Harry, much nicer than the box art.
I just am NOT a fan of the "baby poop" brown color that they chose. And, upon opening the box, it's not much better.
Nice start Harry, interesting and very good photography.
Very good use of a camera for this project.
Thanks for the compliment! I try to take the best photos that I possibly can.
I'm sure it will be terrific when it's finished.