Review: Kitty Hawk 1/48 UH-1D “Huey” – Build Review, Part 3
Into the final stages of the build now, but first I wanted to revisit a comment I made in Part 2 about the side vents at the base of the rotor mast. There have been one or two comments about this and I wanted to clarify an issue.
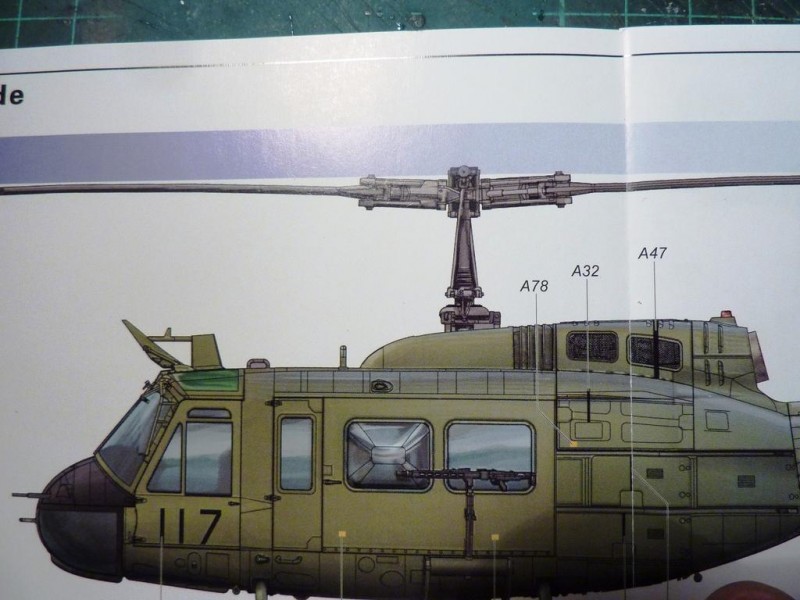
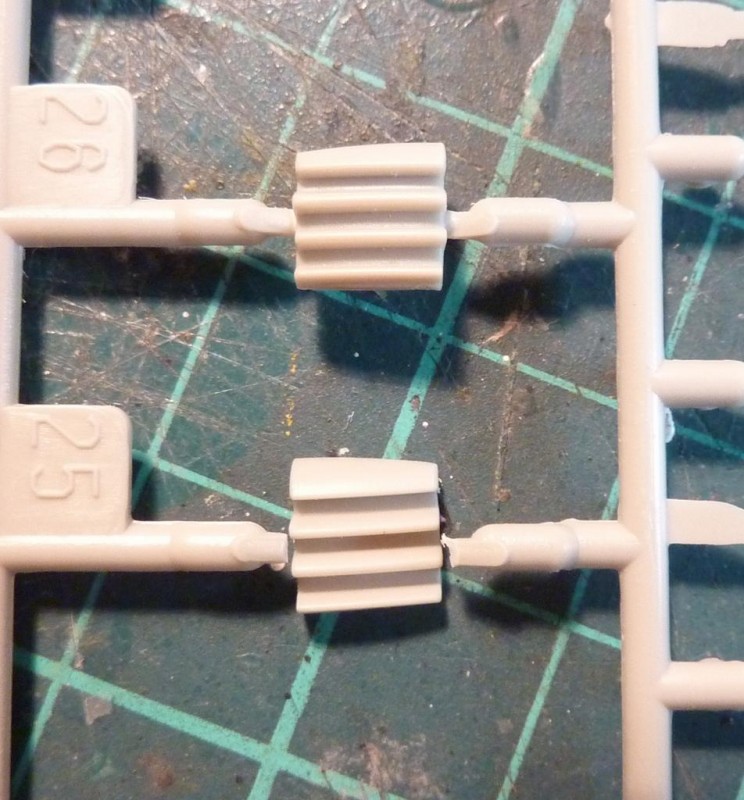
Step 11 in the instructions indicate parts B19 and B20 should be used for the vents. The only way these two parts will fit into the spaces is with the vents directed vertically. The instructions' illustration however shows the vents lined up horizontally. I flagged this up as another error in the instructions. This view was reinforced by the colour elevation view of the "D" showing vertical vents.
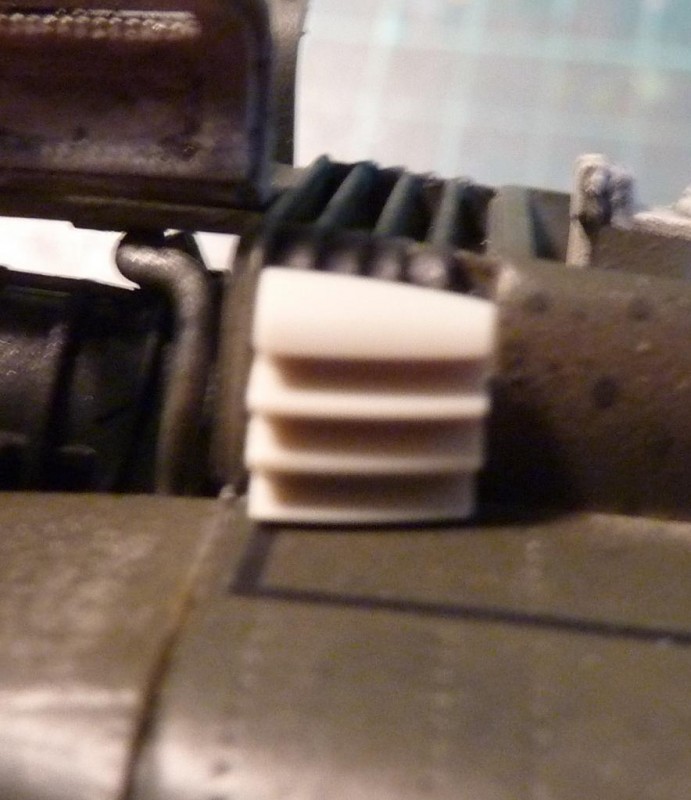
It's been noted that the vents should be horizontal, and period photos support this view. Also on the B sprue are two other vent pieces without callout in the instructions: B25 and B26. I assumed they were for a different (future?) version of the kit, in the same way that additional items of armament had been provided but not used. Contrary to the instruction and the colour profile therefore are these two other vents which in fact would fit in the correct horizontal configuration. If you are modelling a "D" then, use the pieces B25 and B26, not B19 and B20.
On with the build.
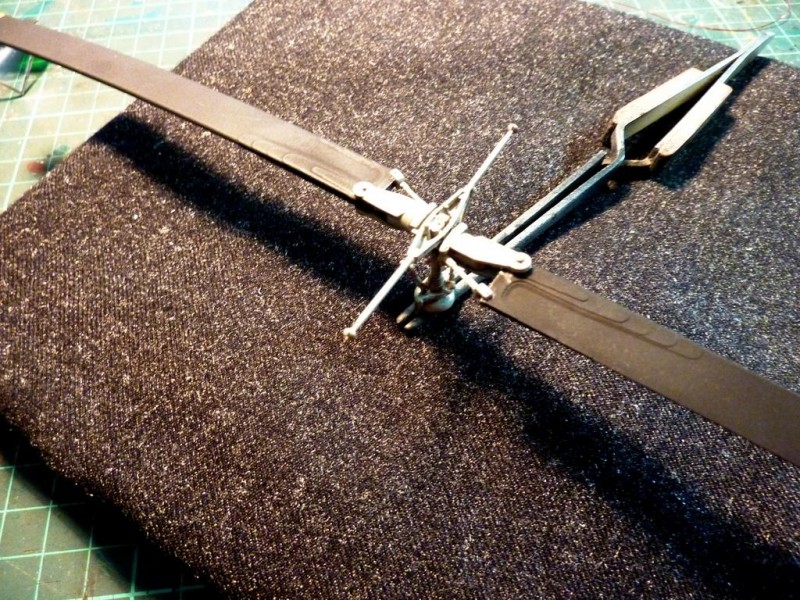
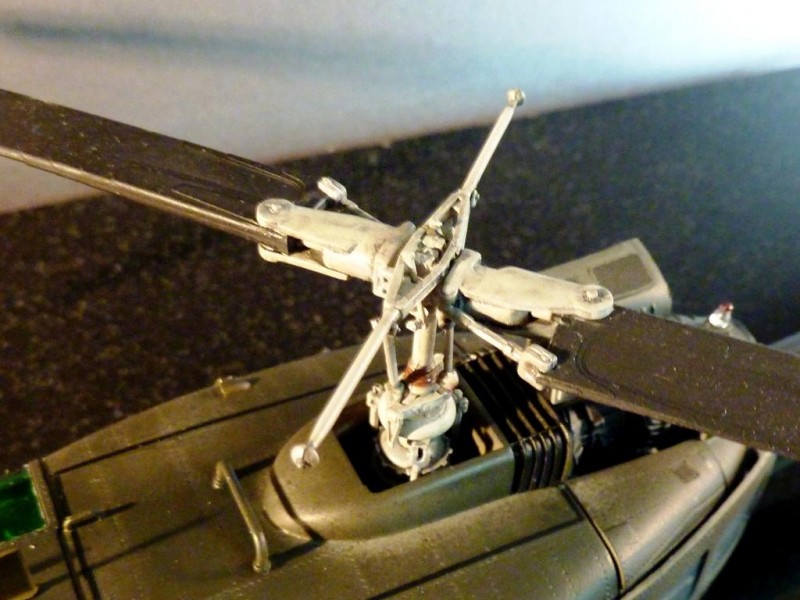
The main rotor blades have been moulded with a natural droop, which is very realistic. The detailing near the base of the blades is also very good.
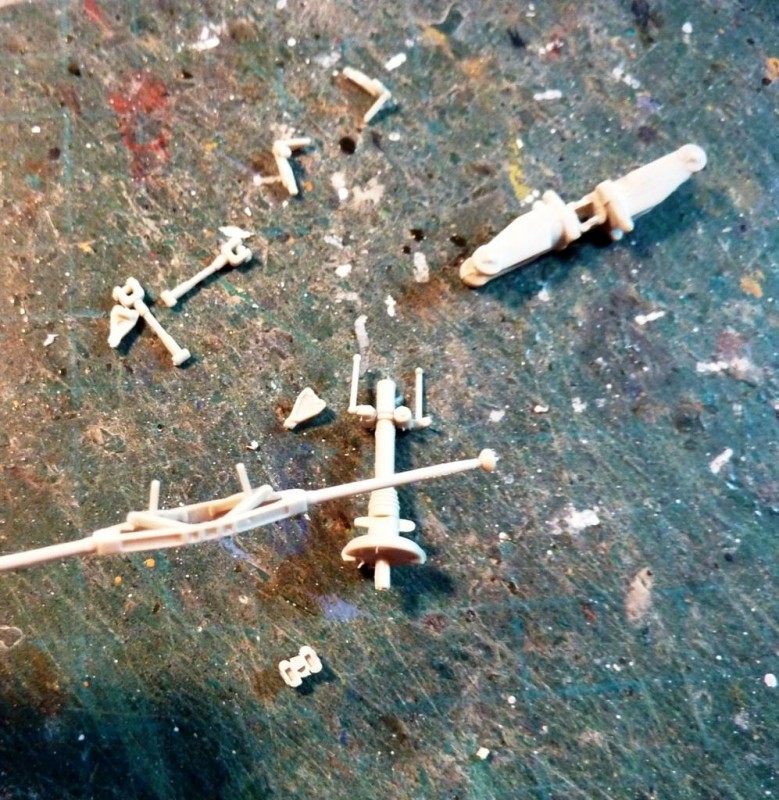
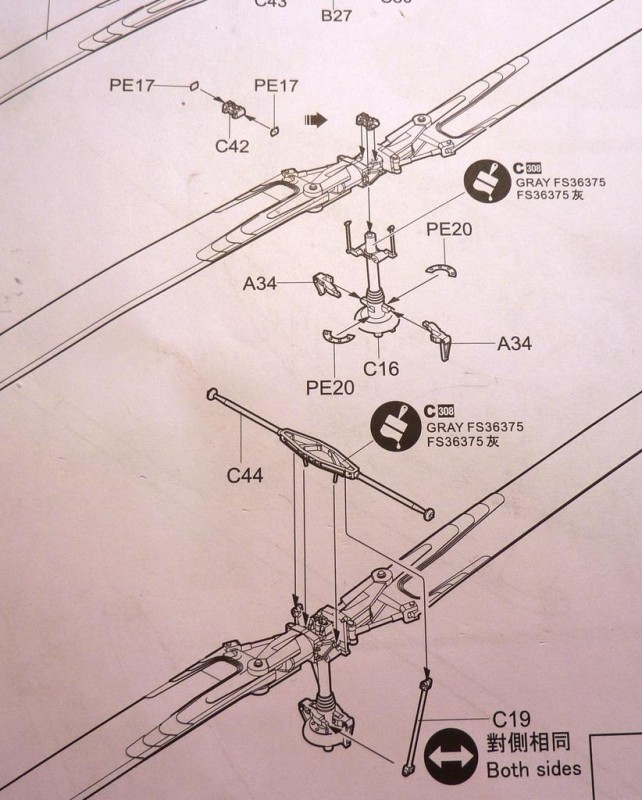
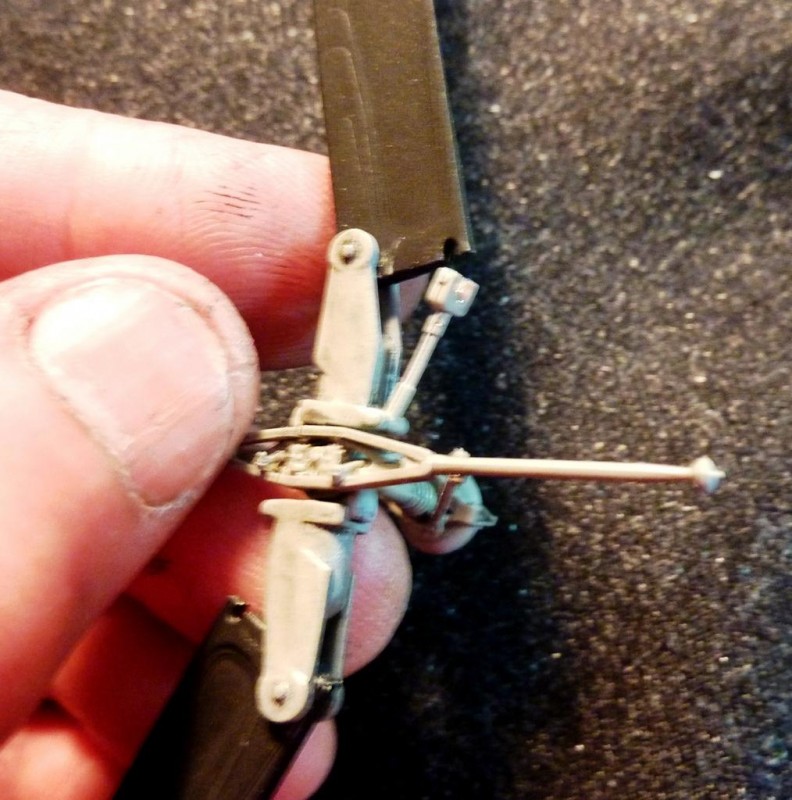
The rotor mast itself is complex, and the pieces small and delicate, but which together build nicely into a rigid structure. There is a little fiddling around to get the tiny posts to seat themselves adequately, and I wasn't sure I had it entirely correct to start with but when I viewed the mast from different angles it had that 'upright, twisted' look that we associate with a rotor device.
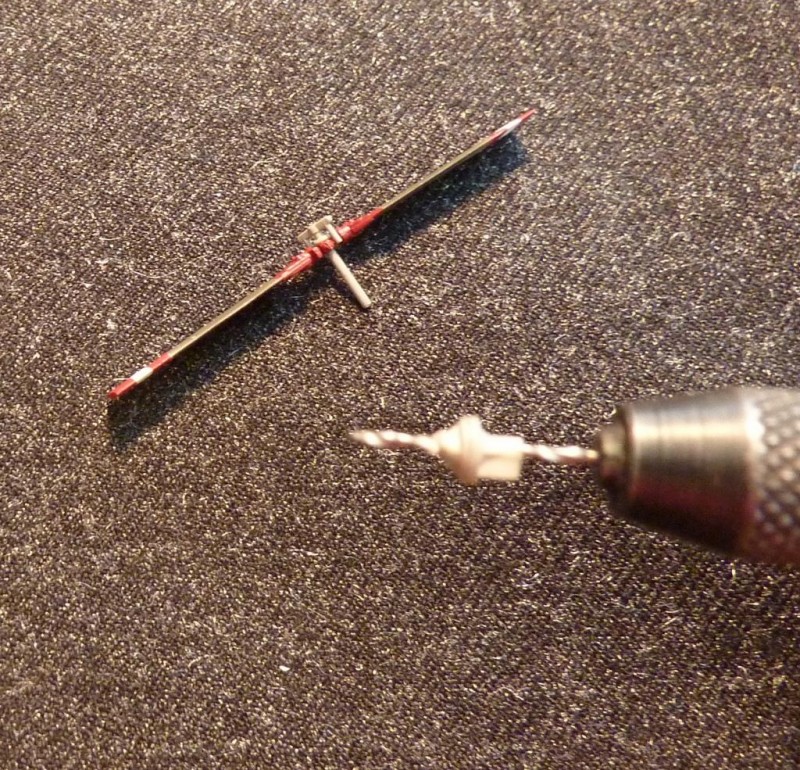
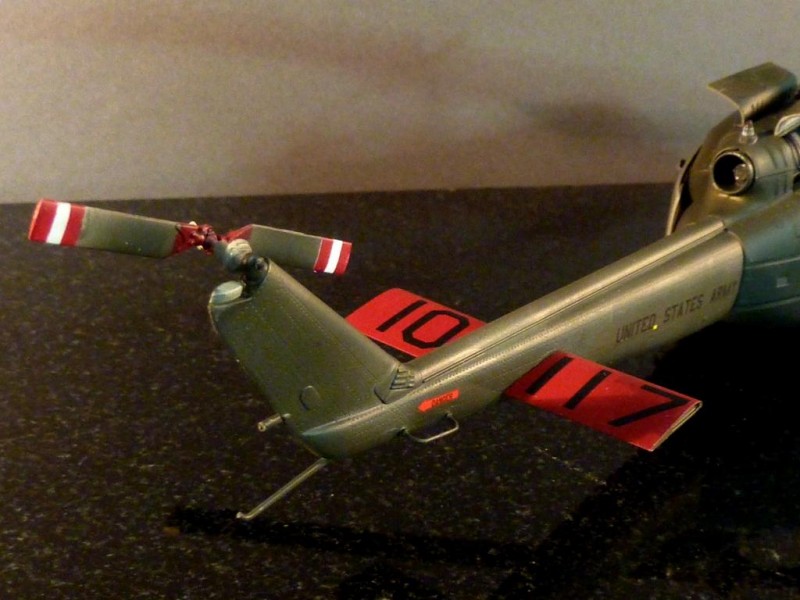
The smaller rear rotor blade was painted in stripes, a process requiring careful masking because of the three-colour split. The piece is delicate, but detail is good. Where it fixes to its motor however there is a problem. The instructions indicate that the small shaft secures through the tail but the motor unit is in fact solid and has to be drilled out. I also had to drill through the tail itself and attach a small piece of plastic rod into the end of the motor to run through the tail for fixing in place.
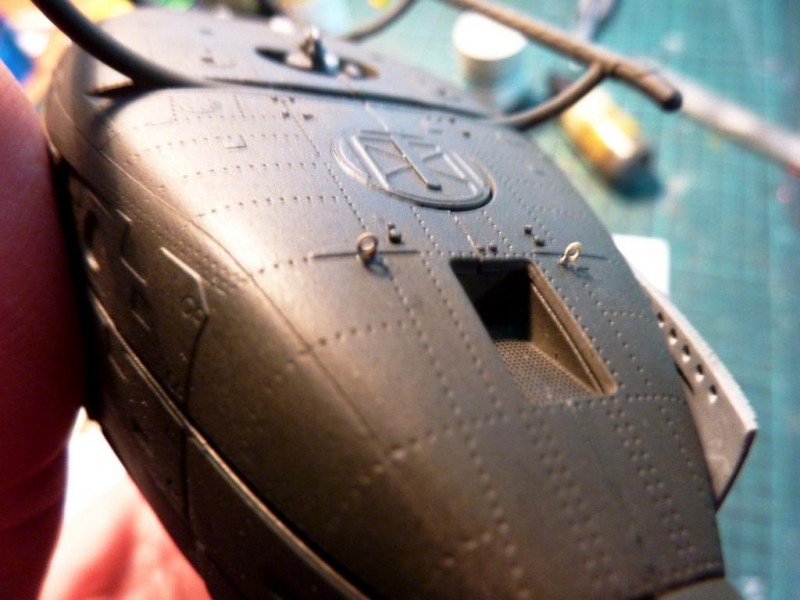
I haven't photographed the underside of the machine. Not a lot to see apart from a few small PE straps and clear lenses. One thing I did photograph though were the miniscule tie-down rings.
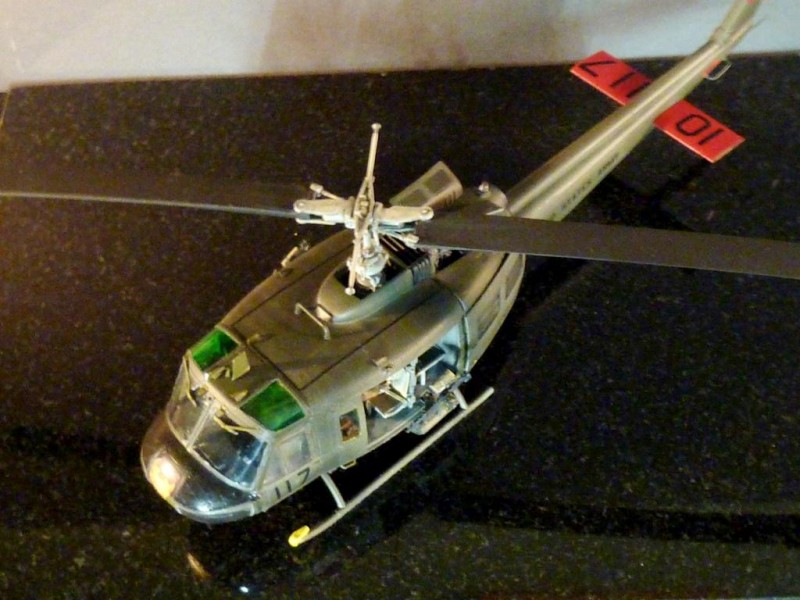
I've mentioned the window glazing previously so won't dwell on that again. I will mention the nose glazing, though, which is a superb piece of injection engineering. It has to be masked to spray the metal framework; just use Tamiya tape. The green-tinted areas in the top sections are with two dollop-coats of Humbrol Clear Green, followed by a sealer coat of Klear to increase reflectivity. All coats applied to the inside face only.
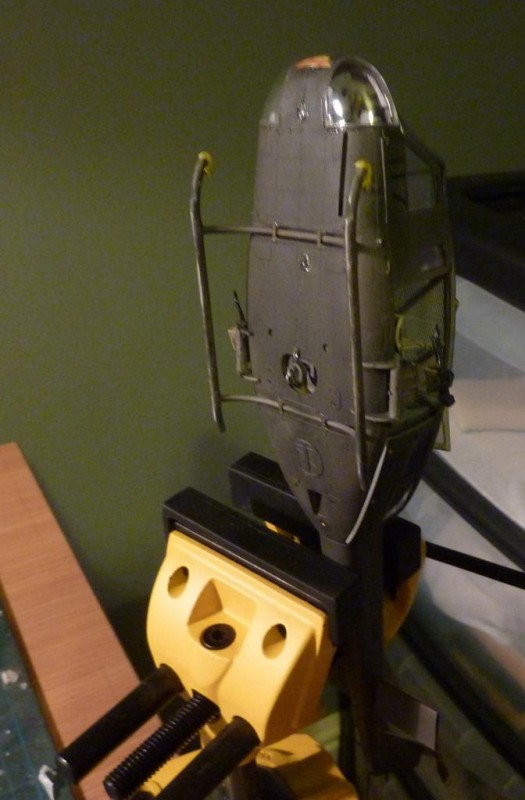
The wiper frames are delicate too, and there are two tiny PE stops placed near the top centre of the piece. I had pre-drilled holes for the blade aerial and the pitot. If you use the cable cutter now's the time to pre-drill for that as well. I didn't use the piece (part 50), as I had seen it in view on some machines, but then read it was also moved to underneath and front centre to help keep the skid clear, and on other machines it wasn't in view at all. I may be wrong in the choice, and naturally you can make your own choices here.
I want to say something about the fit of this main nose piece. Test fitting had it perfect, and when the rounded chin piece, which juts out in front of the glazing, was added, the screen still seemed OK, but when I actually came to fit it later there were small gaps in the lower corners. Nothing big, but frustrating. I know the chin piece was correctly positioned as it formed the reveal for the two lower windows, which fit perfectly.
I think the issue might have something to do with the instrument panel anti-glare coaming. This is called to be fitted in the earliest stages of the build, but in fact there's no reason for that. It sits adjacent the lower reveal of the main glazing, and although it looked like it was clear of that, maybe not. The coaming/panel has a slot underneath which slides on to a large tab on the floor of the cockpit. There's no definite fixing angle and the 'play' is easily as much as 5mm. When I set mine early-on, it was done so as to be upright and facing the pilot seats, and looked 'right'. I'd suggest leaving off the panel until you get to the nose, which too can be left to the very end of the build, and then use white glue to set the panel, and while it's still spongy and can be manoeuvred the glazing can be set in place. It might work just that little better.
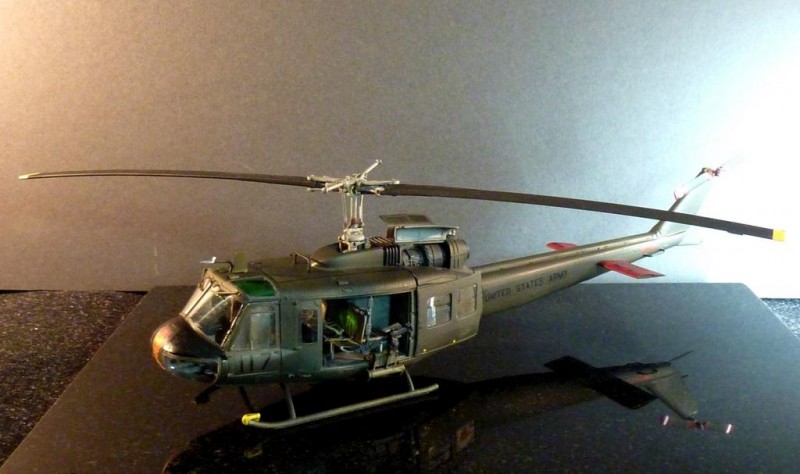
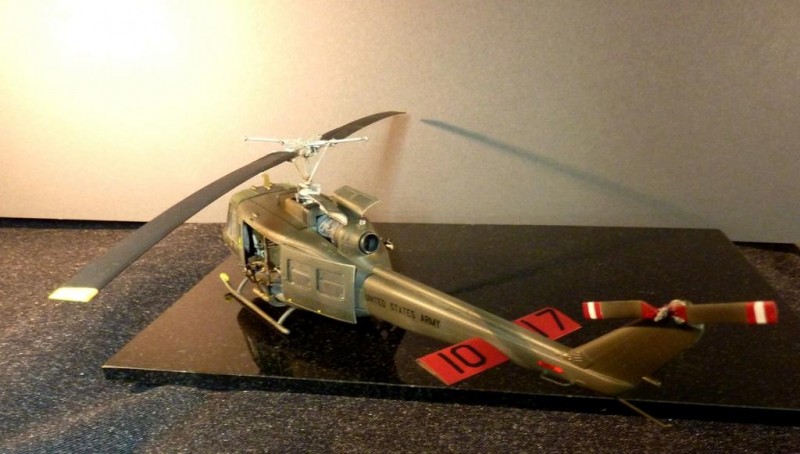
Here are a few more images of the completed model in the style of a Headlines feature.
In conclusion, I wanted to restate that this build was undertaken as an OOB exercise, avoiding detailing, scratchbuilding and weathering, although I did apply a thin wash to some parts to pop the detail; I wanted to show what the model in the box built like without enhancements.
I've noted errors and omissions in the instructions, although the style and layout of the instructions were good, and the profiles a nice touch.
The kit parts are extraordinary in some cases: the rotor mast, the guns, the glazing, and we should be pleased that we can benefit from these modern production techniques. That said, it's equally extraordinary that a company like Kitty Hawk, producing models for a worldwide audience, can't be bothered to proofread their own instructions.
The decals are middling at best. I noted earlier the issues with the panel/console decals, and although the remaining decals worked OK, it was a delicate process for the wrong reasons. Modellers may wish to explore aftermarket alternatives.
In terms of detailing, again, prohibited by the parameters of this build, I suggest a few examples that may be of interest. If I was undertaking this build as a personal project rather than a review I would do this:
- overhead cockpit panel to be detailed with cable/plastic rod for dials, etc. I understand that it's cheaper to produce a blank than one in relief, but a little detail would help (It's shown on the plans as detailed.). However I accept that once painted black and in place it's virtually invisible.
- add motors for the wipers on the inside at the top of the glazing. They're prominent enough to be seen from outside.
- add tiny wire strips, painted black, to the contact edge of the wiper frames as a good representation of rubber blades.
- if modelling a Slick version (general troop carrier), remove the two rear-facing seats, fill the holes in the floor and add additional detail to the backs of the pilot seats.
- the main run of rear seats should have five main support posts, not three, and the two rear corner seats, two each, not one.
- the ceiling in the main cabin area is quilted but could stand a little something else - light lenses perhaps.
- minor in-cabin additions on the walls for maps or similar would be interesting too.
- review available afermarket decal options.
- the engine detail is good, but you may wish to add various wiring and cabling picked out in colours, particularly if you plan to pose the engine bay doors open.
- at the rear rotor base there's a teardrop shaped ledge behind the rotor and I think the area may be the point where a sprig of aerial should be attached.
This is a very nice kit. It builds well, and there are some cracking features. The contrary nature of the instructions- missed callouts, confusion over types for smaller parts- takes the shine off the model a little, and I still have reservations about producing a fine new-tool Huey in 1/48 rather than 1/35, but overall I recommend the kit to interested modellers.
The kit is marketed at a '14+' audience. I would suggest that to get the best out of the kit you should have as least Intermediate skills, because of the wealth of small parts, glazing and PE.
The Huey here is modelled as "Little Annie Fannie" of the 117th AHC.
My thanks to the iModeller Editorial team for the review sample.




Outstanding build!
I'm light years behind you on my build and I thank you and Floyd Werner for 'trail blazing' for me and those like me.
I'm very famailar with the Huey and some things on this kit has me puzzeled. That's what happens when kit Mfgrs make several versions outta one mold. And the Technical Illustrators making instructions and color views likely wouldn't know what a Huey is if one fell on ther heads! The Technial Advisor's influence can only reach so far.
Bottm line,... we now have a 48th scale Huey that's worthy of it's historical roll it has and continues to play. That said, I hope this isn't the last Mfgr that wants this subject in their product line. Tamiya? Revell? Others?
Good show all around, Rob!
Demon 68, out.
Rob, beautifully done, lots to do even with the basic kit. It's great to finally have an up to date molding of the workhorse of the Viet Nam War. Thanks for the comprehensive build article, and suggestions for additions/corrections.
Nice work, Rob...your talent(s) shine through again.
Excellent series of articles Rob, and a very nice finished model in the end! Well done.
You can almost see Robert Duvall riding shot gun in the front and saying something about Napalm ...the smell of in the morning.
Two thumbs up.
Hmm, maybe strap a couple of surf boards to the skids? Aftermarket guys, come on!
Very good review and build, Rob, I really enjoyed reading all three posts. I guess that whoever test builds the KH kits doesn't read the instructions (not the English ones anyway). As for the scale I think who wants a representative collection of aircraft used in the Vietnam conflict needs one of these and 1/48 is probably the most popular scale in current aircraft modeling.
I guess it's because I associate helicopters with military subjects rather than strictly air-related scenarios, because of direct ground action, hence dioramas with Marines, civilians, etc. It's still a very nice kit no matter what the scale, though.
Another winner Rob. well done!
Fantastic again mate. I've been following the build, your attention to detail in inspirational.
Excellent work as usual Rob. I've read all three installments and you did a fantastic job with the building and road mapping the obstacles along the way. Two thumbs up Sir. I really like it.