Review: Gaspatch 1/48 Henschel Hs 123 A1 – Kit Review
Gaspatch, a new brand, has previously released just one complete aircraft kit, when in 2017 they produced two versions of the HS-123, first the B1 version and shortly after the A1. The subject was previously covered by the old ESCI kit, dated back to 1977, and lately reboxed by Revel, Tamiya, Italeri, AMtech and other brands.
Historical Notes
The aircraft was designed to meet the 1933 dive bomber requirements for the reborn Luftwaffe.The Hs 123 was intended to replace the Heinkel He 50 biplane reconnaissance and dive bomber as well as acting as a “stop-gap” measure until the Junkers Ju 87 became available. As such, production was limited and no upgrades were considered. Nonetheless, production of the type ended in October 1938 with around 250 aircraft in all series.
During the same time, at the request of Oberst (later Generalfeldmarschall) Wolfram von Richthofen, chief of staff of the Legion Condor, five aircraft had been deployed to Spain as a part of the Legion Condor, intended to be used as tactical bombers.
In their intended role, the Hs 123s proved to be somewhat of a failure, hampered by their small bomb capacity and short range. Instead, the Hs 123s based in Seville were used for ground support, a role in which their range was not such a detriment, and where the ability to accurately place munitions was more important than carrying a large load. The combat evaluation of the Hs 123 demonstrated a remarkable resiliency in close-support missions, proving able to absorb a great deal of punishment including direct hits on the airframe and engine.
The Nationalists in Spain were suitably impressed with the Hs 123 under battle conditions, purchasing the entire evaluation flight and ordering an additional 11 aircraft from Germany. The Spanish Hs 123s were known as “Angelito” (dear angel or little angel), and at least one Hs 123 was in service with the Ejército del Aire (Spanish Air Force) after 1945.
Twelve Hs 123s were also exported to China, where they were used extensively as dive bombers against Japanese warships along the Yangtze River, especially in 1938.
During WW2 the machine performed very well during the Blitzkrieg in Poland, Netherland, France and in the Balkan. Carring out an impressive number of sorties, just ahead of the advancing German Troops. In the East it was kept in service untill Spring 1944.
The greatest tribute to the Hs 123 usefulness came in January 1943 when Generaloberst Wolfram von Richthofen, then commander-in-chief of Luftflotte 4, asked whether production of the Hs 123 could be restarted because the Hs 123 performed well in a theater where mud, snow, rain and ice took a heavy toll on the serviceability of more advanced aircraft. However, the Henschel factory had already dismantled all tools and jigs in 1940
( Source: Wikipedia)
The kit
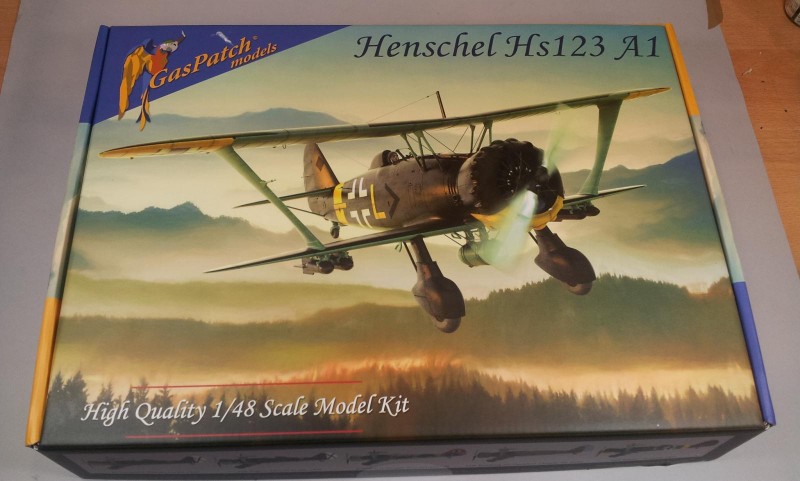
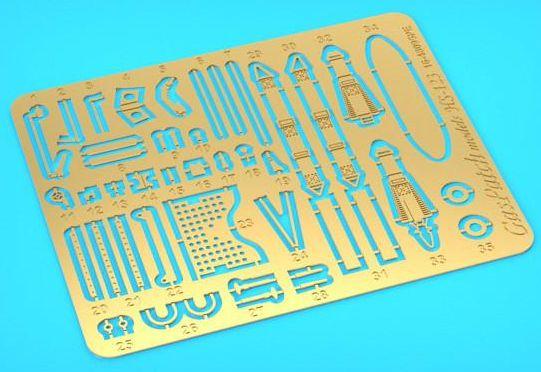
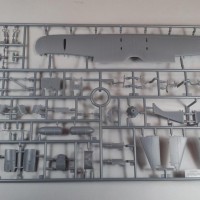
The kit is packed in a solid, high quality carton box, with a nice, full color artist impression on the front, and a brief history of the machine on the back. Most sprues, the PE fret, Decals and all minor accessories are wrapped into separate bags.
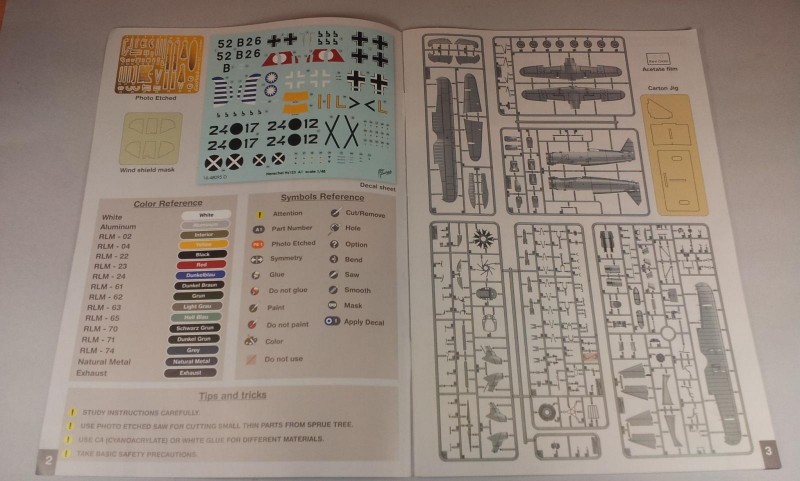
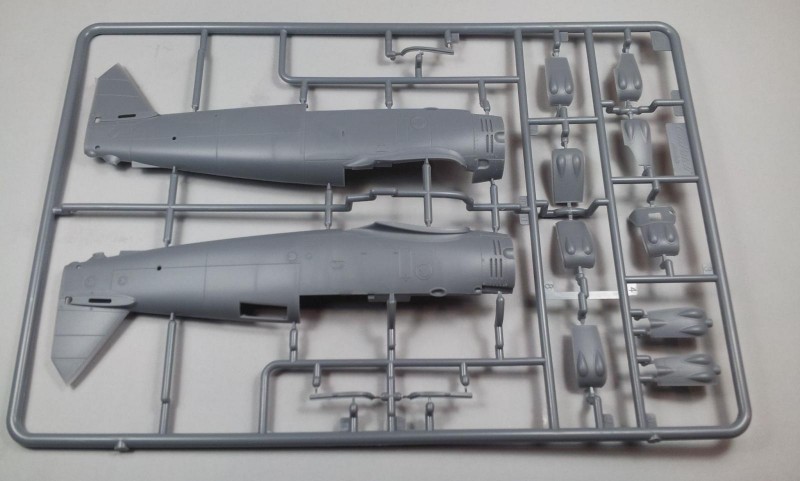
The content of the box is clearly illustrated on the manual, therefore I just mention the styrene parts, aproximately 170, and the 44 PE parts.
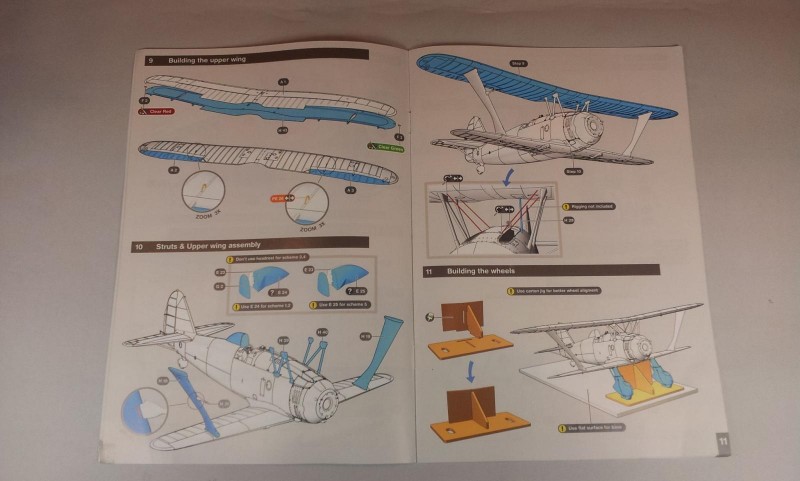
A strange 3-part laser cut carton jig for the correct landing gear positioning is also included. Curious to see how it will work.
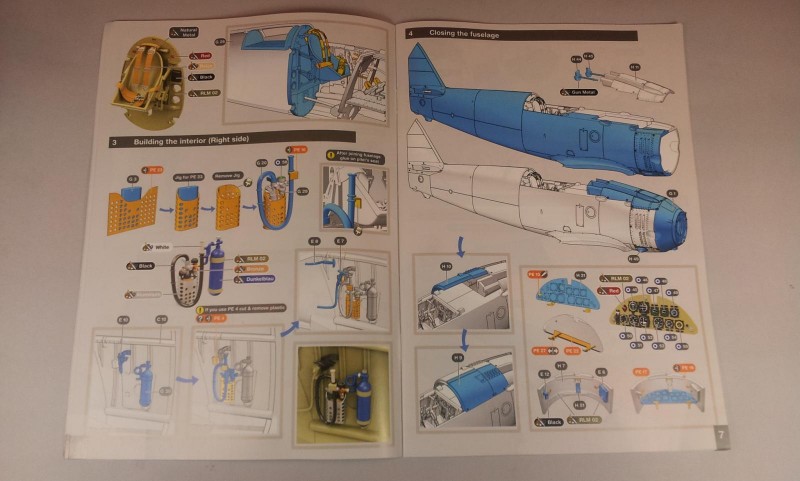
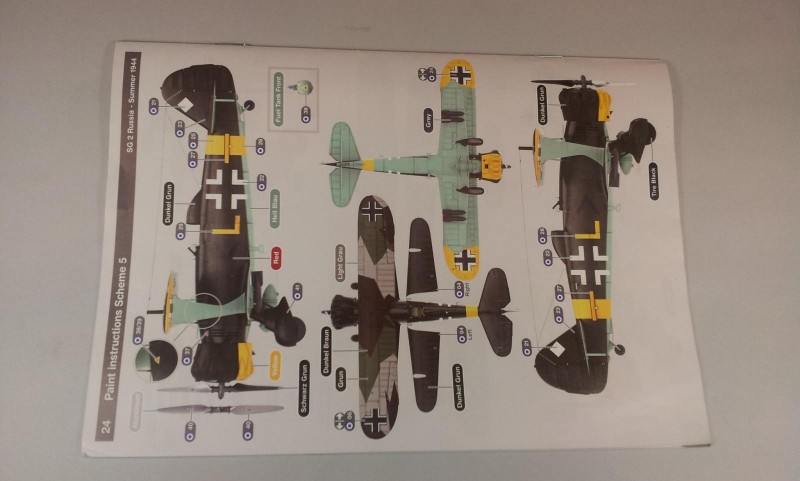
The Instruction manual is very well done, using coloured computer renderings to display the assembly and painting phases. Please note the color references mention only the proper RLM code, with no reference to model colors of any brand. Not a problem in case of well known LW cammo scheme. May be just an inconveniente for beginners.
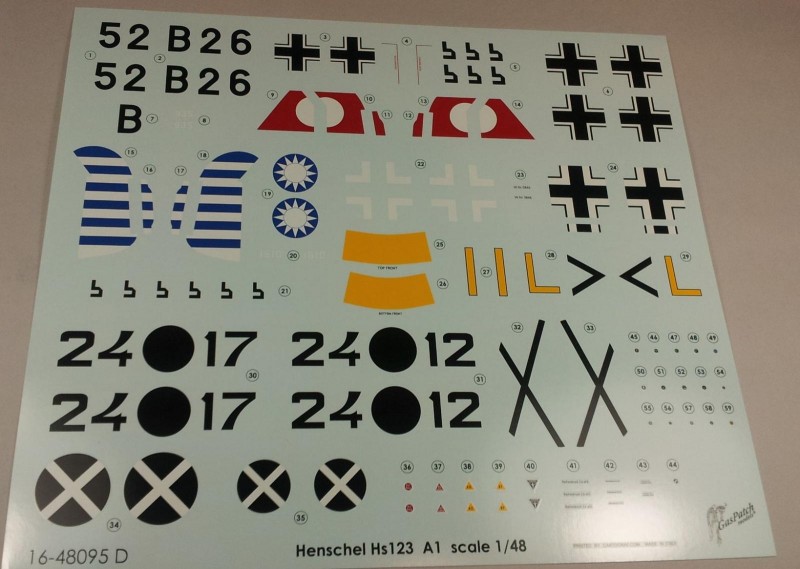
Decals for five different aircraft are included:
.-Two Spanish Air Force in RLM 61-62-63 top side and RLM 65 underside,
.-One LW pre-war machine with the same cammo,
.-One Chineese with its really strange cammo,
.-One Eastern front,1944 LW bird. Displaying an upper wing top side in RLM 61-62-63, Fuselage and bottom wing top side in RLM 71 dark green and RLM65 bottom side.
My scarce documentation on this subject, and a brief research on internet, left me with some doubt about the fact late war birds could have retained such cammo for the upper wing. The modeller who wants to replicate the last marking option I would suggest to do some additional research.
Anyway decals are manufactured by the Italian company Cartograph, with their usual high standards.
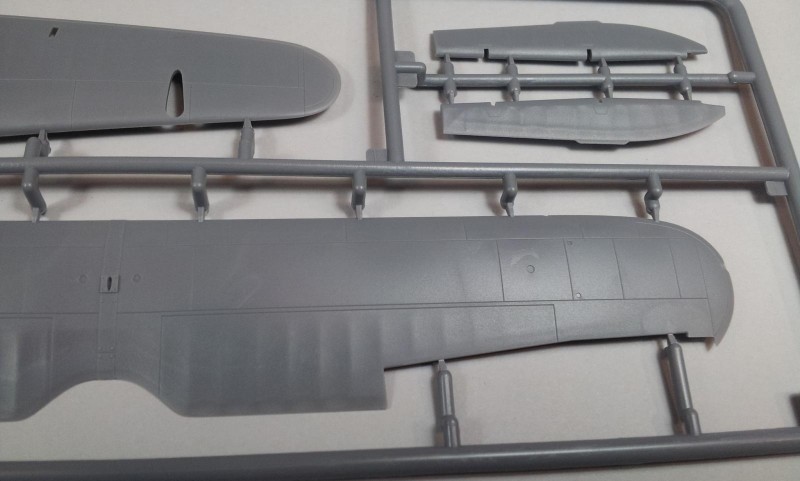
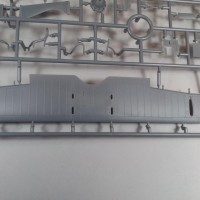
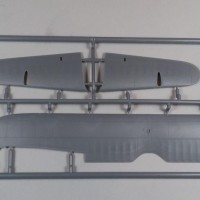
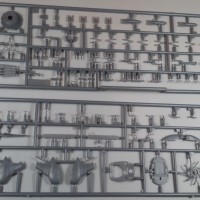
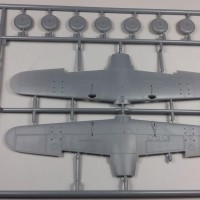
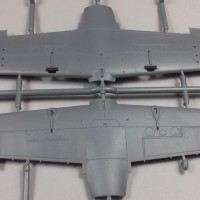
The Molding quality is very good, no flash visible and no ejection pin mark on visible parts. The grey styrene parts are well moulded, without any mismoulds.
Surface detail is excellent and well reproduces the different textures of the various materials used on this late 30ies aircraft: recessed pannel lines, fabric surface and ribs, and prominent rivets where appropriate.
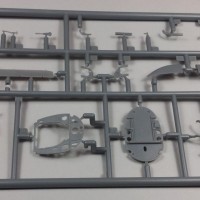
The cockpit is very well detailed, a single decal dial will give a convincing appearance to the instruments pannel, while PE seat belts will complete the pilot seat.
All control surface are separate, and can be positioned at will.
Optional parts will permit different headrest configurations, the landing gear can be build in unspatted, semi-spatted, and fully spatted wheels configuration.
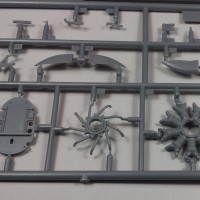
The engine is very nice, with the cylinders moulded in a single piece, nice cooling fan and separate exhaust and valve rods. Only spark plug wires will be needed to obtain a convincing replica.
The small transparent windshield is thin and the plastic displays good transparency. Transparent painting masks are also provided.
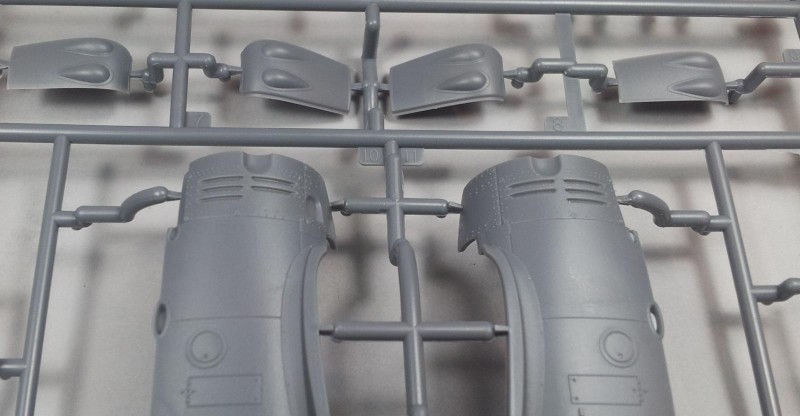
What is a bit worrying is the engine cowling made out of 9 separate parts, I think some careful dry-fitting will be required here, to decide if the construction of a jig will be needed.
I do not have reliable documentation to check forms and dimension of the aircraft, therefore I will not comment on this aspect.
In late Autumn I hope I will be able to start building the model,and provide IModeler readers with a build review.
In conclusion Gaspatch made a nice model, well detailed but not difficult to build for a medium level modeler. A convincing result can be reached without any aftermarket detail, i may replace only the two MG 17 barrels with some brass parts.

Never done a Gaspatch kit, but it looks like a very nice offering. Lotta detail and extra goodies included.
Craig,
hope in late autumn I will start the build review of the kit, hope I will be able to provide accurate build remarks.
Roberto
Roberto, looks like a nice kit. Thanks for the look at what they give you.
The tiny and ancient Airfix offering of this aircraft was a great little kit ,I built a few of them so I was very interested in this review it looks like a very nice build, I can't see many people attempting that Chinese camo though which is a pity.
Cheers N.
Neil,
honestly, I don' like very much the Chinese camo. i believe that these kind of scheme, do not offer the possibility to enanche surface detaily and pannels with appropriate painting technique, but tend to hide them, rending the aircraft looking a bit "flat", at list with my capability. Of course if othermodeller can do it, chapeau!
This is a great review of a really neat plane. I have a few of the older Amtech kits in my stash. You caused me to pull one out and give it a closer look. It's sitting on the build pile now.
Thanks for the review. This one looks like a great plane to build. I'd like to see photos from your completed build. Thanks again.
I like the pre War color schemes myself.
The yellow color pops in the SG2 1944 version too.
Hi Louis,
Early at the beginning I didn't like much the subject, prefer 109 and 190, but after I have seen the nice box art and check at the sprue, I' would like to start building it right now.
Being a kit review, i think, as part of the job, i will use the kit'S decal. Most probably the SG2 machine will be the one.
Good review, Roberto, very useful to anyone interested in buying this kit.
Thanks for the review Roberto. I built the old Esci kit many years ago; not bad for its time but this looks like it will be a huge improvement. Surface detail looks first class, as do the marking choices & instruction book I look forward to your build.