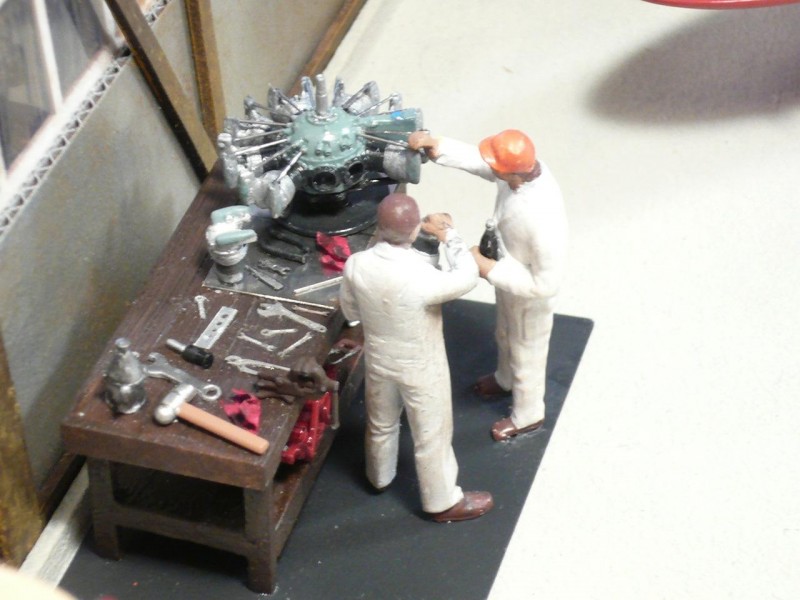
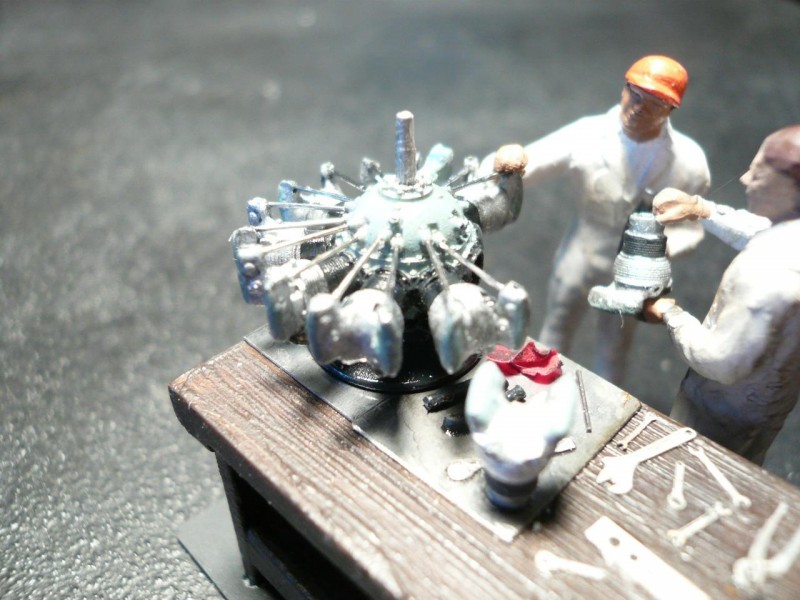
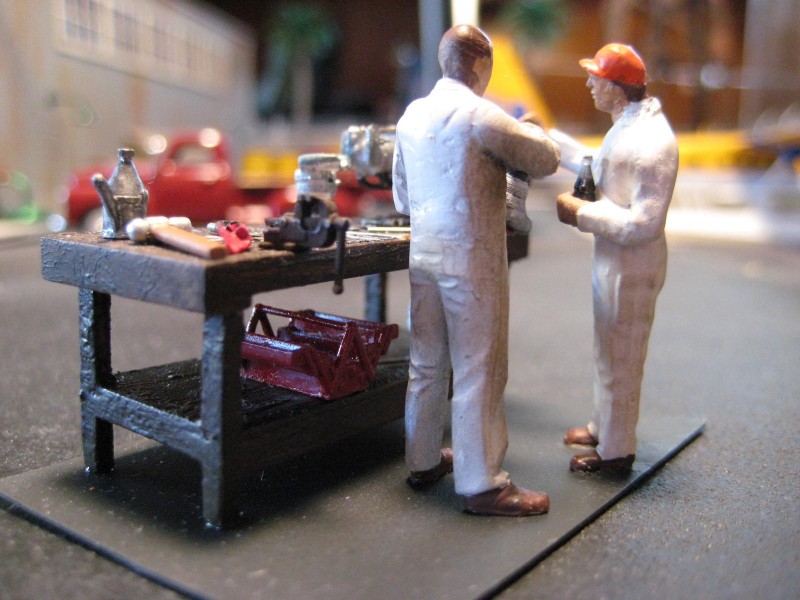
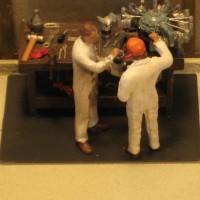
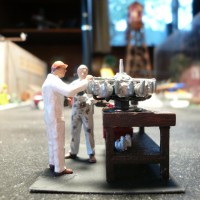
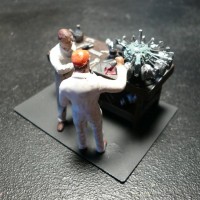
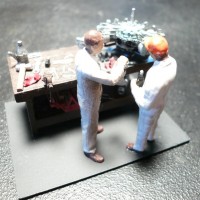
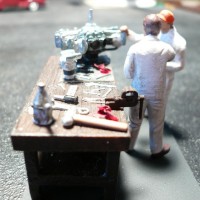
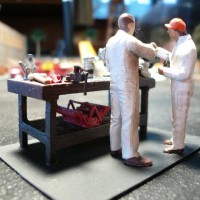
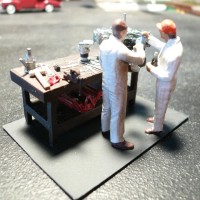
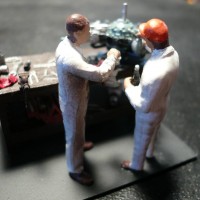
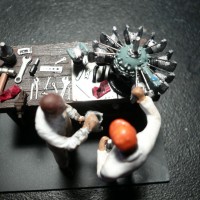
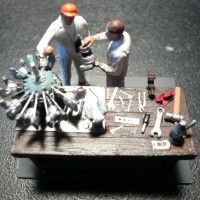
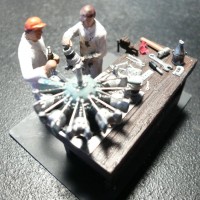
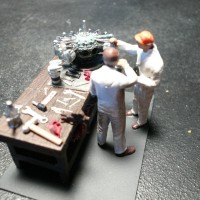
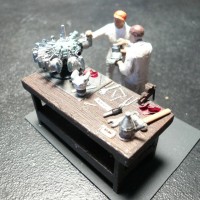
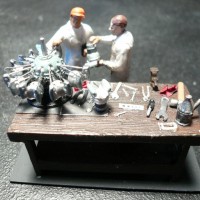
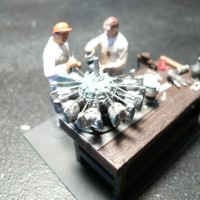
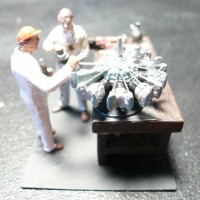
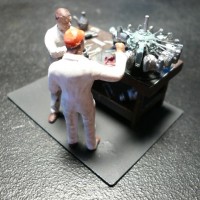
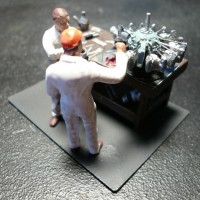
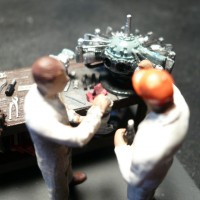
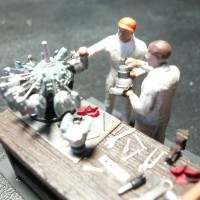
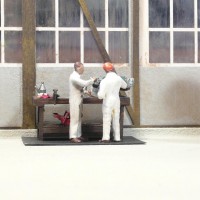
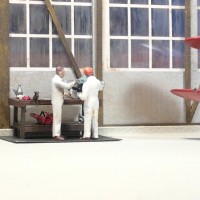
I've spent some time working on old, round engines everywhere, from in the shop to replacing parts like propellers busted hoses and "blown jugs" in the field. Therefore, it is only natural to included a radial repair scene in my airport diorama. While the scene takes a few liberties, it conveys the concept of working on these engines, something I'm still doing, only now its 1/48 scale. Here the shop supervisor consults with the engine mechanic about a cylinder problem on the P&W R-985 over a not-so cold, bottle of coke. And would you look at the size of that ball peen hammer? That's so the mechanic doesn't have to use those Channel Lock pliers.
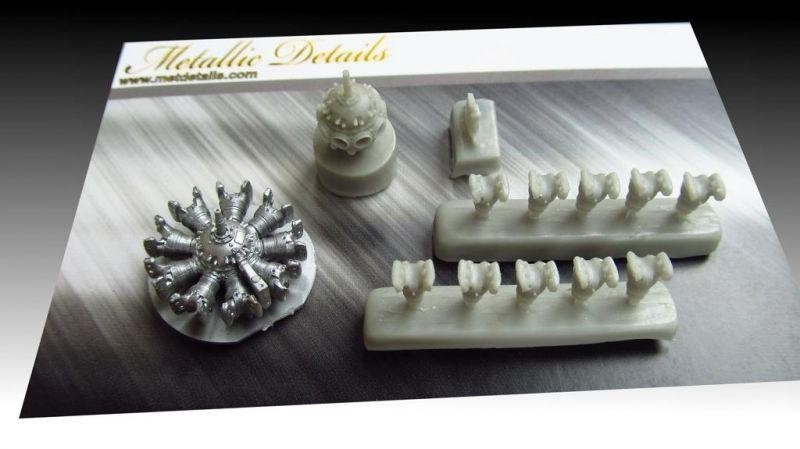
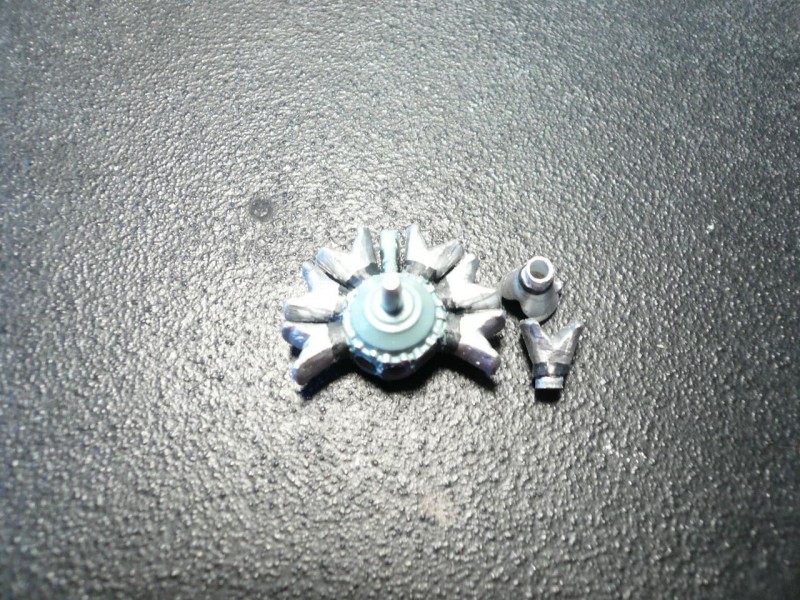
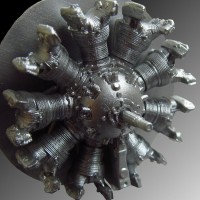
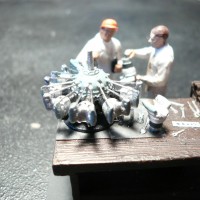
The engine is a resin, Pratt and Whitney R-985 Wasp Junior from "Metallic Details."
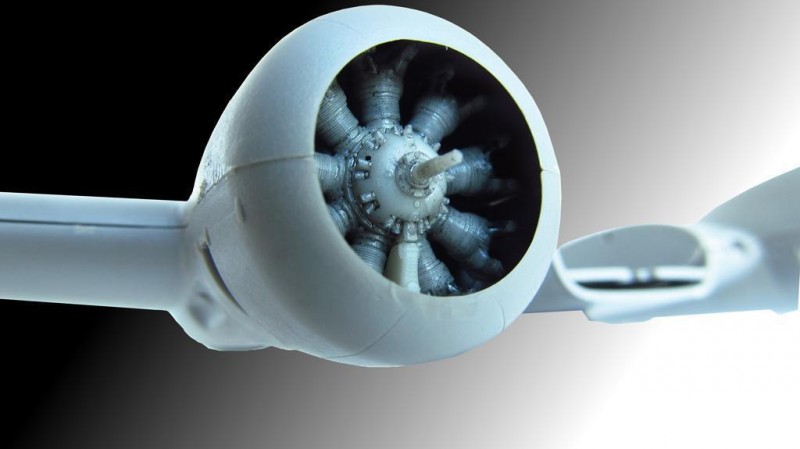
This is the cheapest kit on the market at around $12 - once again, scale models at scale prices. I built two of these for my Twin Beech cargo hauler,
so I am getting pretty proficient at tiny radial construction techniques.
The kit requires attaching the cylinders,
so it was a perfect match for the scene. I first attempted to use a 985 radial from the C-45 kit, sawing off the jugs, but it did not have the detail and was grossly inaccurate,
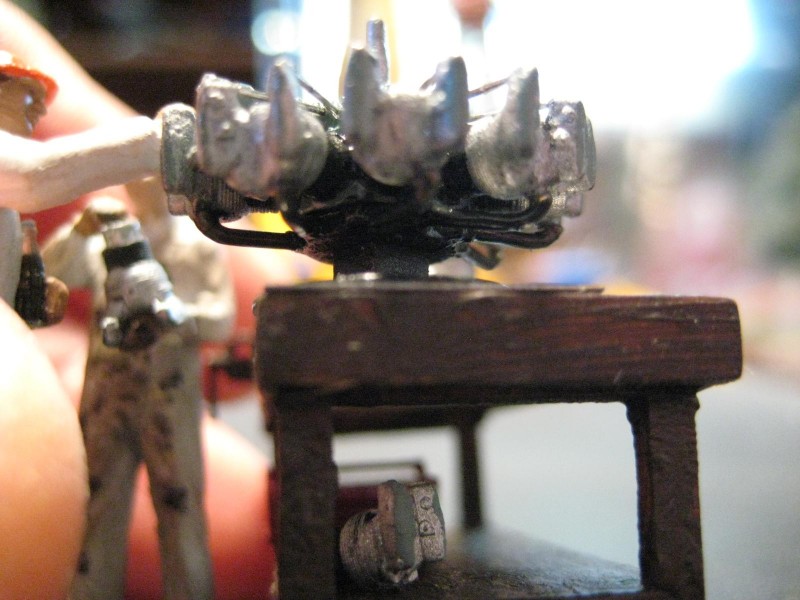
so I sprang for the Metallic Details kit. I left the molding base on the engine, sanding it down to reasonable thickness, making a perfect engine stand.
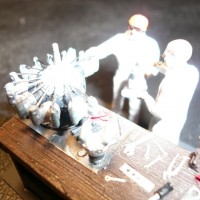
Note the drilled out cylinders. Sharp eyes will note the cylinder bases are still on the crankcase, but then one cannot have perfect detail all the time; at least I cannot. However, I note others have abilities vastly superior to mine in this regard.
Push-rod tubes are cut from 29 gage needles
and intake manifold pipes are brass rod shaped and cut to size.
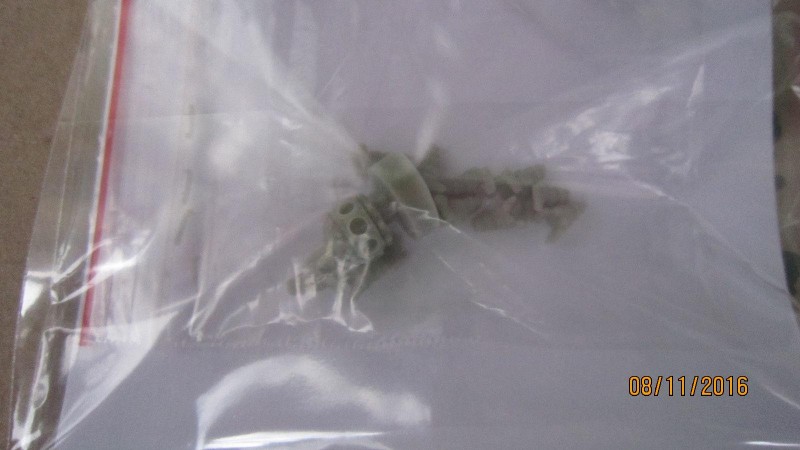
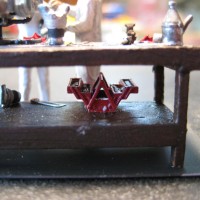
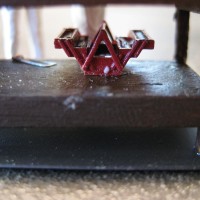
The engine has a small 2mm magnet inserted in to the bottom of the engine stand that attaches it to a metal plate fastened to the table top. Thus, the engine can be removed for inspection. Here is the magnet in the first engine attempt
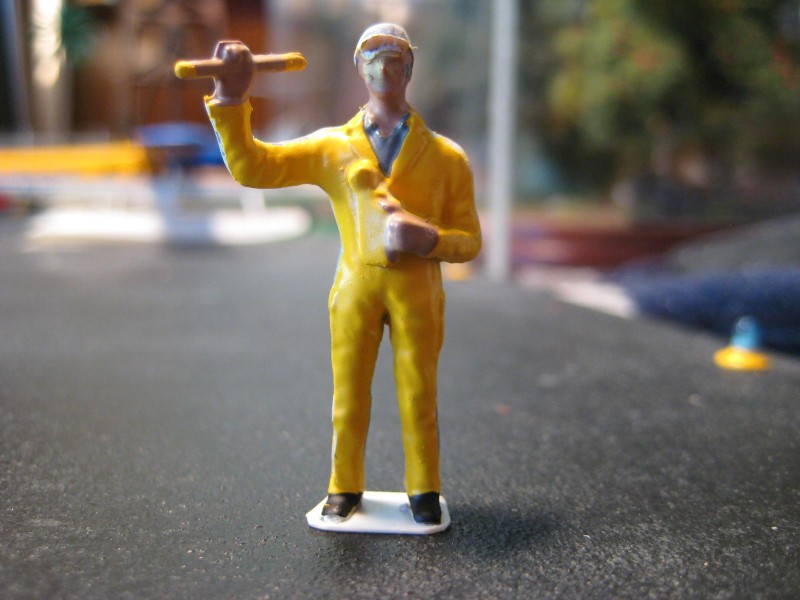
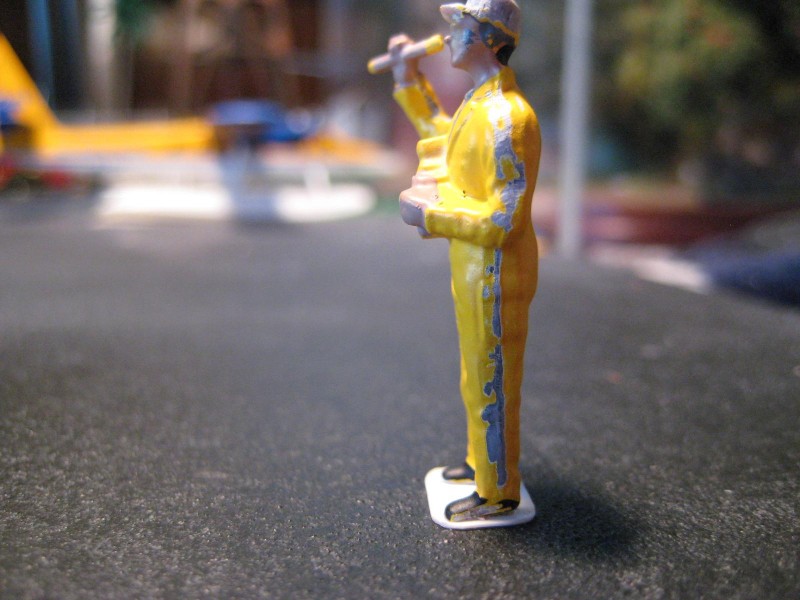
The figures are modified from other kit figures. The guy holding the Jug used to be a Tamiya Navy fighter pilot who now works in the shop. I had to trim off his military gear and flight helmet. The guy with the orange hard-hat was an O-scale railroad figure that had a blob for a face.
His place in the diorama worked out after re-positioning the arm so the hand rested on the 985's valve cover and grinding away the the oil can and replacing it with the ubiquitous Coke bottle. (There are three Coke machines located around the diorama)
I took the head from one of the Goon's paratroop contingent and decapitated him. I then cut the hard hat from the original figure and glued it all together, allowing the figure to save face.
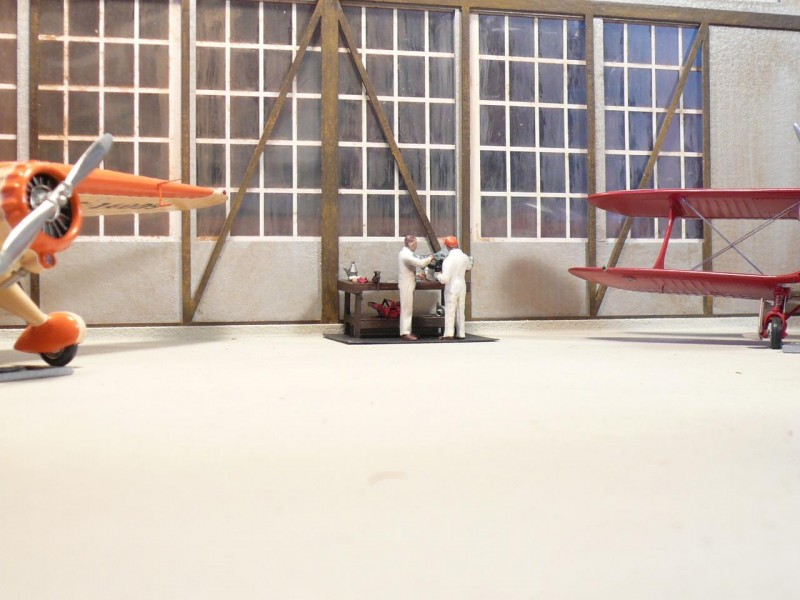
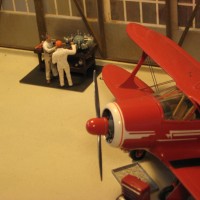
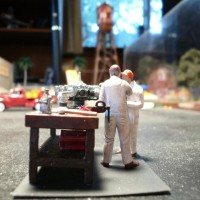
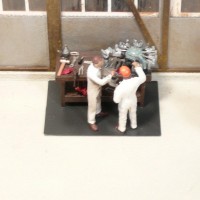
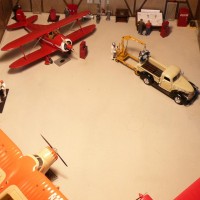
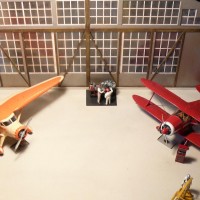
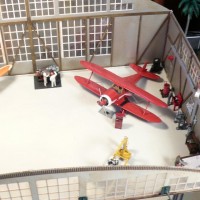
Finally I moved the scene into the hanger
The (modeling) memories of man in his old age are the deeds of a man in his prime - Pink Floyd
35 additional images. Click to enlarge.


Looks great G @flyingwrench, had the experience of helping replace two cylinders on the SB2C Helldiver a few years ago.
2 attached images. Click to enlarge.
If it ain't greasy, it ain't fun.
Thankfully these were top side!
That's one big-a*s engine.
Very intricate work...nice job - so how'd ya fashion all those [small] tools ?
Very carefully.
Actually they are from one of two sets of PE tools I purchased on eBay. The hammer and screw driver from hell are O scale details from a figure set I had. You have to assemble the pliers and a few other tools from the PE set.
A pair of channel locks and a hammer, is all you need..looks great!
G - I’ll send you my hourly rates on a personal message.
Oh wait...I want in on this...
1 attached image. Click to enlarge.
Excellent, James. Excellent.
Very nice looking mini-diorama. Very well made.
Beautiful as always, G, but it's too clean! There should be a can or two of oil on the bench to lube all the piston rings and valves, and at least one of them should be knocked over and dripping onto the floor! And there are not nearly enough greasy shop rags...
James, you have my sympathies. Anyone who works on Wright radial engines on a regular basis deserves a week or two in Big Springs...
Jaime @jetmex, It was pure joy. Our Maintenance Officer is the real deal. I didn't have to do to much other than take a few pictures. The fun I had was running through compression checks. That Beast gives a lot of KICK! LOL.
1 attached image. Click to enlarge.
It's like we used to say about the Harley, "if it ain't leakin' then yur out of oil."
If you look closely there is an oil can on the left side of the bench. It's the refillable kind that was filled from the 55 gallon drum w/pump on a pallet located on the other side of the hanger. And surely you didn't miss the greasy, oily, red shop rags on the bench.
The bench looks great as do the Staggerwing and Reliant. Love the color choices on the Stinson. Are those the AMT kits?
These miniature masterpieces are the work of Mr. Terry Davis, master modeler. He graciously donated these aircraft to the diorama for a ten dollar carrying charge. These are the AMT kits. I had purchased both kits to build, but when I saw Terry's models I just threw them out. (Actually, I gave them to Terry so he could build them again.) I featured them in an earlier article you can see more of them there in my list of articles.
6 attached images. Click to enlarge.
Love this diorama. Details like the oil drip trays under the engines are so good and really adds a sense of time to a frozen moment like a diorama many times is. Like already said I would also like to see a bit more dirt and tones on the floor although a hangar would be kept fairly clean I imagine. How about covers on pitot tubes and such to add more details?
It's an ongoing project with a lot of detailing remaining, not to mention a number of models remaining to be built. Next up is finishing the C-47 that I'm stuck trying to figure out what to do for custom decals. Then the twin Beech that I'm skeert to paint after putting in all that work. I've got a fuel truck I just finished that I will feature next.
The floor is on the list, as are fence-line weeds and rusty weathering. I just take things as they come. I didn't even plan this scene, it just came to mind when the pieces showed up.
This airport depicts a period of time before there were all those red flags hanging from aircraft. A time when one could just walk out to the aircraft and climb aboard without facing a TSA assault. I remember back in Texas there was a little bitty carpenter bee that would solidly plug up the pitot. They were hell to remove as the pitot head had to be disassembled to get the little buggers out. Sometimes they would plug the line all the way up into the wing. That presented a real problem.
Never worried about it in ag work because the airspeed never worked anyway. If you had to read an instrument to gauge your airspeed, you were in the wrong business. In fact few, if any, flight instruments worked. If they indicated anything you couldn't trust what you were reading. I once had a compass that had lost all its fluid, but it could double as an RPM indicator when the tach went inop, as its rate of spin coincided nicely with the engine speed.
Yeah, I hear what you are saying. Keep up the good work and keep feeding us with those little mini dioramas. If I had been young long time ago flying could be something to do for a living. Now it just seems like a pile of regulations. Perhaps for good reasons...
Suggestion for the C-47...why not make it a) a scenic flight, b) a local VIP machine or c) some beaten up local cargo plane with pallets and a forklift loading cargo?
The entire diorama is based on my experience flying cargo out of St. Thomas in the Caribbean. The planes were old but not too beaten up.
The C-47 I flew as a co-pilot (sometimes from the left seat) had a data plate that read 1945 and the two C-45s I PICd were from the same era.
Hence, both the C-45 and the C-47 are cargo carriers. I had to modify the Revell C-45 kit to make a cargo version out of the military configuration.
This is from a series I'm doing from my career as a professional pilot where sometimes I actually got paid. Two of my other career dioramas can be viewed in my other articles. One is a glider operations I once managed and the other is from my days as an ag-pilot down on the farm.
Regulations are one of the many, but a major reason I gave up flying. I was flying search and rescue operations in Alaska. One long day during a mission I got to talking with the other observer/pilot and when we got around to regulations I began reflecting on my Bi-annual - out of date. Then I looked at my medical - out of date, then I realized I had not filled out the CAP regulation check form to qualify me for the aircraft I was flying. I had left the ground breaking various rules without even realizing it. Then the FAA began their "ramp checks." That was when I decided I had had enough.
There is even an old saying, (one I actually proved) that one cannot leave the ground without breaking at least three regulations. The other saying is "The weight of the paperwork must equal the weight of the aircraft before take off."
I cannot imagine why anyone would want to fly today. Jets are nothing but a bucket of procedures and constant check rides. They are antiseptic and have no soul. Flying the jet navs on an IFR* flight plan is more environmentally restrictive then driving on the highway. I especially abhor getting on a commercial flight that makes one feel like they are being booked into prison instead of passage on a 777.
*(except for very special exceptions, one must file when flying jets as there is no VFR allowed for these aircraft, nor is there any above "Angels 18" where the jet navs begin)