REVELL 1:48th “MEMPHIS BELLE”
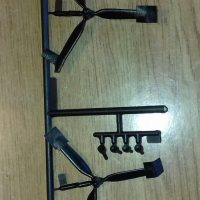
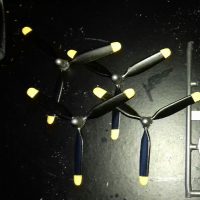
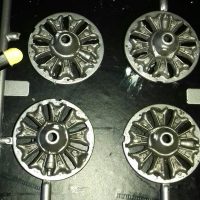
Thought i'd try my hand at a larger scale aircraft for a change.
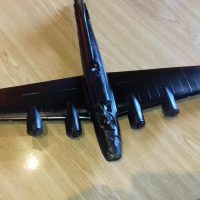
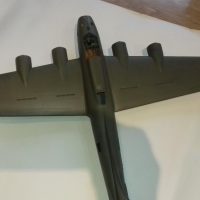
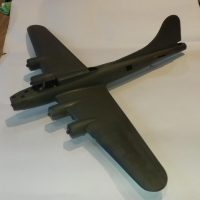
So, went BIG...1:48th Scale B17 "Memphis Belle".
Kit was reasonably cheap (and i found out why) so i decided that this would be a baptism of fire and bought an AIRBRUSH & COMPRESSOR!...always used rattle cans and brushes in the past.
Fit is atrocious, interior detail is none existent, so i'm building this OOB as a "practice makes perfect" project.
Constructive criticism always welcome, but BE NICE. 🙂
UPDATE...DISASTER!
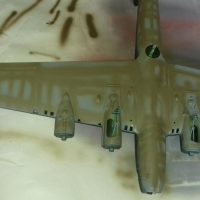
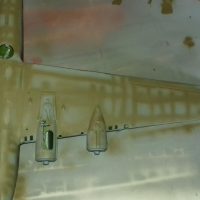
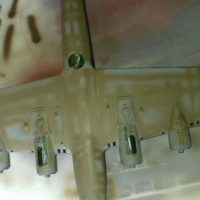
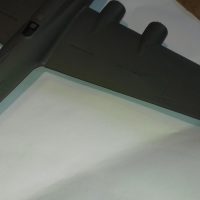
I managed to bugger-up my gloss coat, a combination of too thick, too close and too high a pressure.
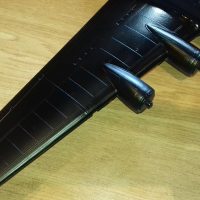
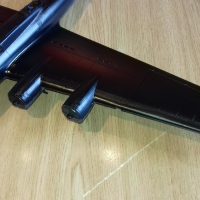
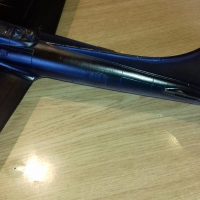
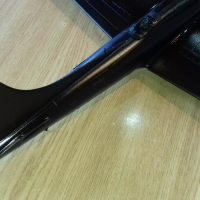
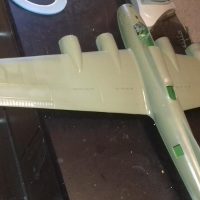
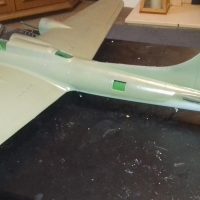
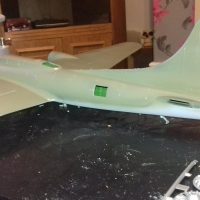
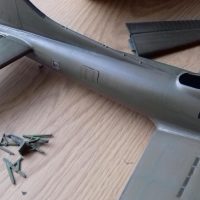
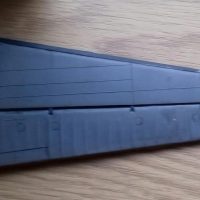
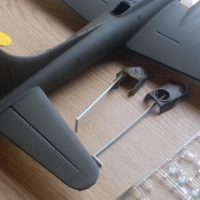
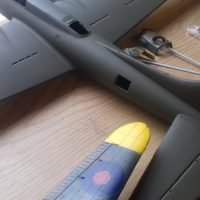
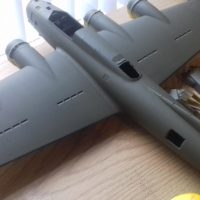
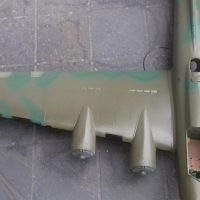
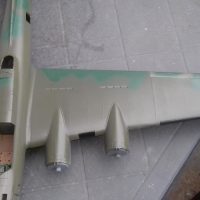
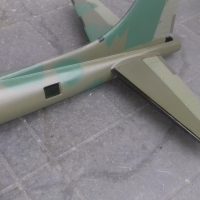
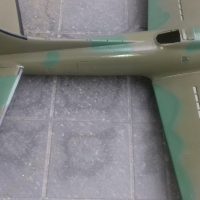
So, i've started to wet-flat it with 1500, going onto 2000 in an attempt to save this (what is now becoming a) "Love-Hate" model (i've also managed to paint over 2 windows which i thought i'd masked out).
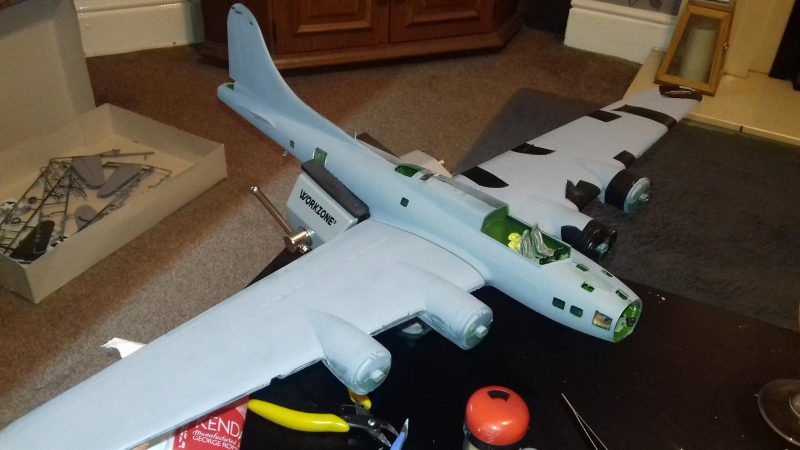
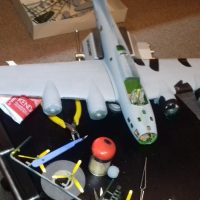
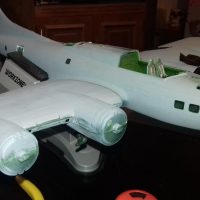
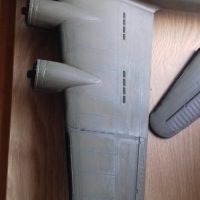
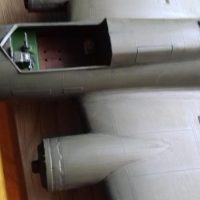
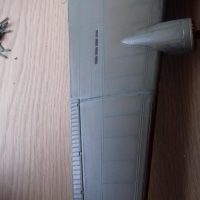
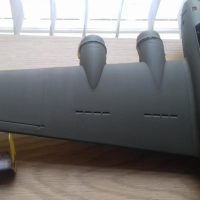
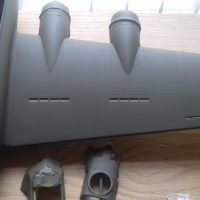
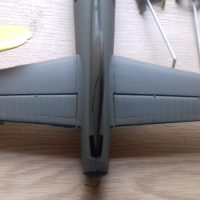
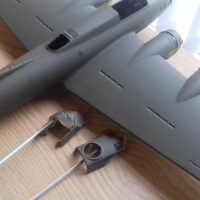
Anyway, after first sanding session with 1500, the newest images show where i've got to.
"The light at the end of the tunnel, is, infact, an EXPRESS TRAIN heading my way!" 🙁
UPDATE No.2
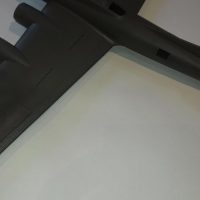
Sanded it ALL down with 2000 grit paper, re-masked the windows (hope i've got 'em all this time). Applied about 5 THIN coats of Vallejo "US Olive Drab" primer, so that should give me a better surface to re-start this "Nemisis" of a model.

Looks good to me. If the general shape is right and you don't want bomb doors open etc it'll look pretty good. I built the HK Models 1/48 with much more interior detail that you can't see!
Like the vice! Might take that tip 🙂
Looks good to me also, Tony (@tonyanderton). Old Monogram and Revell kits show their age at times, but with a little TLC will still build up into nice models. The airbrush has a learning curve but will soon be your most valued tool.
You're spraying paint that is way too thick. You have serious "orange-peel" that is obvious in every shot. Don't worry, everybody starts like that.
You want to thin the paint to about 60% paint- 40% thinner. You also want to spray at about 15psi. Invest in a pressure regulator, it will pay dividends in final look.
In all seriousness, you need to strip all that paint off so you can start over right.
I think there are some tutorials here on airbrushing. If not, there certainly are on YouTube.
Don't feel upset. I've been airbrushing for 50+ years and still learning new tricks. That's why it's an art.
Great entry, my friend @tonyanderton!
The Monogram kit is a classic, solid kit with good general shape, sonewhat lacking in internal detail, if which most is not that visible. A nice model cab result out if it!
Congratulations on your new airbrush and compressor: indeed, it's a learning curve, but, once you feel comfortable with it, you will never hand paint big areas again!
Good start, Tony.
I started airbrushing 2 years ago and have to say that with every model I'm still learning.
But in the end airbrush is much nicer, especially on larger surfaces.
Yeah. I bought this kit hot on the heels of finishing Monogram's G. The biggest let down for me was the smooth walls in the nose compartment as everything is so visible behind the glazing. I plan on adding some styrene strip and greeblies to flesh it out a bit. On my example the fit didn't seem much different than Monogram's. Both have a big gap where the wing and fuselage meet.
As for the finish it looks like your going the right way by breaking up the surface for a mottled weathered appearance. Any orange peel you're left over with should be okay once the flat is applied. I've found that Testors Dullcote is great at hiding all manner of sins!
For a first attempt this is great! We all have a learning curve, although I think we learn something new from every kit we make. Plenty of good tips here as well on correcting the orange peel effect etc. So everyone, keeeeeeppppp modelling!