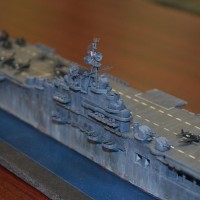
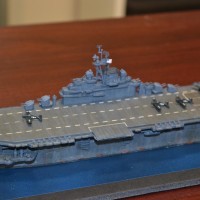
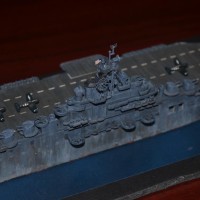
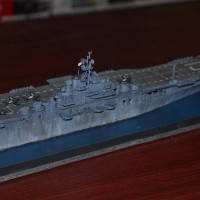
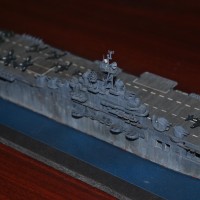
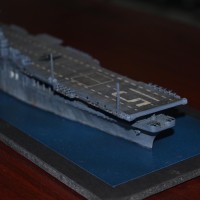
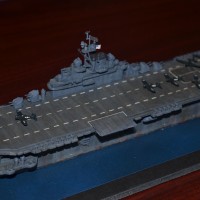
1/700 USS Randolph (CV-15) – August 1945
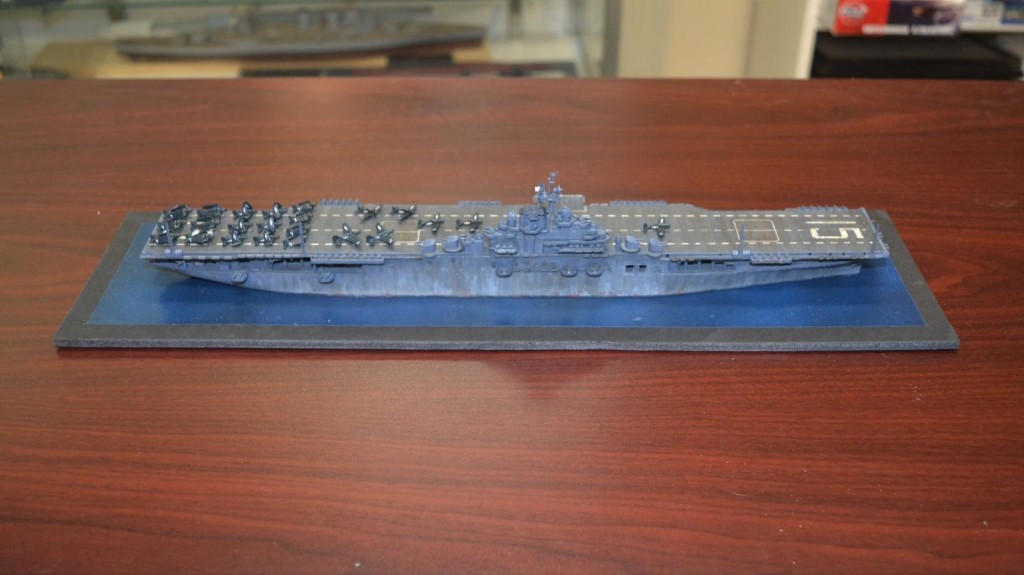
My latest project is one that I have had in mind for a long time.
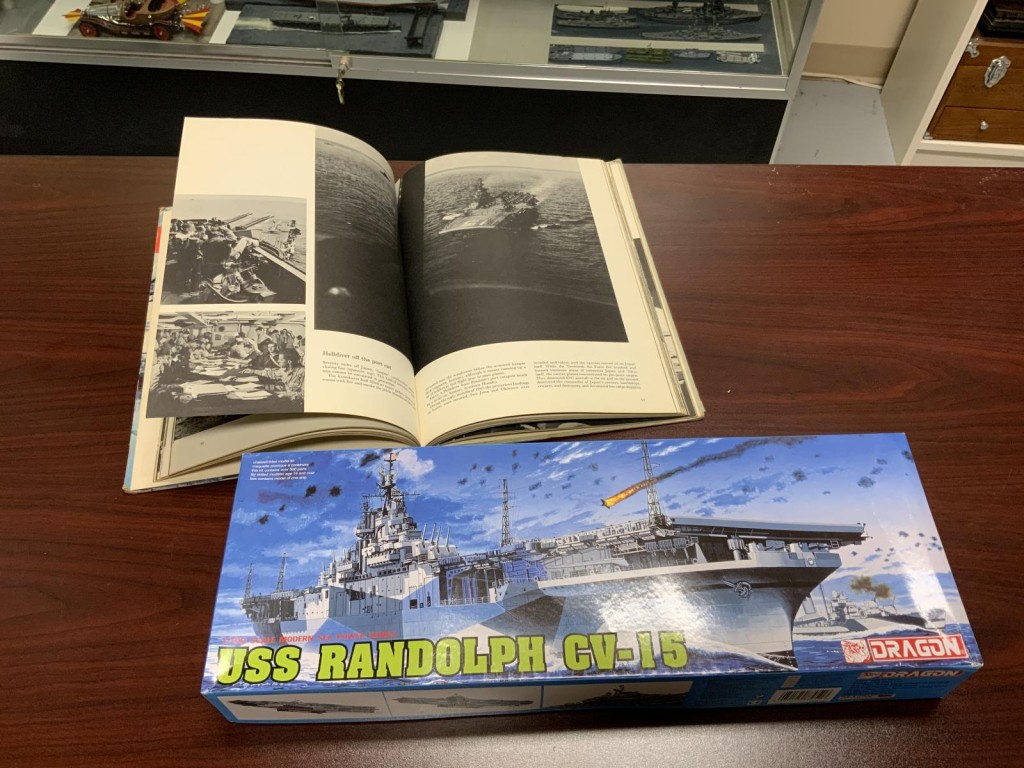
When I was about 10 years old, and just starting to get interested in World War II and aircraft carriers, one of the first books I had access to was Barrett Gallagher's 1959 “Flattop”. I remember it coming from the old stationery store at 115A East Austin in Marshall – the one that my office is one door down from now. I am guessing it was one of the books my grandfather had for sale in the store that my dad found and thought I would be interested in.
The book details Gallagher's experience photographing American aircraft carriers, beginning with the Essex class Randolph in 1945 and continuing to a photo of the new Enterprise under construction. It is where I got my initial list of prewar carriers, and its opening photo of the stately Essex steaming behind a destroyer was one that has never left my mind. It eventually became the model for the cover of my own book on Essex class carriers in 1996.
After completing four intensive builds of Essex class carriers ranging from 1945 to 1968 in the past year, all of which involved extensive kitbashing and scratch building, I wanted to undertake a simpler build this time around.
The Subject
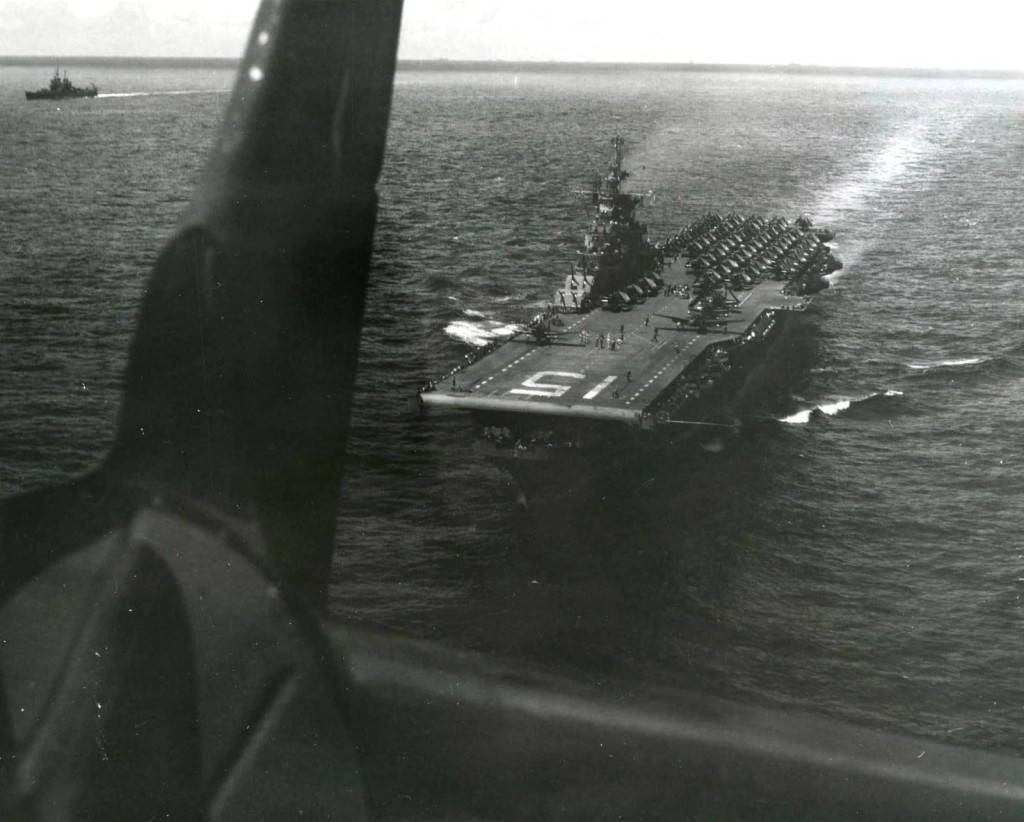
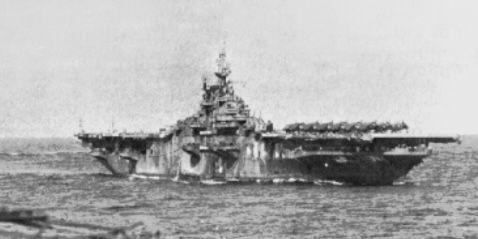
I decided to do the Randolph as it appeared in this photo Gallagher shot from the rear seat of a SB2C Helldiver on its way to strike targets in Japan on 10 August, 1945. In addition to being a favorite subject, it would also give me the chance to model a couple of things that I had not before.
The Kit
I chose the Dragon 1/700 Randolph kit as my starting point. The kit depicts CV – 15 as completed in the fall of 1944, in dazzle camouflage, and without the enhanced complement of 40 mm quad Bofors that had become common on carriers in the Pacific. The changes needed to the kit would be basically twofold. First, the kit would have to be updated to reflect the ship's appearance in August 1945, and second, various inaccuracies and deficiencies in the Dragon kit would need to be addressed.
References
I do not have access to a set of plans for the ship as of late 1945, but I do have a set of profile and plan views of the ship's exterior as completed in 1944 in Raven's Essex Class Carriers, as well as several photographs documenting the modifications made to the ship during its refit at Hunters Point on the West Coast in January 1945.
40mm quads
At Hunters Point, Randolph received the by-then standard three 40mm quads under the island and two aft on the starboard side, as well as two slung below the gallery deck on the port side aft. The photos document the locations clearly, including the new lower location on the port side compared to mounts installed earlier in the war.
As it was only the second Dragon Essex kit, the Randolph kit does not yet have any of these mounts, as it depicts the ship as built. Later Dragon kits have them on sprues G and M. Fortunately, I had both in my spares box from the Princeton CV-37 kit that I modified into the Oriskany (CV-34) last fall, so I simply added parts G-5, -5, and -6 and M-7 and -8.
No hangar deck catapult
Dragon includes the external hangar deck catapult sponson that early ships of the class had, but Randolph never had one. It is relatively easy to sand this off, as I did for both Oriskany and Bon Homme Richard.
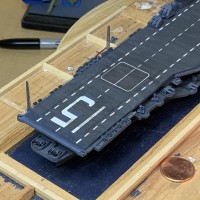
Deck Blue Flight Deck Stain
Every Essex class ship I have built to date had the lighter blue flight deck stain. However, later in the war the ships began to complete and refit with a significantly darker flight deck stain which was intended to approximate the Deck Blue paint used for walkways. This color was just released by Mission, and I am using that paint.
White Flight Deck Numbers
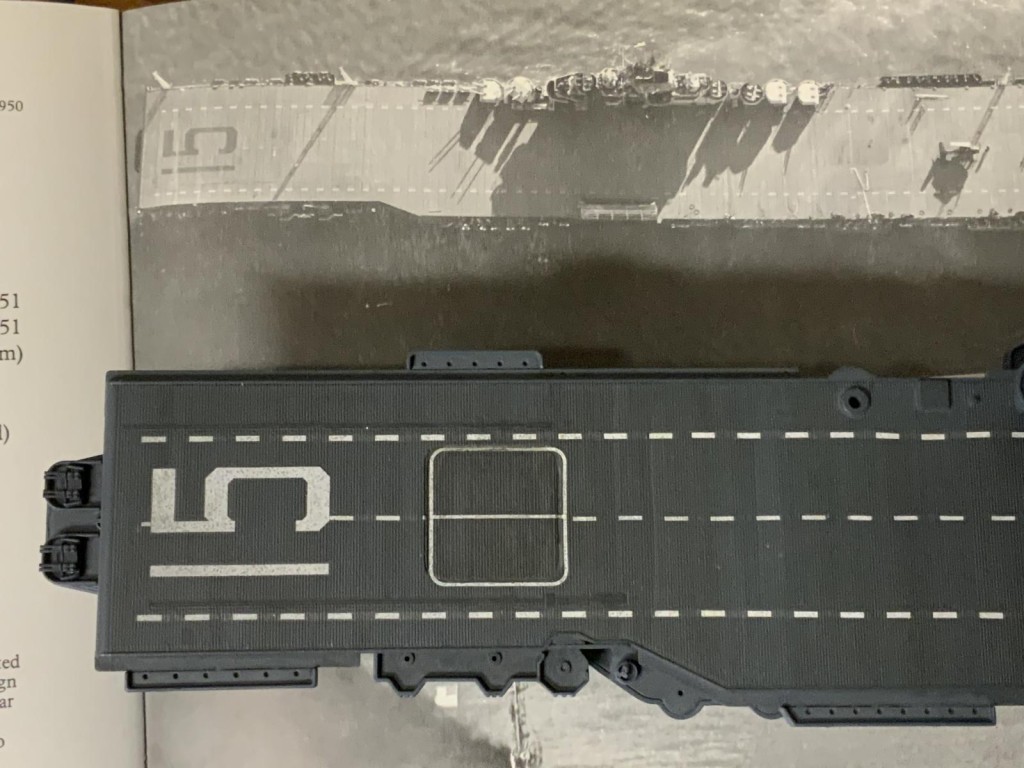
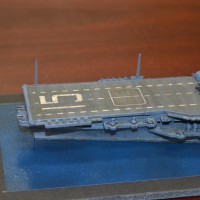
Although the Randolph appears to have been completed with the standard black flight deck numbers, the lack of contrast with the dark flight deck stain was apparently enough of an issue that at Hunters Point the Randolph became the first fleet carrier to change from black flight deck numbers to white ones.
The kit comes with black flight deck numbers, and as I discovered to my sorrow on my last build, my almost 30-year-old Gold Medal Models flight deck numbers are in poor shape, so I ordered a new set of numbers from GMM. In addition to being newer, they are far better quality, and provided better flight deck striping qas well.
Reconfigured 20mm gun tubs
To accommodate the new 40mm quads on the port side, the existing gun tubs were relocated while the ship was at Hunters Point. They seem to be the same 6-mount tubs, so moving them around was simple, using the same kit parts.
Whip antenna
Multiple photos show a whip antenna at the extreme end of the port gallery deck catwalk forward. The kit doesn't have this, so I will add it with stretched sprue.
Bow gallery deck tubs
Both gallery decks terminate at the extreme bow with small round enclosures for gun directors. I added these.
Island 20mm gallery / yardarm
This was my first Dragon island, and one change I know is already necessary is that the aft starboard side 20 mm gallery is much too long. It holds six mounts, and photos seem to indicate it should only have three. Conversely, another gallery is too short and will lengthened. The kit also doesn't have a yardarm so that was added (from a PE set) as well.
Measure 21 Navy Blue (5-N) camouflage - weathered
While at Hunters Point, Randolph repainted from her East Coast dazzle camouflage scheme into overall Navy Blue. A photo showing her in profile at around the time I am modeling her, approximately seven months later, shows extreme and uneven fading. So I did a lot of work weathering the finish to try to get the faded appearance.
Flight deck cutouts
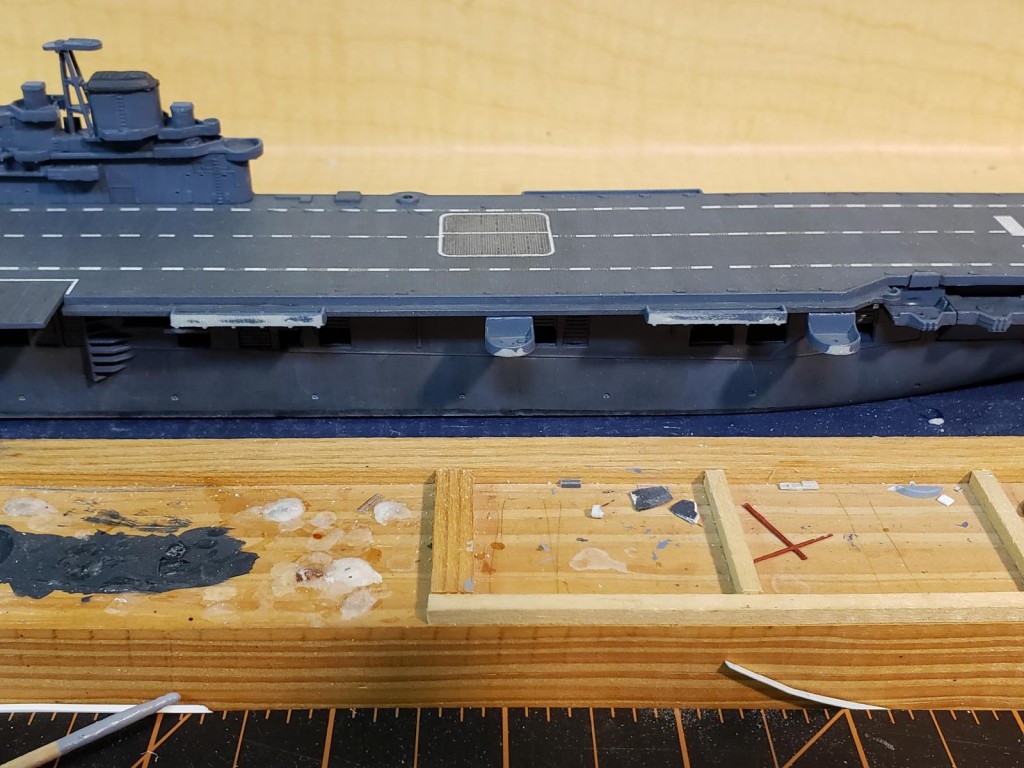
The Dragon kit contains small cutouts for gun directors that were intended to be installed on the port side gallery deck. None of the ships ever had these installed, and Randolph never had the cutouts at all, so I filled these in with some small chips of plastic.
Sand down hull
I may be wrong, but I think that Dragon's Essex class kits are too tall from the water line to the hangar deck, so while it only contributes a tiny amount, I try to sand the lip of plastic that is intended to help the model fit to its underwater section to reduce the height a little. I then put the boot topping on the upper hull, and that seems to get the waterline to the right point.
Lower 40 mm mounts
One of the things that changed on the Essex class carriers during the war was that the 40 mm quad mounts located adjacent to the port side 5 inch gun galleries were lowered from their original position so that they became level with the 5 inch galleries. This was likely because the ships were increasingly overweight as the war went on, and even if weight could not be eliminated, if it could be lowered, it would help the ship's stability.
As Randolph was the second generation of Essex class ships, it was built with these two mounts in the new lowered position. But since the Randolph kit was a modification of Dragon's original Essex, it still uses part C-6, which has the original raised position. But its later versions, including Princeton, have a new part — M-6 that has correct lower position, so I swapped out C-6 for M-6. (I missed this new part when building Oriskany, and scratchbuilt a tub in the correct lower position). Aft, D-34 can simply be lowered by cutting off the tab and puttying over the hole in the hull.
3D printed 20 mm guns
I gave up completely on the Dragon 20mm weapons on my last build, and simply put short pieces of wire into the openings to simulate the kit gun barrels that wouldn't fit. The Blue Ridge 3D printed weapons came highly recommended, so I ordered a couple of packages of those. Unfortunately, they are too large for the Dragon island galleries, so the final model had a mix of different 20mm mounts.
Gallery deck undersides
Finally, although I did not cut off the gallery deck catwalks and replace them with thinner ones as I usually do because I have realized that after the railings are attached you can't tell how thick the underlying structure is anyway, I added strips of .040 plastic to the underside of the flight deck as needed to simulate the correct thickness of the gallery deck.
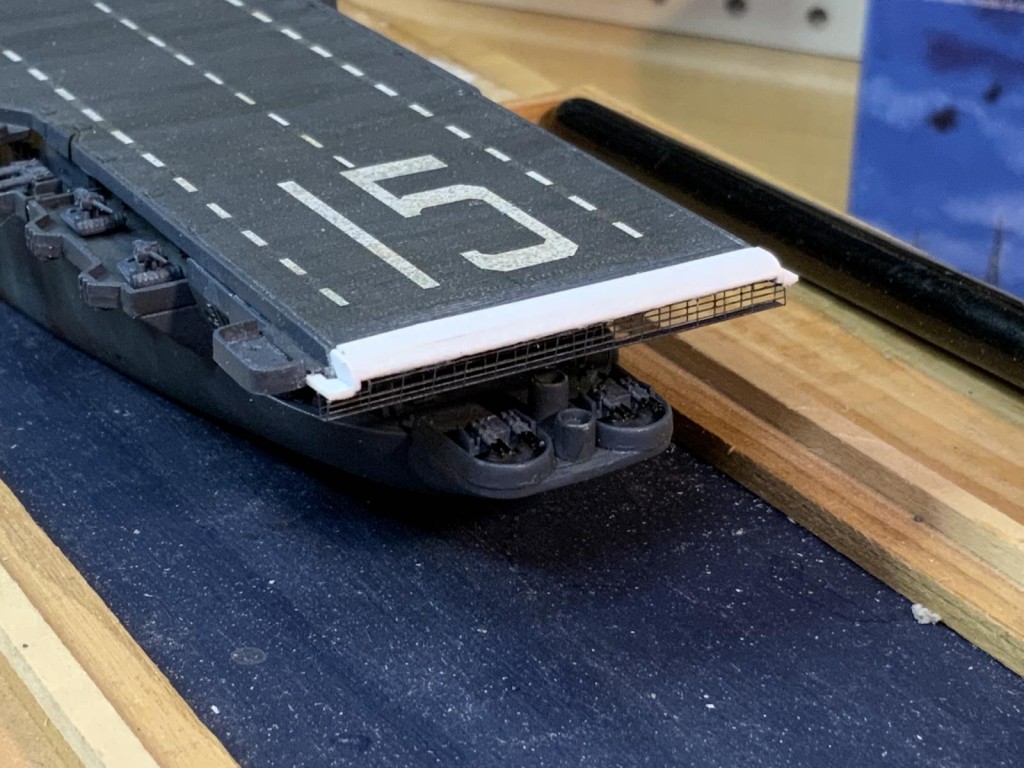
And I added the bow and stern walkways in photo etch as I did with the Bon Homme Richard.
Photoetch railings & radars
Finally, I ordered another Gold Medal Models World War II carrier photoetch set so I would have all the parts to do the necessary railings, radars, and other fittings. Again, it has been upgraded since I last ordered a set in the early ‘90s, so I had some better PE available. But the SK-2 radar was definitely the hardest PE I've ever assembled, so don't look too close.
Flotation net baskets
Finally, I have found that adding flotation net baskets to the outside of the gallery deck railings really adds to the appearance of the kit, and included a couple of dozen or more of those cut from .040 plastic strip. They are available in 3D, but I didn't think the cost was worth it given the large number needed.
While the above may look like a lot of modifications, it is actually pretty minor compared to what I have been doing on similar builds lately.
Aircraft
The aircraft are the kit planes, with some additional Hellcats and Helldivers with unfolded wings from other kits. They have the later August 1945 markings - luckily the Dragon Bon Homme Richard kit had "L" markings that matched what Randolph transitioned to that month. I don't have the large white fuselage numbers - if I run into a set of those I'll add them later.
Shorter Flight Deck (Not)
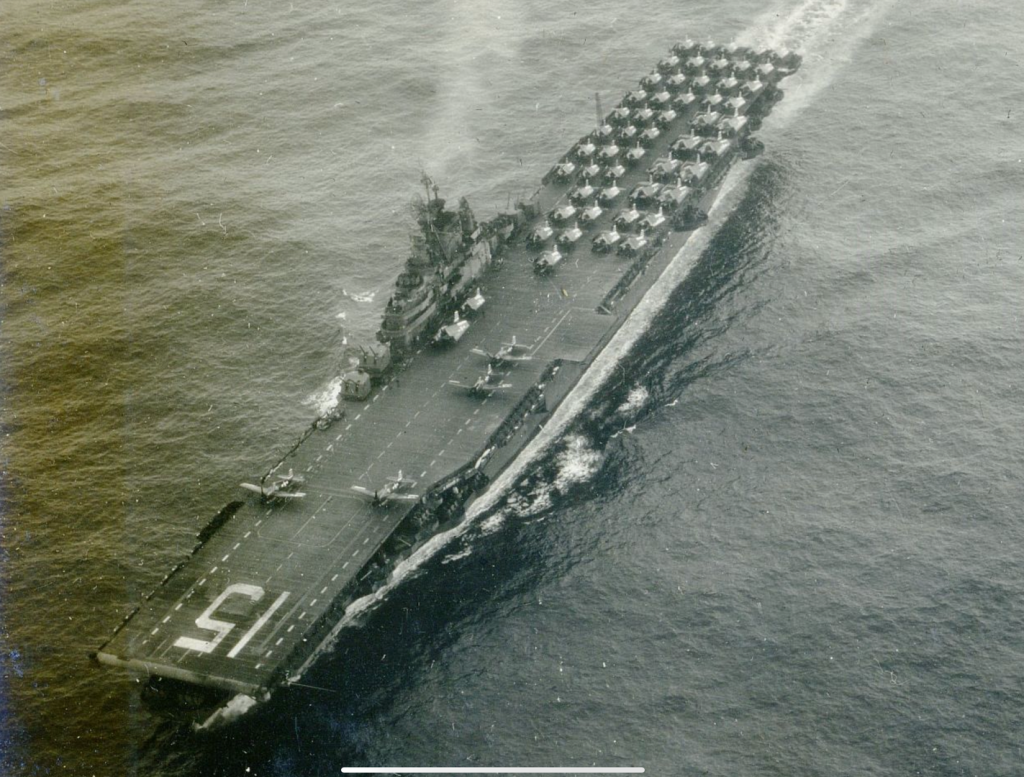
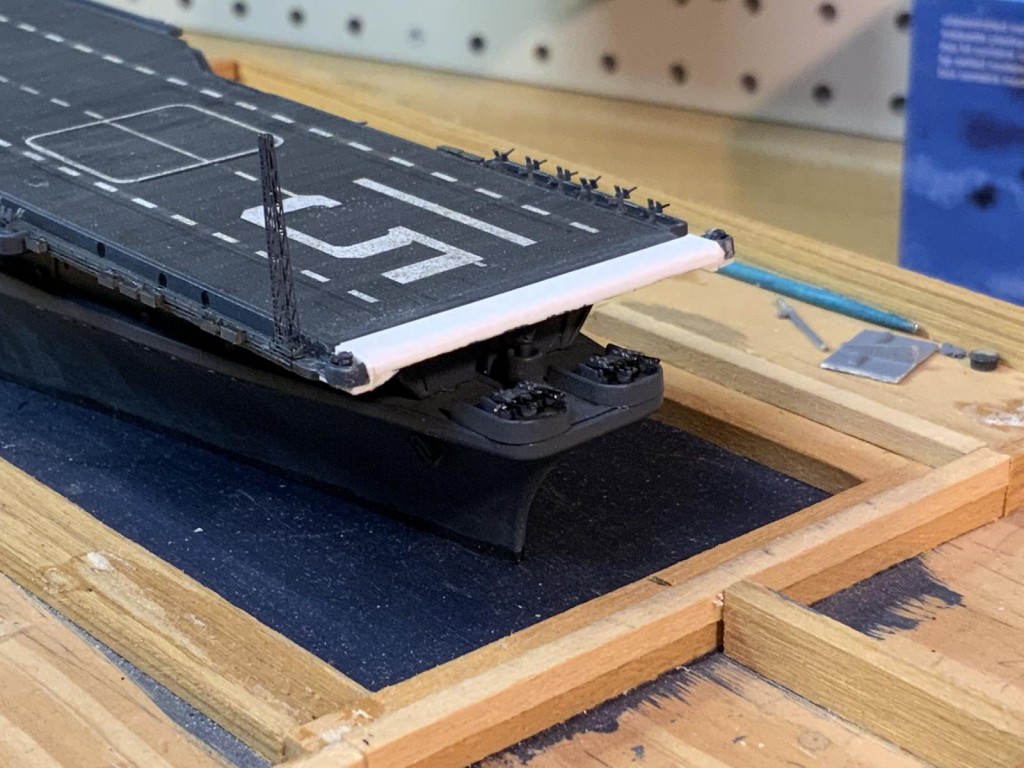
Some of the long-hull Essex class ships completed with slightly shortened flights decks at the bow and stern to allow greater arcs of fire for the two 40mm quads. While Randolph completed with the shortened flight deck – and the kit reflects this – the flight deck appears to have been extended before it left the East Coast – and certainly no later than the January 1945 yard period at Hunters Point.
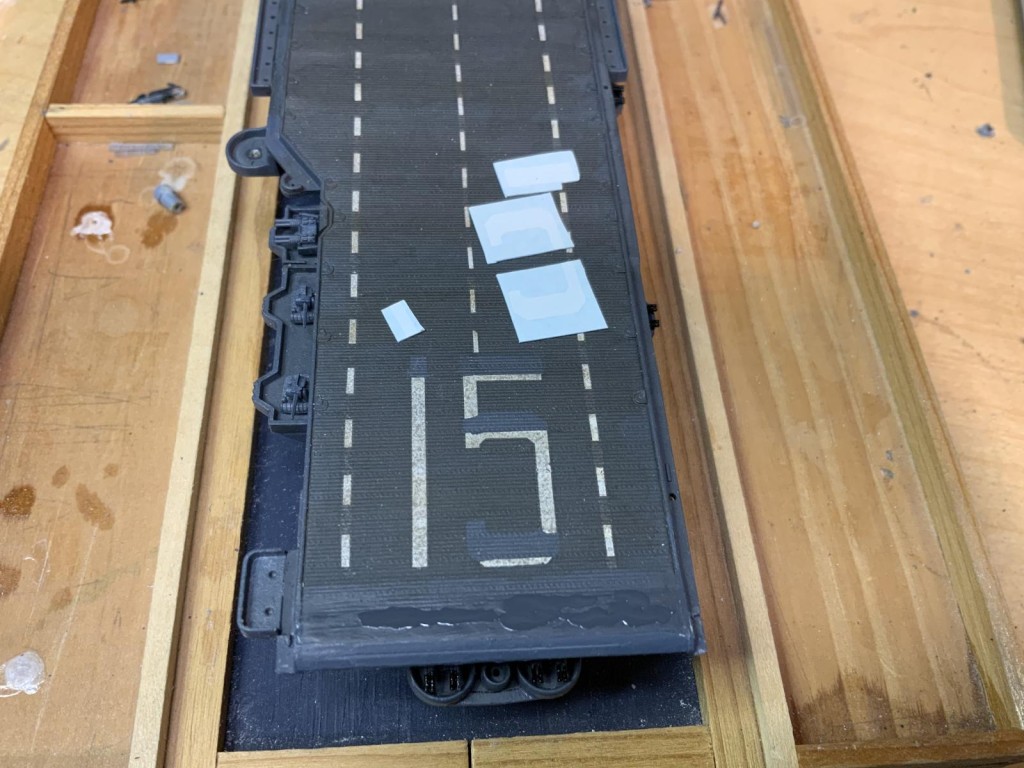
Unfortunately, I did not figure this out until late in the build after I studied this photo closely and could see the new section of deck, as well as much much of the bow was concealed – after the flight deck was installed, painted, decaled and weathered.
So I added sections and painted and weathered them as best I could.
Revising the flight deck numbers outward was the hardest part.
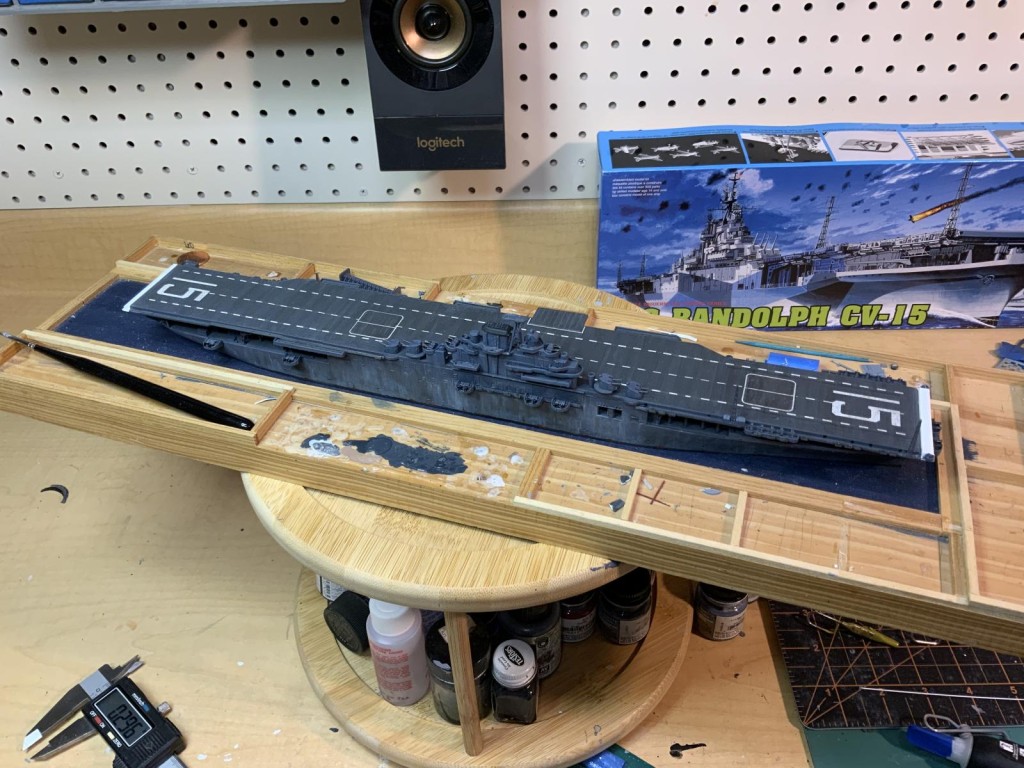
This is without a doubt my poorest carrier build from a modeling skill point of view – it served more as a place to reflect the research I was doing on a specific ship at a specific point in time, and try out some new paints and weathering techniques. But it's a good addition to my growing 1/700 Essex fleet – and it's great to finally get the Barrett Gallagher Randolph built!
(Build log is at https://www.scalemates.com/profiles/mate.php?id=48557&p=albums&album=71128).


Very nice work on this model. Extremely realistic in its overall look.
Looks great Micahel, and a well researched example of how often things changed on these ships throughout the war. Very nice!
Great work, Michael. I’ve always wondered about the flight deck stain. I just assumed the lighter ones were worn and faded. Never knew there were two stains.
There was a light blue deck stain used from late 1942 through 1944 (approximately FS 36154 with some gray), then in '44 some ships started using a new stain that was supposed to approximate the much darker Deck Blue. The lighter color turned gray almost immediately, and I have always used Gunship Gray (FS 36118 for it). The darker color stayed darker when it weathered, but after a few weeks or months I doubt there was much difference. Just dirty wood planking.
The postwar carriers seem to have gone back to the lighter blue at some point, but I don't have any documentation for that. I just know that when they started doing the lighter decks with darker landing area in about 1957, every color picture I have seen of a wooden-decked carrier the lighter color is the old light blue. I use Deck Blue for the landing are and the Norfolk Blue 21-B for the rest of the deck, and here are a couple of examples showing the contrast. The B&W shows examples of both side by side. At some point I think the Deck Blue flight deck color changed to dark gray, but when I've tried dark gray for the landing area it doesn't look right - Deck Blue seems to match better. Maybe the dark gray the Navy used still actually had some blue in it, and they just called it something else.
I did some close ups of the flight deck of Hornet this summer, and while everything exposed has faded to light gray, you can see that where newer paint has flaked off that light blue still shows underneath.
2 attached images. Click to enlarge.
Looking really great, Michael! Your research is, simply, spectacular and the final result reflects it.
Great work !