SU-100 Facelift
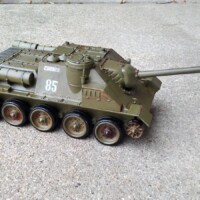
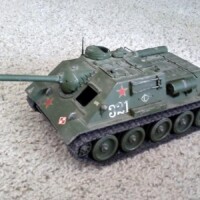
When I was a kid back in the early 70's, one of my older brothers was into motorized toys. He had the airplanes on strings that went round in big circles, a little gas-powered ATV, and this 1/25 scale Tamiya tank which had a battery powered motor. When he moved out of the house, he left the tank behind, and I adopted it and have had it ever since. I'm not sure exactly how old this particular kit is, but it is copyrighted 1969.
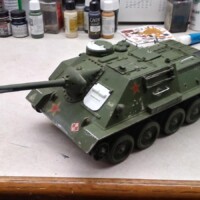
I was moving old models around recently and ran across this old kit, dusty and in a state of disrepair, so I got the idea to redo it and use the opportunity to experiment in some new techniques.
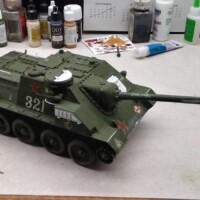
Step one (after a good bath!) was to scratch build the missing hatches, broken-off handles, and one gas tank mount from Evergreen stock.
Step two was making resin copies of the gunner's periscope, one of the gas tanks, and 3 extra track links.
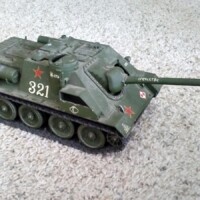
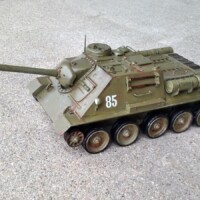
Step three was gluing the two halves of the hull together (it was previously screwed together and didn't fit well - there is no detail inside the hull at all), filling the seam between top and bottom, priming and painting with Vallejo olive drab. New decals were leftovers from my only other Russian model, the IL-2 Sturmovik. After that came a pin wash with Tamiya Panel Line Accent, then dry brushed rust using Testor's flat rubber and flat rust enamels. Testor's clear gloss enamel in a rattle can finished the new paint job.
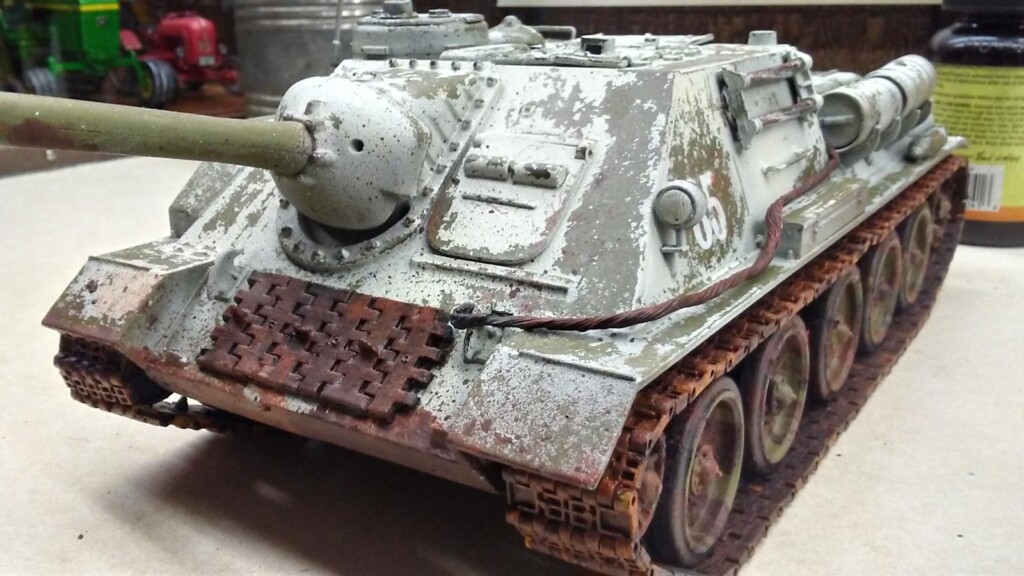
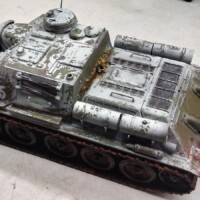
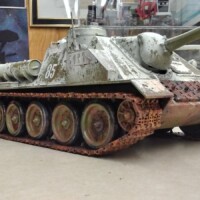
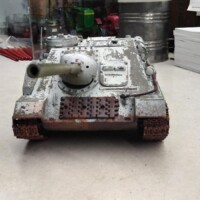
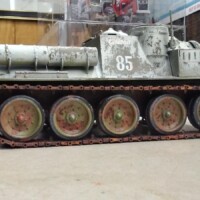
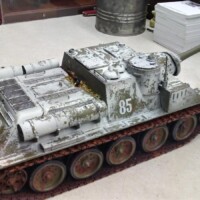
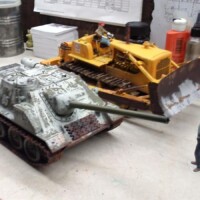
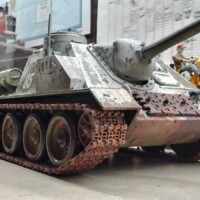
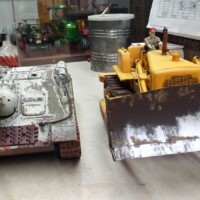
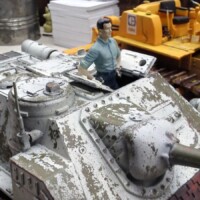
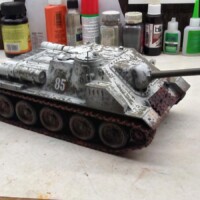
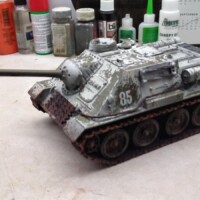
Step 4. Now the experiment begins. I decided I wanted to do a worn winter camouflage, because I'd never done one before, so I then sprayed a heavy layer of hairspray all over, let it dry completely (about an hour), then applied a coat of Vallejo Air White that was thinned a bit more with water. This went on quite well, and when it was dry to the touch, I began with a wetted paint brush to work the white paint loose in what I considered a reasonable wear pattern for an early spring 1945 paint job that had weathered a Russian winter. This worked well and I was pleased with the result.
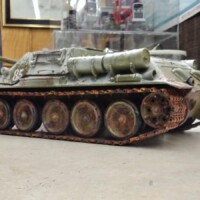
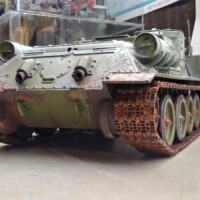
Step 5 was to paint and gunk up the tracks, the wheels and the sides, front and rear of the hull. I used powdered acrylic colors, brushed on thickly with Model Master flat clear coating to get the look of spring mud. Thinned mixtures were splattered on the fenders.
Last steps were to go over everything with Testor's clear flat enamel, paint, weather and glue on the extra track links, glue on dried herbs for dead leaves,and make and paint a tow cable from heavy electrical wire.
I'm very happy with the results of my experiment, giving this old kit new life. These old motorized 1/25 scale Tamiya kits run about $200 on eBay these days. I hope you enjoy this article!
If anyone knows a source for a 1/25 scale Russian tank commander figure, let me know!


Wonderful result from this old kit, Robert, the winter camouflage is very convincing. Have you shown it to your brother?
@chinesegeorge Thanks for the compliment George! I posted the photos on Facebook for my brother to see, he was impressed - he was surprised that old model was still around!
A truly amazing save.
@tcinla Thanks, Tom! I appreciate your comment very much!
A fantastic save over an already built old kit, Robert! The final result is truly superb!
Well done!
@fiveten Thanks, Spiros! I often come back to iModeler just to check up on your latest articles 🙂
Looks amazing, Robert @robgenev665
The winter effect with the Vallejo white turned out really nice, I was not aware that it could be achieved with this regular paint.
@johnb Thanks, John! For a first attempt with the hairspray method I was surprised how well it turned out.
Excellent resto!
@roofrat Thank you much, Robert!
Excellent refurb! Your hair (I mean finish) came out great. The SU-100 is a mean looking beast, I been eyeballing the 1/35 Zvezda down at the LHS. As a matter of fact, I have on the SOD a 1/25 Tamiya T-34 I've had since my teens. Keep meaning to do a refurb like yours. Eventually.
@billkoppos Ha ha thanks, Bill! 🙂 I wouldn't mind having a 1/25 scale Tiger to go with my SU-100, hope to see that T-34 one day... 🙂