Unicraft X-47A Pegasus
Northrop-Grumman developed the X-47A prototype in support of the U.S. Navy's Unmanned Combat Air System Demonstrator (UCAS-D), which seeks to demonstrate a carrier-based, remotely-piloted aircraft capability. Initiated as the J-UCAS program by DARPA, requirements were originally for a low-observable aircraft with the ability to: resist corrosion in a maritime operating environment, launch and be recovered from a carrier, operate in an intense electromagnetic environment, and operate in a hostile battlespace (presumably this latter requirement means the ability to pack some heat).
The Kit
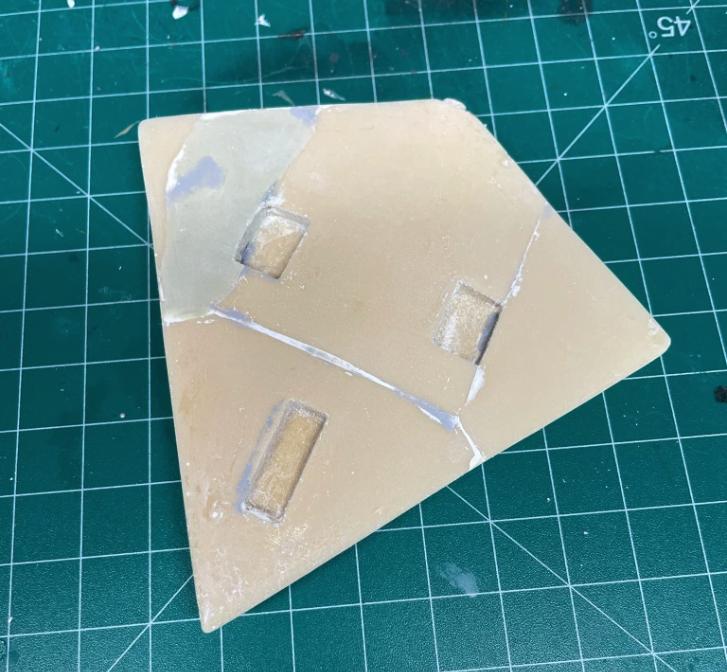
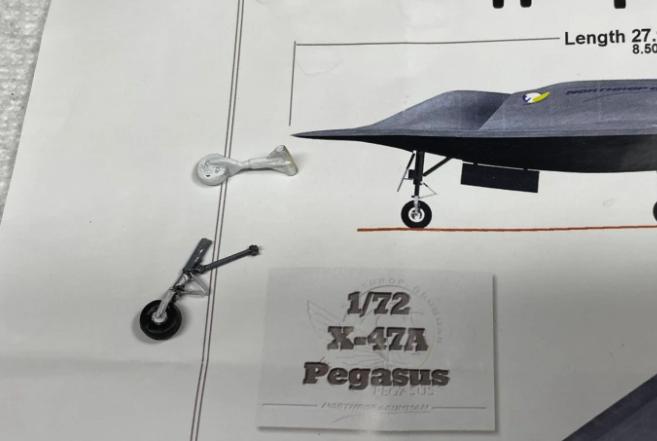
Oh lordy. This kit. The Unicraft 1/72-scale X-47A Pegasus resin kit. An overall frustrating and humbling experience. Here is the starting configuration:
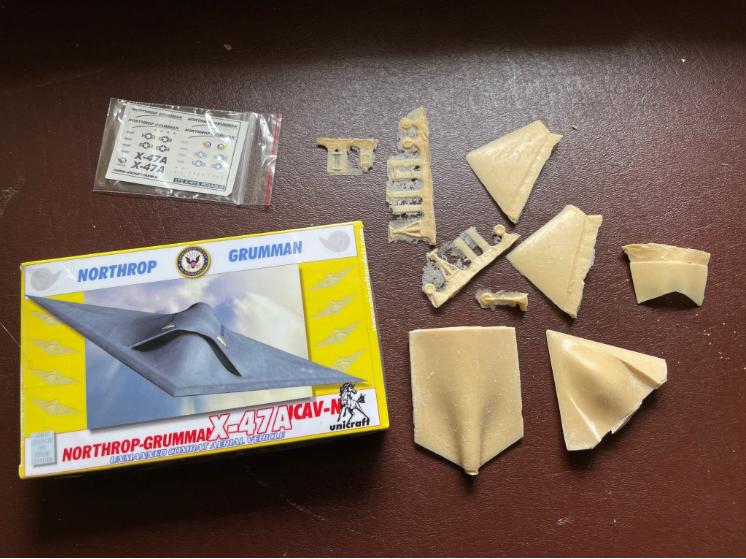
The body comes in 5 solid cast resin pieces, and, as you can see, the rest of the parts are encrusted with significant flash. The resin is especially brittle, which made working with the smaller pieces a delicate and difficult process. This model ended up being as much about excavating pieces from resin crust, and performing the necessary reconstructive surgery using various putties, then it was about actually assembling the damn thing.
The instructions were poor, with a single drawing showing parts coming together. Parts were not numbered, which isn't really an issue with such a tiny model, but nonetheless there were two leftover wheel flaps I didn't know what to do with, and there were no instructions for decals.
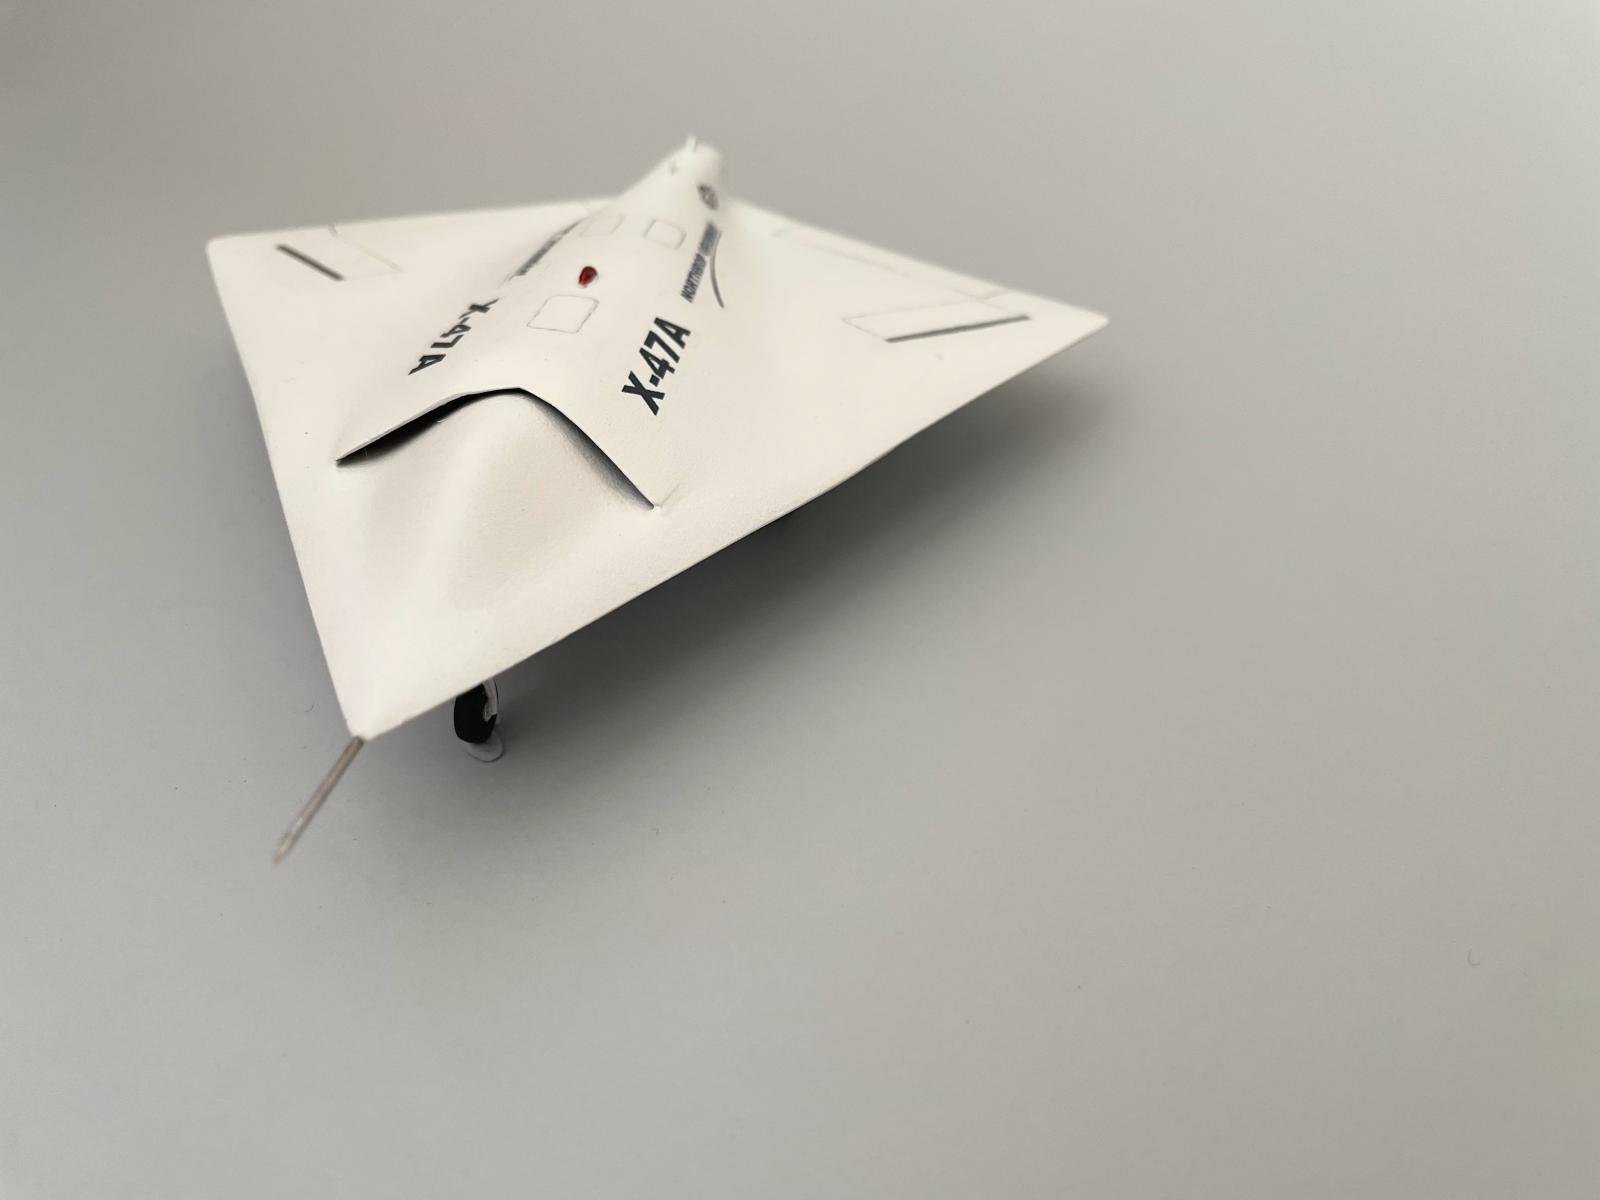
An immediate observation is that this is not a detailed model. The only engraved details are the elevons and the inlaids, there are no antennas or pitot tubes, and the wheel wells are bare. The hope is that, taken as a whole, it is able to accurately capture of the overall form and shape of the real thing. I didn't have much hope though, until I was squarely humbled by Joerg Fitzner's piece on Scalemates. Now I knew it was least possible to make a silk purse from a sow's ear.
First challenge: one of the wings was deformed:
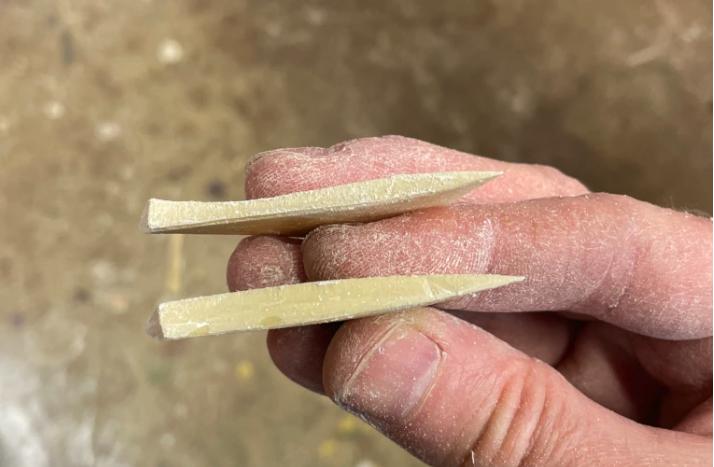
and assembling the body into a single, smooth contiguous form would push me to the limits of my sculpting abilities:
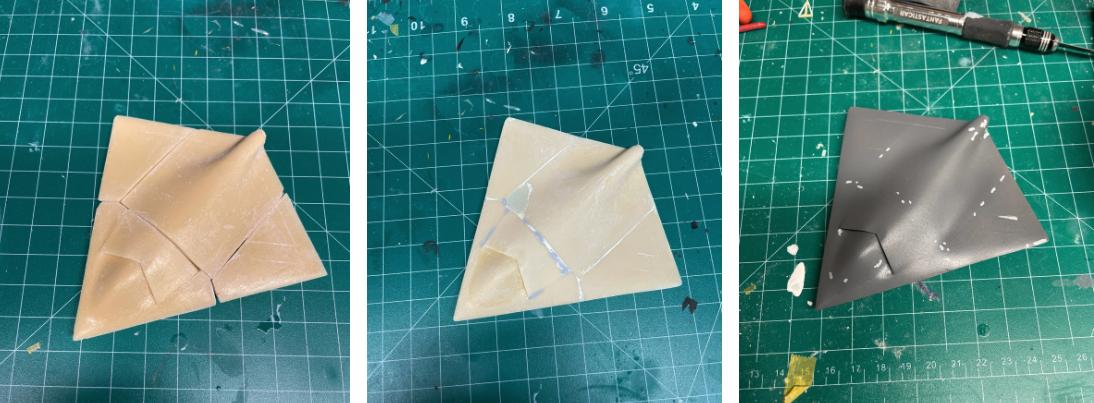
(Incidentally, I was struck by how much the raw parts when put in place (at left) resembled pieces of pie crust dough, as if I was about to make an X-47A pastry. Yummm). I was able to stitch things together with nothing more than white putty, some Mr. Dissolved Putty, and some Mr. Surfacer 500. Fixing the warped wing required some shaping with Milliput, which I'd never used before, but was easy enough:
The resin had a bit of a texture to it, so after all the joints were smooth I gave it a good overall sanding. This removed whatever engraved detail there was, and so I had to rescribe the control surfaces. I also tried to add some panels (seen in various photographs of the real thing) using a handy photoetch scribing template
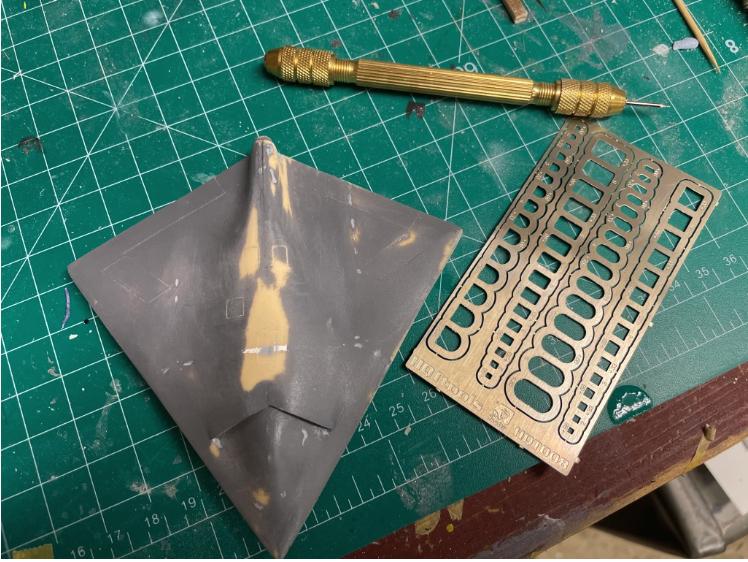
The resin, however, wasn't always cooperative and sometimes the scribe would "bite" into it and excavate more resin than desired, resulting in occasional kinks and uneven depth of the lines. Soon after I got to work excavating and cleaning up the landing gear (and routinely breaking it into pieces), I realized that this was beyond my abilities to do well.
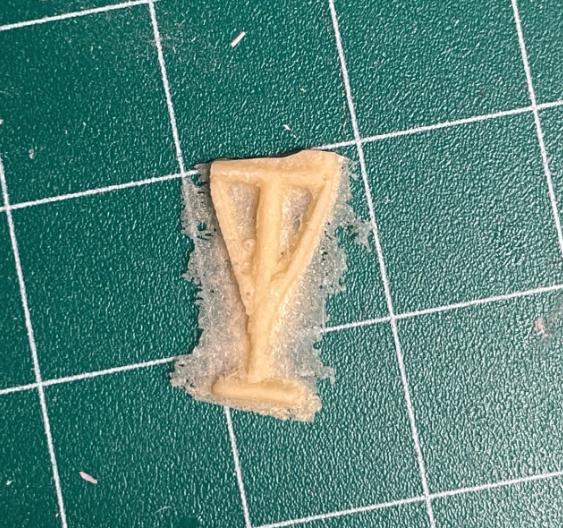
Rather than try to carefully clean and smooth the interior spaces of the rear landing gear, I just cut off the side struts so that I could clean everything more easily, with the hopes of re-attaching them at the end. After breaking one of these struts in the process, it occurred to me that I con't need to use these exact struts: any straight segment of material would work. I used some spare styrene as donor struts:
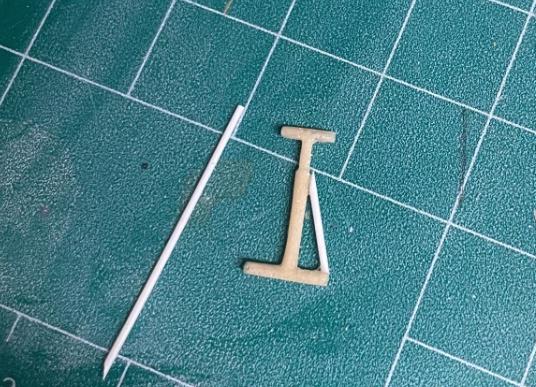
While I was at it, I decided to jettison the nose gear as well, since it was grizzled and looked nothing like the real thing. I used a spare from another kit and added an actuator from yet another kit to try and match the photos more closely:
The white gear is the original.
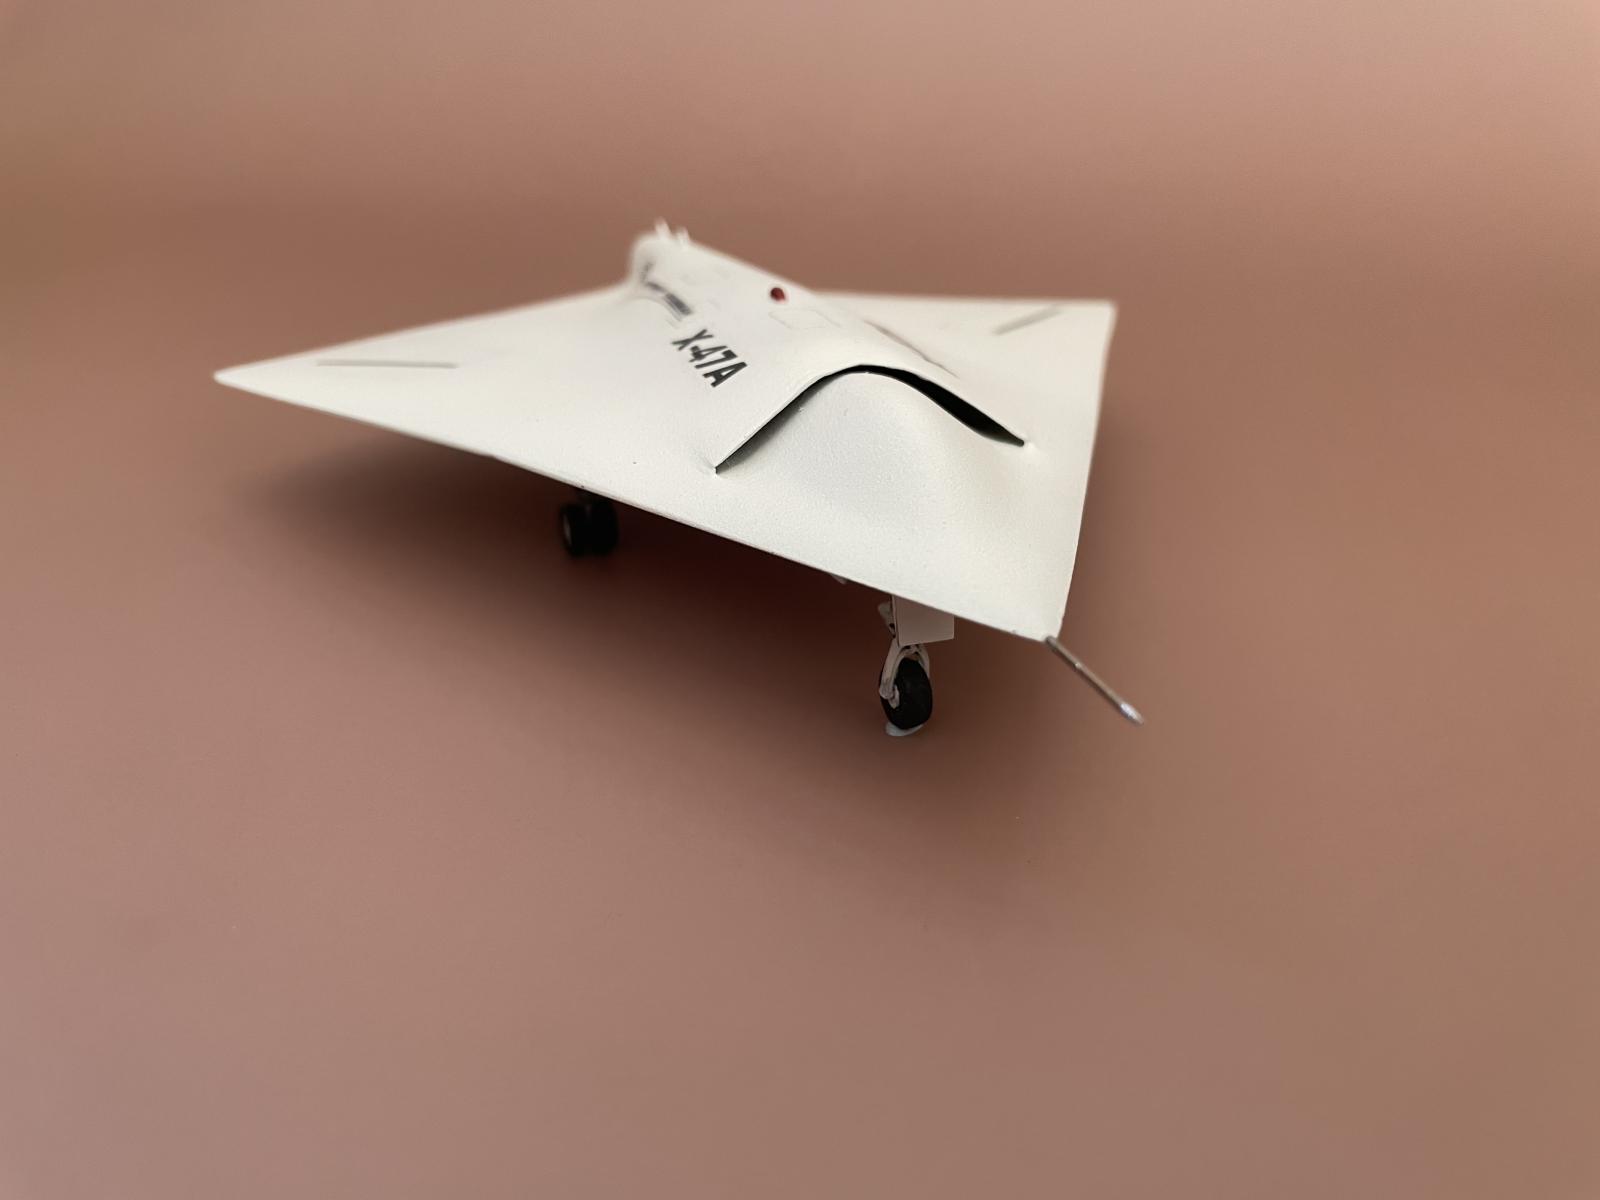
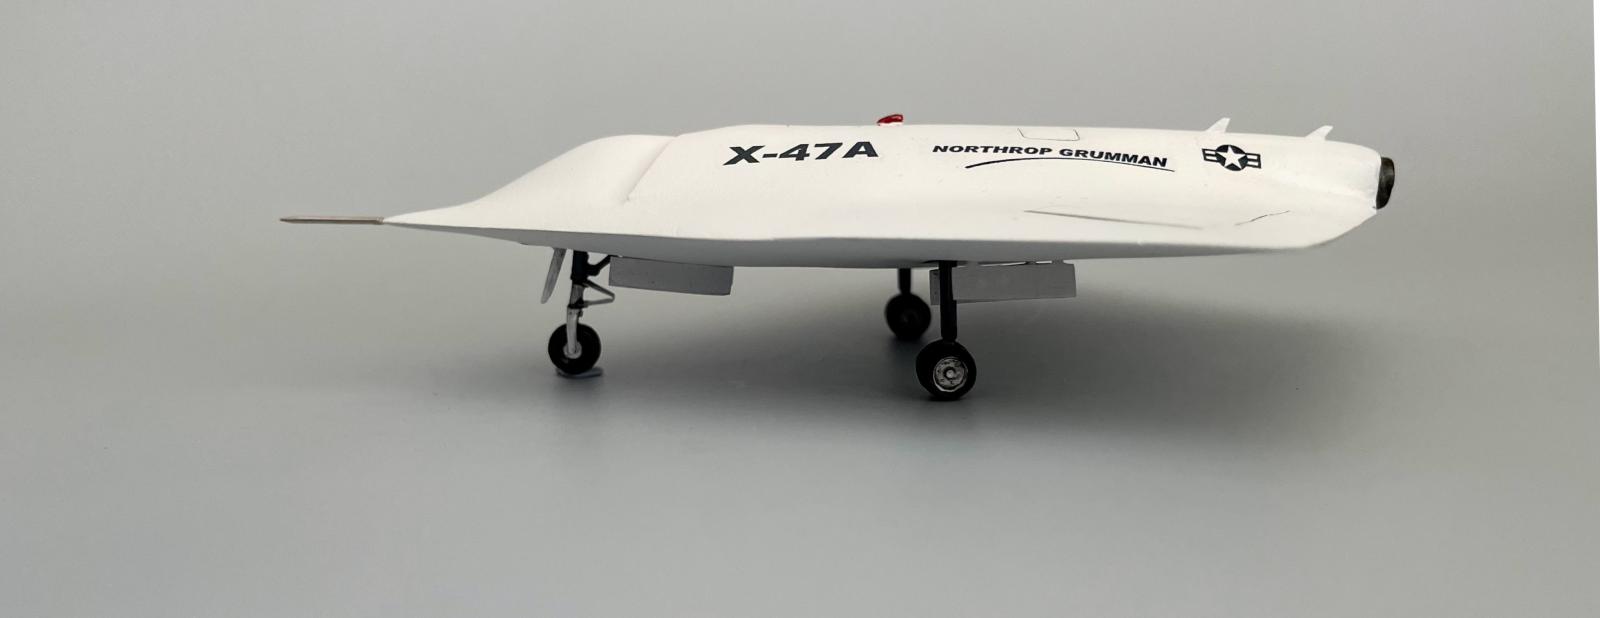
The wheels were hopeless, with so much resin "fuzz" on them that they looked like little smushed resin raisins. Luckily, I was able to scrounge a couple extra wheels from other kits to replace them. For some extra frills, I added a dorsal light and the two rear antennas from scratch, and used a straight pin for a pitot tube. The landing gear wells would have to be left as is, because I was out of steam at this point and just needed this thing off the bench.
A test decal disintegrated upon contact with water, and so I applied some Microscale decal film and tried again. This was a critical stage, because the few decals are important markers and any mistakes would take careful remediation that I just didn't have in me. There were a few technical markings but I couldn't tell where these were supposed to go without instructions or sufficient photographs of the real article, so I did without them. I also didn't want to press my luck.
The model needs nose ballast, but there's really no way to add it short of drilling holes in the nose piece at the start. I probably would have still attempted this had the instructions called it out, though in hindsight the resin is maybe too brittle to handle that.
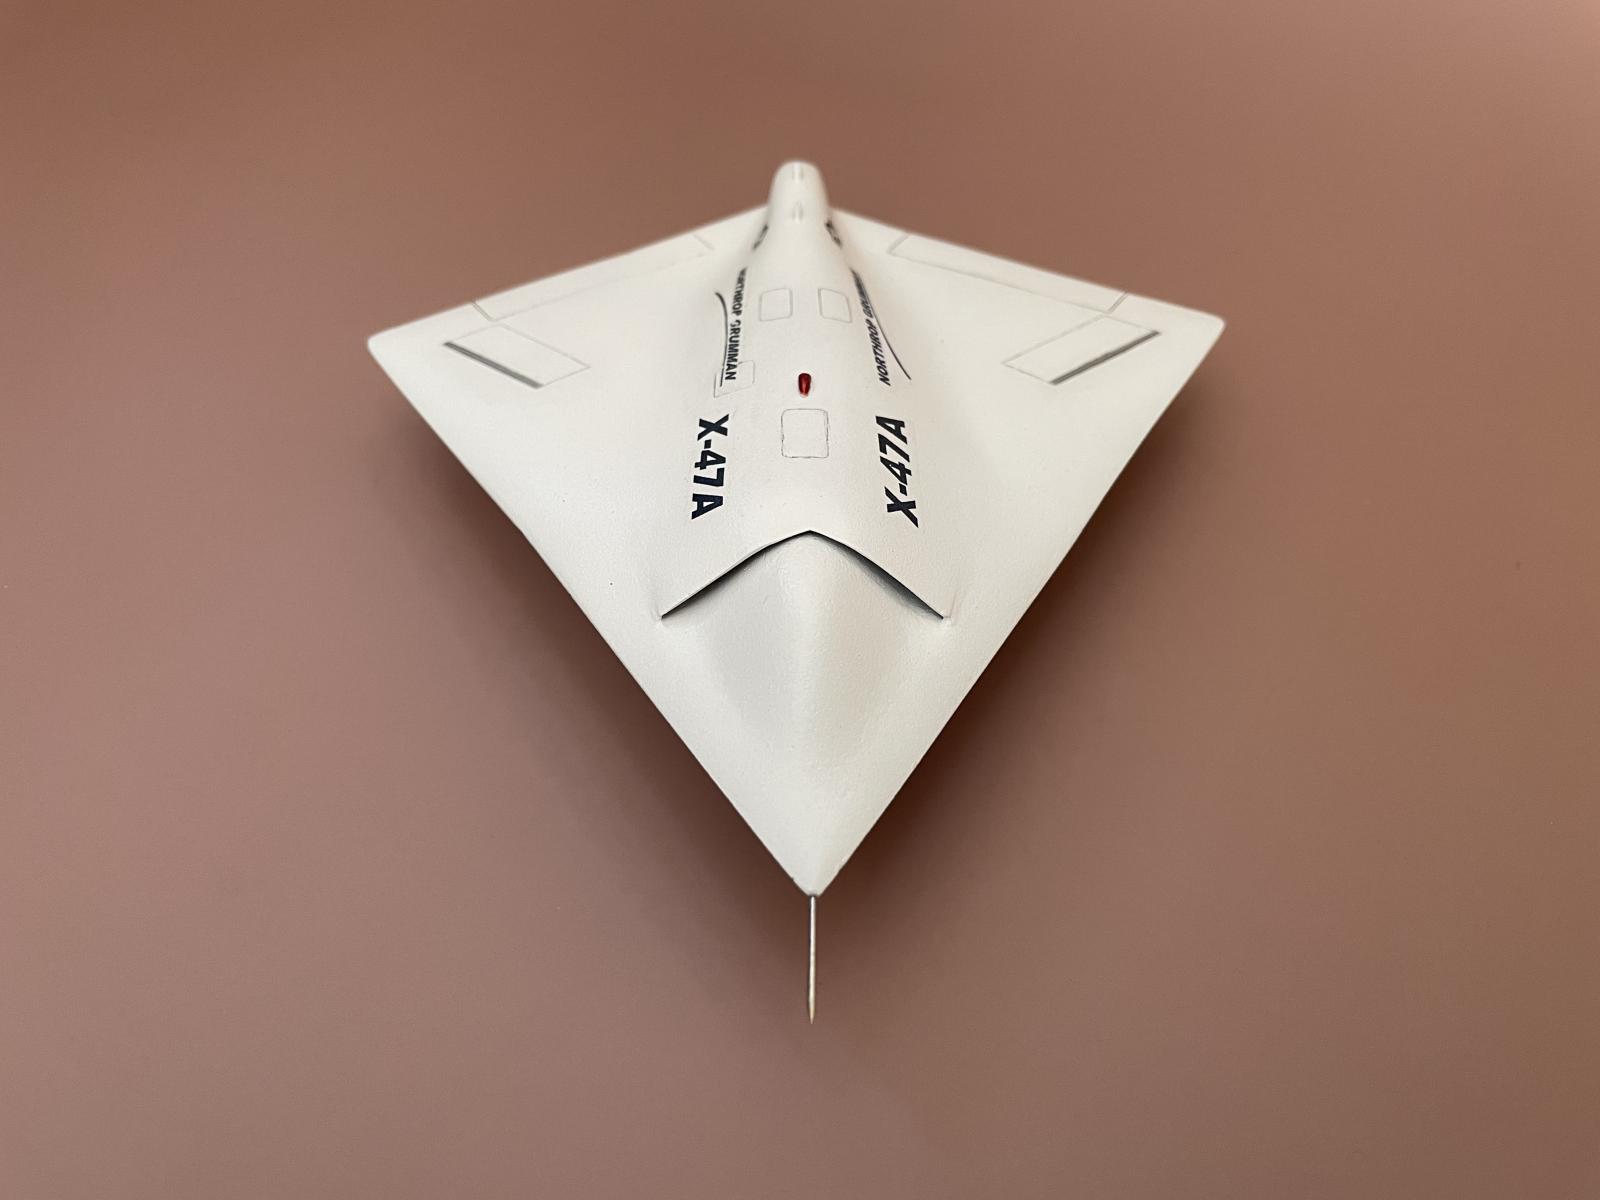
The paint scheme was Tamiya flat white followed by Alclad Aquagloss and a Tamiya gray enamel pin wash. Finished with Alclad Semi-Matte. Far from perfect, but a good-enough likeness for my humble standards.
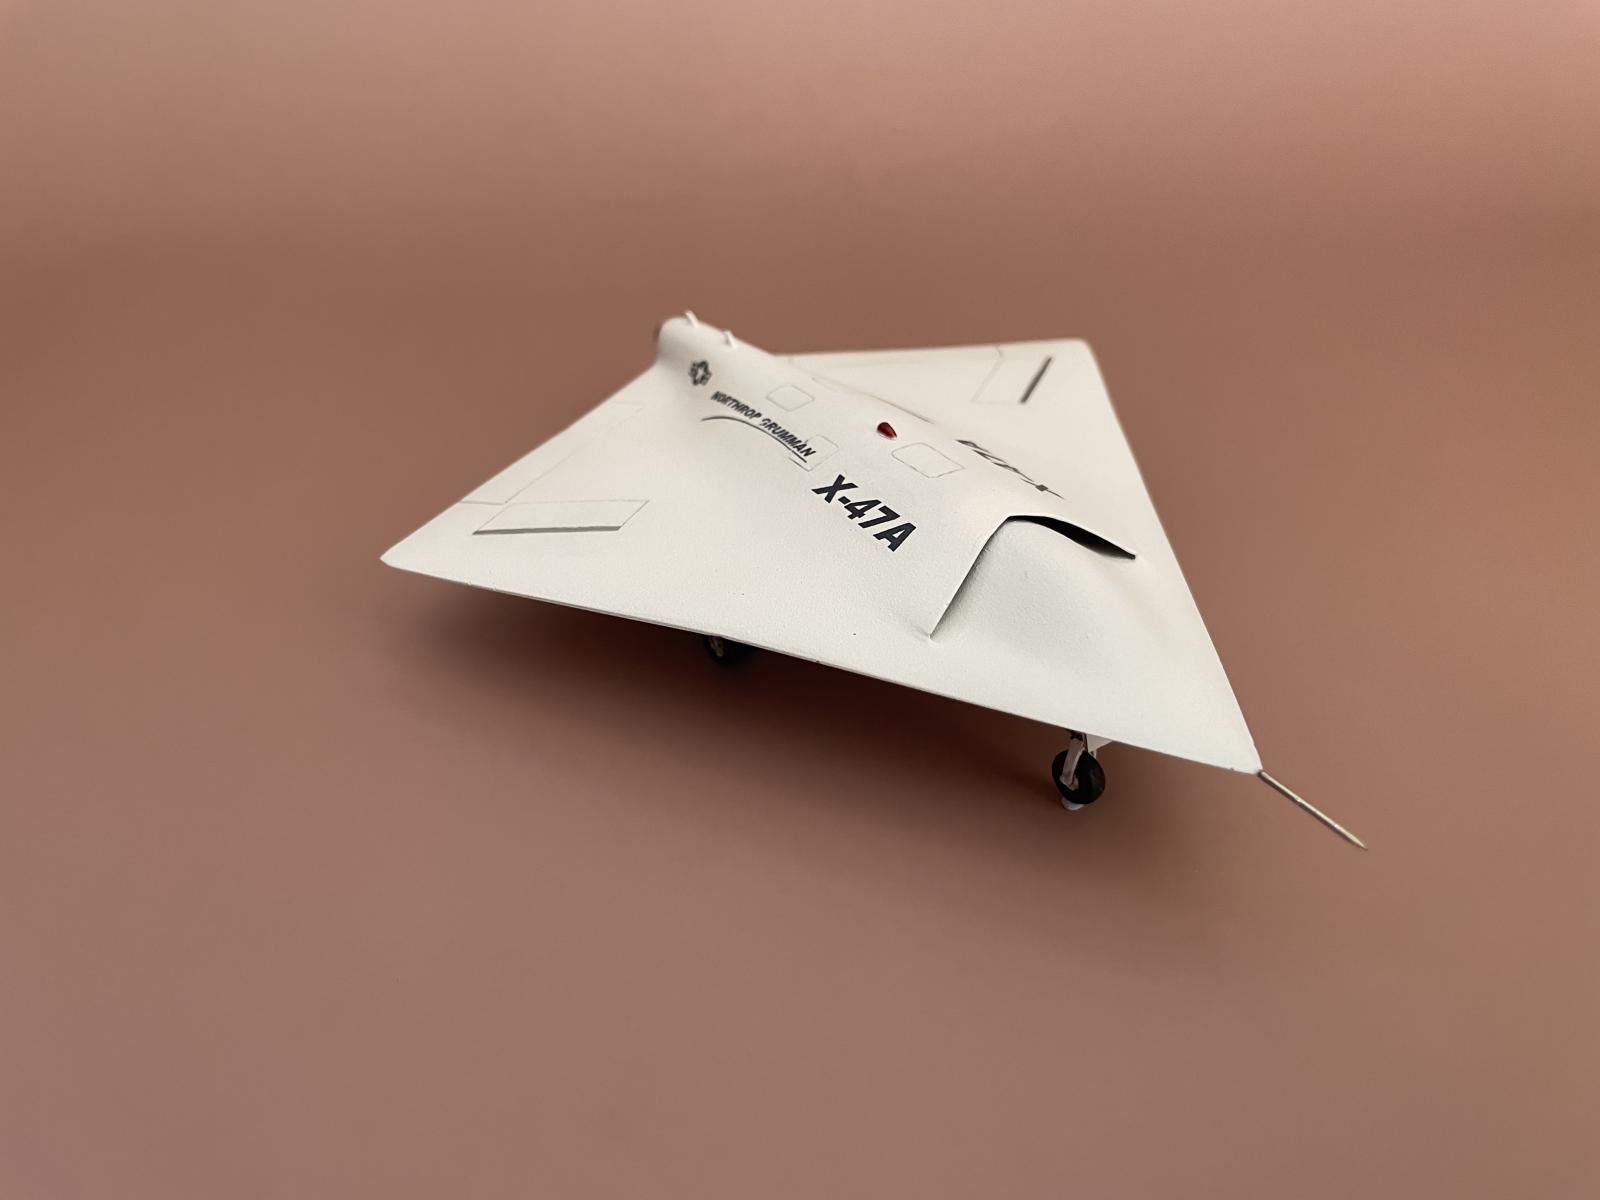
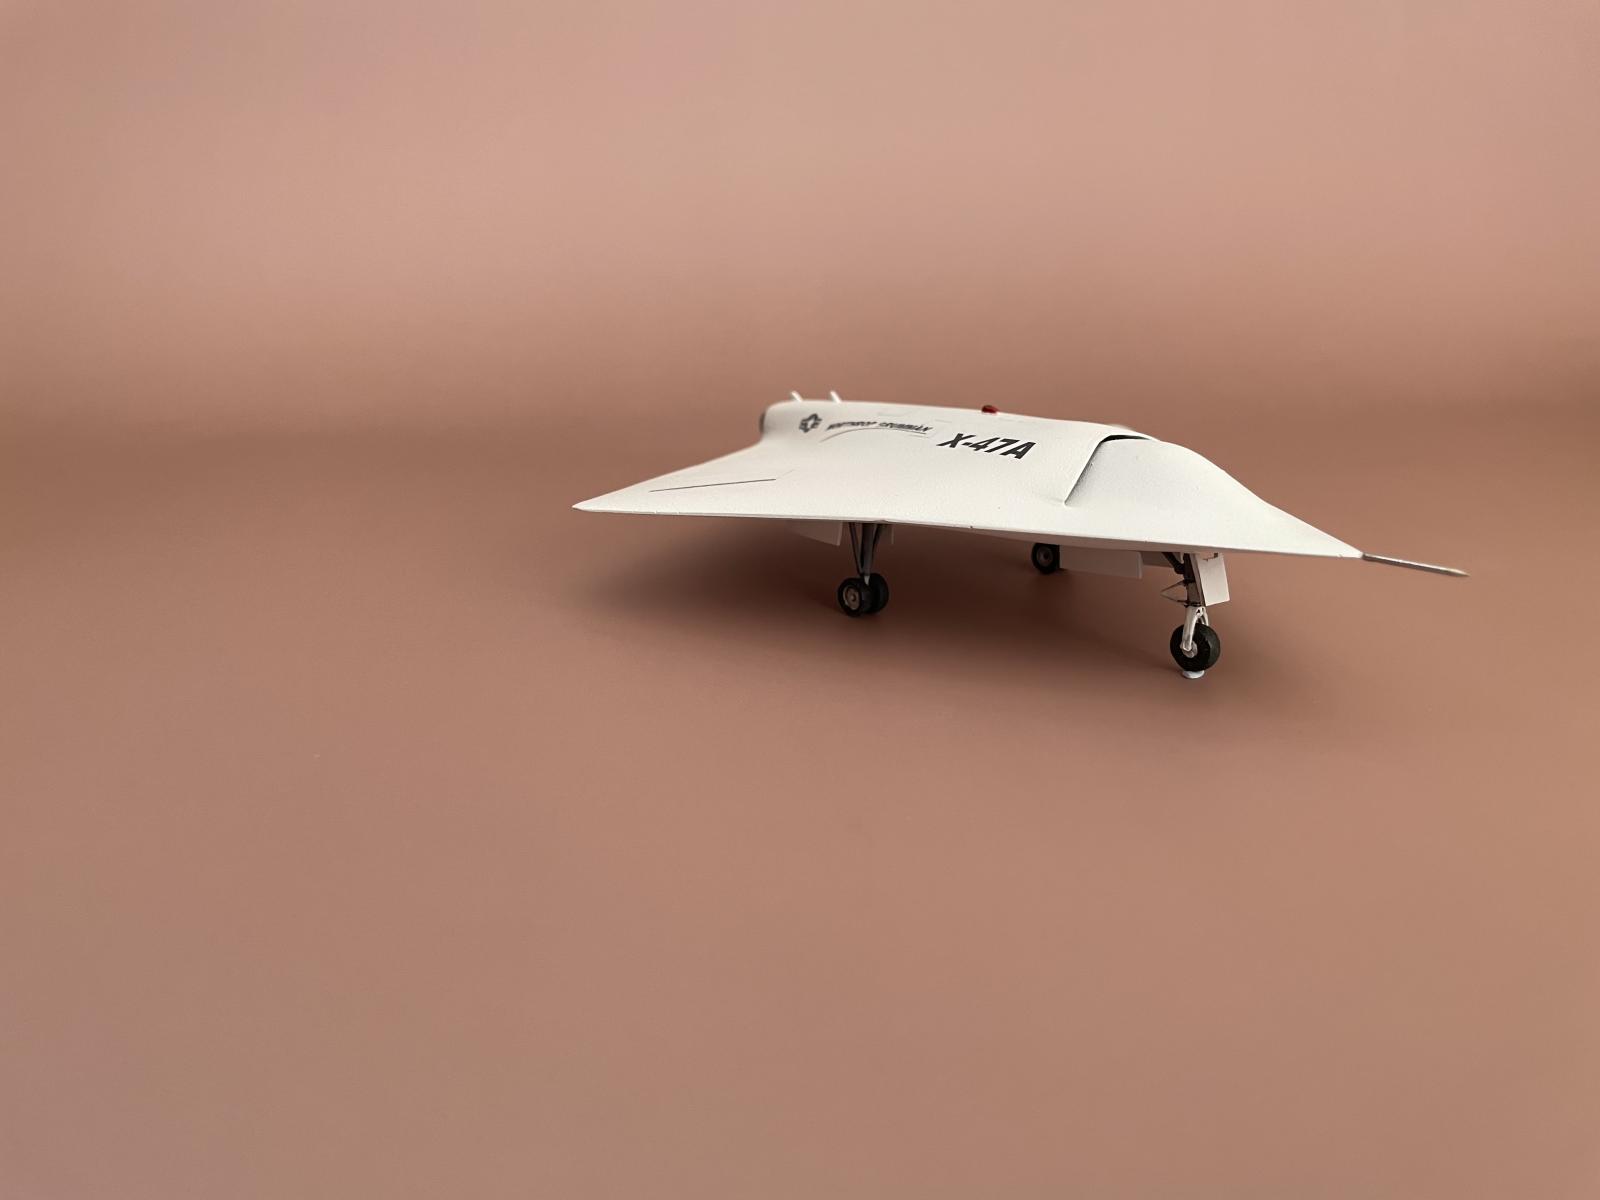

Came out very nice! And thanks for the reminder of why I steer away from short-run resin kits!
Brian, despite your frustrations you overcame and did a magnificent job.
Amazing achievement, Brian @bapowellphys
An entire build from resin is always challenging, you do deserve respect for that, especially with this amazing outcome.
Amazing result on this challenging kit, Brian!
Congratulations!
It looks great, Brian, well done for persevering with what is obviously a “difficult” kit.
Wow! It might’ve been easier to chisel one out of stone than build that kit. Great result.
OMG man that mother would have hit my circular file in a nano second. Nice triumph over extreme adversity. Hand salute.