Vacuforming canopies, the hard (and slow) way.
After many unsatisfactory attempts, I've found a way to vacuform satisfactory canopies ...
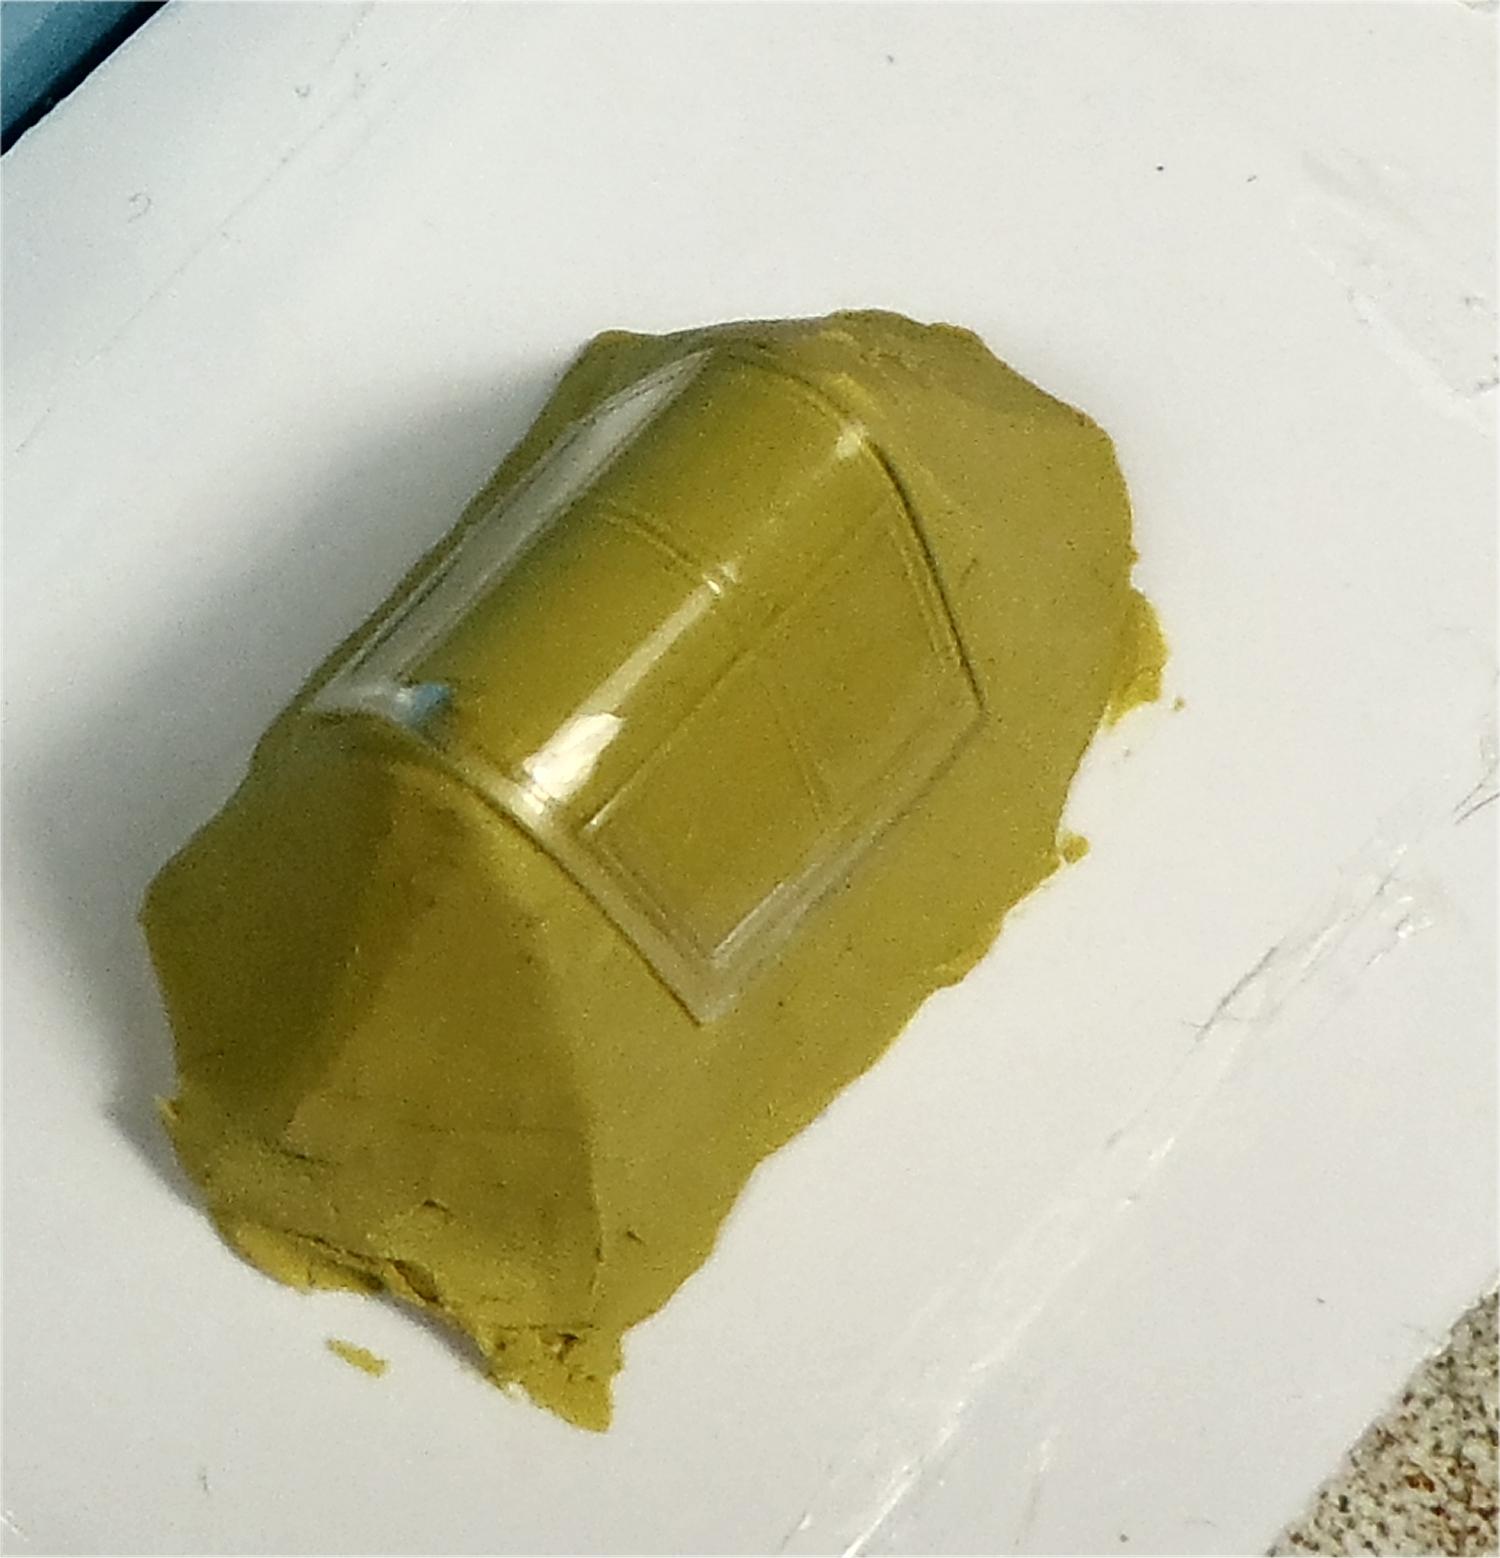
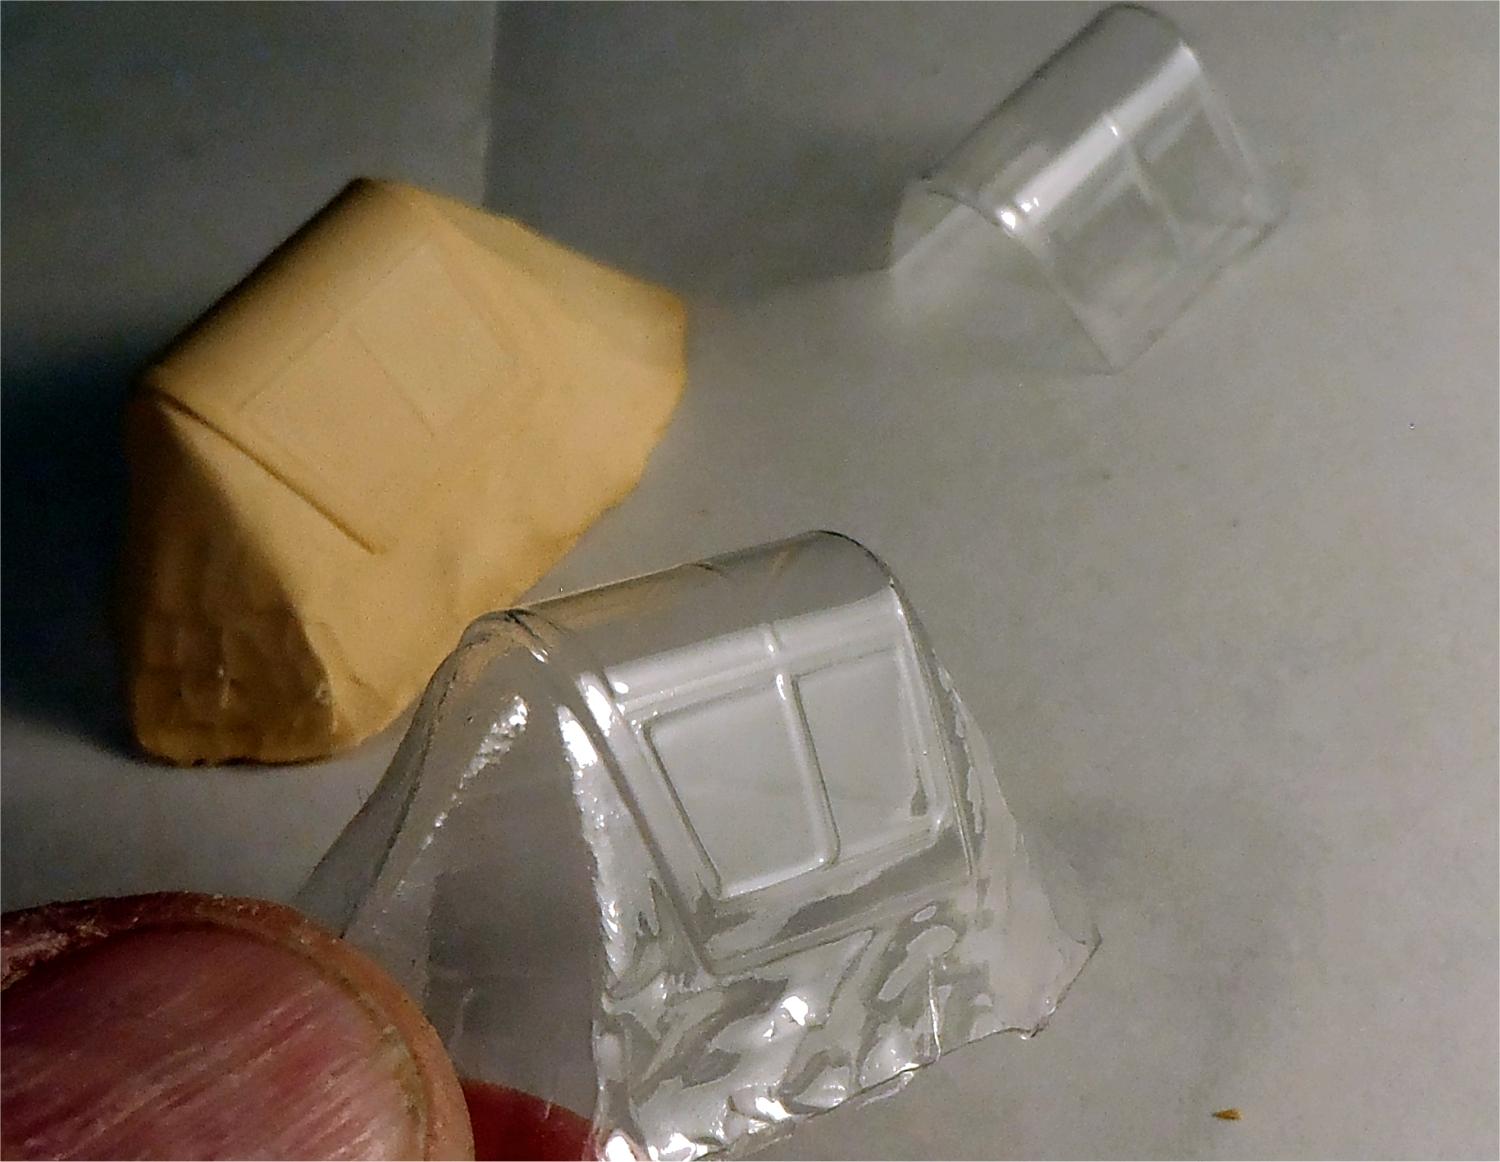
... mount canopy on plasticene ..
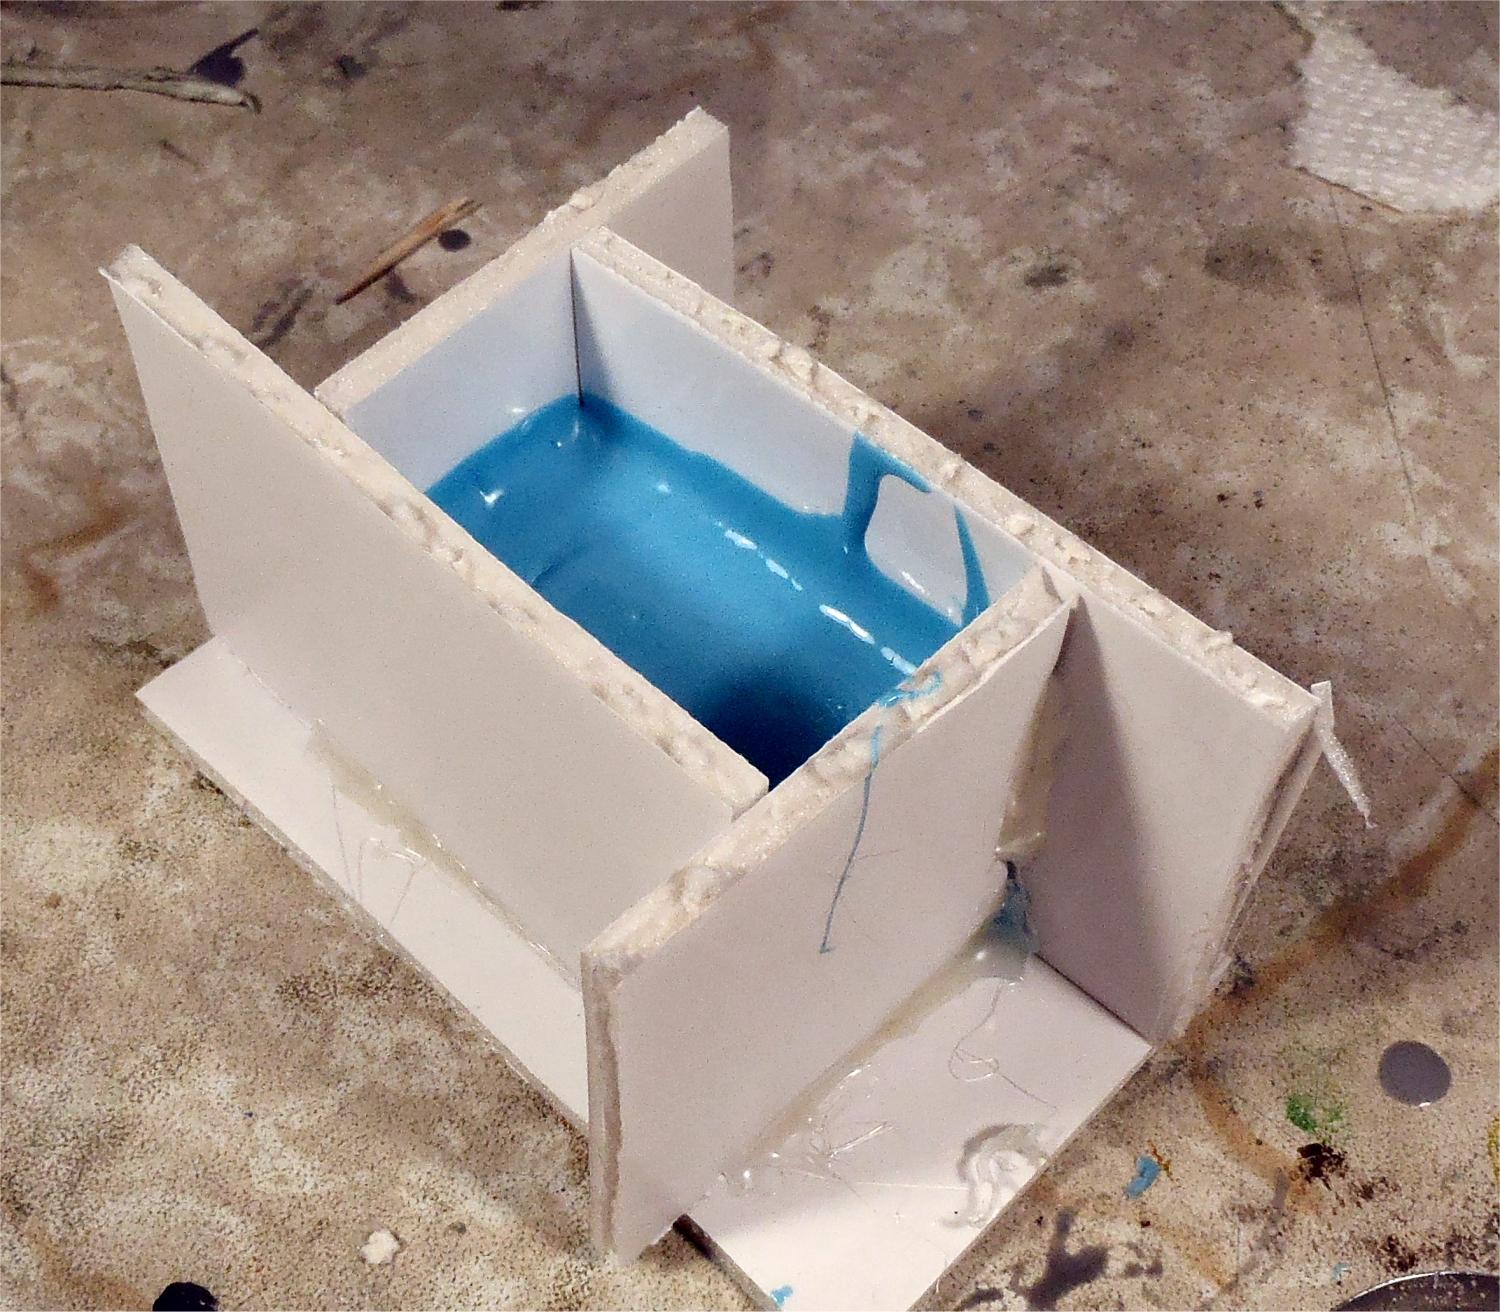
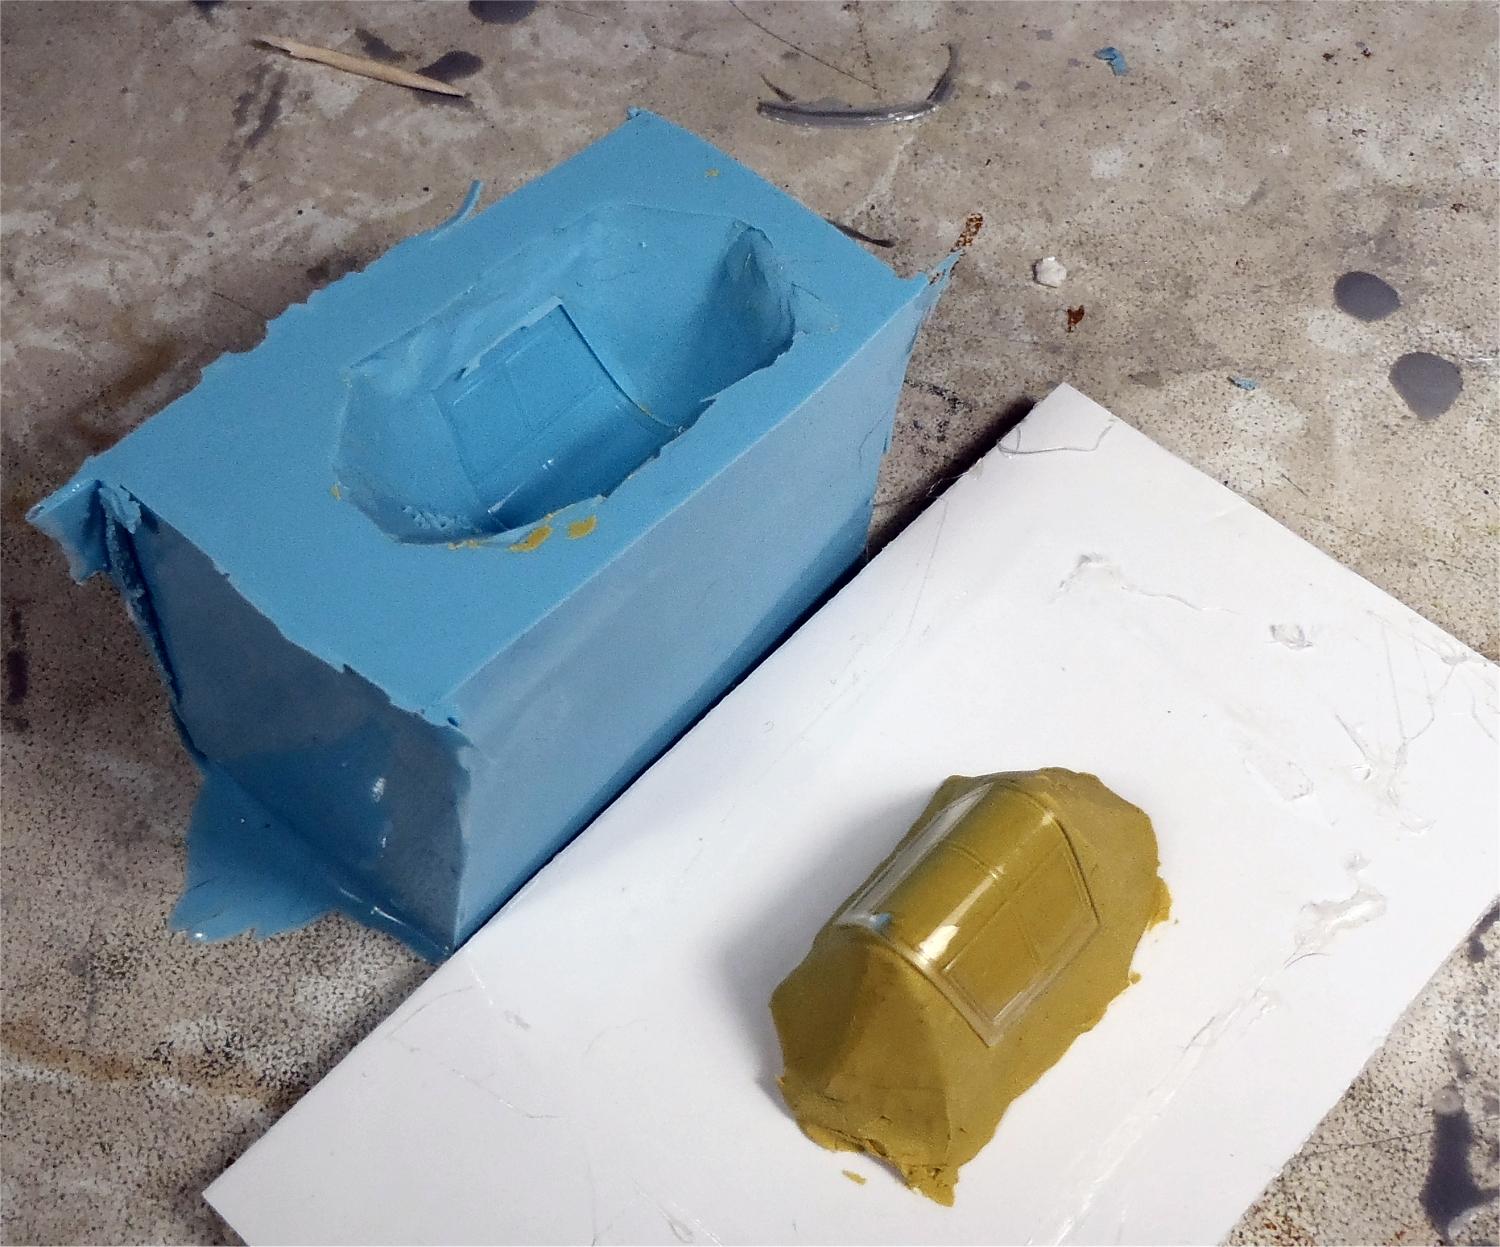
... box and make a female mold with casting silicone, using a pressure pot at 40 PSI (eliminates bubbles) ...
... make a buck using Durhams water putty (again, in the pressure pot at 40 PSI, for 1 hour). NOTE The Durhams
sets in about 1 hour, but can take a full 3 days to fully harden rock hard.
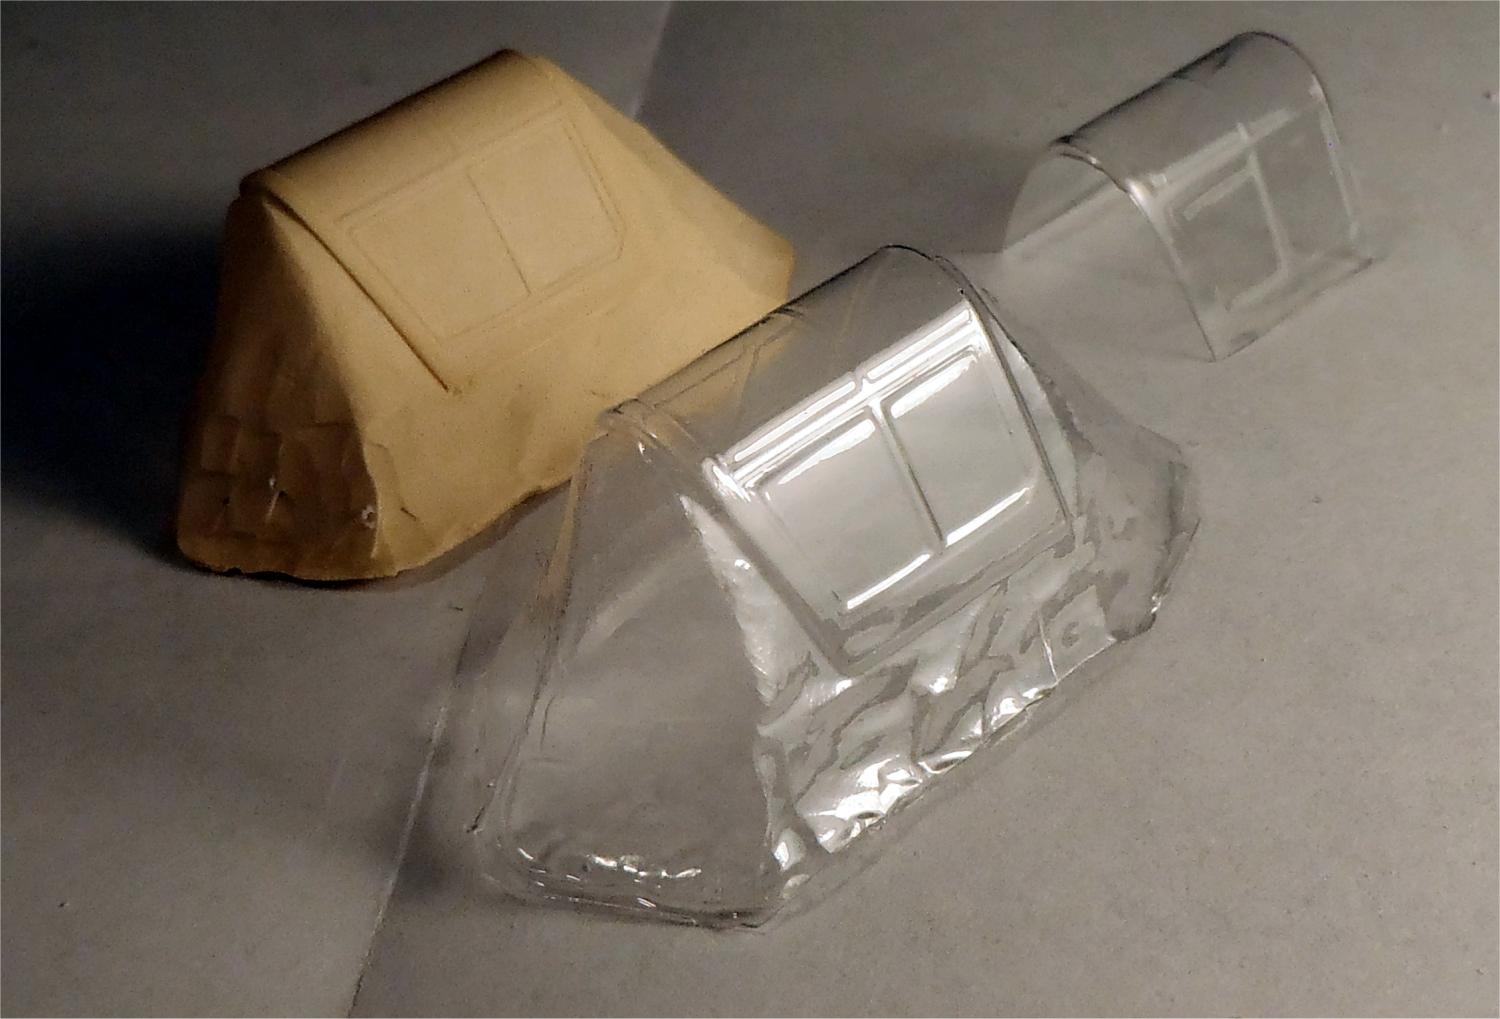
... remove the PETG protective film and warm the PETG and the buck for an hour (eliminates the moisture in the PTEG).
... vacuform the flawless replacement.
The resulting buck is rock hard, glass smooth, and can be used to make many, many copies. Great if, like me, you have many kits of the same aircraft.
Thanks for sharing your process Colin. I now have another skill to which I might aspire if I can determine what is a pressure pot.
It's just a pressure paint pot, modified to be a pressure pot run off your compressor. They come with the regulator, gauge, etc. You just have to cut off the paint feed pipe, and cap the paint hose connection.
Here's a video on how to convert it ...
1 attached image. Click to enlarge.
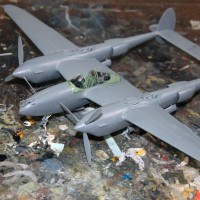
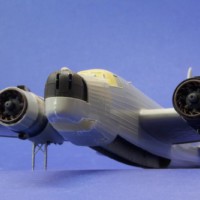
That looks great! Another option is a Dental Vac. I've been using this machine for around 5 years. With quality Pet G (some bubble under the heat) I can make around 15 canopies in an hour. I've made over 100 for my TF conversion kits and it hasn't missed a beat.
2 attached images. Click to enlarge.
That's the vacuform I use. The reason for the water putty buck is that, I've found, if you make multiple copies, the heat distorts and softens the original plastic canopy a bit more with every try. (heat and vacuum collapsing a thin plastic arch, go figure!)
Also, Pre-heating and drying the PETG seems to eliminate the bubbles and blisters in the PETG that were plaguing me. I was informed by a plastics manufacturer that the PETG is hydroscopic (absorbs water vapour) and the blisters were caused by steam bubbles in the plastic. Warming and drying solves this.
Thanks for sharing this fine technique, Colin!
Seems like a useful and effective technique, Colin @tail-dragon
Thanks for sharing.
Thanks!
Great tips, thanks for sharing! What do you use for the new canopy? Thickness/brand/availability? Thanks.
The master is the kit canopy from an Amtech 1/48 P-40E, and the clear plastic is .020" PETG (the same stuff Falcon uses).
It's probably available at most artist supply shops, and any local plastic supply companies.
I got my .020" from a local artist store (36"x48" sheet for around $10) and ordered .030" and .040" sheets to try from a local industrial plastic supply company. (haven't tried them yet)
Great technique. I used to make female molds from plaster. I’d seal the mold with Future. As you are doing, I used a Dentist friend’s vac machine. This all worked really well too.