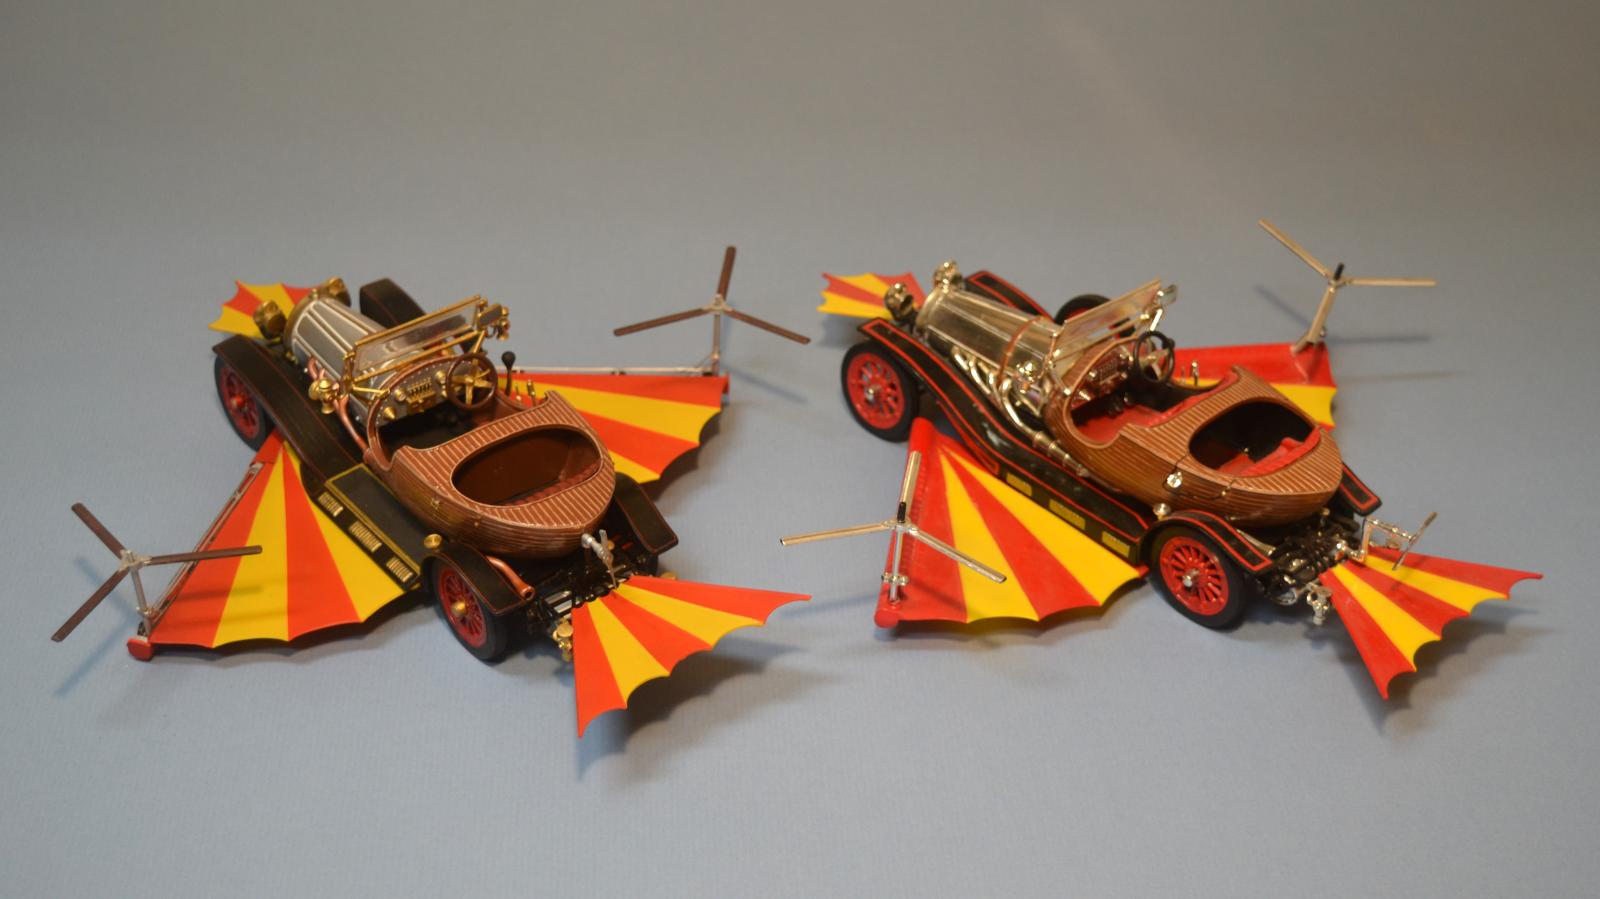
Chitty Chitty Bang Bang (1/25 Aurora 1968)
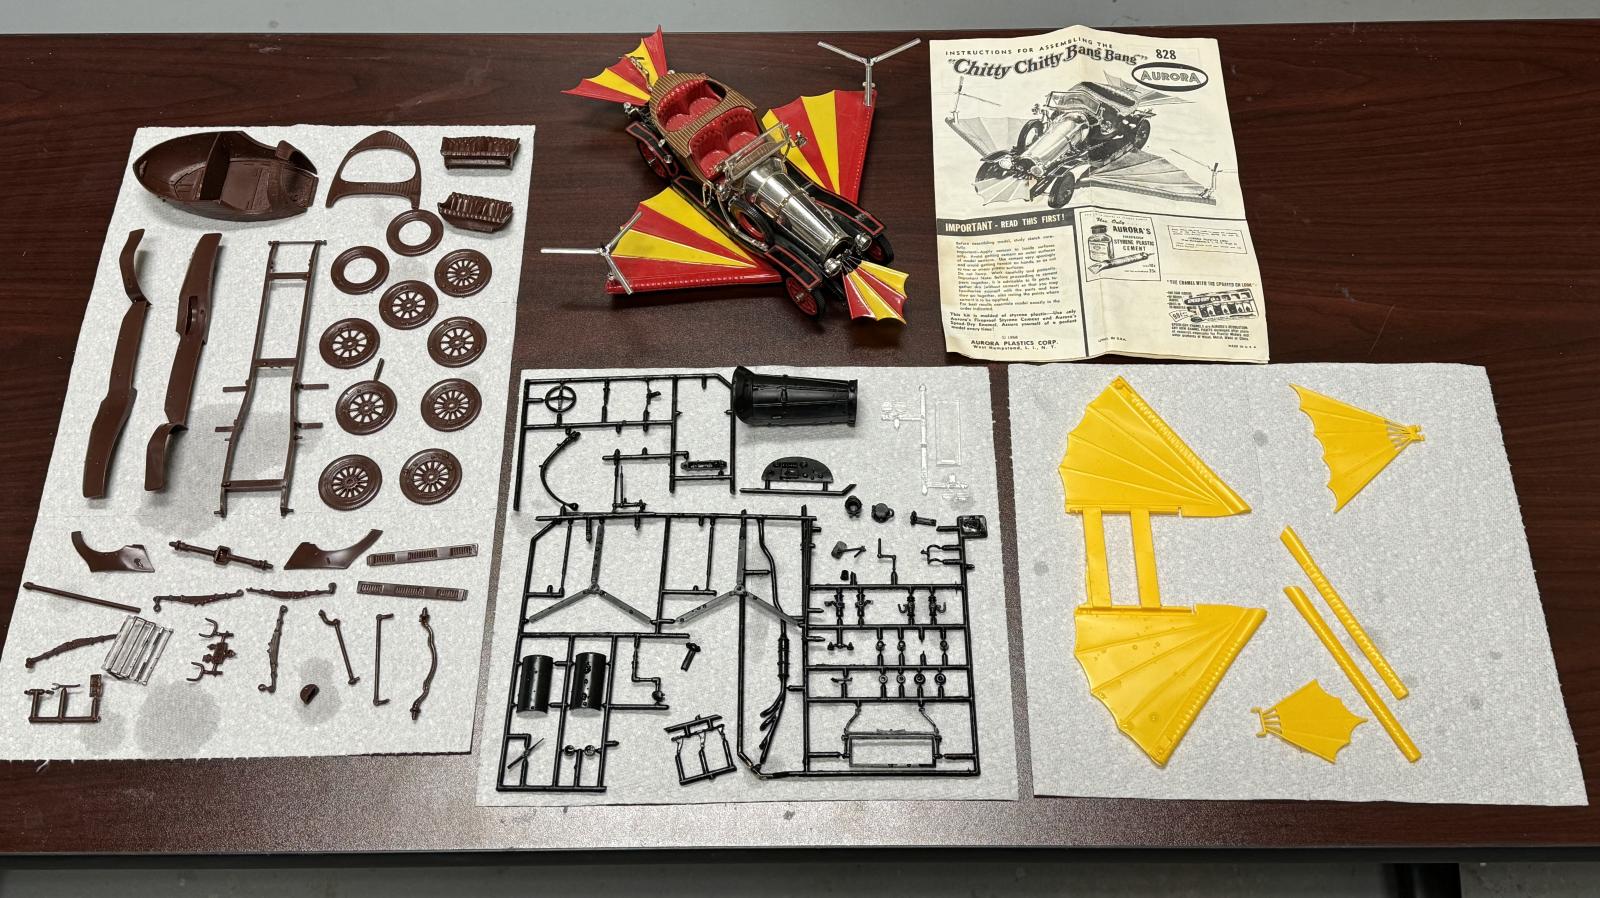
On May 16 I stopped at a Dallas-area hobby store on my way home from a seminar and ran across a mostly unbuilt 1968 Aurora Chitty kit. I had purchased a built version of the kit some years ago, but had never built one - or even seen a kit. But for $20, what was there to lose? Even if some parts were missing, I ought to be able to scratchbuild them using the completed model I had as a guide.
The 1968 1/25 Aurora Chitty Chitty Bang Bang
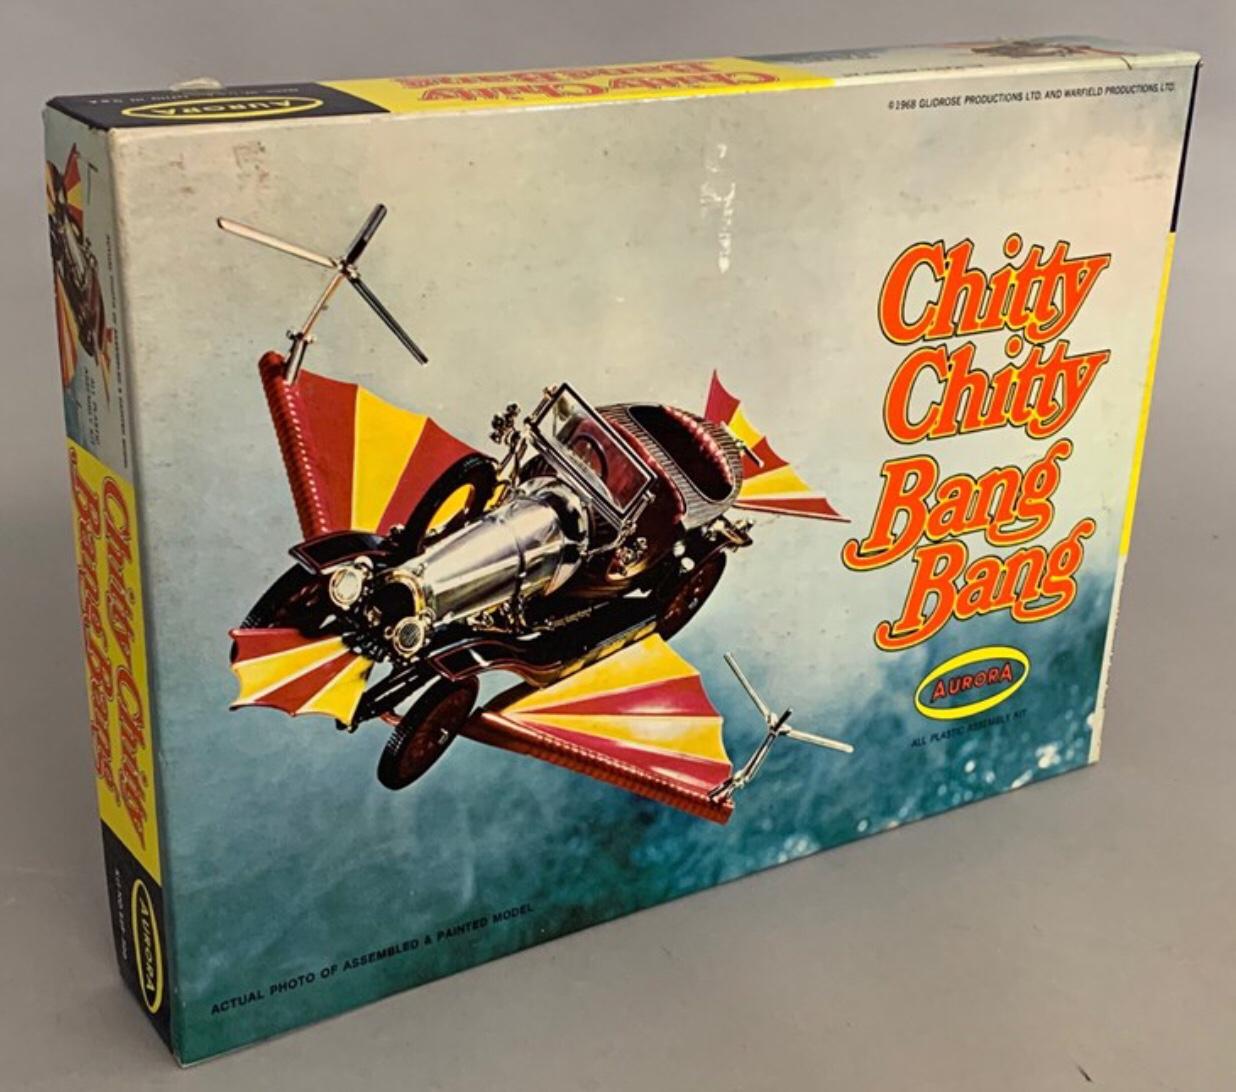
When the movie came out in 1968 Aurora released a 1/25 scale model of Chitty, with all the parts representing bare metals chromed. Although the molds were not destroyed in the famous train wreck when Aurora's molds were being transported to buyer Monogram, they were later discarded, and the kit was never released again. When I checked what the kits went for, an opened and started, but still complete, kit like mine ran for $400. Um, no pressure.
Which Chitty?
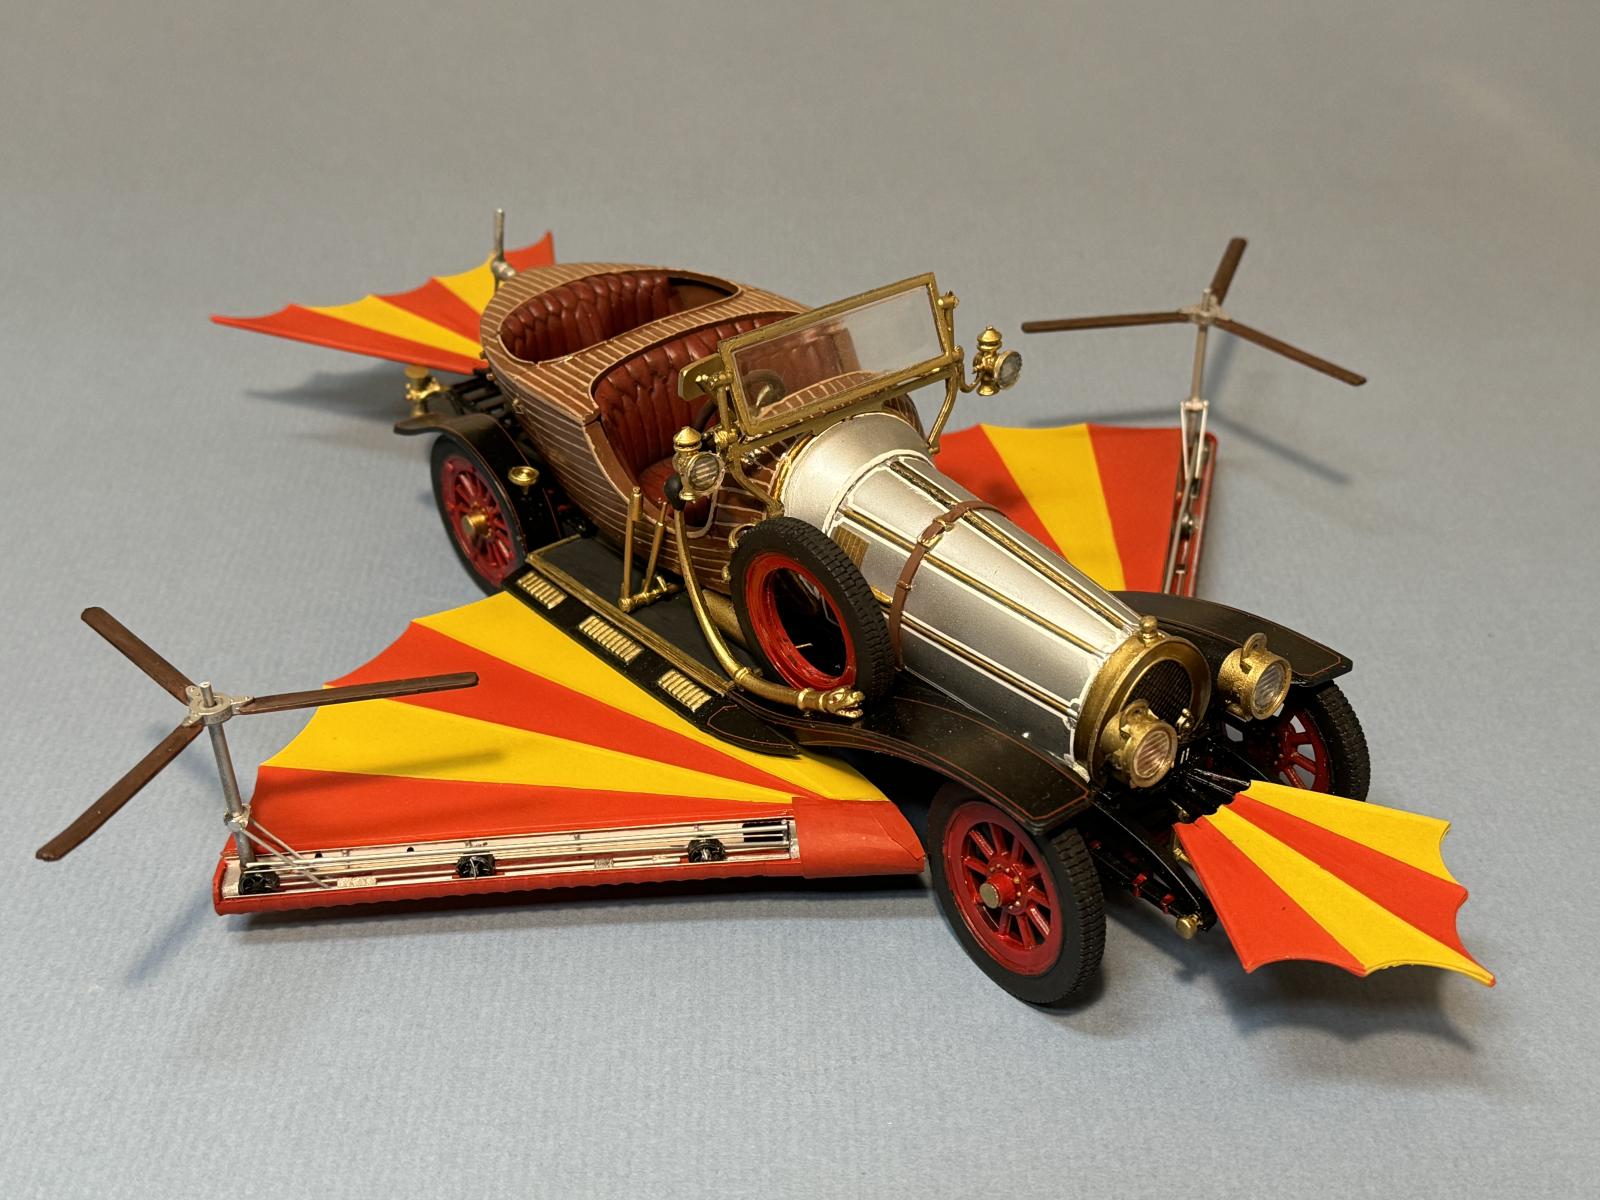
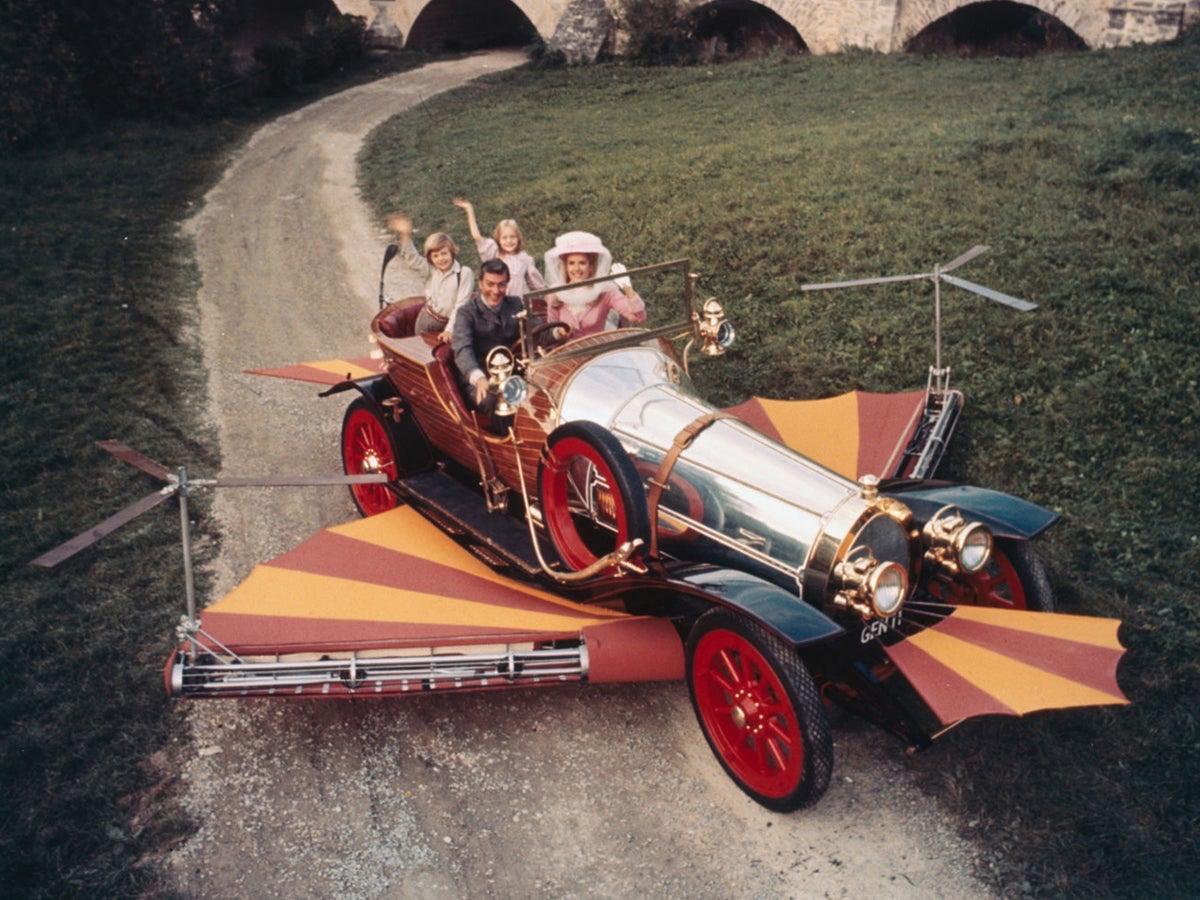
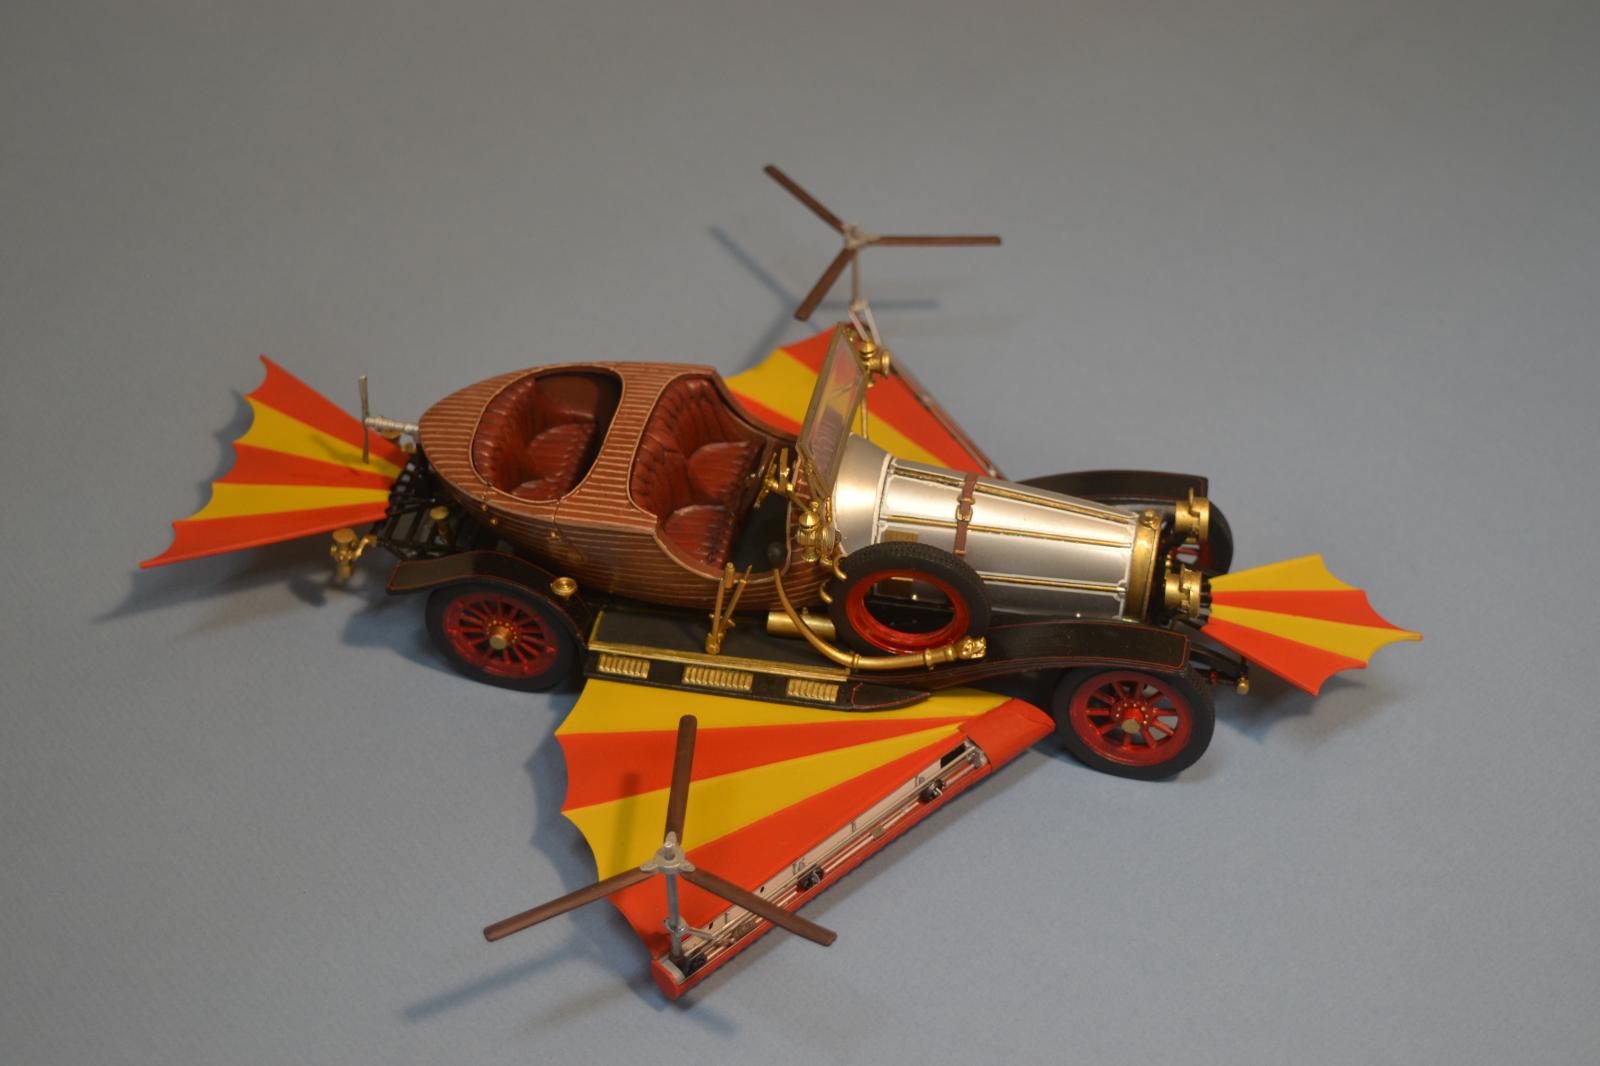
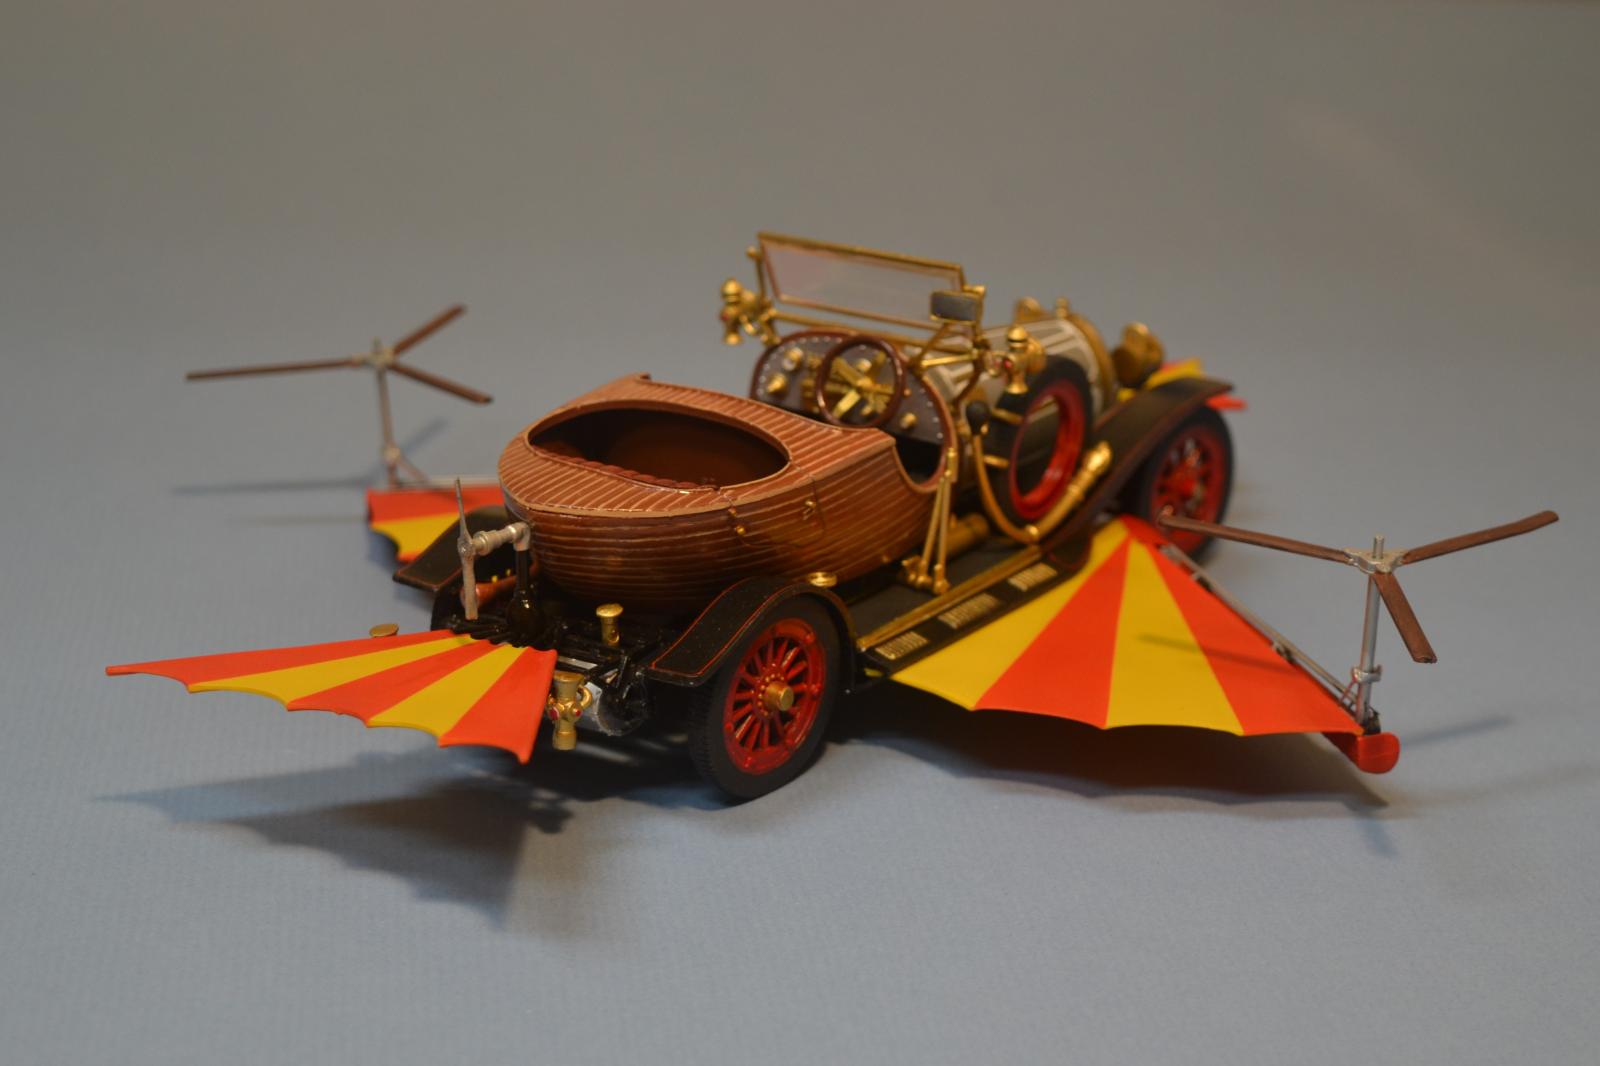
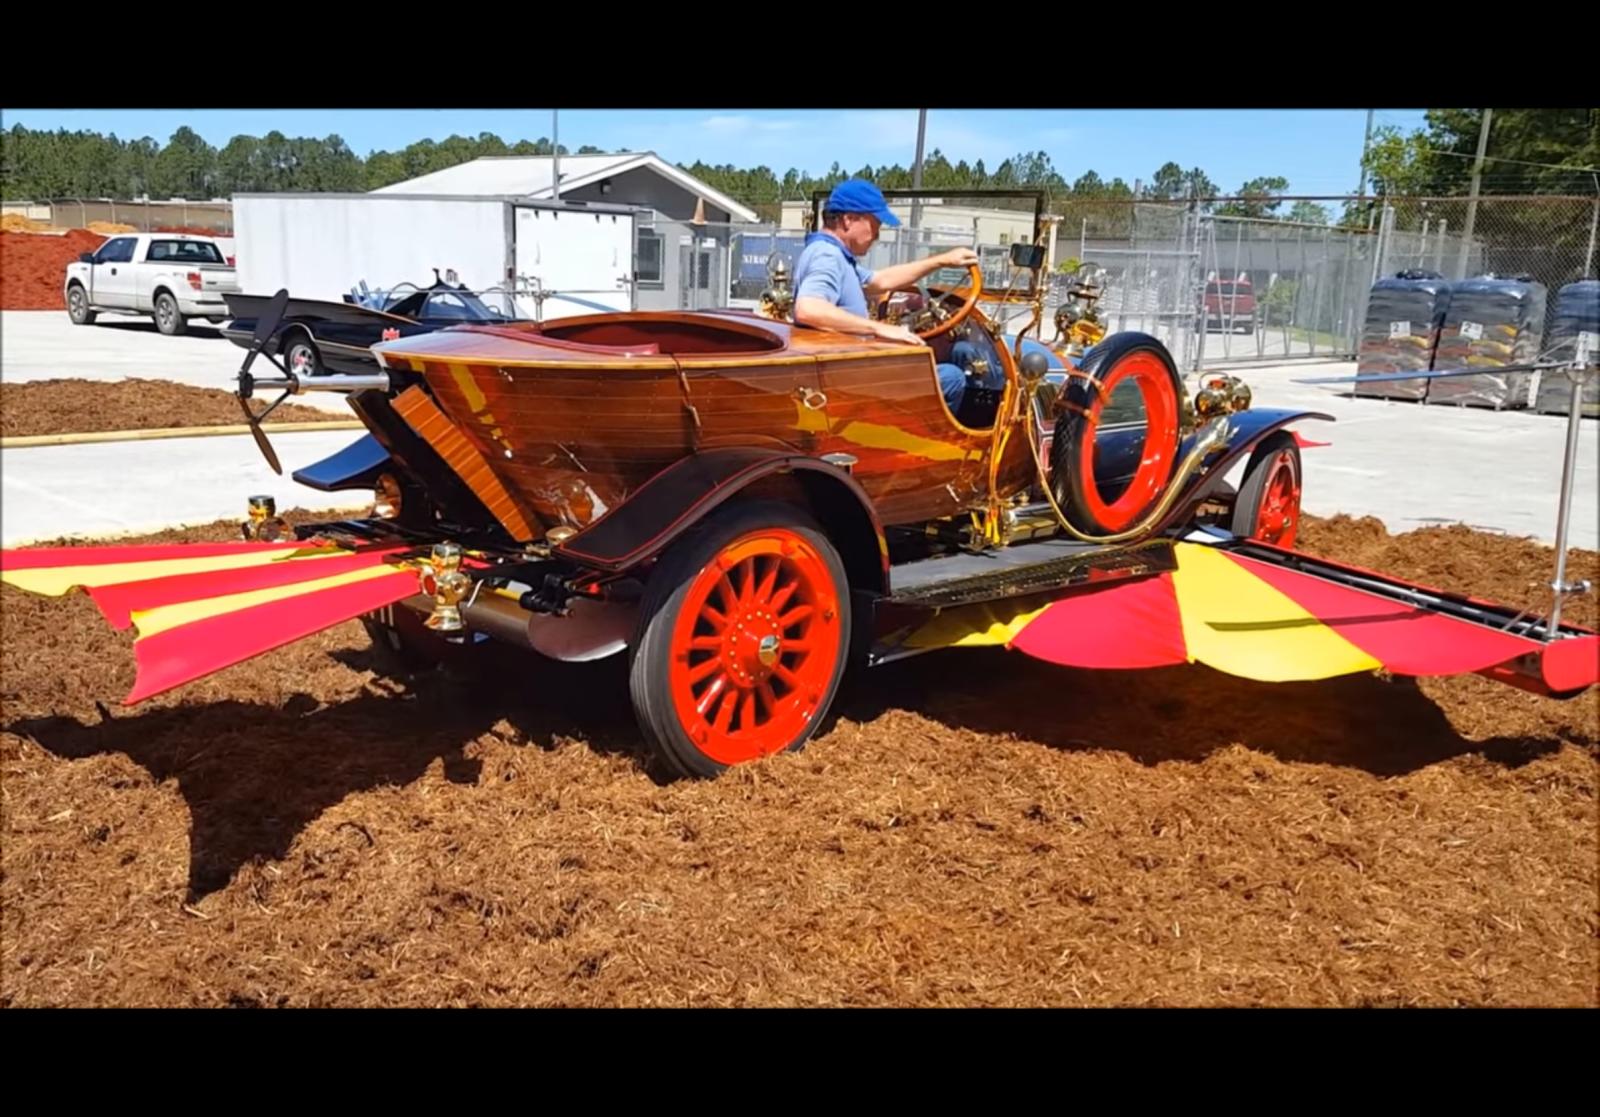
After studying the history of the cars made for the production of the movie, I realized I would have to focus on a specific production car, and I chose the "Flying Chitty" - the only one that had operating wings. I also chose to model it as it appeared during the production, since I underwent some minor changes (pinstriping and the leading edge of the wings) as reflected in the 2018 photos I located of it online.
The principal change I intended to make to the model was the correct the positioning of the wings. The model is designed to have the wings clip on to the underside of the running board skirts - but on the real Chitty the running boards fold up and the wings extend at that level. What's more, the folding extends forward from the running board skirt pieces to part of the front fender, which meant slicing off part of the fender to create the new running boards. Unfortunately this deprived the fenders of their structural support, meaning a floppy Chitty until the wings were attached. (The musical Chitty has the wings come out under the skirts like the kit, FYI).
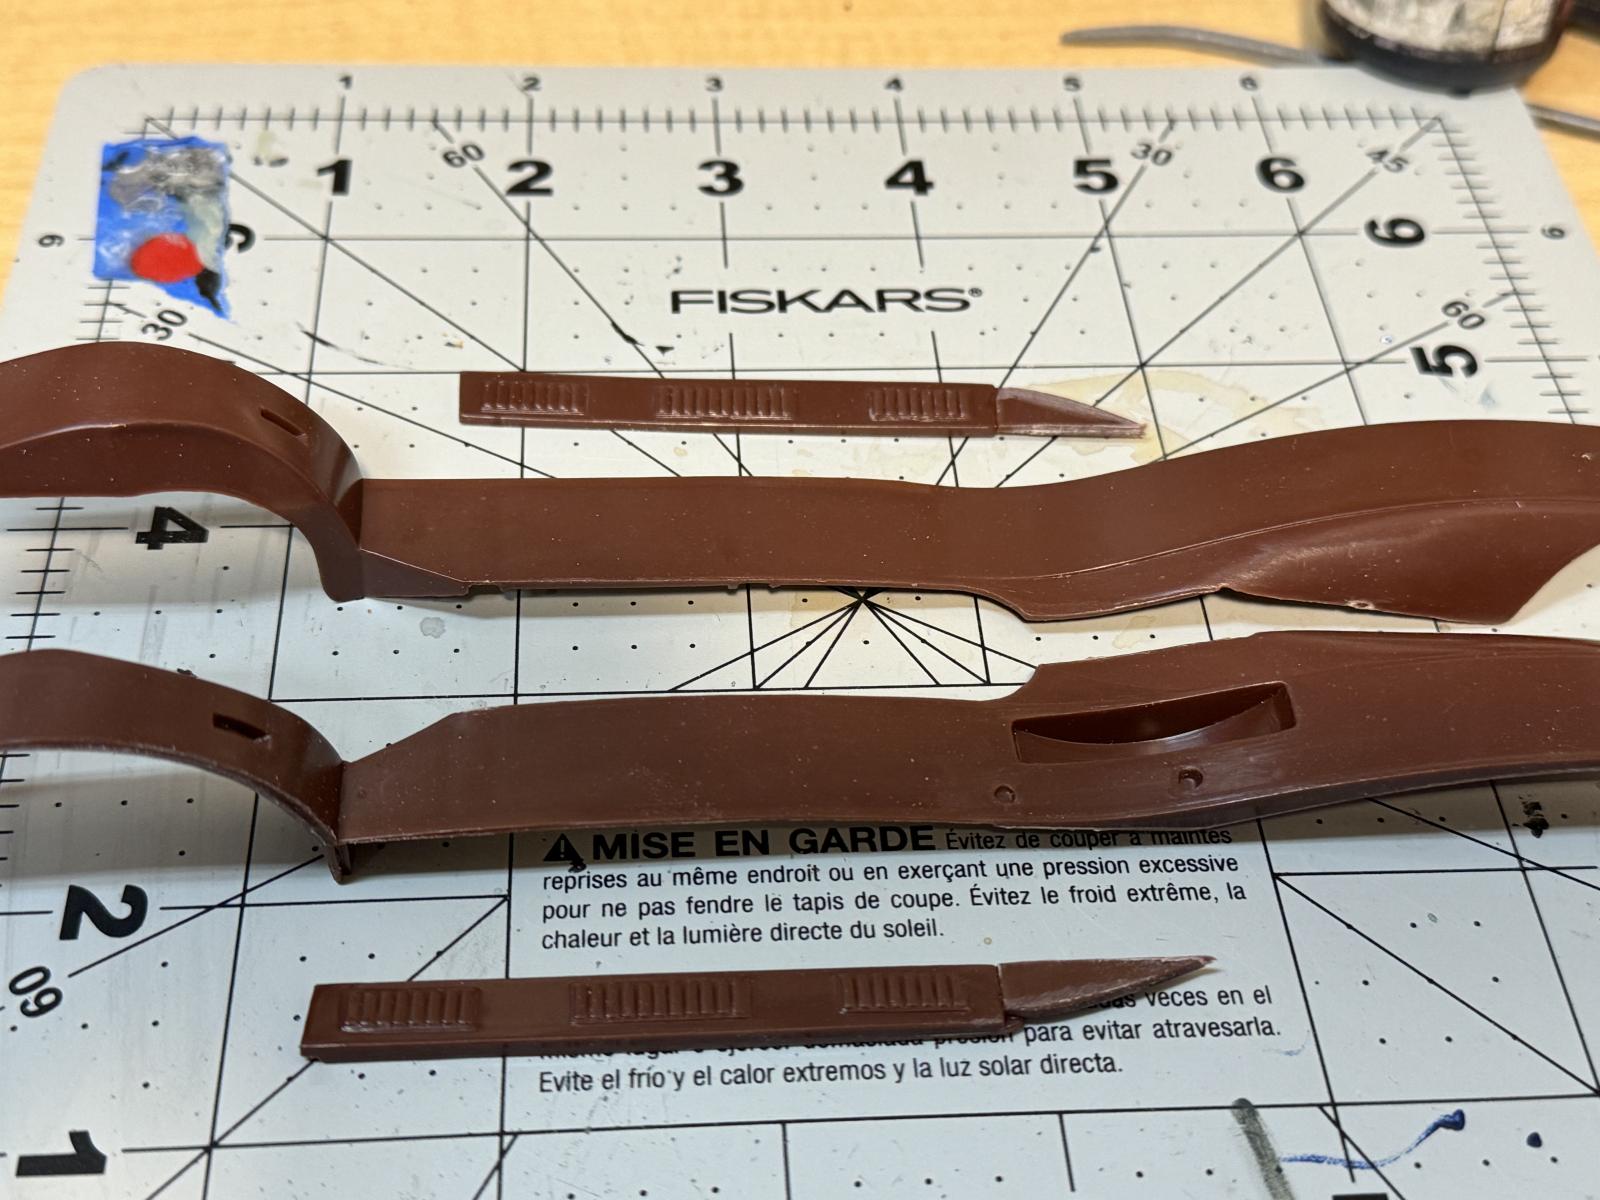
Speaking of the wings, first of all they'd be installed upside down in order to bring them as far as as possible, and then I decided to build them with exposed running gear. This was for the simple reason that Chitty is never shown flying using the wing "helicopter" rotors - only the tail propellor.
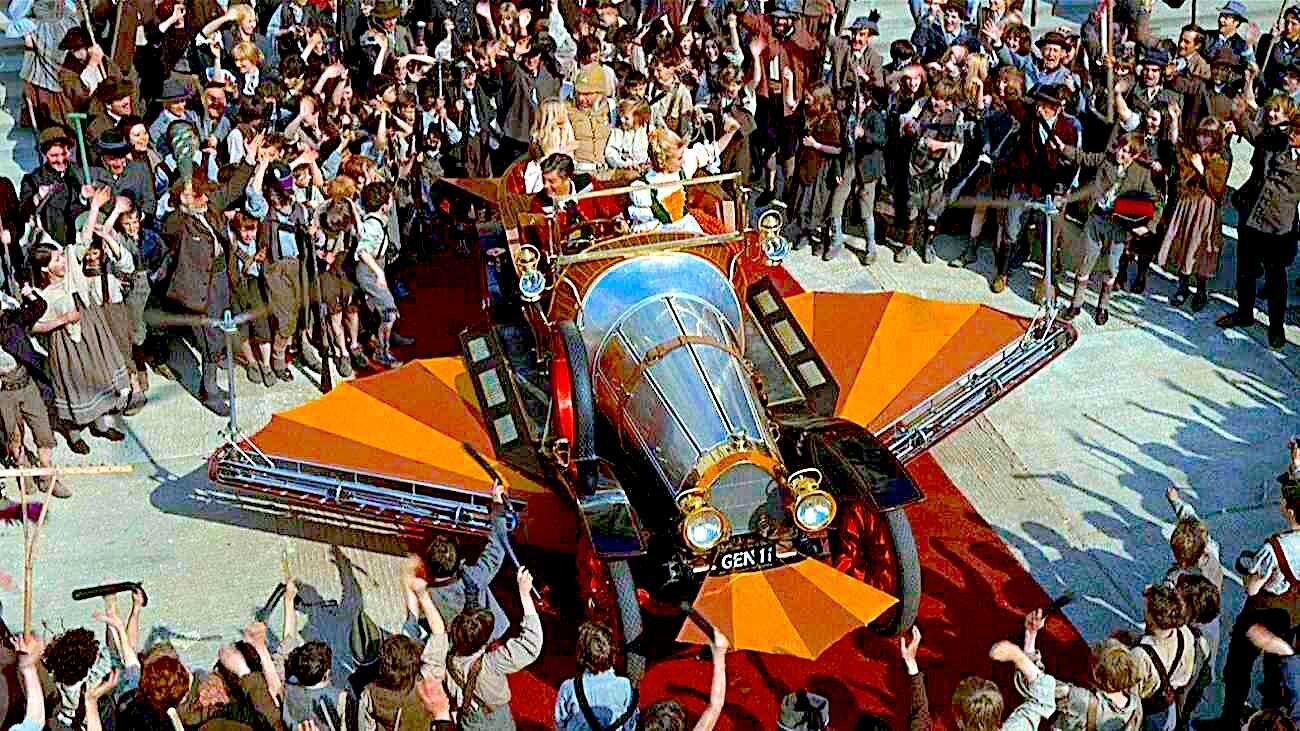
It only shows the wings rotors when taking off in this scene at the end of the movie. So the kit's depiction of Chitty with the running gear covered by wing fabric wasn't correct. Either it was airborne with enclosed wings and no rotors, or it was on the ground or had just taken off. It appears that once airborne, the rotors fold down and them the wing fabric closes over them So if I wanted to show the rotors, I needed to replicate the running gear as shown in the three photos I could locate.
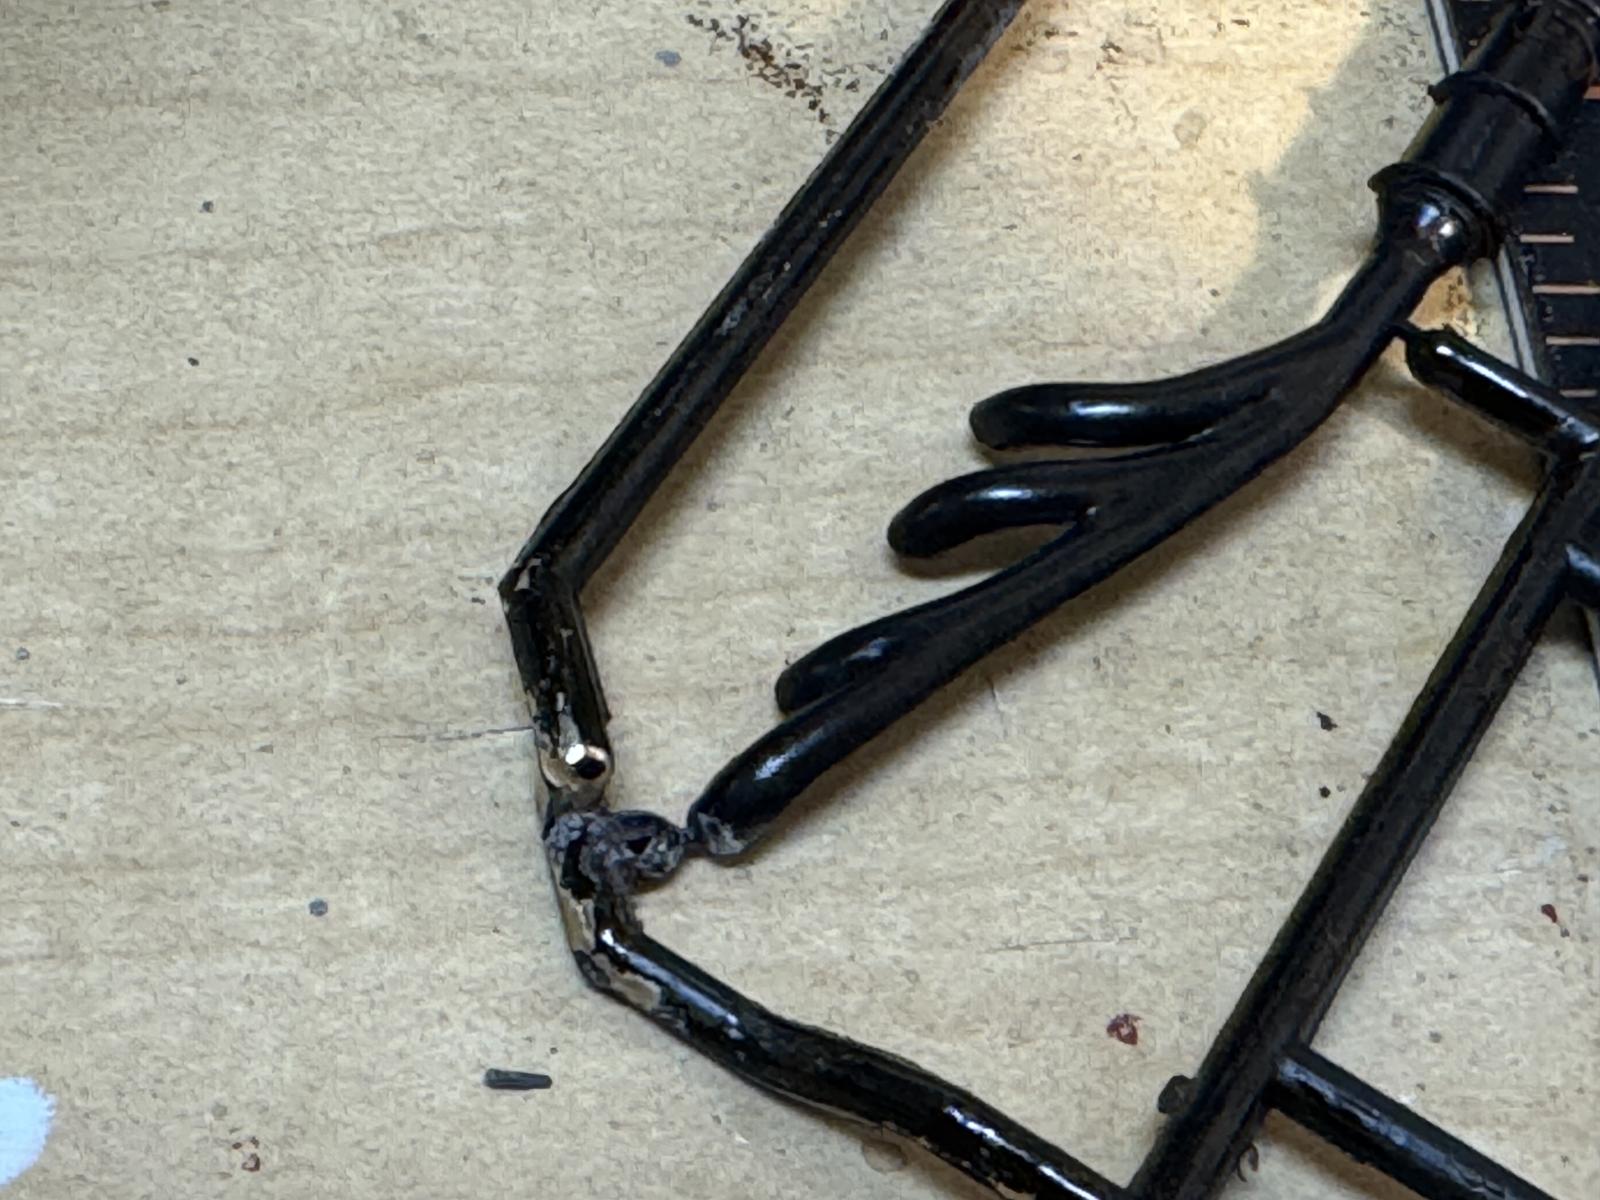
The unknown Dallas-area modeler whose kit I built had started the model, but only barely - assembling the bonnet and the boat-tail. I was able to disassemble the latter, but not the former - so the model bears a scar on the left side and some seam issues from that aborted build. But the modeler did me one huge service - they removed the chrome from the kit.
Chrome
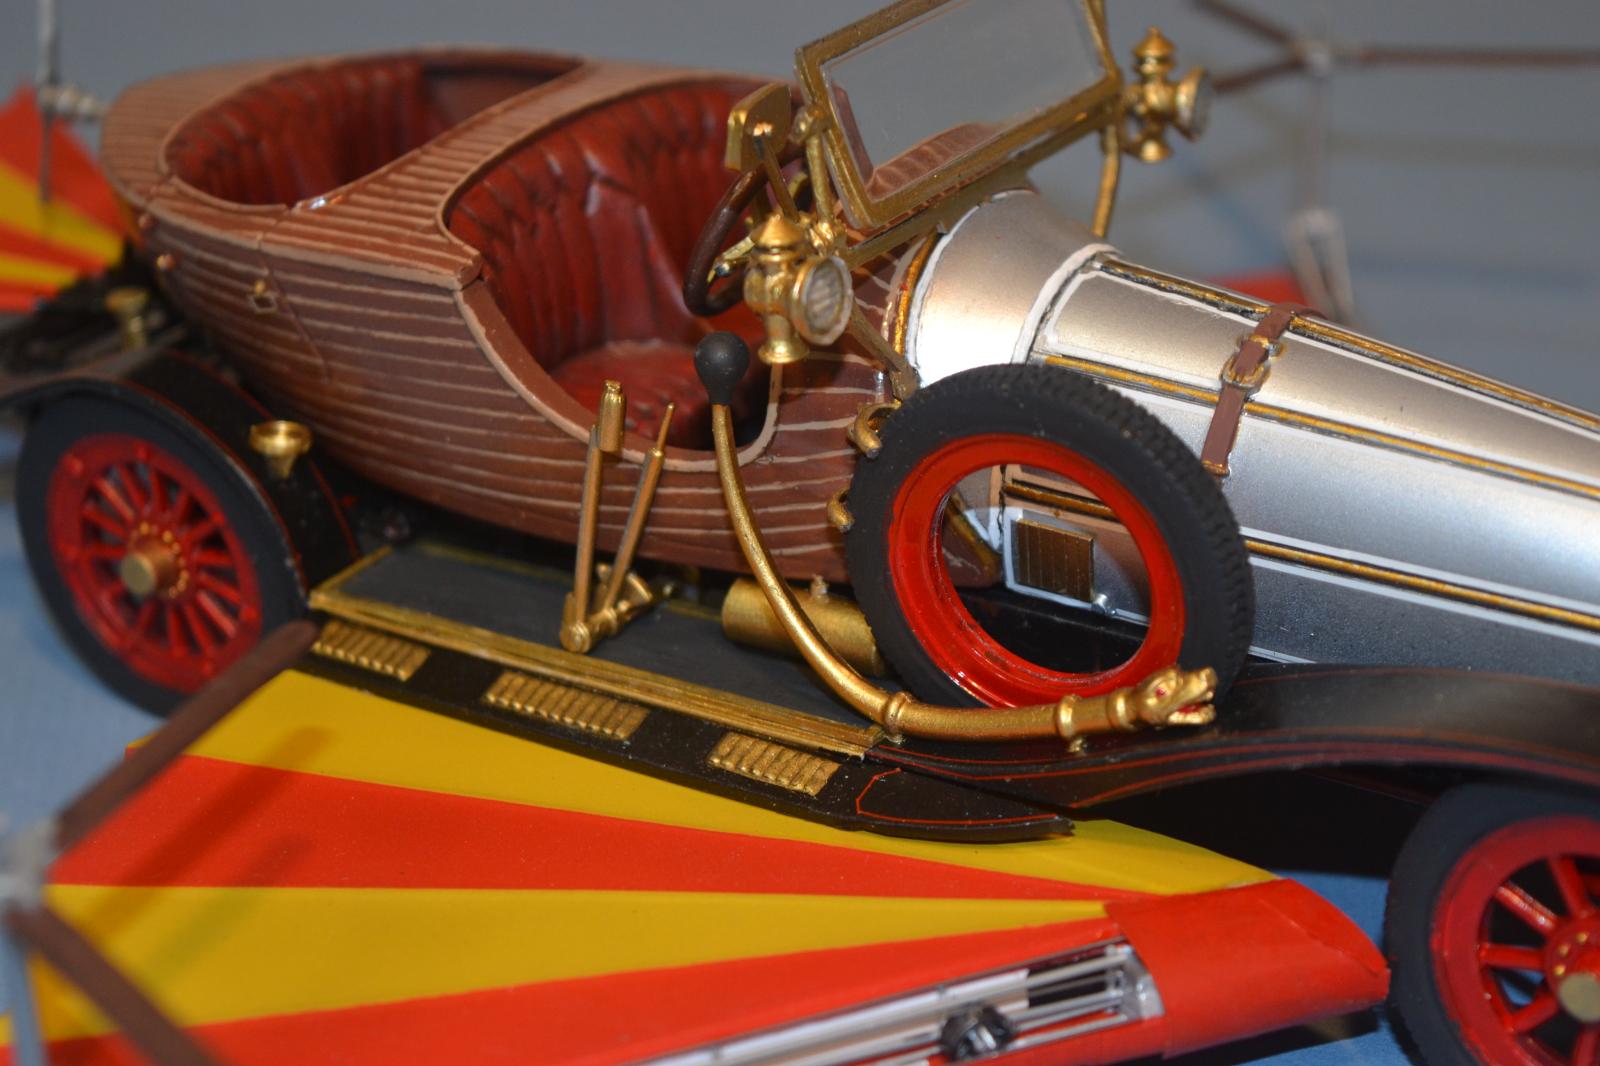
As the OOB model shows, all bare metal on the car was rendered in chrome, despite the fact that "nothing" on Chitty was chromed. The bonnet is polished aluminum, most of the fittings are polished brass, and the other aluminum parts (gas tank & running gear) are dull aluminum. Oh, and the exhaust pipe is copper. So I got to do a lot of different metal finishes.
Additions

In addition to the revised folding running boards and wing running gear I made a few other changes as well:
-
I added brass-edged running board panels painted flat NATO black.
-
I added a brass tank on the right side which I believe is an acetylene tank for the car lights.
-
I cut the wheel hub "caps" in half and punched round plastic covers.
-
Like every other builder of this car I ditched the kit latches for the rear seats, replacing them with some scrap PE brass.
-
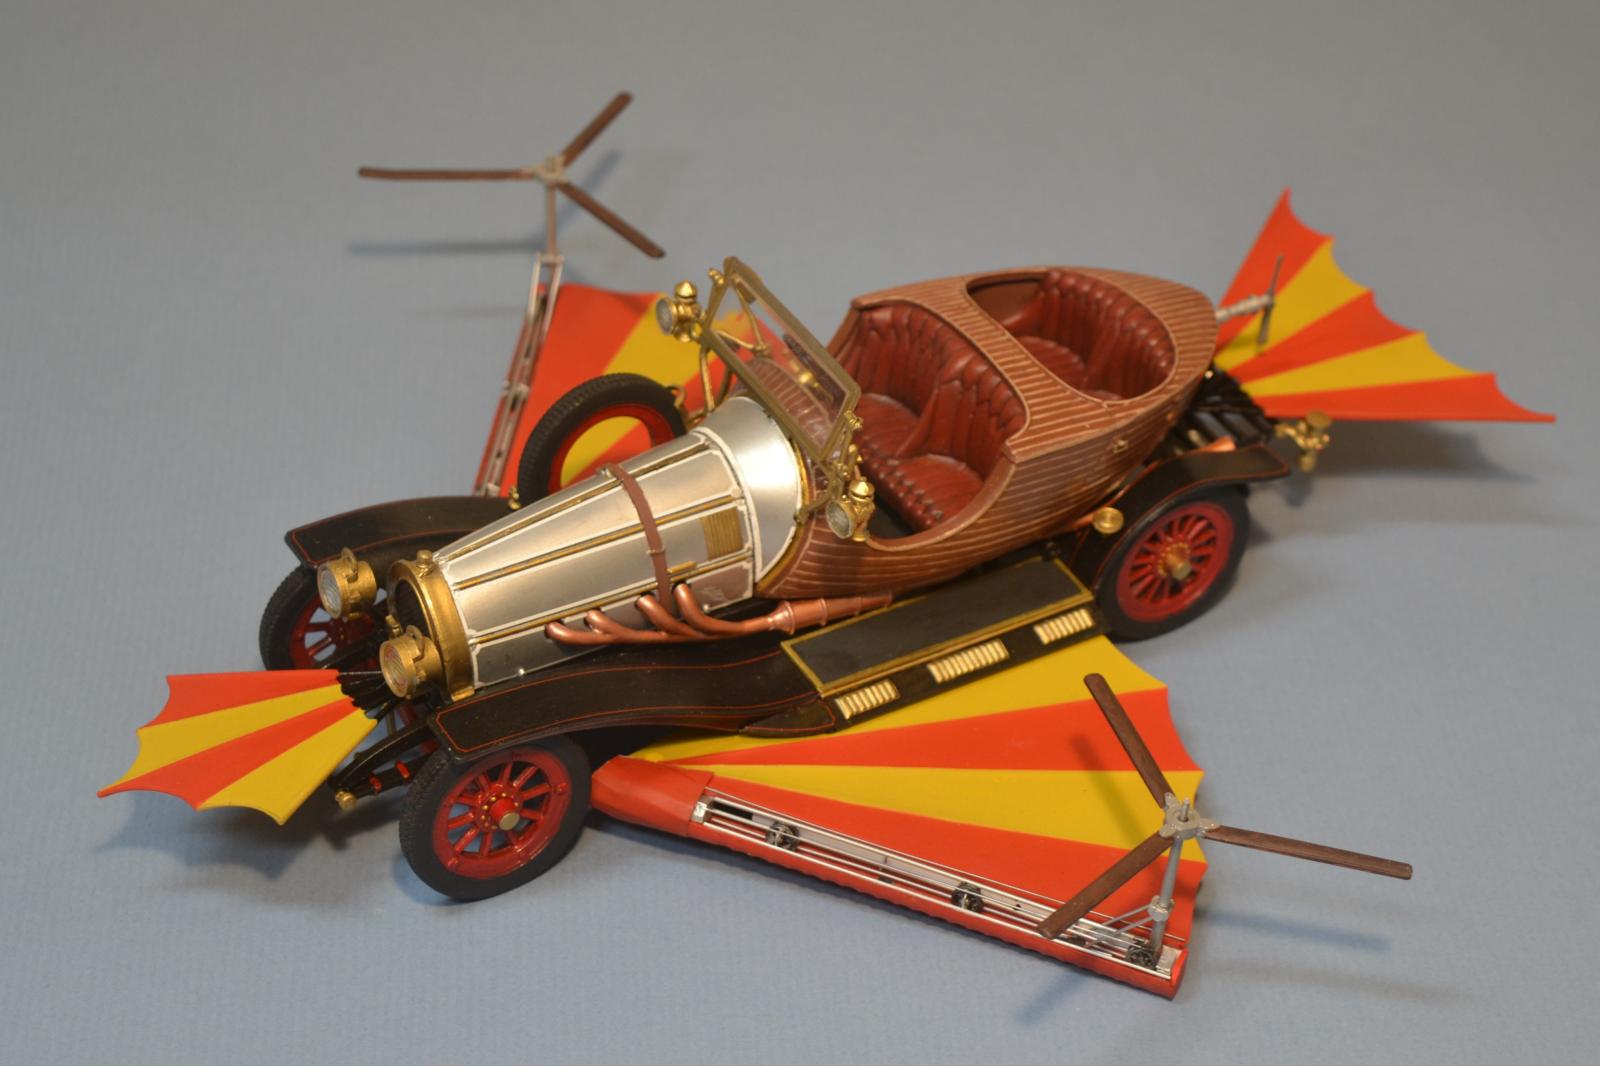
I flipped the forward "stabilizer" wing upside down and mounted it below the prominent GEN II license plate. This isn't accurate, but as the plastic supports are so thick they block the license plate it was a way to make the license plate visible (the musical car did the same thing).
-
I reconfigured the tail propellor. Rather than build the "flying Chitty" doors which would have required major and irreversible damage to the boat tail I used the kit's clip-on plumbing. But I simplified it, and painted the vertical element black, so the net result is only a dull aluminum prop shaft extending straight out of the boat tail. (Note: this was the one error on the otherwise flawless OOB build of the kit that has been on my shelf for years courtesy of eBay - the builder mounted it one rung back of where it should have been - so it extends far to the rear of the car).
-
I added red pinstriping to the fenders and running board skirts and used white pin striping on the bonnet. At .025mm the pin striping is only .005mm off the size I calculated the original to be, and it looked really good - although it would have looked better with a better gloss coat. The bonnet striping is overscale, but still looks pretty good.
-
I added a bottom to the wing doors under the car and a tiny strut holds the running board skirt up. I noticed this detail on the original "flying Chitty" in 2018 photos.
Paint
I used Mission chrome for the bonnet, and Vallejo metals for the rest of the metalwork. I deliberately chose duller matte finish paints for the wings - Vallejo Luftwaffe red and yellow - to approximate the cotton fabric of the wings in the movie. I was cursed with poor gloss finishes during construction, so the black body color is not as glossy as I'd like - nor did the mahogany and white cedar boat tail shine up the way I would have liked. Rotors are Vallejo mahogany topped with dark gray wash for grain.
The seating started as Testors British Crimson with dark gray washes for depth, but after noting when watching the movie that the seats were much more red - if not a true red - I dry brushed them extensively to get a redder shade.
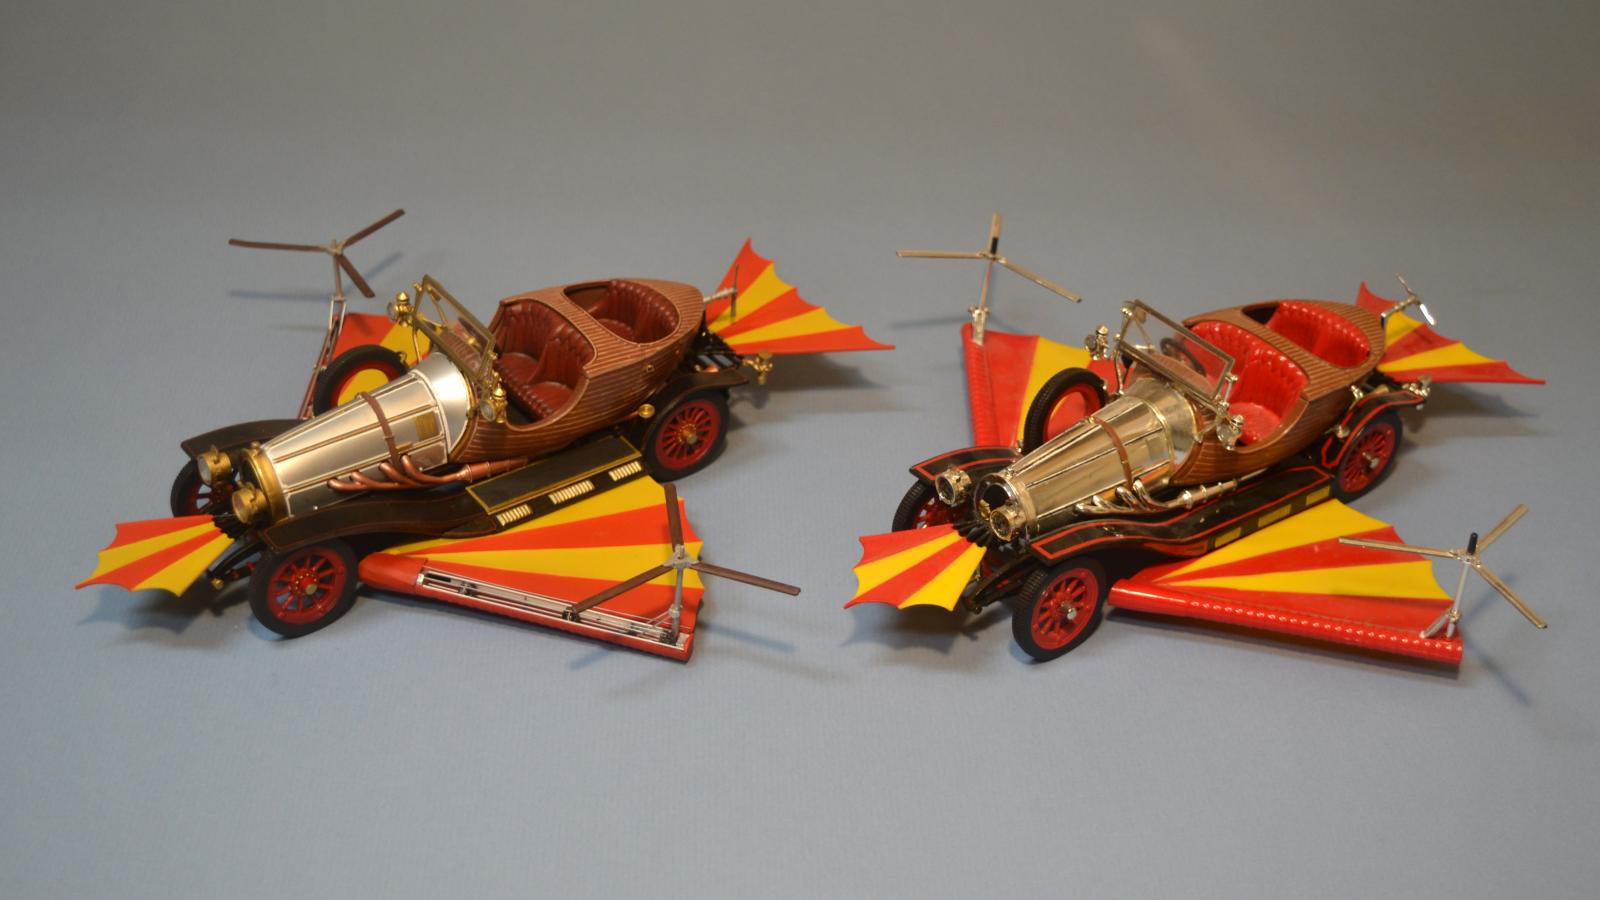
I am immensely pleased with the outcome of the project. It's a more accurate Chitty, and I really enjoyed comparing it to the OOB version throughout the build.


Awesome
This is very cool, Michael @mcsmith1964
Well done.
Absolutely amazing, Michael!
Great nostalgic build Michael. But was Caractacus Potts the first James Bond ? It's all there Truly Scrumptious the beautiful Bond girl, the villainous baddy Baron Bomburst and of course the car full of gadgets Chitty Chitty Bang Bang herself. It's only missing the machine guns in the lights. But I love your build fantastic
Fantastic work and a super result.
Brilliant work brought your model to fruition, Michael.
Cool..the “original”: https://en.wikipedia.org/wiki/File:Count_Zborowski_With_Chitty_Bang_Bang_1_At_Brooklands.jpg
Excellent fun! Thank you.
Thanks. Now I'm going to have that silly song in my head all day
Wow! Really nice.
Very nicely done, Michael. Extremely eye catching with all those great colors.
Super cool. I’d forgotten all about that movie but your post reminded me of the drive-in where I saw it s a kid in my pajamas. Such a great result. Thanks for sharing this blast from the past.
My initial reaction was cool, but after reading the text and examining the photos of your modifications I have to say wow!