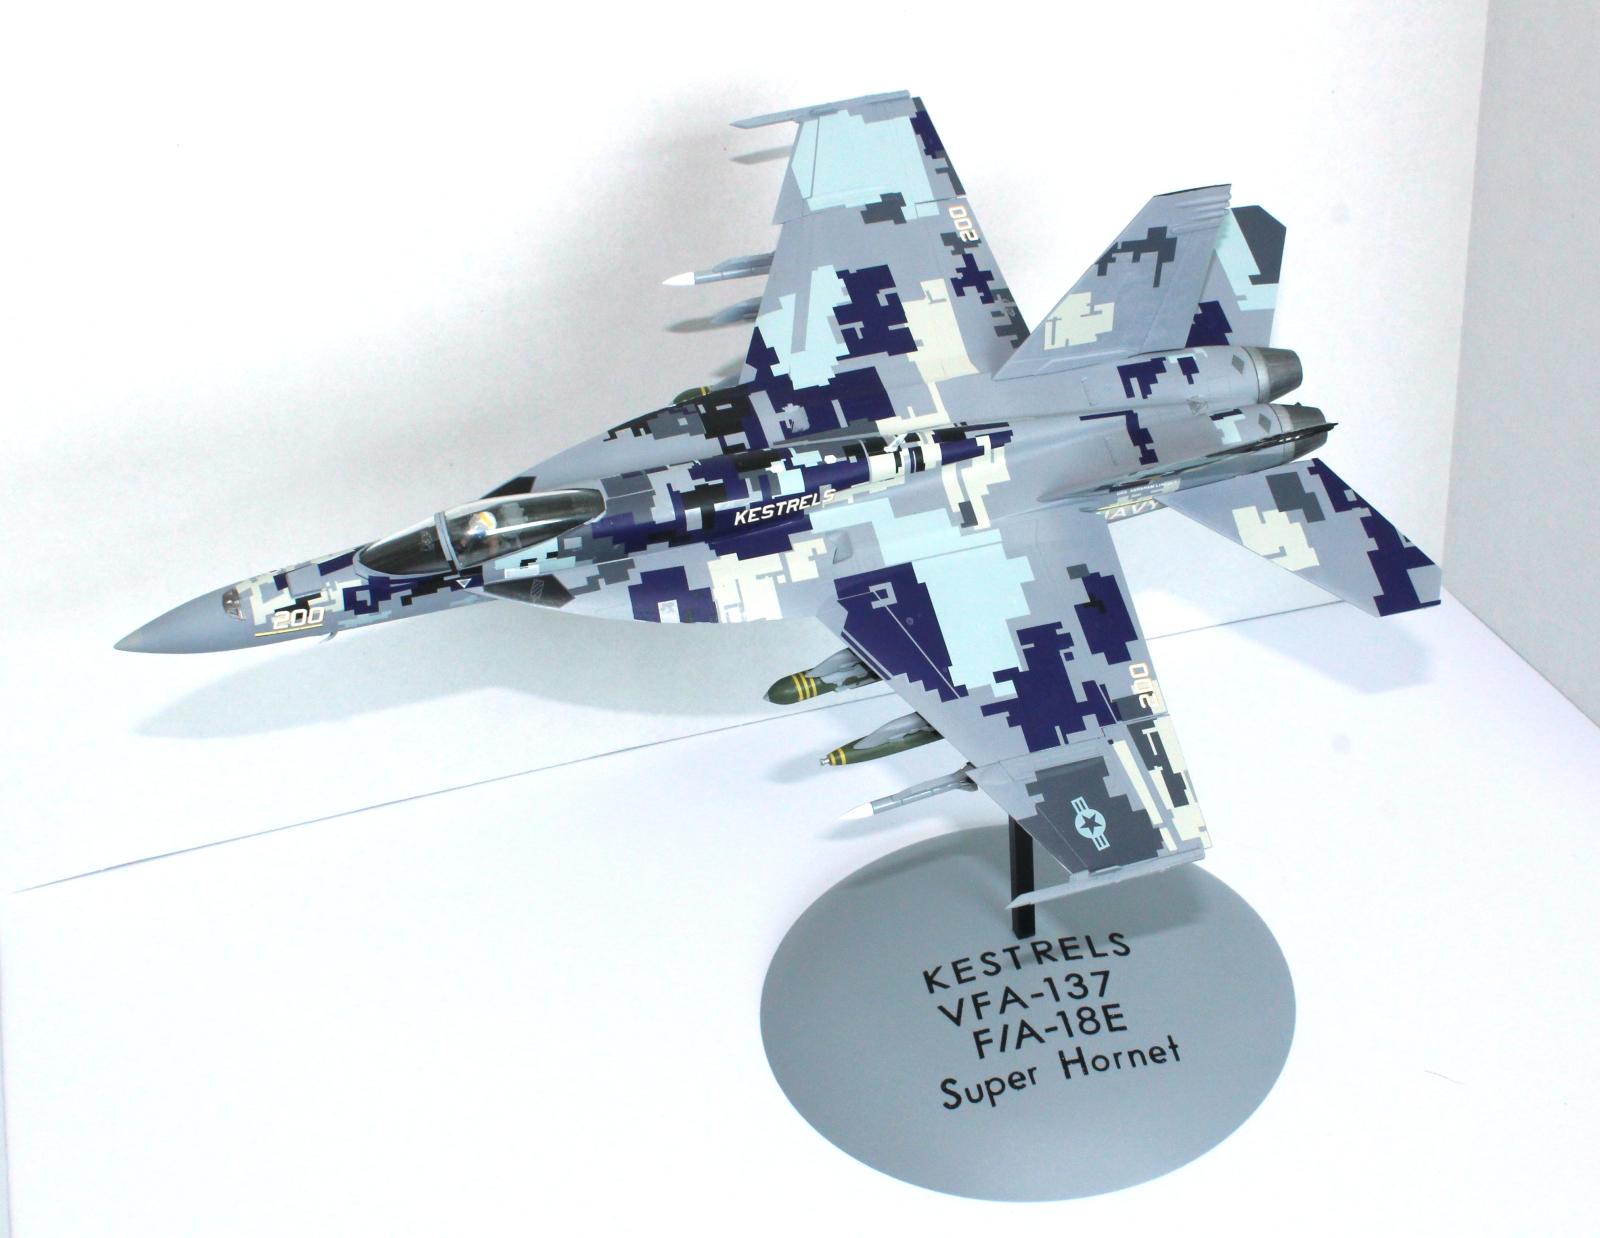
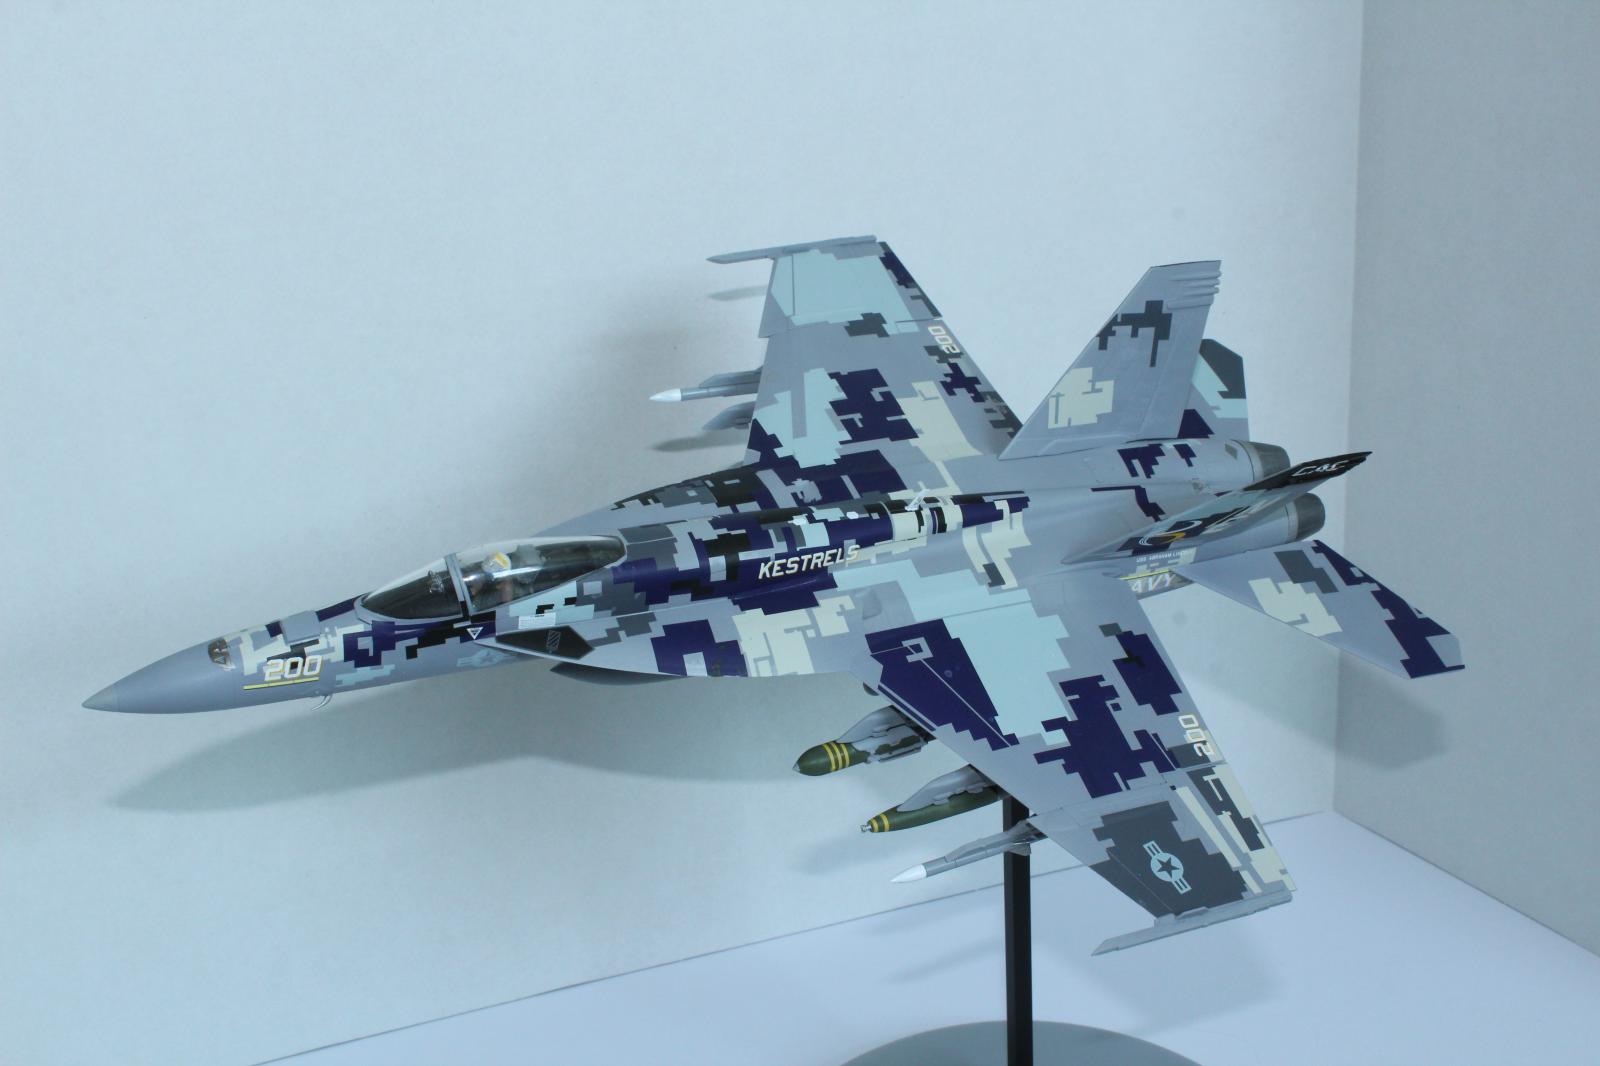
VFA-137 Super Hornet In Flight
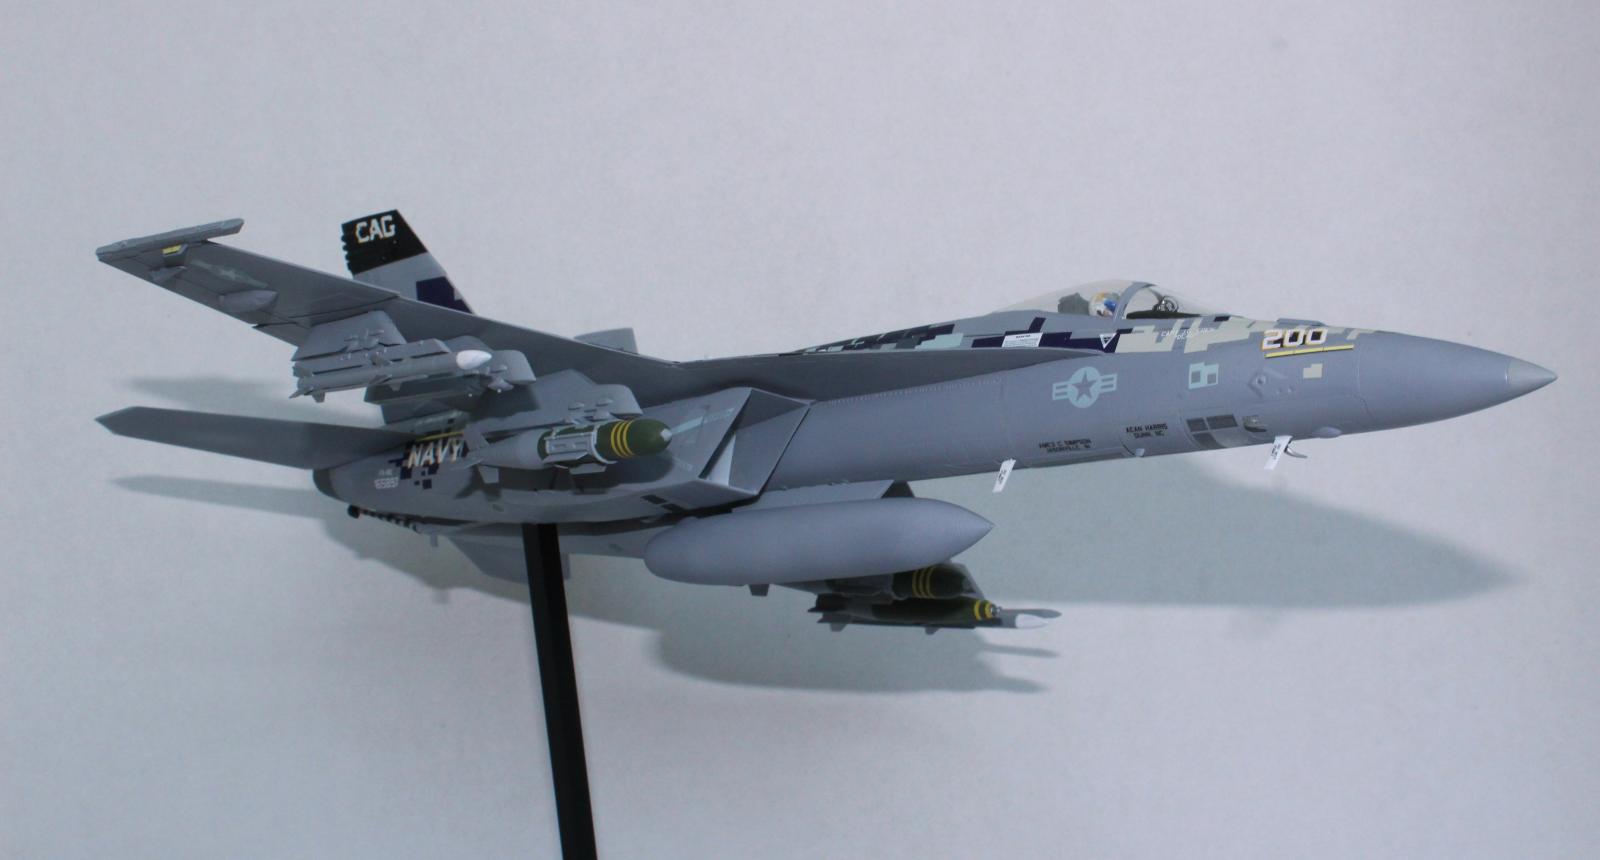
For the longest time I have wanted to build an aircraft model "in action." With a Revell 1/48th scale F-18E Super Hornet kit paired with a set of Decals from Double Excellent Model (DXM) decals, I found my inspiration. The Revell Super Hornet is an excellent kit with superb fits and accurate outlines, but it requires modification to accurately depict the Super Hornet at rest. Powered down, the Super Hornet's slats and flaps droop, but the Revell kit is molded with these high-lift devices retracted. While not an accurate depiction of the aircraft on the ground, it was the perfect candidate to use as a Super Hornet in flight.
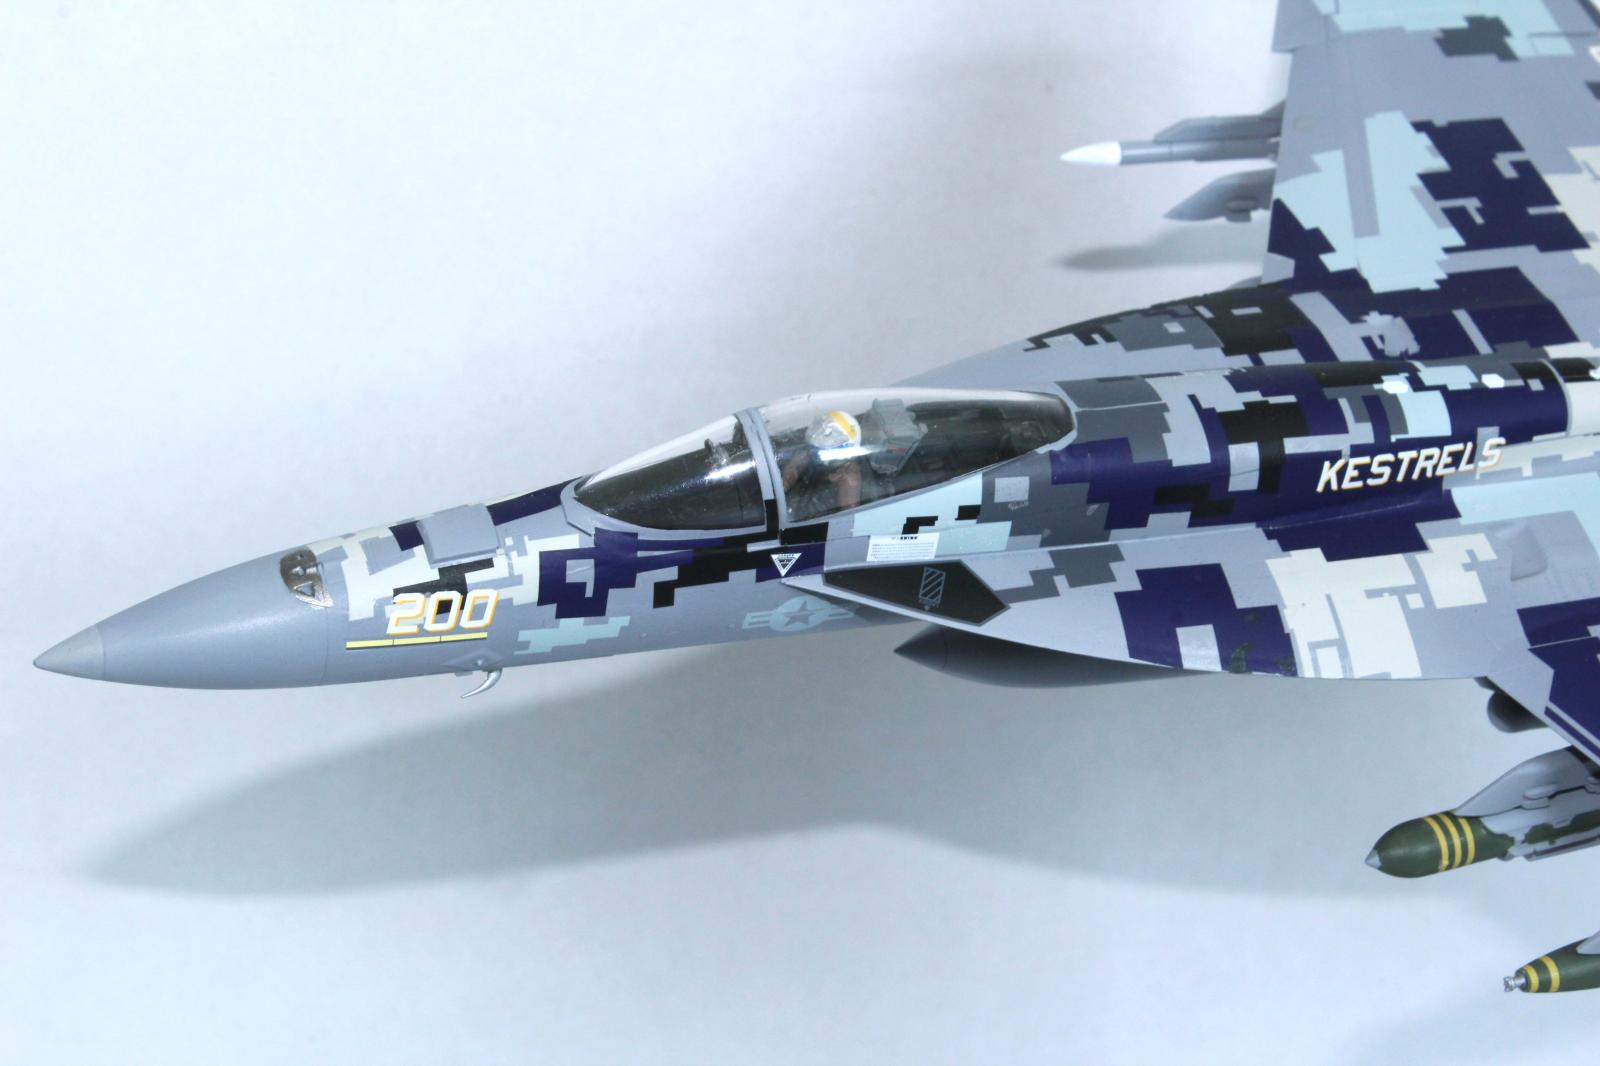
The kit's landing gear doors are at odds with the slat and flap configuration as they (the doors) are molded to support extended landing gear, typical of an aircraft on the ground. The majority of the work required to depict this kit in flight, therefore, revolved around modifying the gear doors to be closed up. The next modification was to depict a closed canopy with an F-18E pilot at the controls. I used a Hasegawa pilot from my spares box, that happened to sport an accurate JHMCS helmet, which is standard headgear for a Navy F-18 pilot. The canopy fit perfectly in the closed position, so all I needed to do was glue it shut.
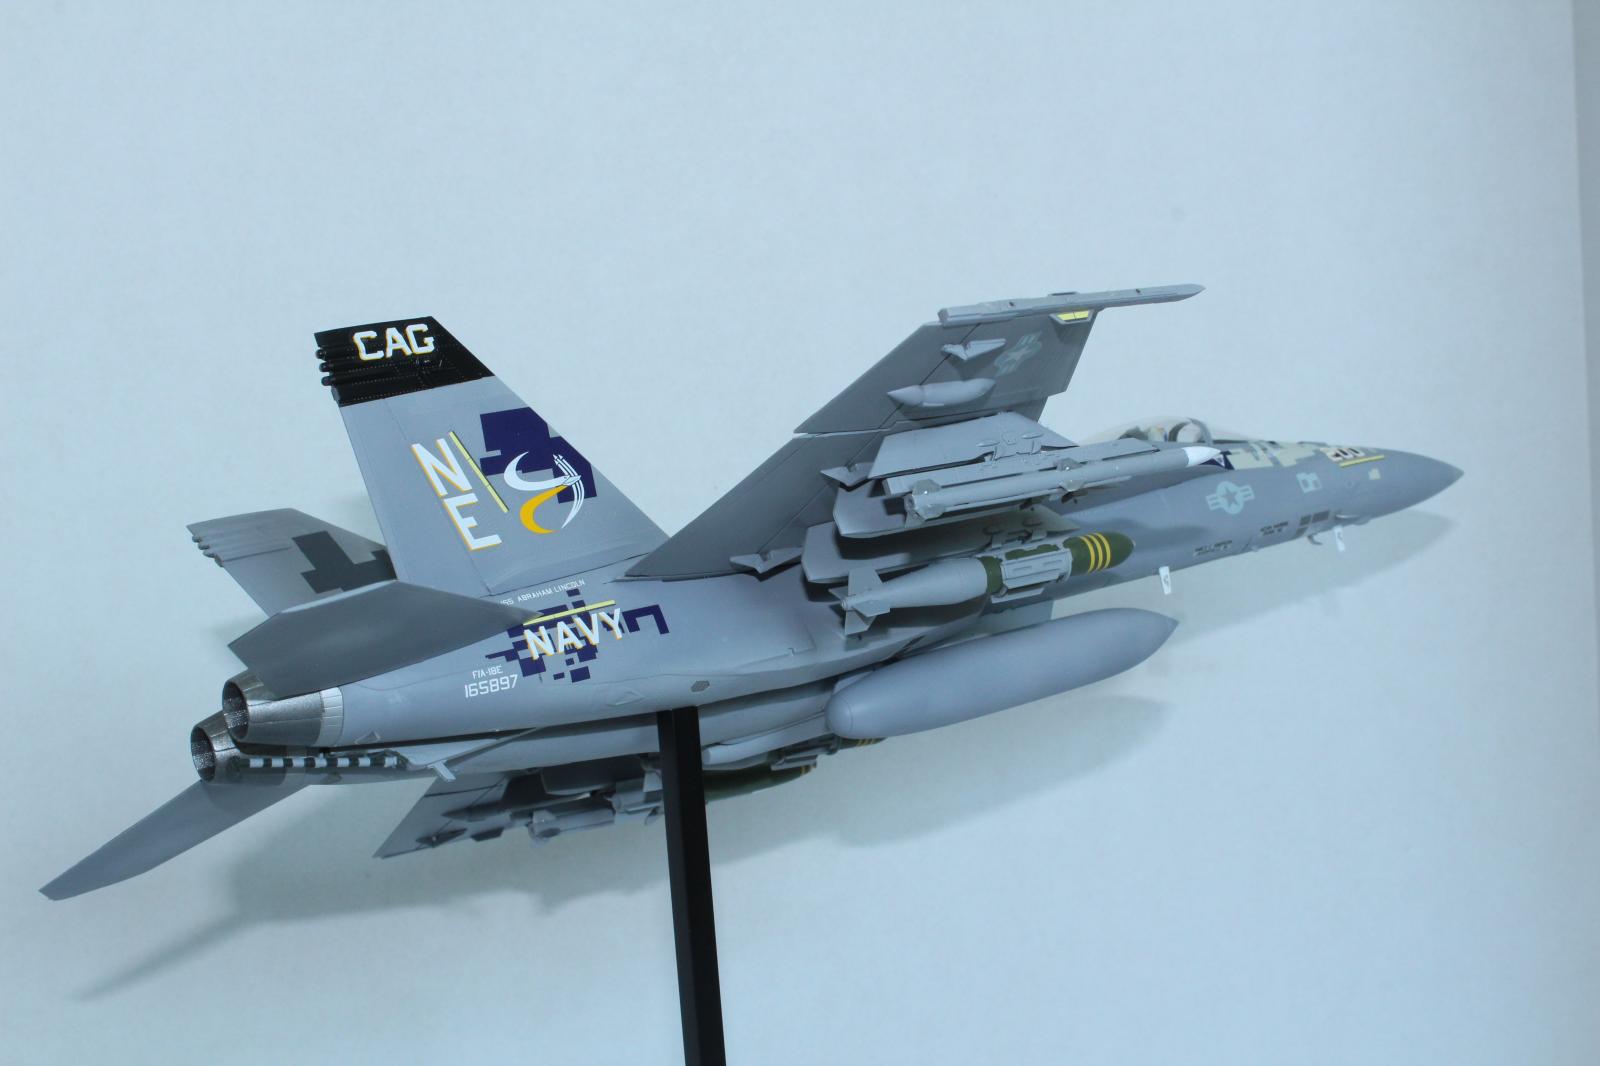
The paint scheme underneath the digital camouflage is Light Ghost gray for lower surfaces and Dark Ghost gray for the upper surfaces. I used Mission Models acrylics which provided perfect hues. The scheme represents a VFA-137 CAG bird. The DXM decals were superb. They were extremely durable, which was important as many of the decals were large and required significant coaxing to get them positioned properly. These decals didn't respond well to setting solutions. Instead, I found they performed best using distilled water. However, the tips of twin vertical tails had lots of molded relief that were simply to much for the decals. Instead of using the supplied decals themselves, I used them to create paint masks and airbrushed those areas. Decaling took several nights to accomplish because there were so many of them, and many overlayed others, requiring the first layer to dry before laying down the second.
I used square brass tubing to mount the jet and I created a brace inside the fuselage to hold the jet firmly in position. The base is something I had in my stash.
This project was a bit of a diversion from depicting aircraft at rest, but I enjoyed the challenge immensely, and I really like the way it turned out.
Looks amazing! Any chance you can upload some more pictures?
I’d love to see more pics too. The tease is looking real good.
Apologies everyone, I thought I uploaded all of them when I originally posted.
This looks really great. Bonus points because I respect anyone who decides to take a project with digital camouflage.
I had a similar moment when I built my B-36D. It is a type of plane that looks majestic in flight, but awkward on the ground. I also chose to depict it in flight, but got more than I bargained for when trying to make the gear doors fit. I also learned that it is hard to get 1/144 crew figures, so had to make some from Milliput...
Marcello, I checked out your B-36. Wow! It does look majestic posed in flight. I couldn't imagine making Milliput figures. Roden kits do require patience. I built their 1/48th scale OV-1D Mohawk and it took careful assembly to get the desired result, but the shapes and dimensional accuracy were very good.
Looks excellent, Scott!
Very nice result, Scott @scott57
Especially that camouflage pattern is really impressive.
look so neat!
That Hornet looks very neat Scott. Lovely finish and build
Nice work, Scott. That digital camo is very effective in my opinion.
Very nice! I feel your pain with the gear doors, since all my builds are wheels-up! Sometimes I just have to start from scratch and use sheet styrene and other tricks to get them in the closed position.