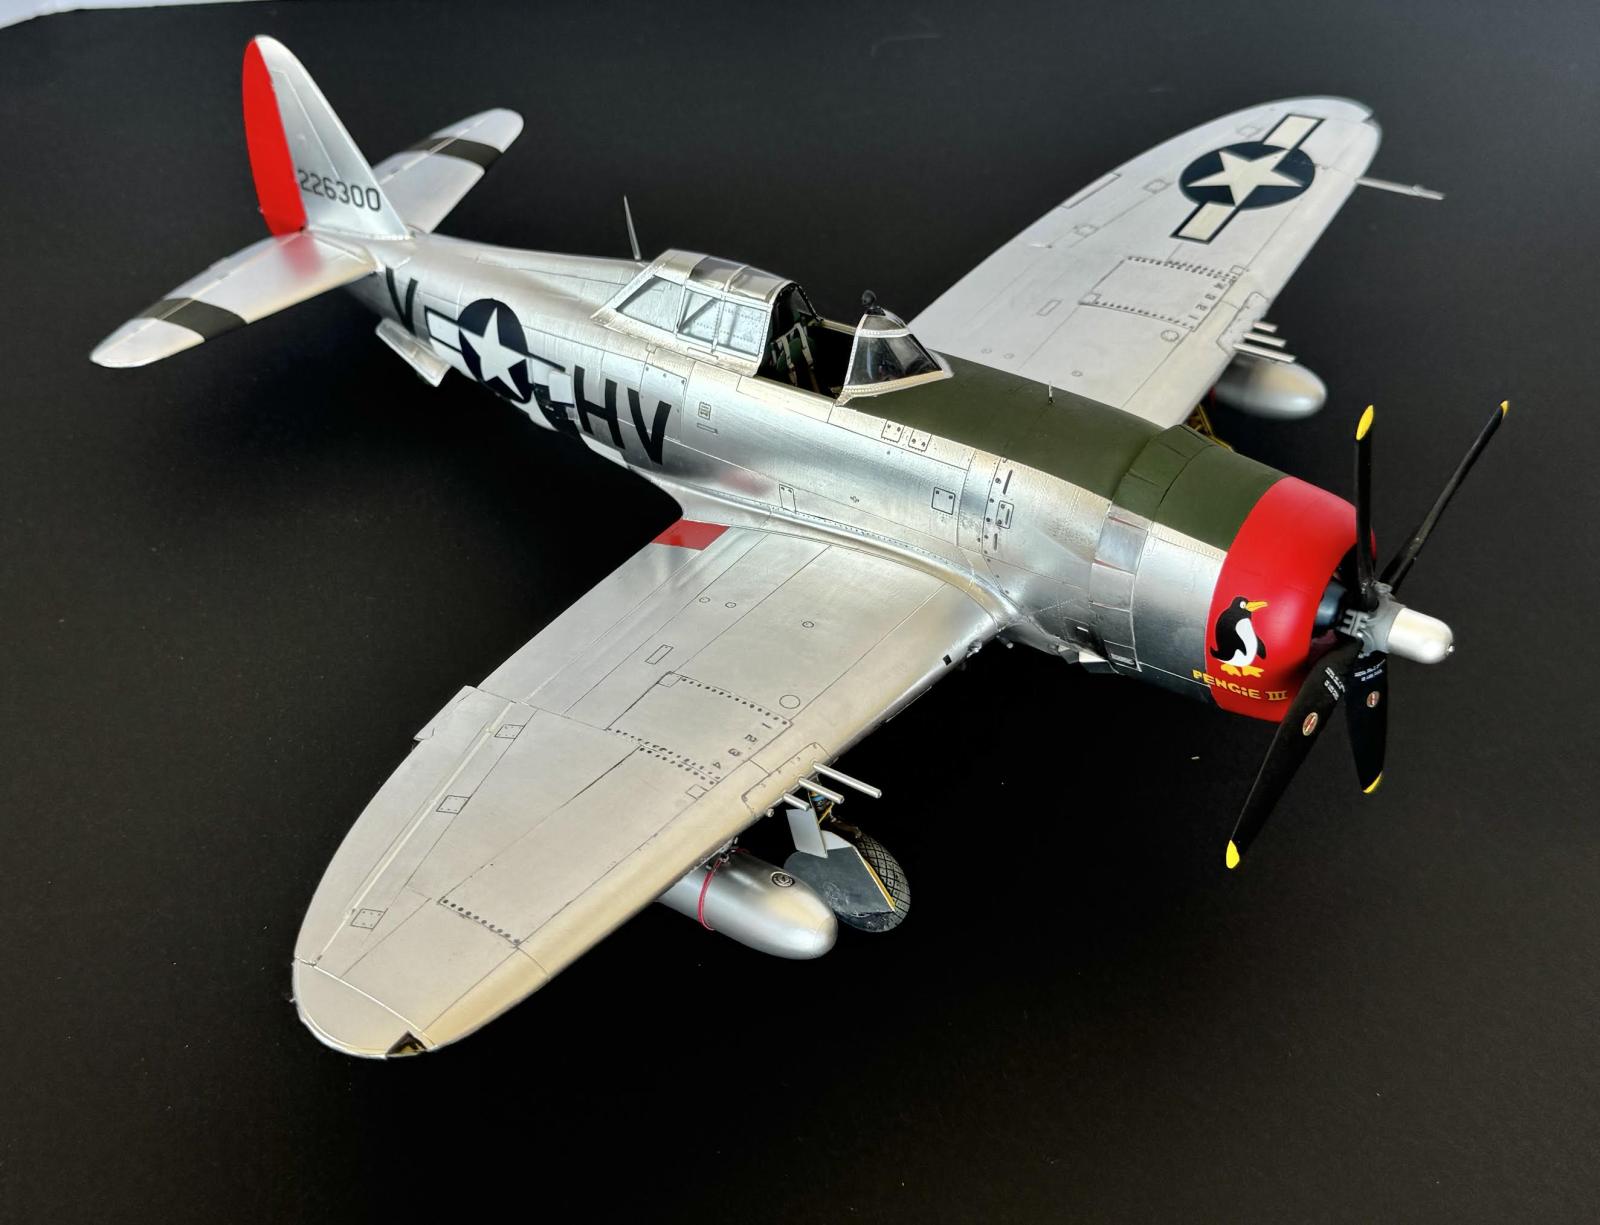
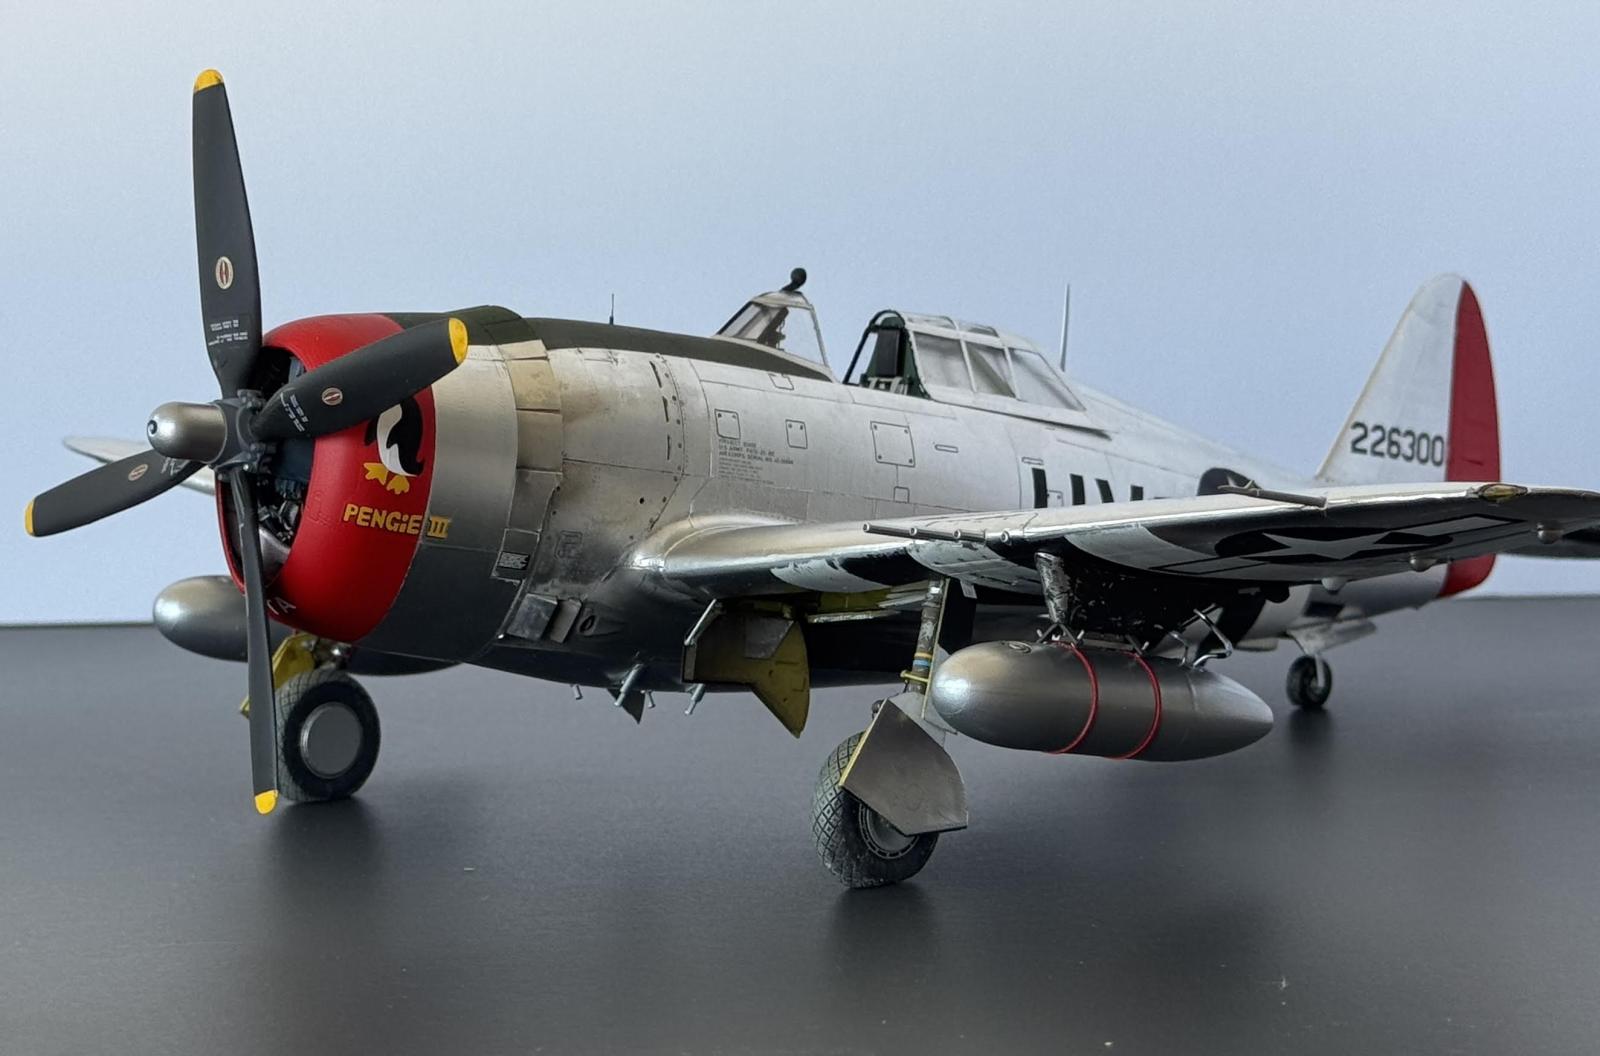
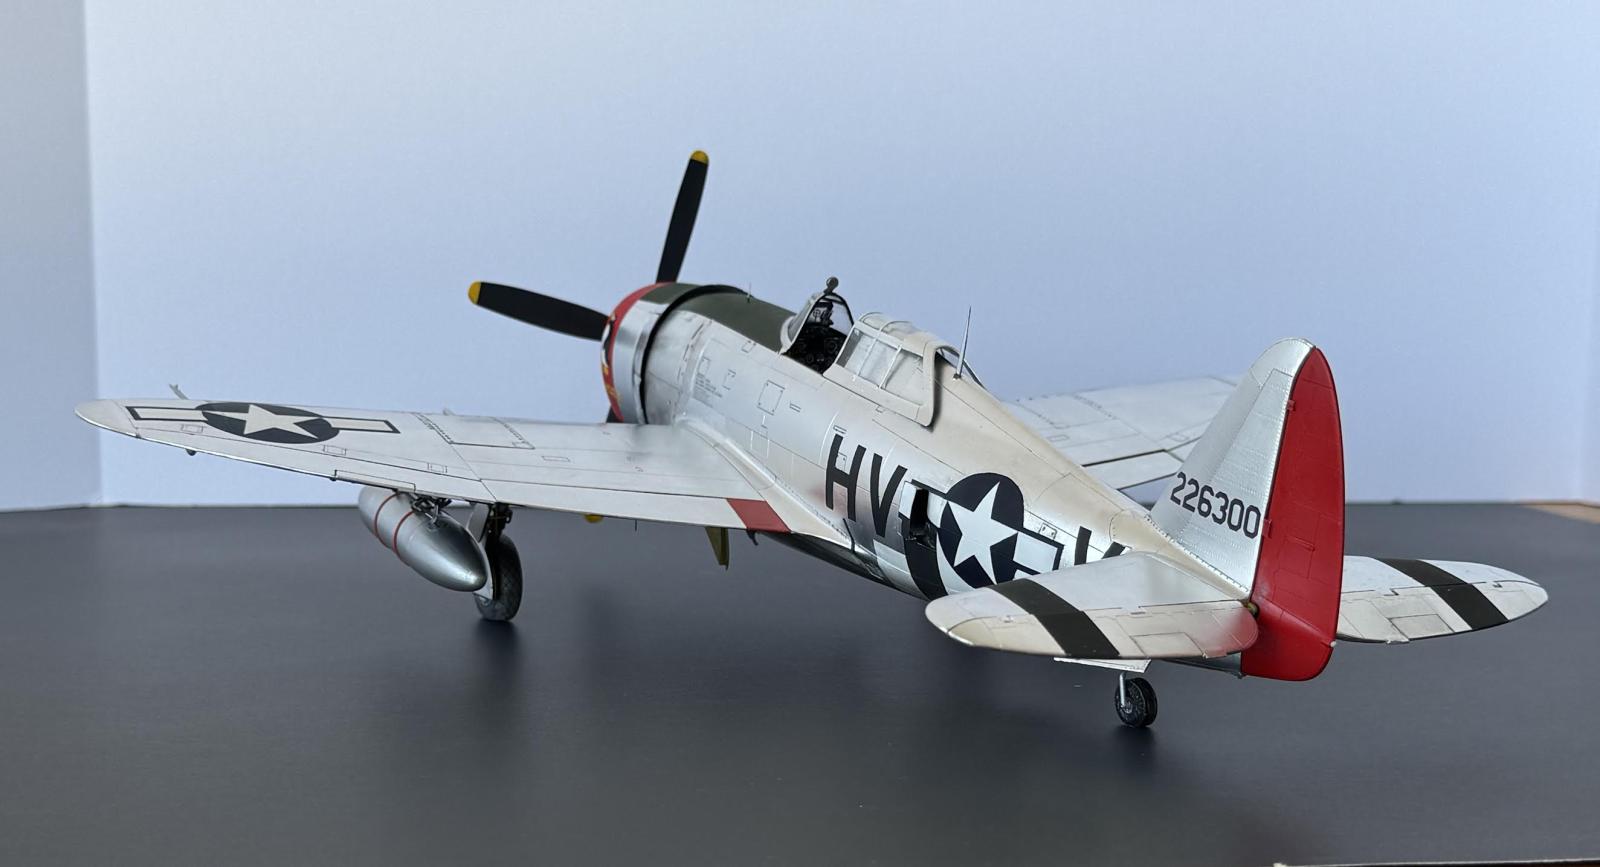
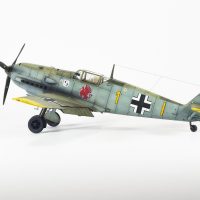
Trumpeter 1/32 P-47 Plus Foil
There are plenty reviews of the Trumpeter P-47 so no need to rehash those comments. But I will add if you dry fit everything all trouble areas can be avoided.
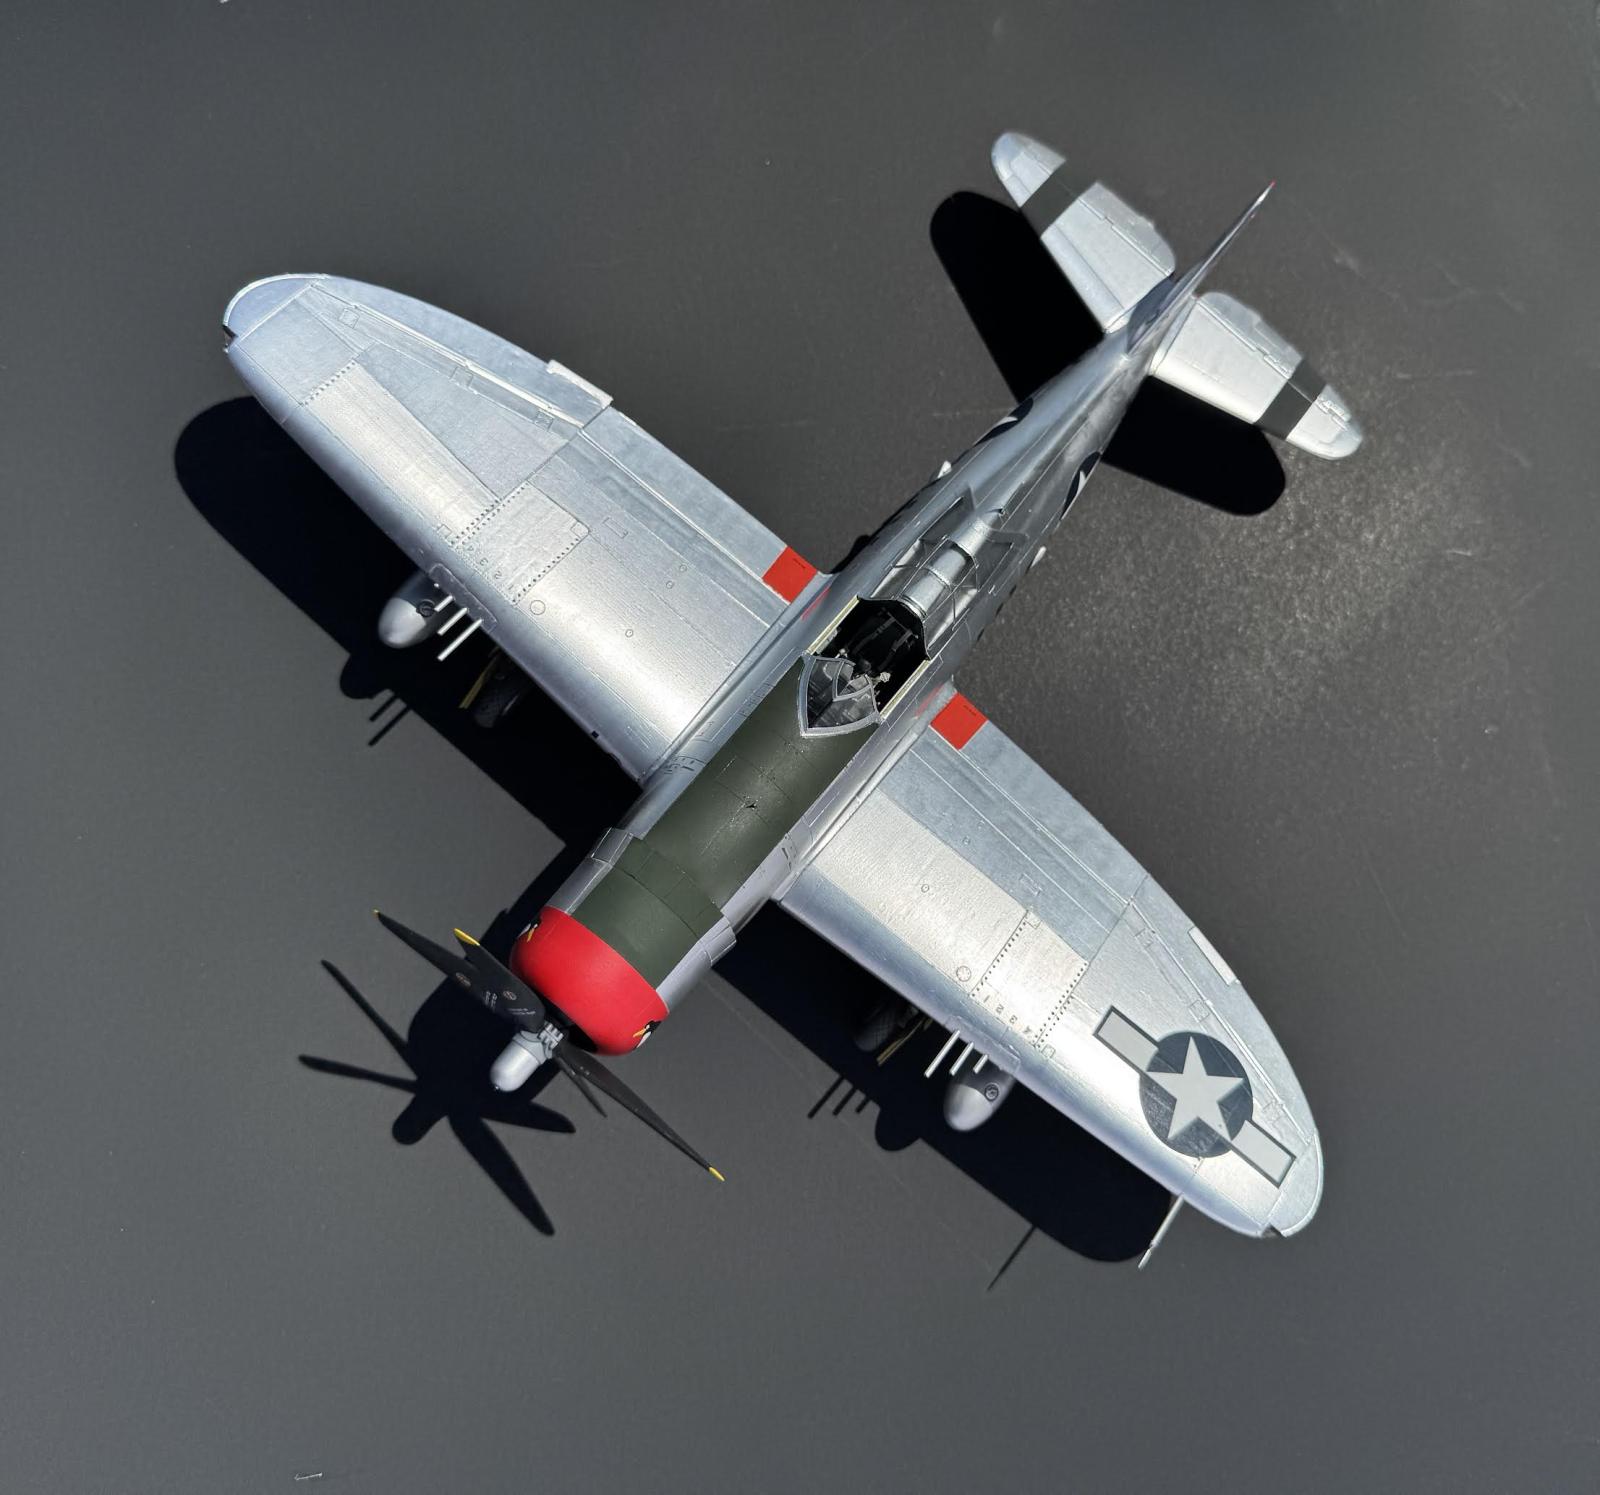
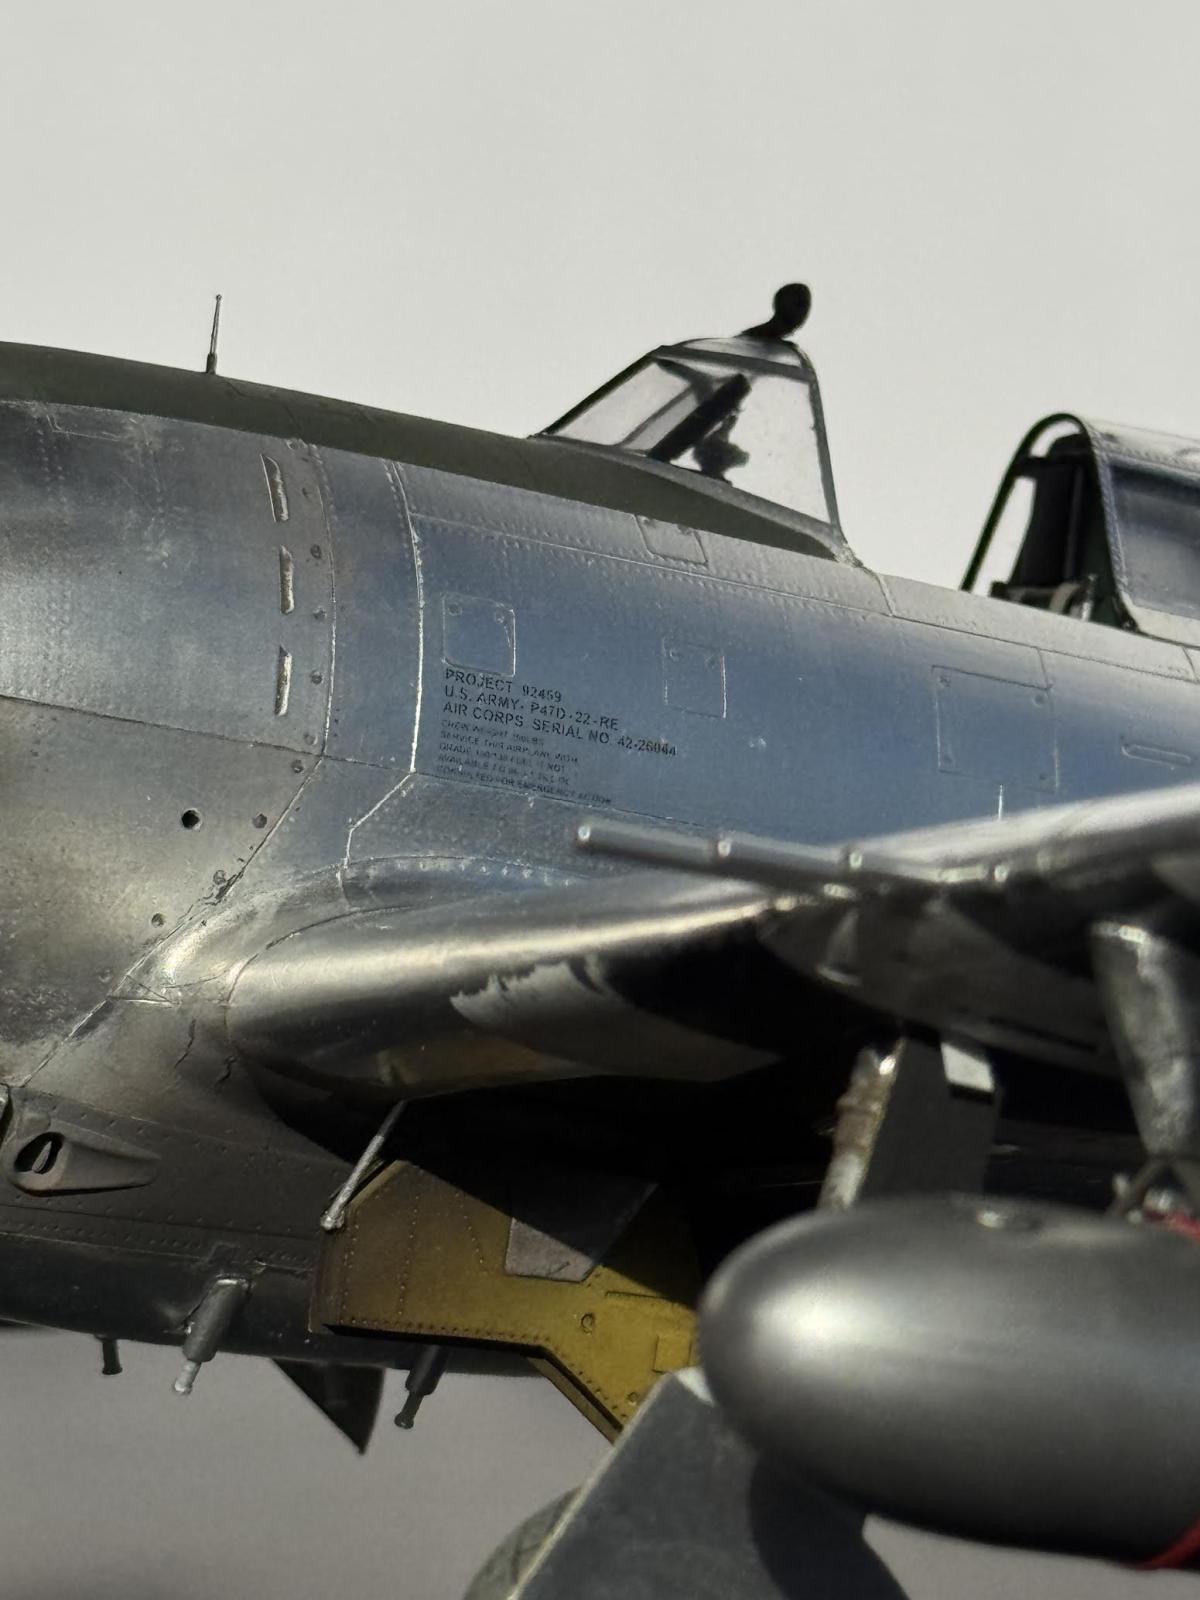
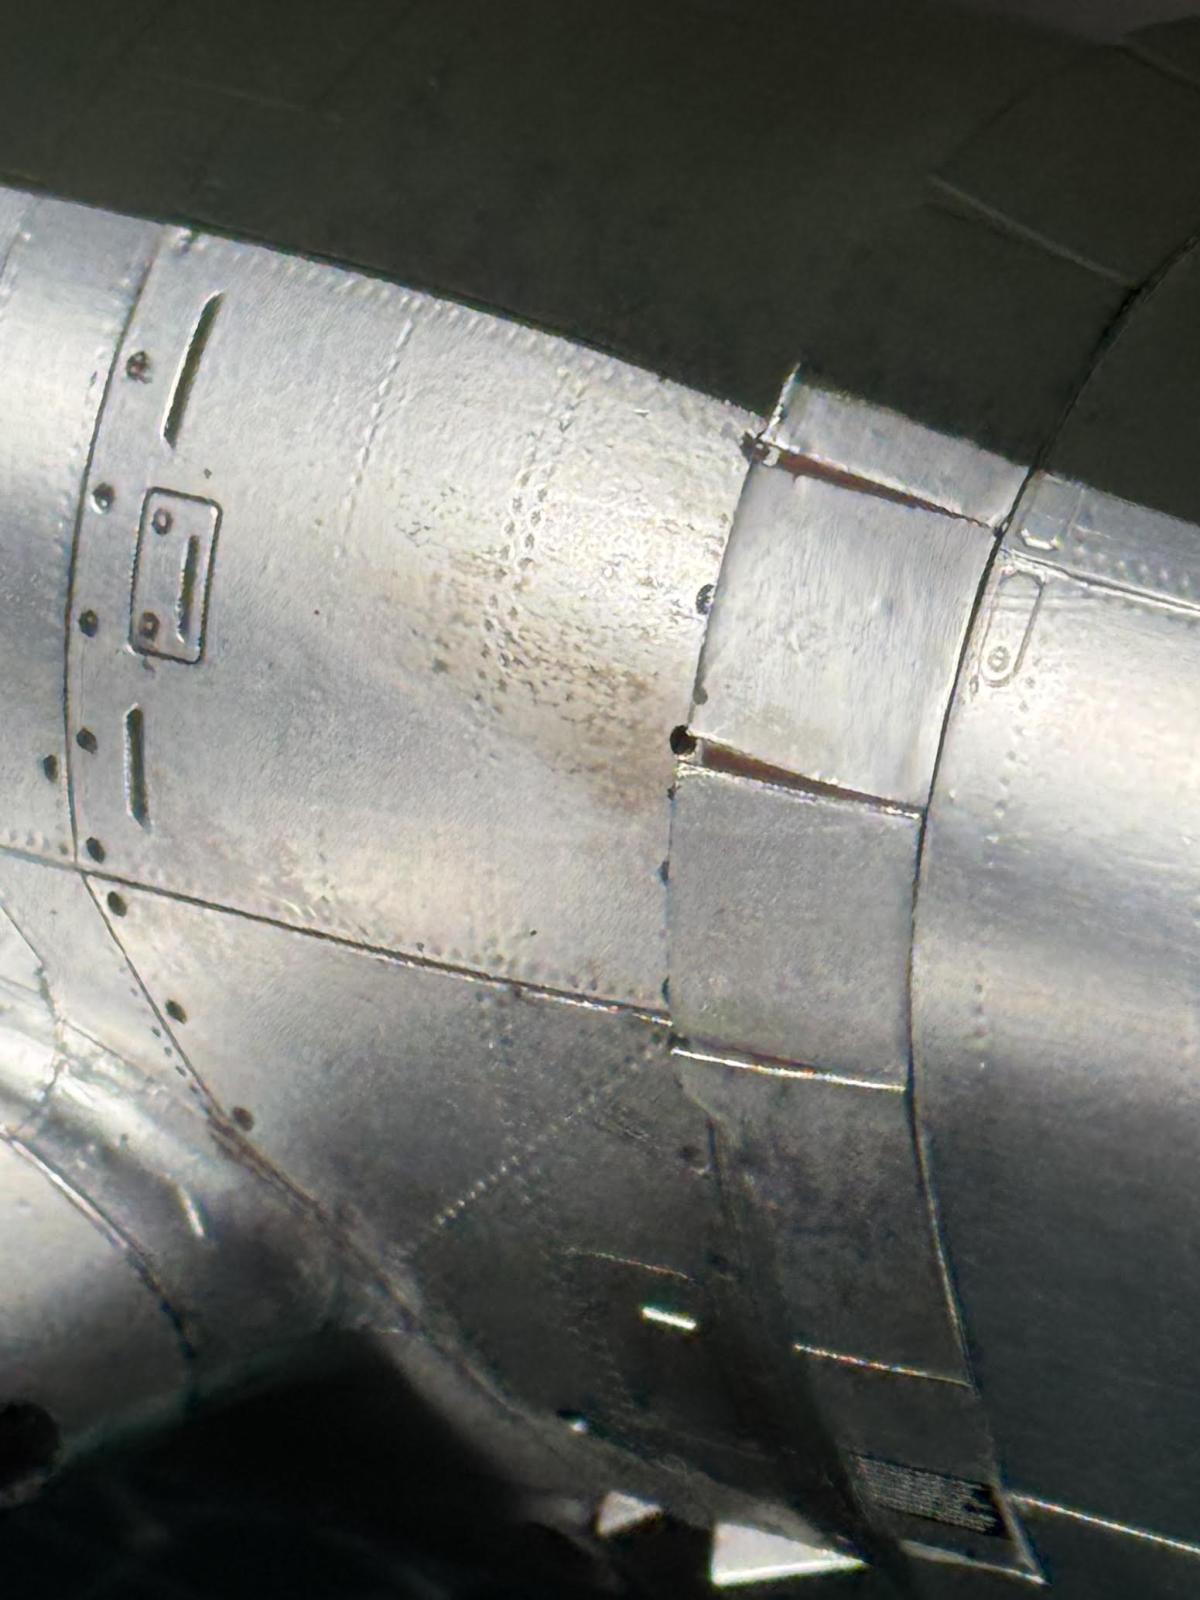
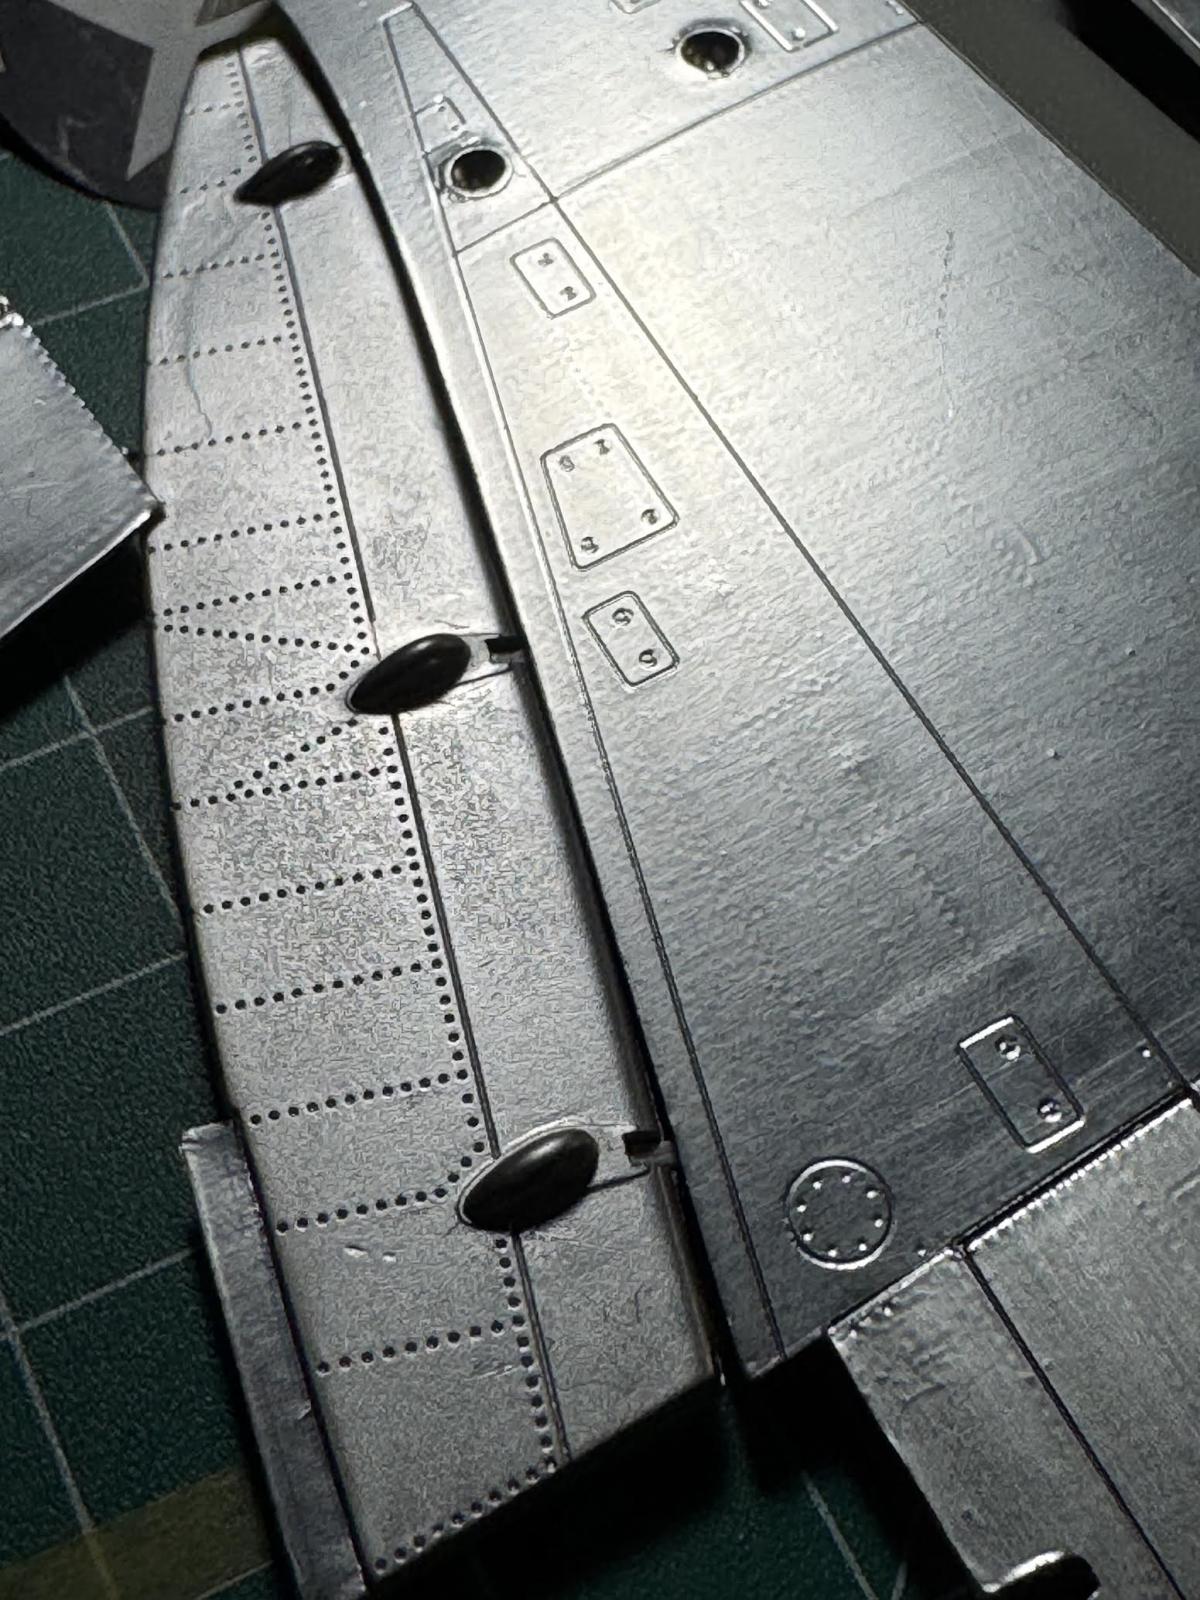
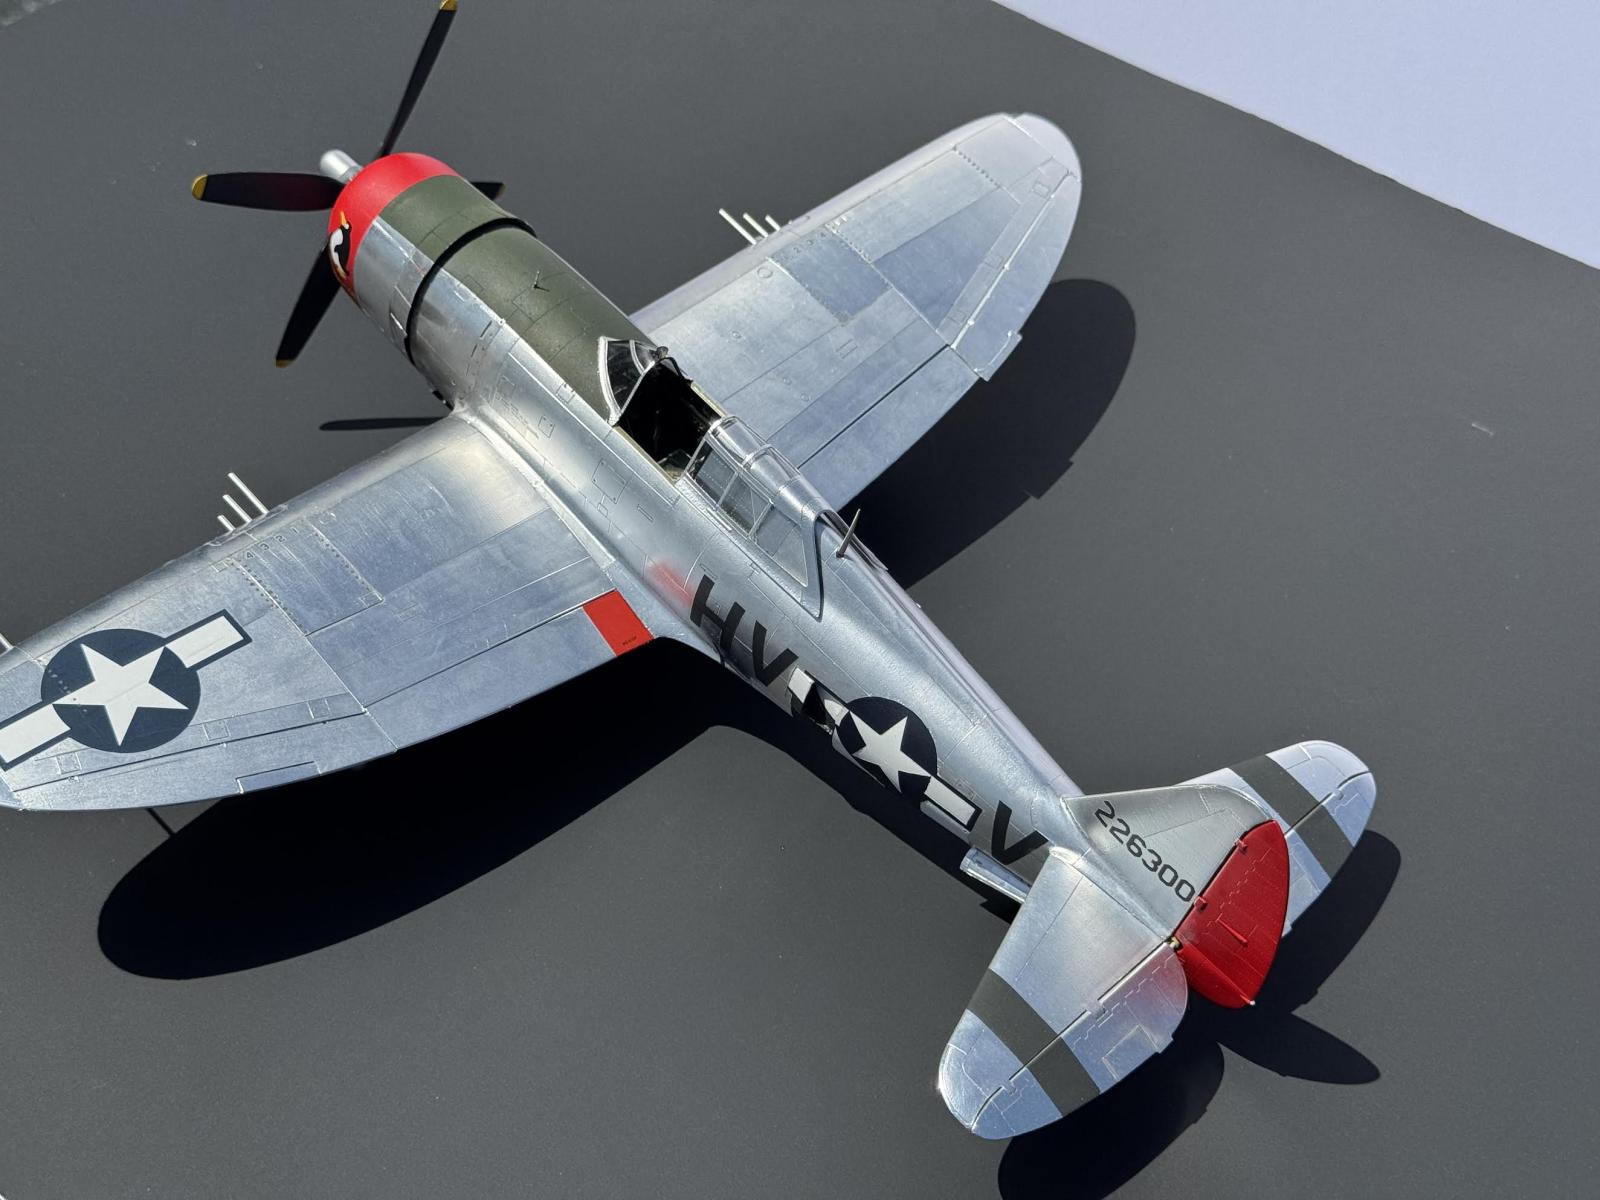
I've always disliked how the rivets are represented on these kits. They shouldn't look like a series of holes drilled into each panel, they need to look like FLUSH rivets. Thankfully one of the benefits of using kitchen foil is that problem is corrected.
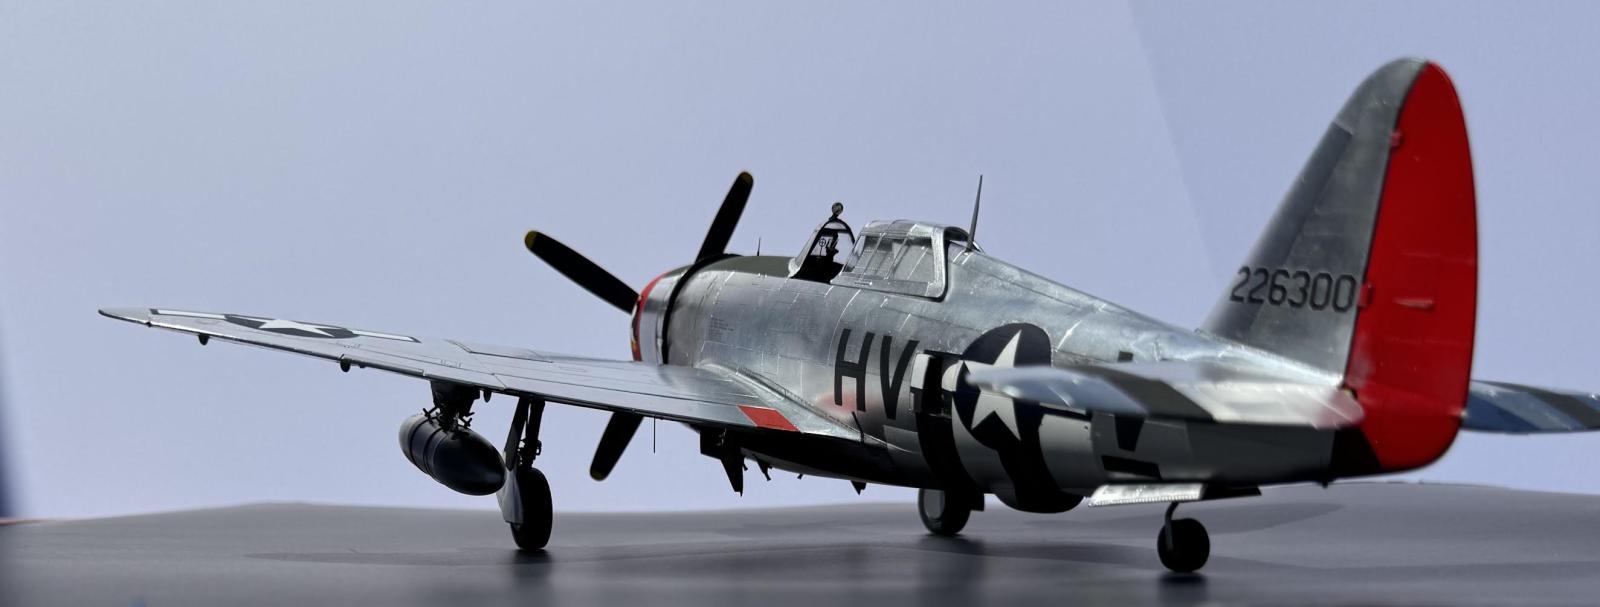
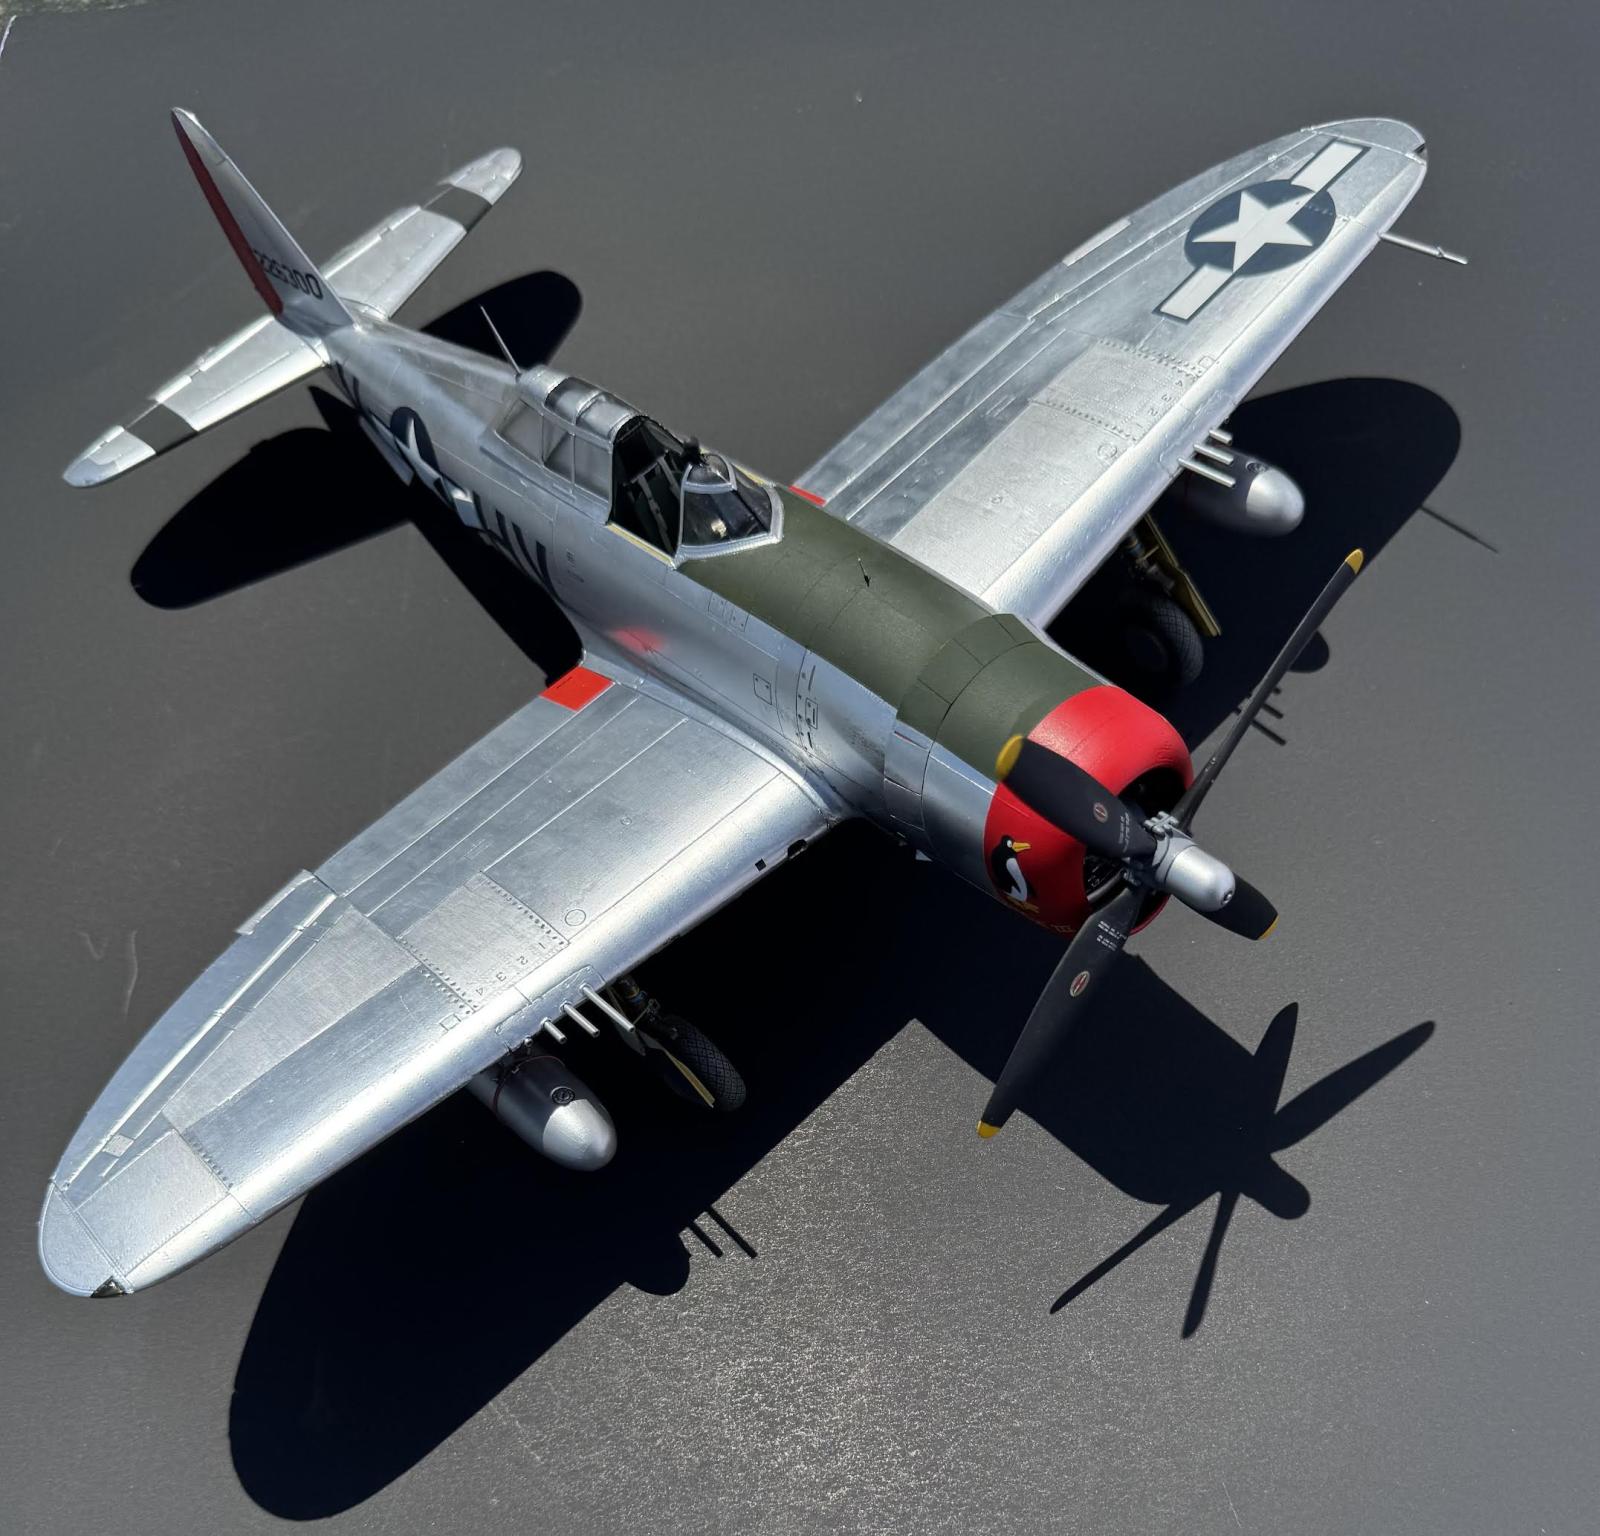
Foil jobs take a lot of patience. But no paint, no matter how well its applied can match foil for realism. There is a natural 'grain' in all aluminum whether its on a real plane or a model. Painting panel different shades helps but doesn't accurately portray the real plane. As you'll see in my photos, panel variance is more pronounced in some of my photos depending on light and angle. Much like the real plane. Keep in mind the block of P-47 serial number 226*** were less than six months old so weathering was minimal.
Most modelers find foiling stressful and in the end, less than satisfying. Here are a few tips that may help. After installing a foil panel remember, whether its just deepening a panel line with a toothpick or cutting a panel, it's not a race. Being slow and careful will prevent a time consuming error. Also if you make a mistake and have to peel a panel off, the importance of removing all the adhesive can not be overstated. Most can be removed with rubbing alcohol but thinner will often be necessary.
Then there is the problem of decals. At a minimum all decals need their clear portions trimmed. Any clear surrounding the markings will be a major eyesore. Without trimming all markings will look like they're attached with scotch tape. Totally unacceptable. The only solution is to use stencil decals. Some manufacturers offer excellent alternatives. But others fail to perform well. HGW stencils looked like a great option but my experience was like many modelers I've seen online. They don't separate correctly at all. I've tried every combination I saw online and nothing worked. Period. But Fantasy Printshop does make letters and numbers that work perfectly. But unfortunately no P-47 info stencils are available...yet:)
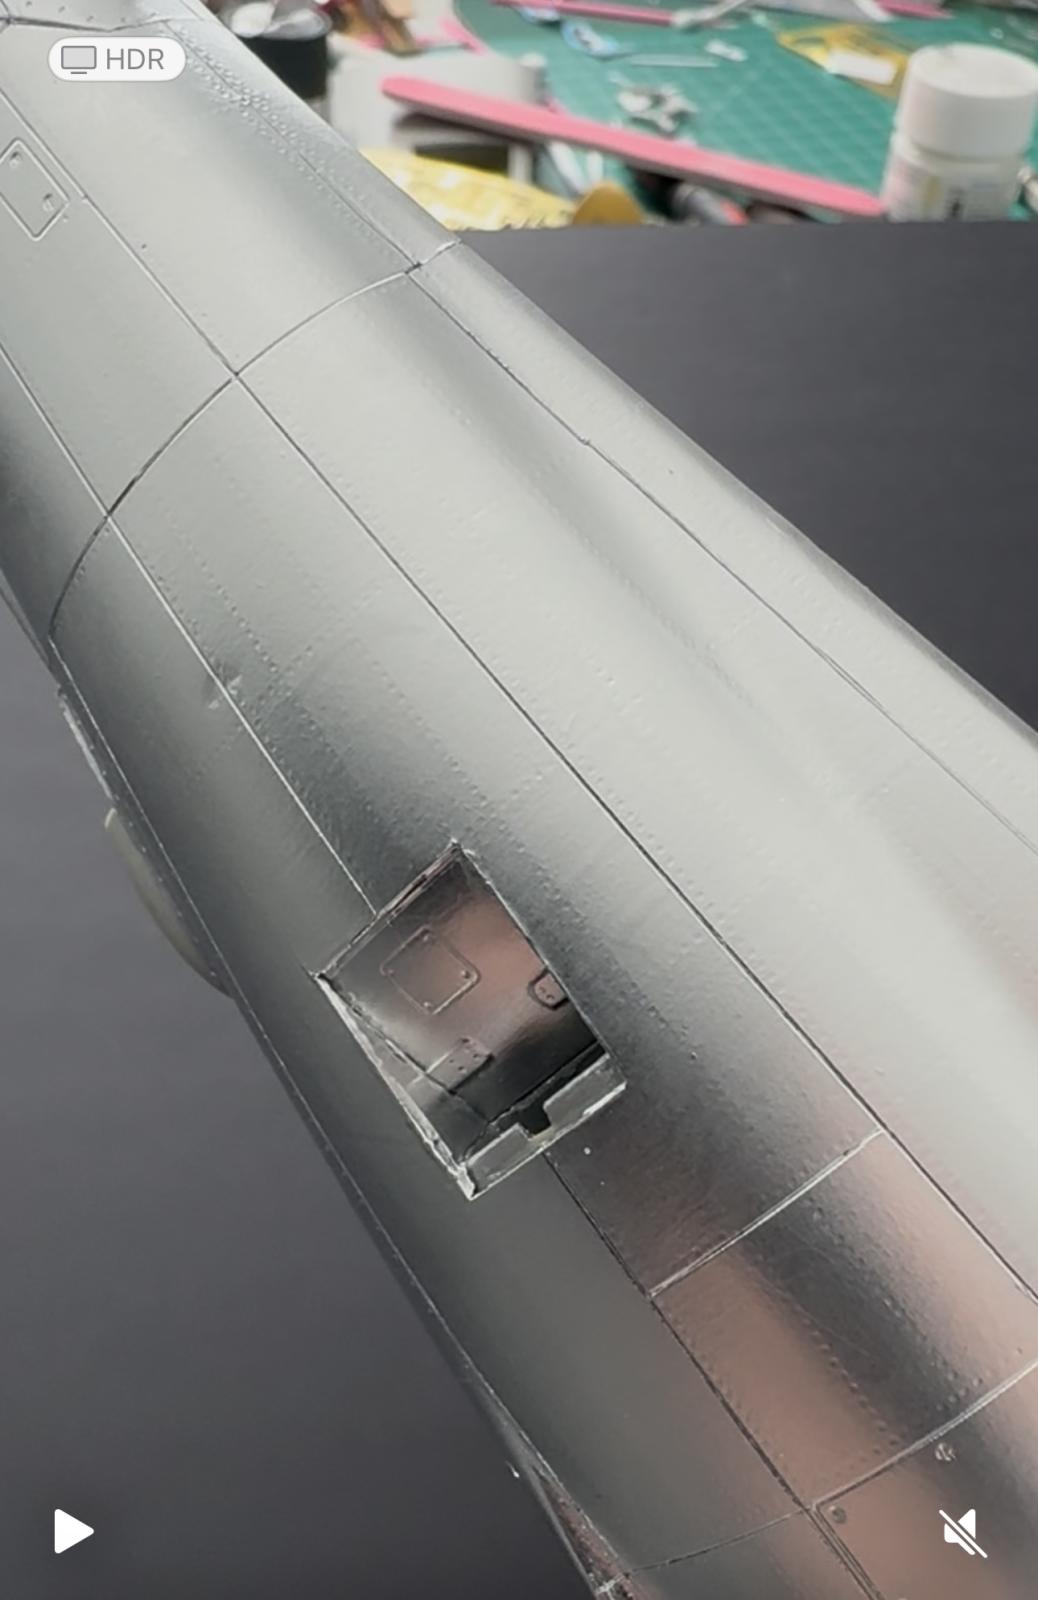
Kit Modifications: - Relocate Gun Camera Window
- Relocate radio antenna a bit more to the left.
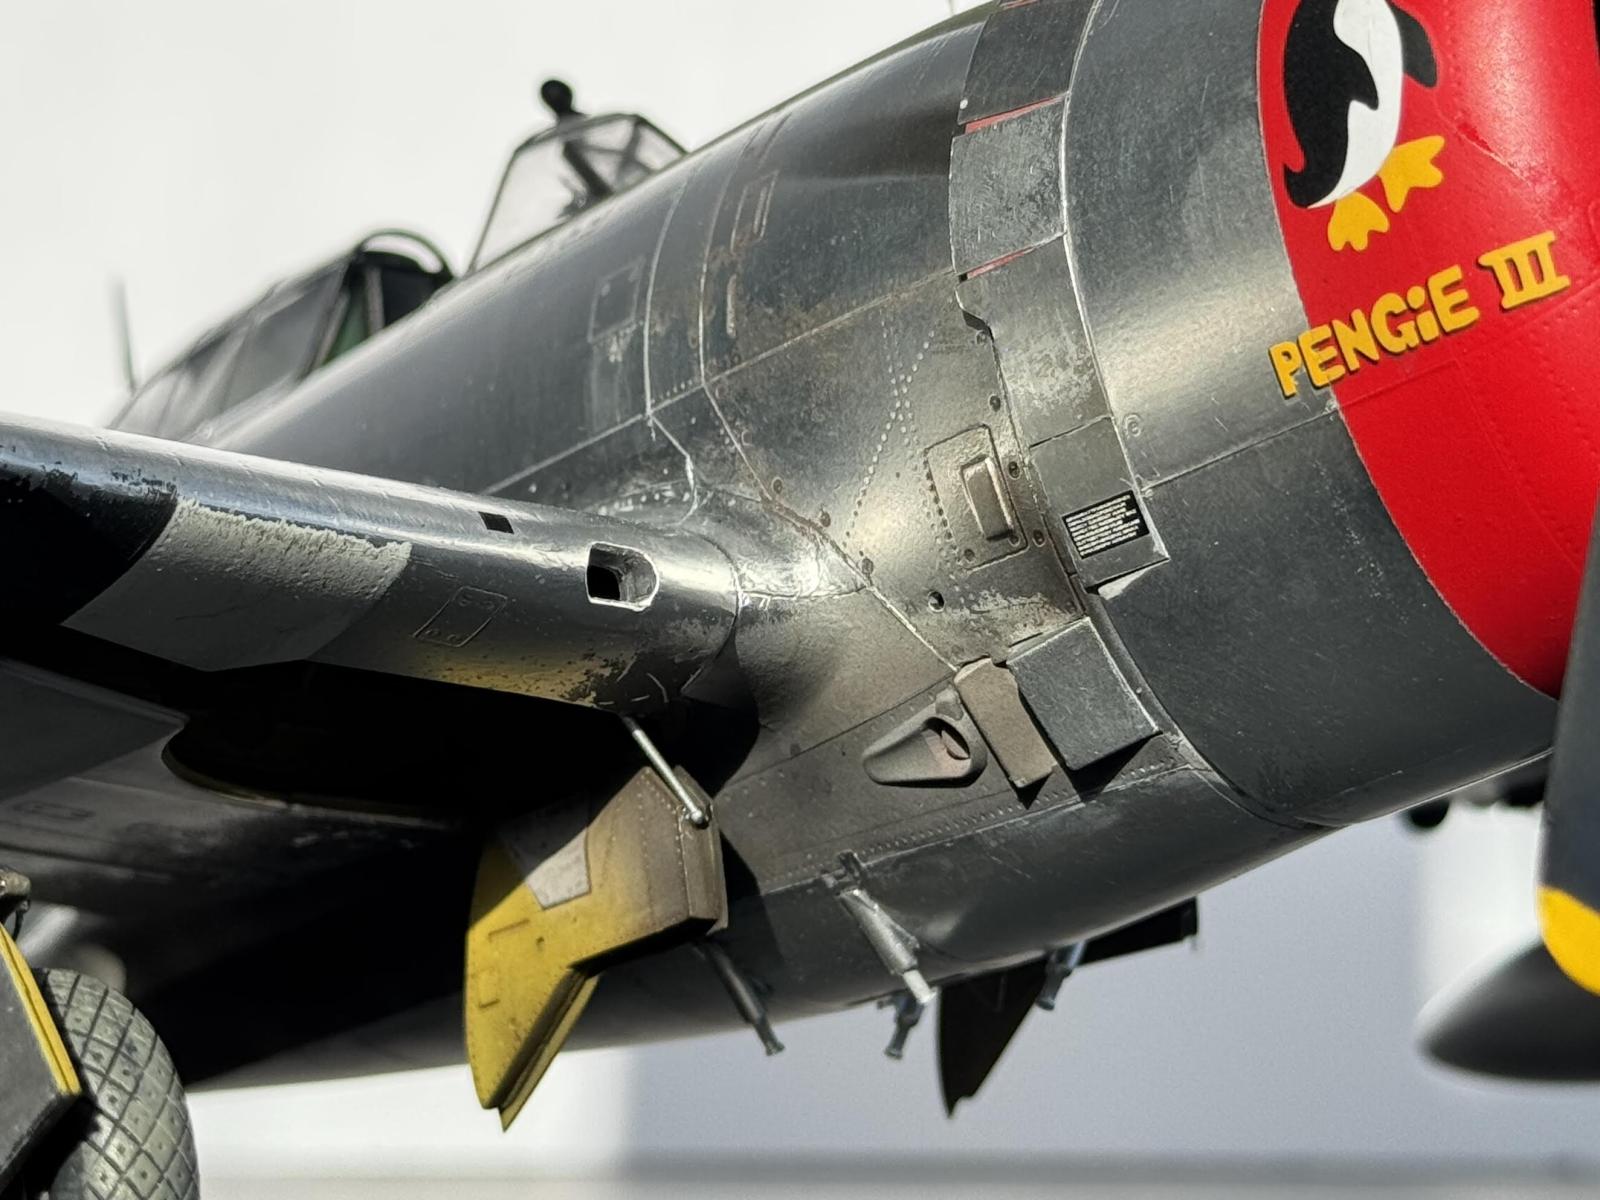
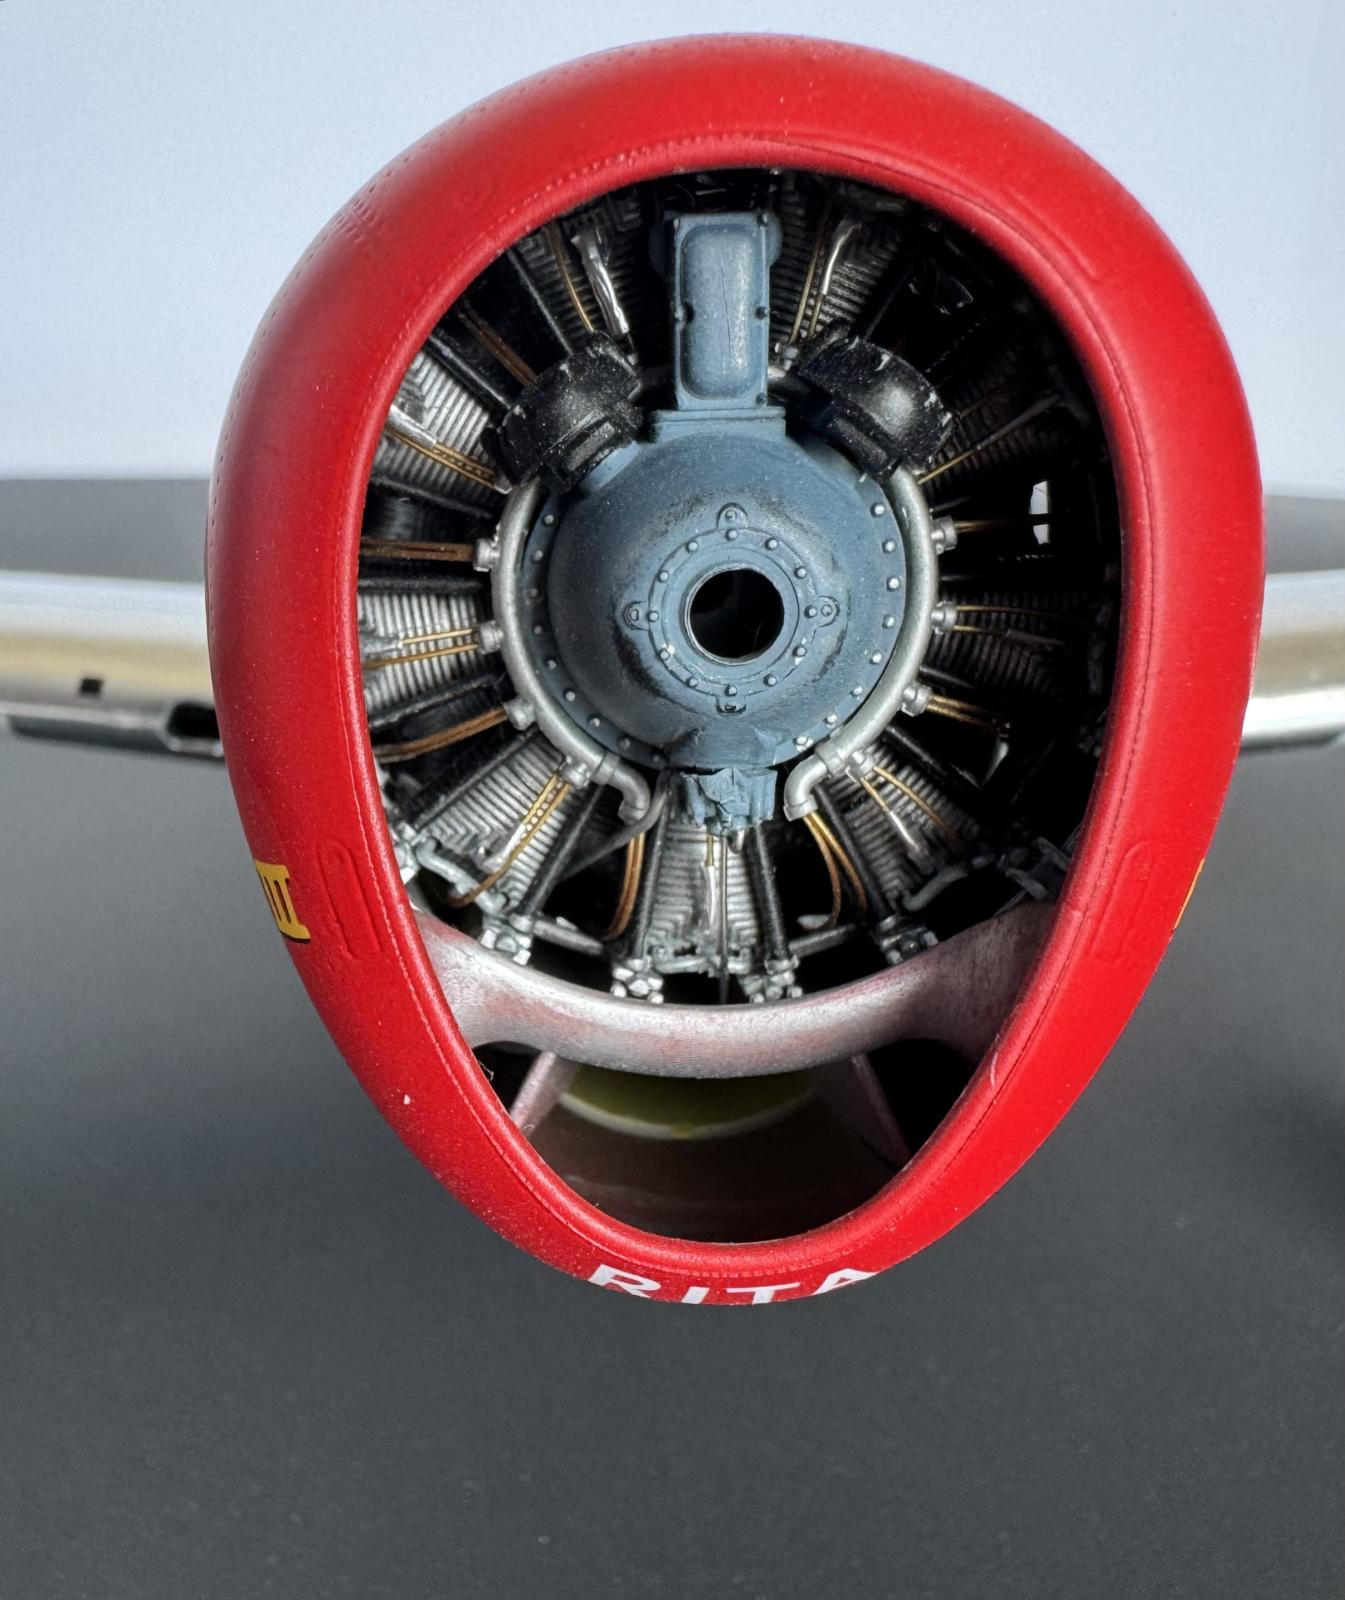
- Drill out exhaust ports and add open flap.
- Landing Gear Doors:
Shorten Main Gear upper door. Too long.
Sand off molded flap at top of gear door and replace with aluminum piece.
Thicken and repair profile of the inner gear doors.
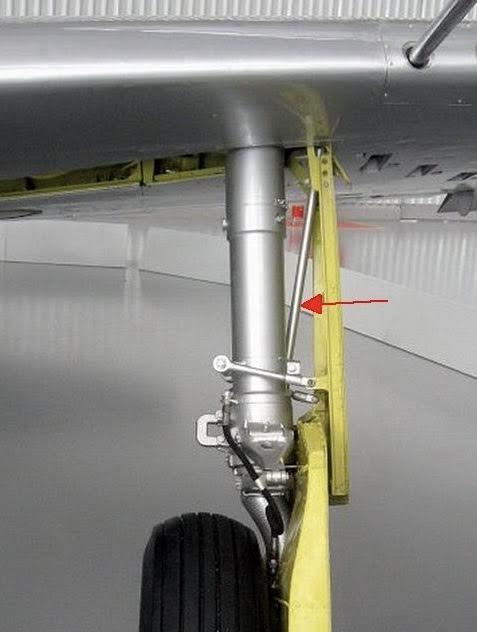
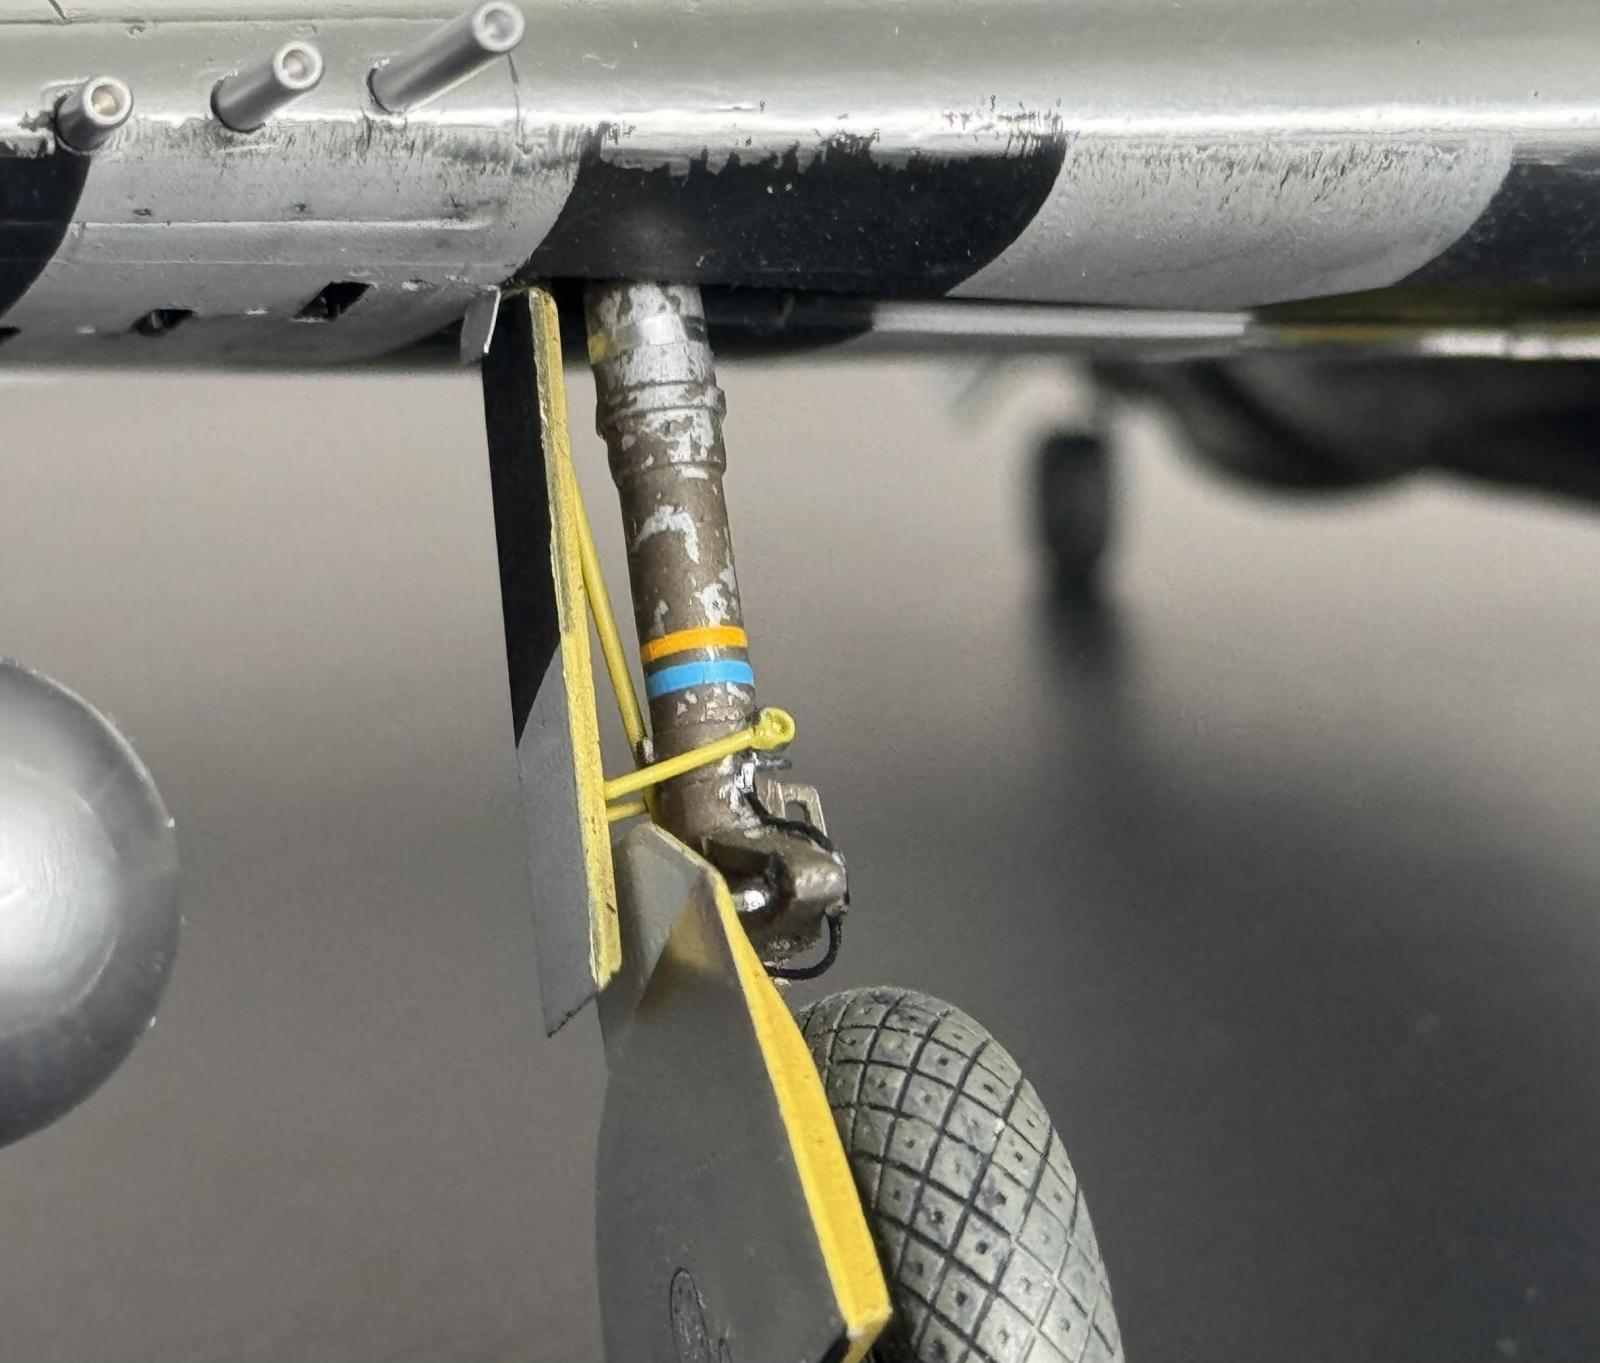
Remove molded main gear strut rod and replace with styrene rod.
Add brake lines.
Drill hole in oleo scissors. - Engine and related:
Add plug wires and lower oil lines.
Add thin aluminum for accurate open cowl flaps.
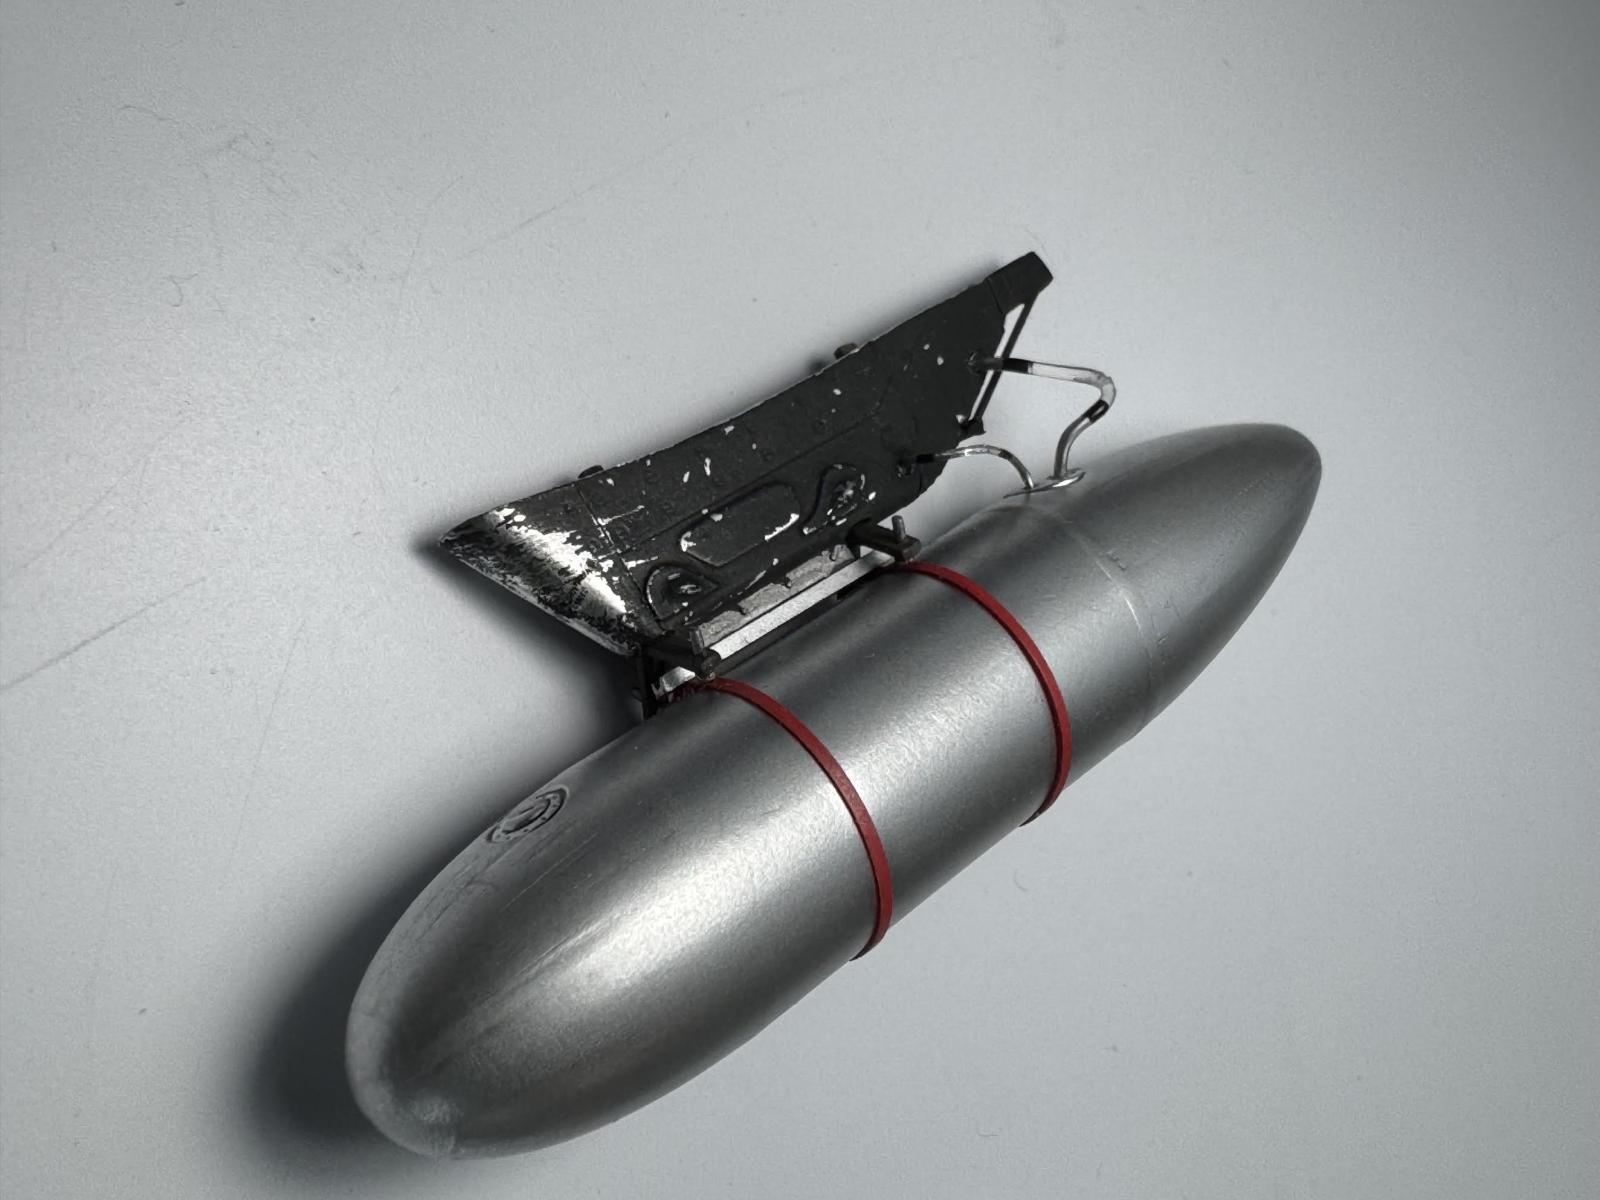
Added the popular magnet for mounting engine/cowling. - Modify wing tanks and mounts:
Add glass elbows and fuel lines, etc.
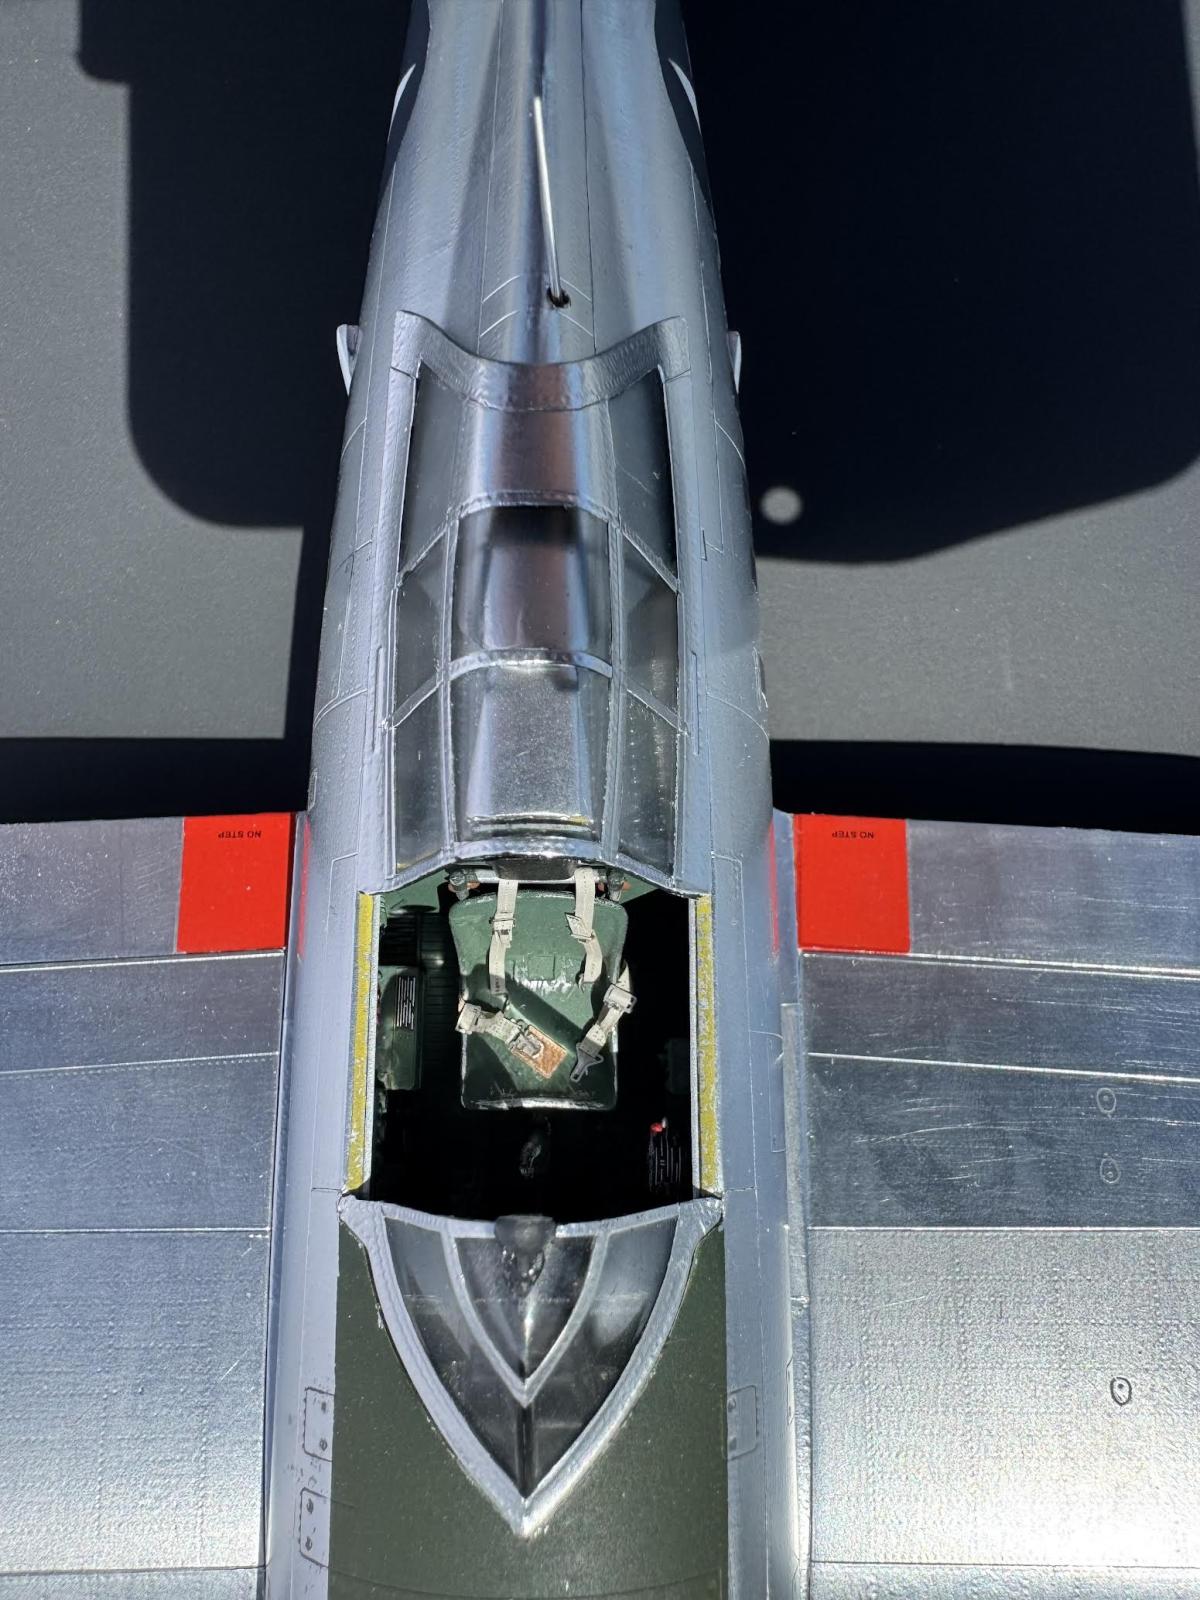
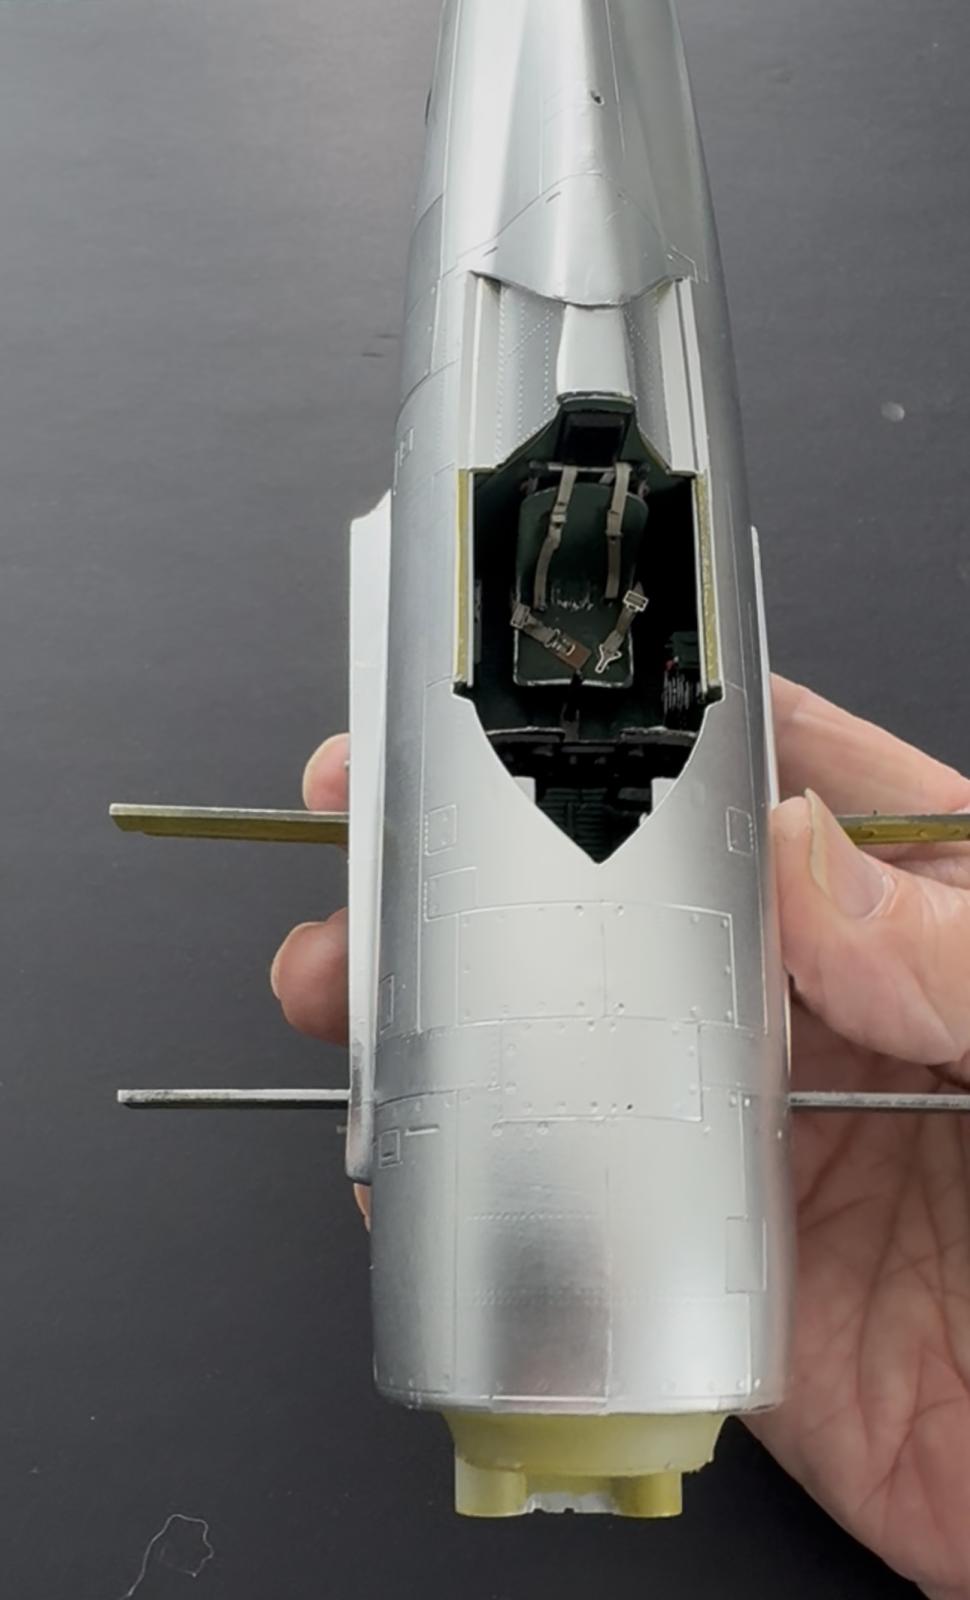
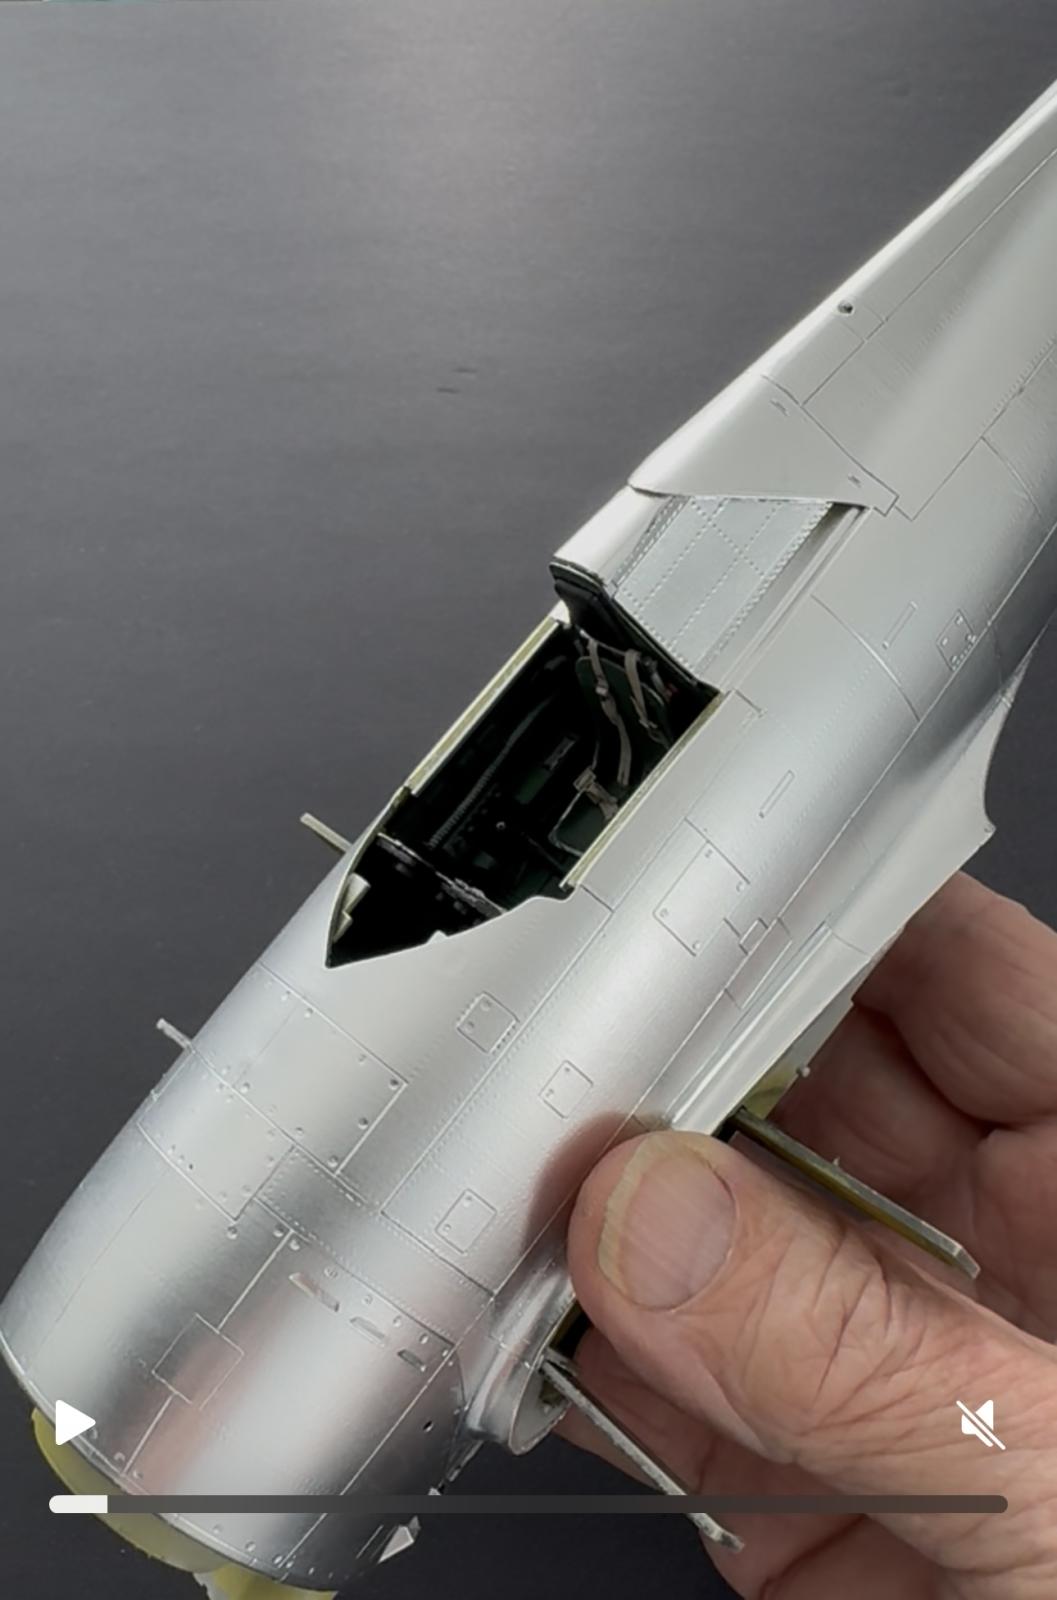
Add separate tank support. - Cockpit:
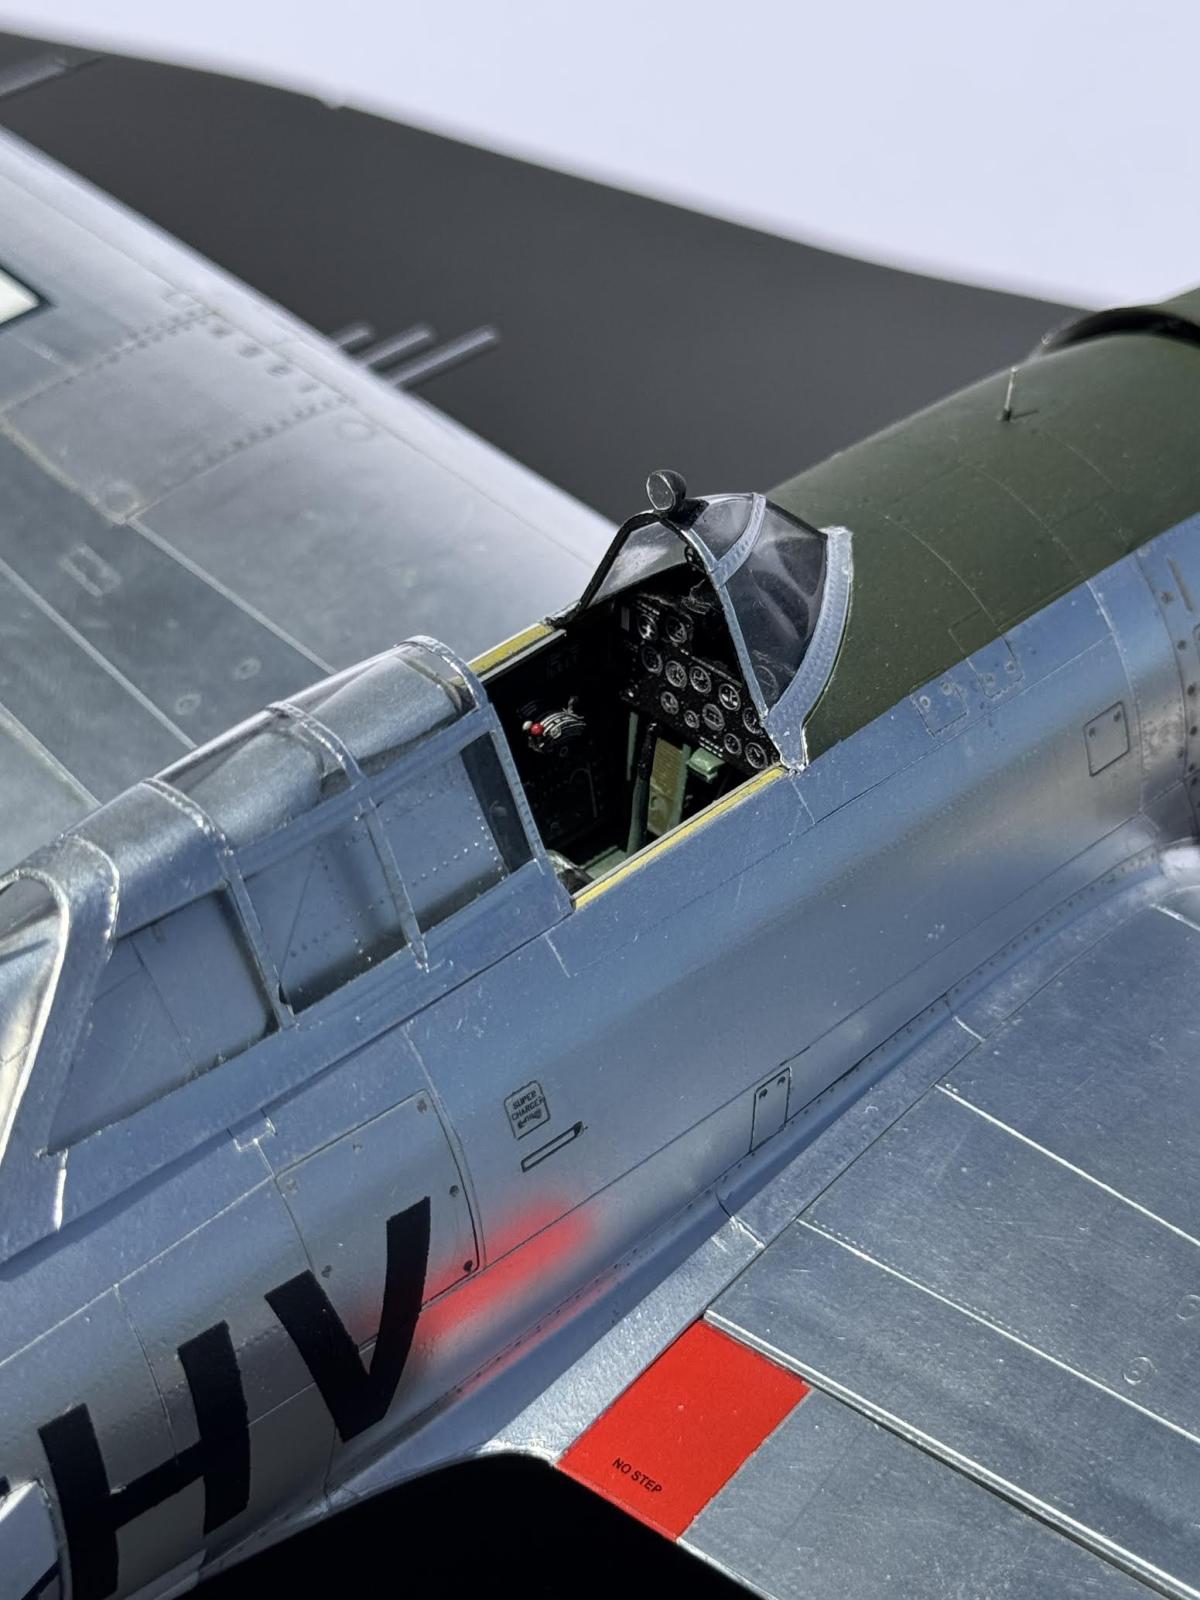
Add Eduard PE, placards and instrument panel.
Shorten joystick.
Add HGW seatbelts(Excellent BTW). -
Add antenna under left wing near landing light.
Overall an enjoyable build. Just remember...Dry Fit, DryFit, Dry Fit.
-

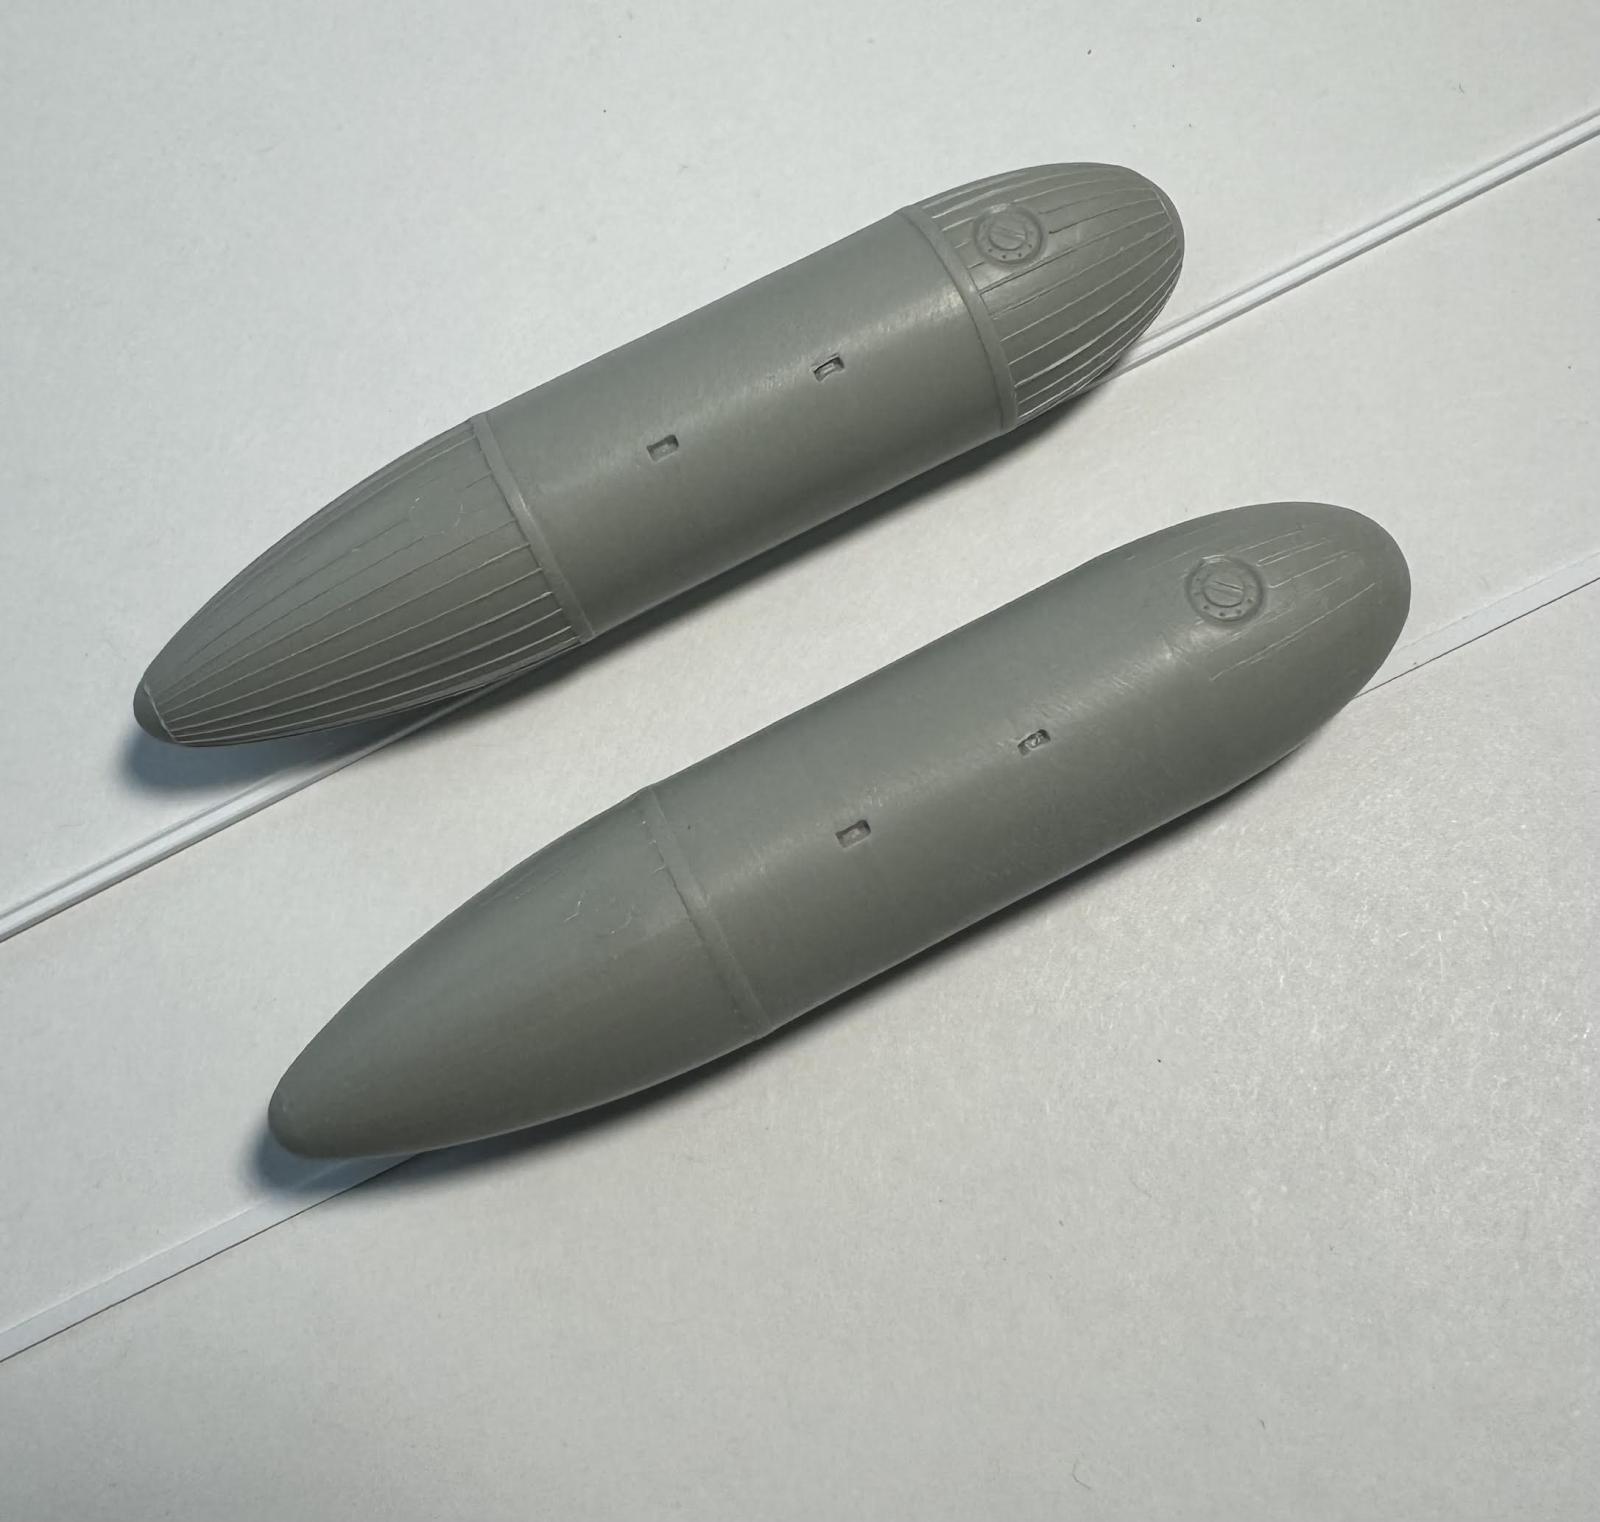
- 1. Wrong profile by Trumpeter and too thin.
-
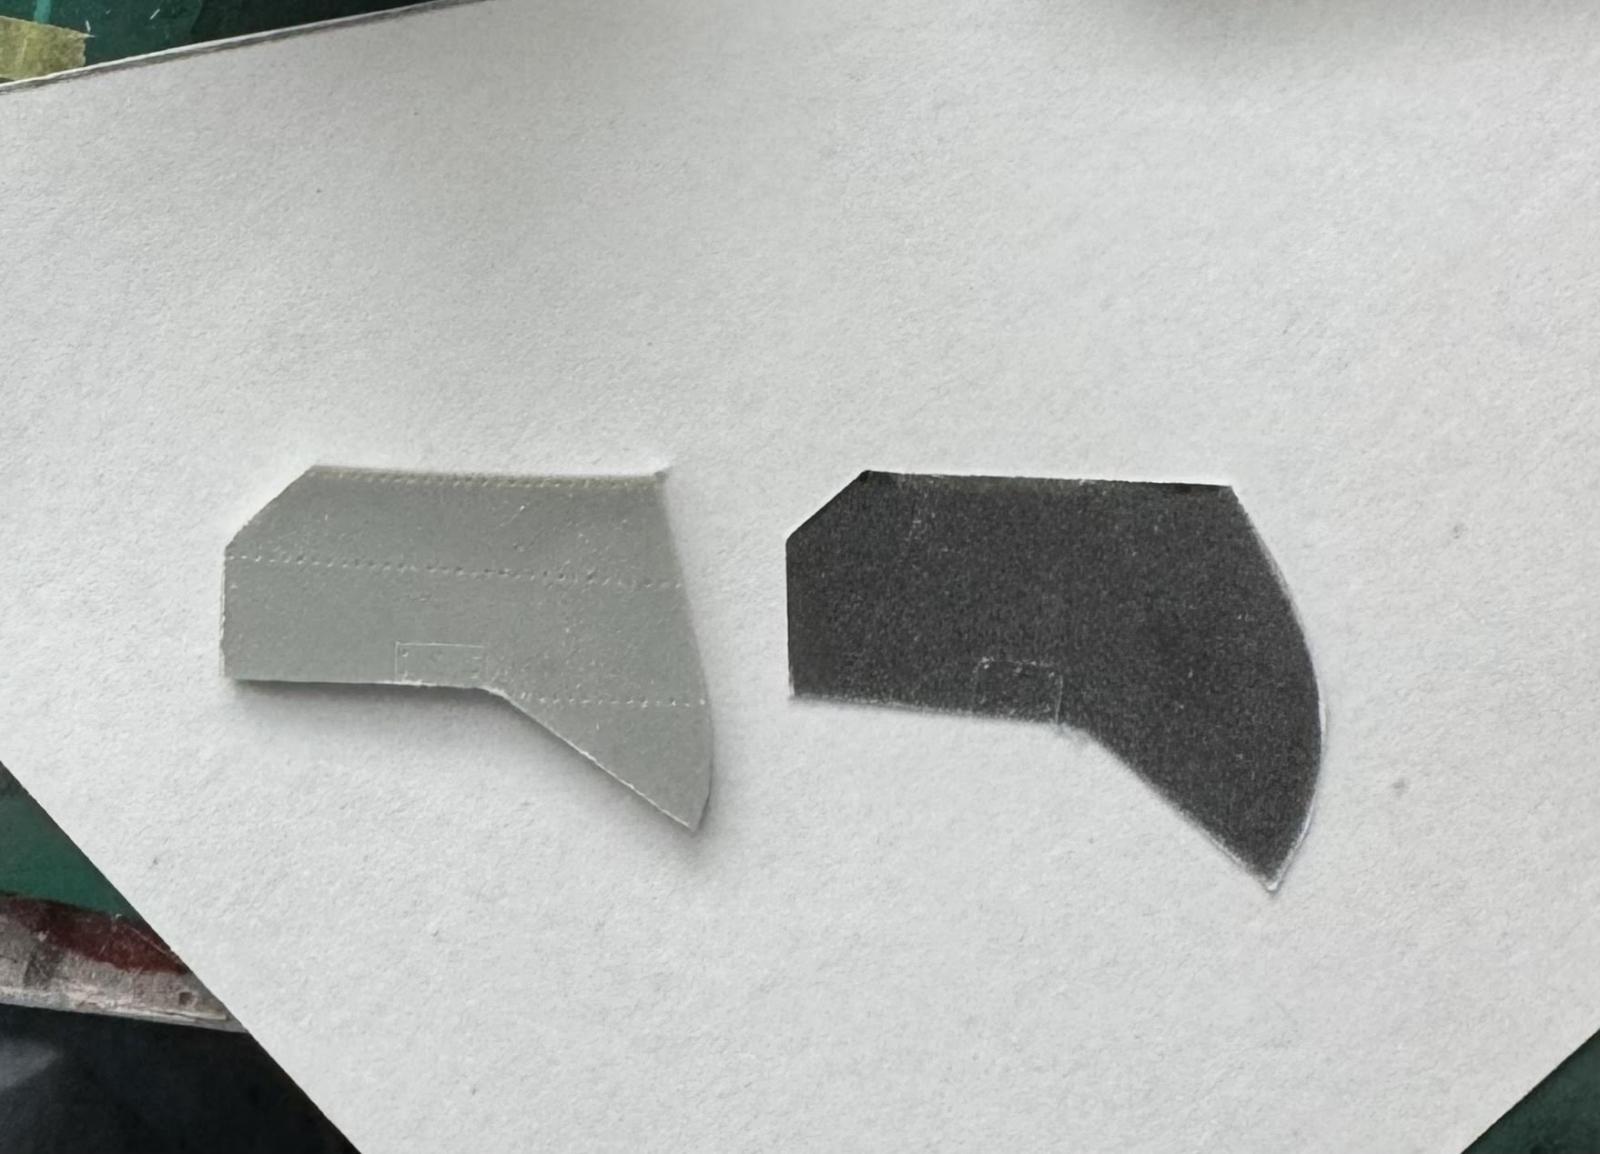
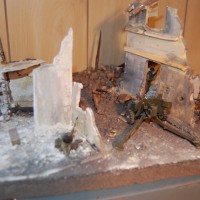
- 1. Trumpeter detail not like actual paper tank. Before and after.
-
- 1. Trumpeter part without foil. Their rivets are way overdone.


-
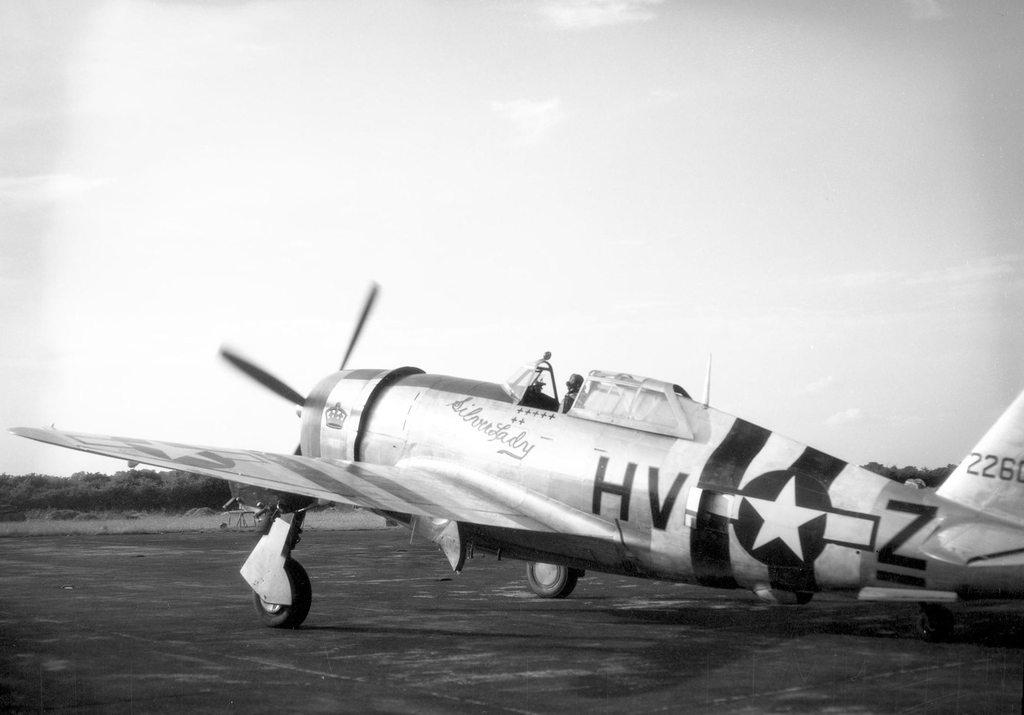
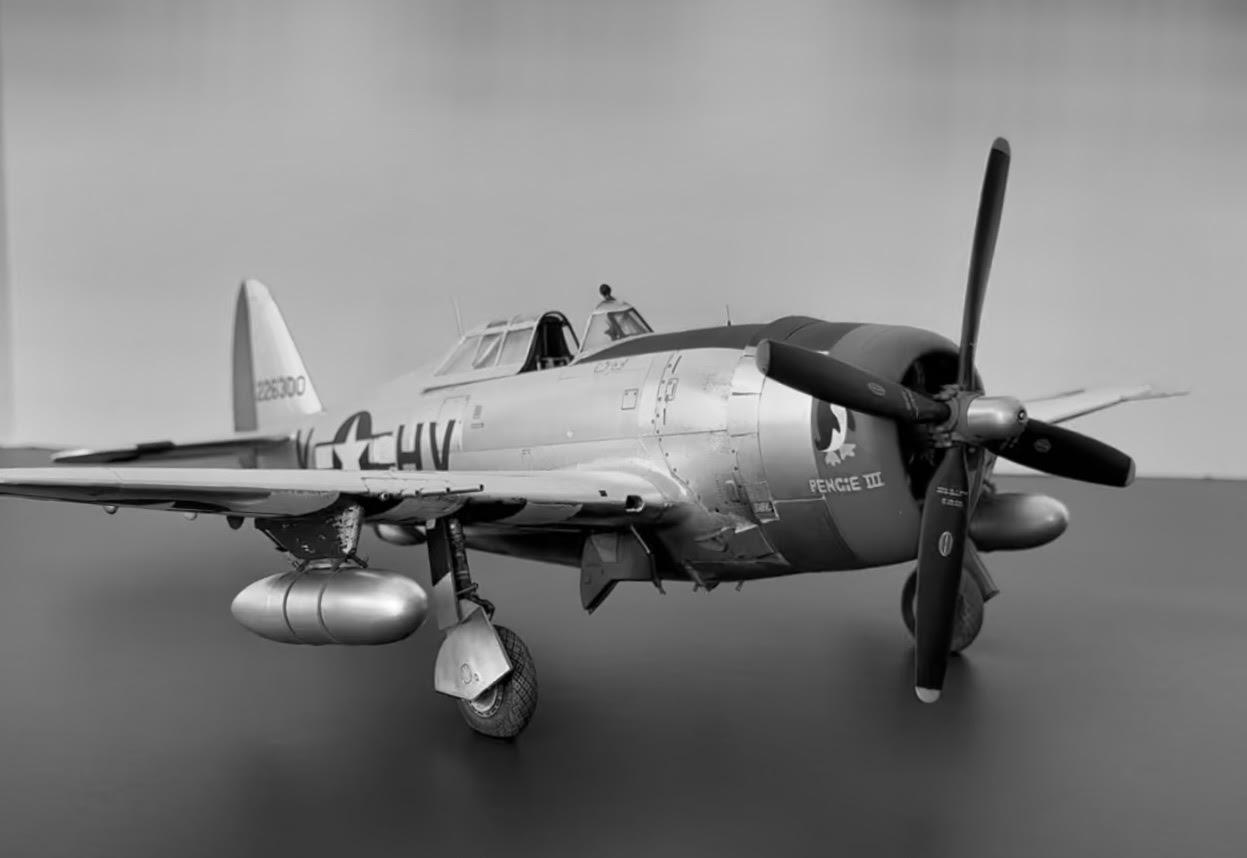
- 1. P-47 Silverlady. Shiny like a new one.


-
- 1. Some say the Hamilton Spinner is too big. But scale-wise it mics out exactly to the Tamiya part. Looks right to me.

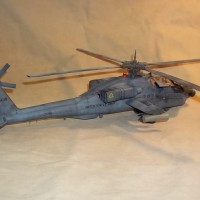

That’s a really well built model. The aluminum looks great. The worn paint on the landing gear looks very realistic
Such a good looking plane and build! Thanks for sharing.
Rod
Excellent model, Steve!
outstanding model !
Thanks guys. There are a surprising amount of things a 73yr old guy can still do:)
Spectacular work - your foil work makes the rivet divots more realistic.
This is absolutely amazing, Steve @pb4yhawley
All the modifications and aluminum looks are fantastic.
Looks great! I tried foil wrapping a Tamiya 1/32 P-51 and gave up because the foil I was using had a weird "grain" in it that wasn't working for me. But I've been tempted to try again, perhaps a century series jet in NMF. Just have to finish my never-ending Beaufighter project.
Yep, I ran into the same problem with foil grain. I found buying one of each type and company lets you sort out the good from the bad.
I wanted to do an F-100 in foil but the actual aircraft has so many stencils the decal's clear portions would ruin the whole appearance.
I like the idea and you’ve made it look great. Which adhesive did you use to attach the foil?
Micro Metal Foil Adhesive. The key is to figure out how much is too much adhesive. And not put on too little. The other important part is to minimize streaks. A soft 3/4" square brush helps (And always clean it with paint thinner. Alcohol isn't strong enough). Stroke in one direction, then 90* in the other. The last few strokes hold the brush at about a 30 degree angle extremely lightly. So light if you were to hit an ant you wouldn't hurt it, you'd just roll it over:)
Thanks, Steve.
Damn I have this kit and the Pengie decals, but now mine will never look this good. Rats.
Jealousy aside, that is a fabulous foil job.
Outstanding work. That’s really well done foiling.
Wow! Great job.
That is a lovely Jug!