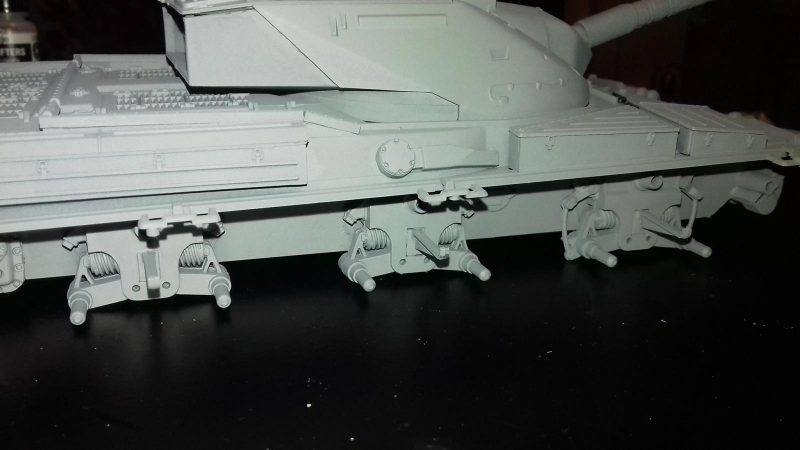
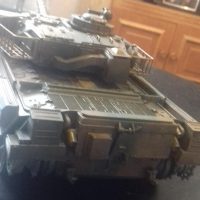
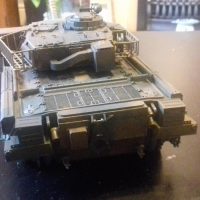
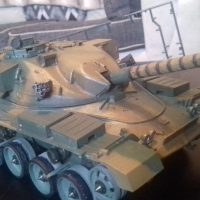
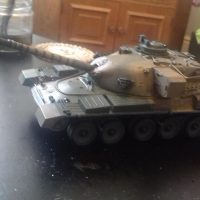
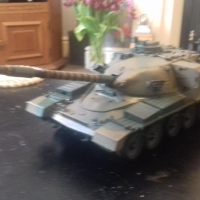
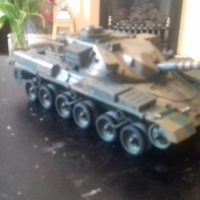
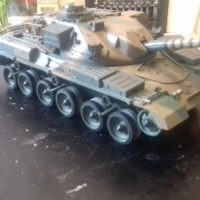
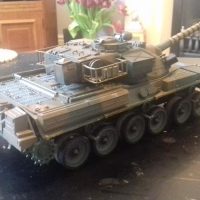
TAMIYA 1/35th CHIEFTAIN TANK
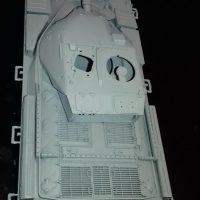
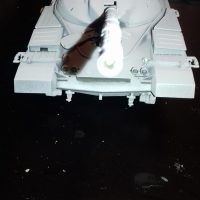
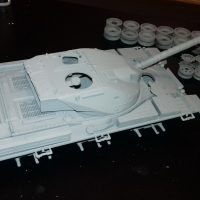
Building this for a friend, so it's going to be OOB.
Slight weathering will be applied and, as i'm new to airbrushing, the finish could be "interesting" to say the least.
Until this is finished, the "Memphis Belle" has been put on hold.
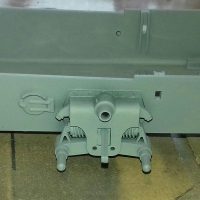
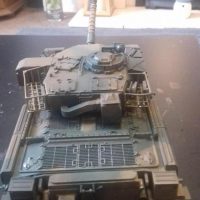
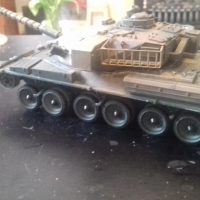
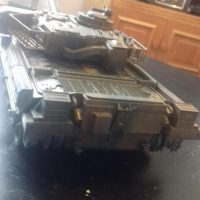
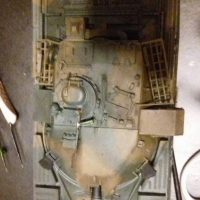
Took my time on this as previously stated it's for a friend. LOTS of dry-fits and premiering.
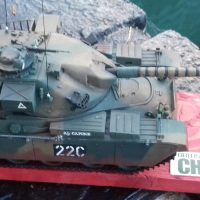
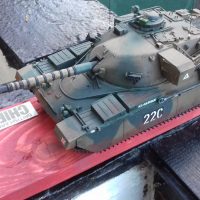
Never used an airbrush before, so the whole model was sprayed in a Dark Earth colour, then, when in a "semi-fixed" state, i used thin rolls of blue-tack to outline the camouflage and the several light dusts of green were blown over in various thicknesses to give a tonal variation (not 100% accurate, but i like the effect)
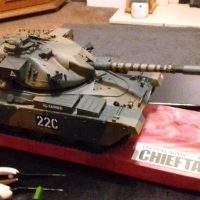
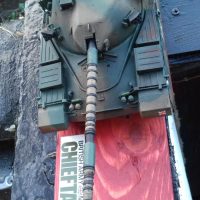
Final gluing was done, then some details were picked out. I made some brackets for the towing cable out of bent plastic rod, as i didn't like the idea of just sticking them to the sides as instructed, again, not 100% accurate or to scale, but looks a lot better. The whole model was the treated to a dark dirt wash, and when dry, this was scrubbed off to give a worn/used look. Dark dirt pigments were rubbed in on the side, front and rear to imitate dried on mud. the two antenna's were made using thin florists wire, they're a little to long, but "Hey-Ho" it is what it is. the Union Jack flag was added for looks more than accuracy, these were "borrowed" from the spares box.
I'm more than happy with the result, and to present to my friend, i screwed the model to a length of stained scrap timber, and just stuck on the details and Tamiya logo from the box.
Hope you all enjoy my little escaped, and all-in-all, this as a nice little kit thats really easy to build and i'm sure that all you super-detailers out there would have a great time with this one.
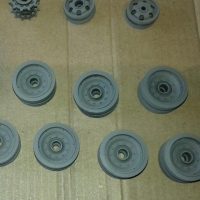
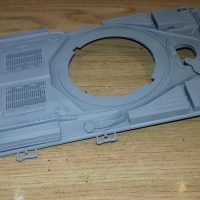
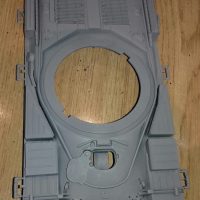
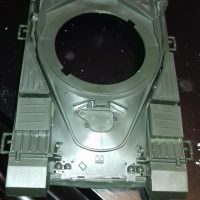
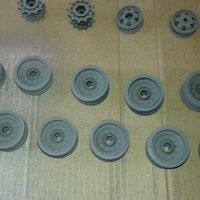
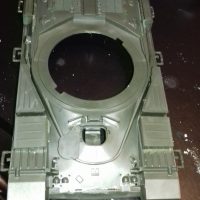
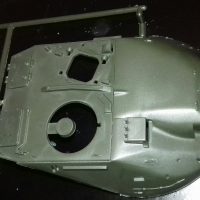
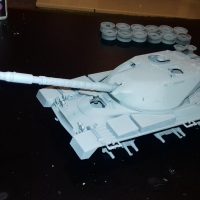
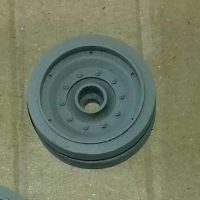
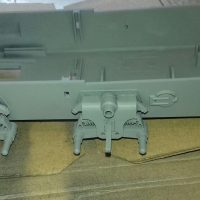
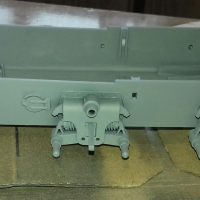
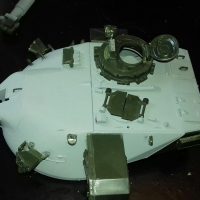
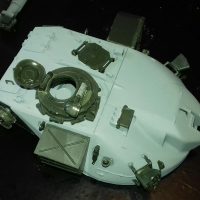
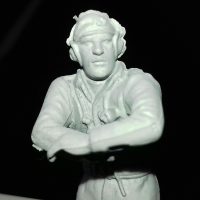
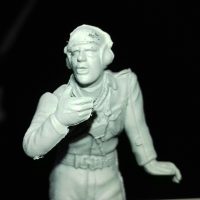
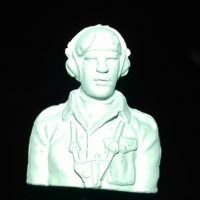
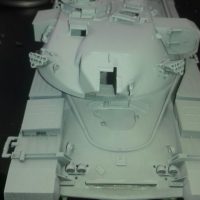
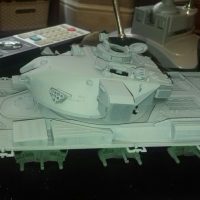
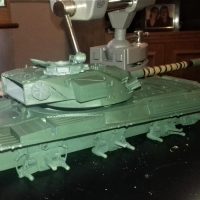
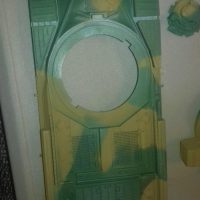
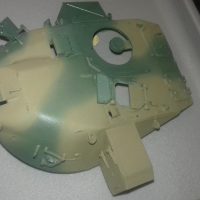
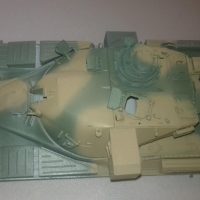
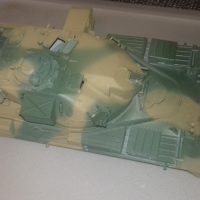
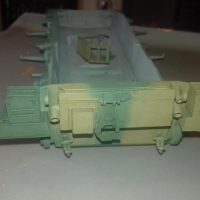
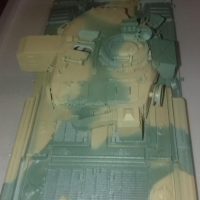
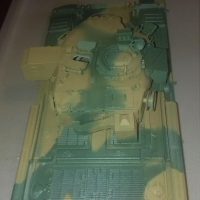
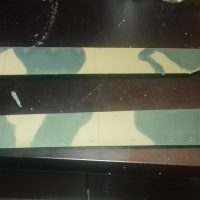
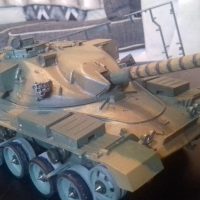
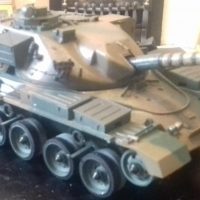
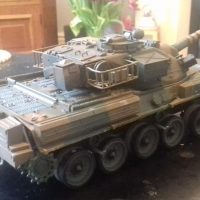
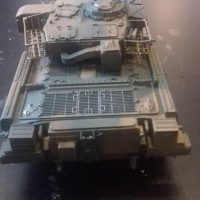
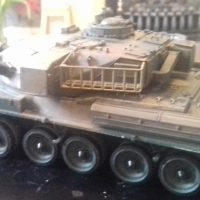
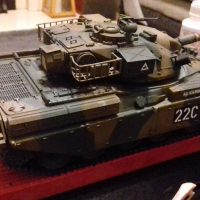
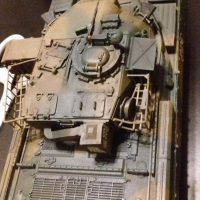
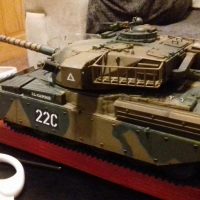
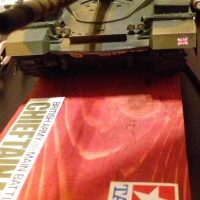
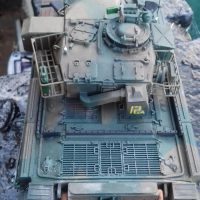
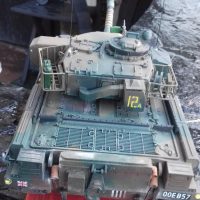
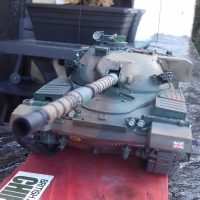
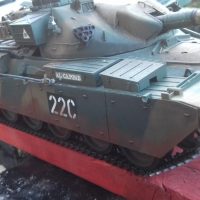
Even OOB, it looks like a challenging build, Tony.
Your job looks great so far, looking forward to it!
It's not too bad a kit build wise. I only model when i feel like it or have the time due to working 70+ hours a week in a classic car restoration business. ( probably one kit a year) Airbrush feels a little "alien" to me as i only used to use spray cans and brushes, and in my business, the guns are a little bigger and hold a LOT more paint lol
It's been fun so far.
Great progress!
Great looking tank, Tony (@tonyanderton). The Centurion and the Chieftain are my favorite British tanks, so I am looking forward to seeing the rest of your build.
Great stuff, and VERY nice paint job! May I make a suggestion or two please? The best way to hide the shiny carrier film of the decals is to gloss up the paint and attach them as normal. (Make sure the paint is very shiny!). Settling and softening agents will be a help here. After drying, wash the kit to remove any residue of the agents. When dry, seal the decals in with another coat of gloss varnish. Make sure this coat is of a medium different to the weathering agents you intend to use. If weathering with enamels, seal paint with a gloss acrylic etc. This way, the weathering agents will not react with the paint underneath. Gloss should be used as it makes clean up easier and pin washes will run into recesses better. When happy finish off with a flat/matt varnish.
As a note, the Tamiya kit is really a Mk3 not a Mk5 (bad research/limited references available at the time!) but has a few Mk5 features. A really good addition to the kit is to use the Eduard etch set. Together this does lift the Tamiya kit to a new level. I hope this helps, as you've made a great model here!