Bf 109 K-4 – few notices before build...
Great news about all new Messerschmitt Bf 109 K-4 from Eduard in 1/48 scale. Unfortunately Eduard make some mistakes. All of mistakes could be easy upgrading:
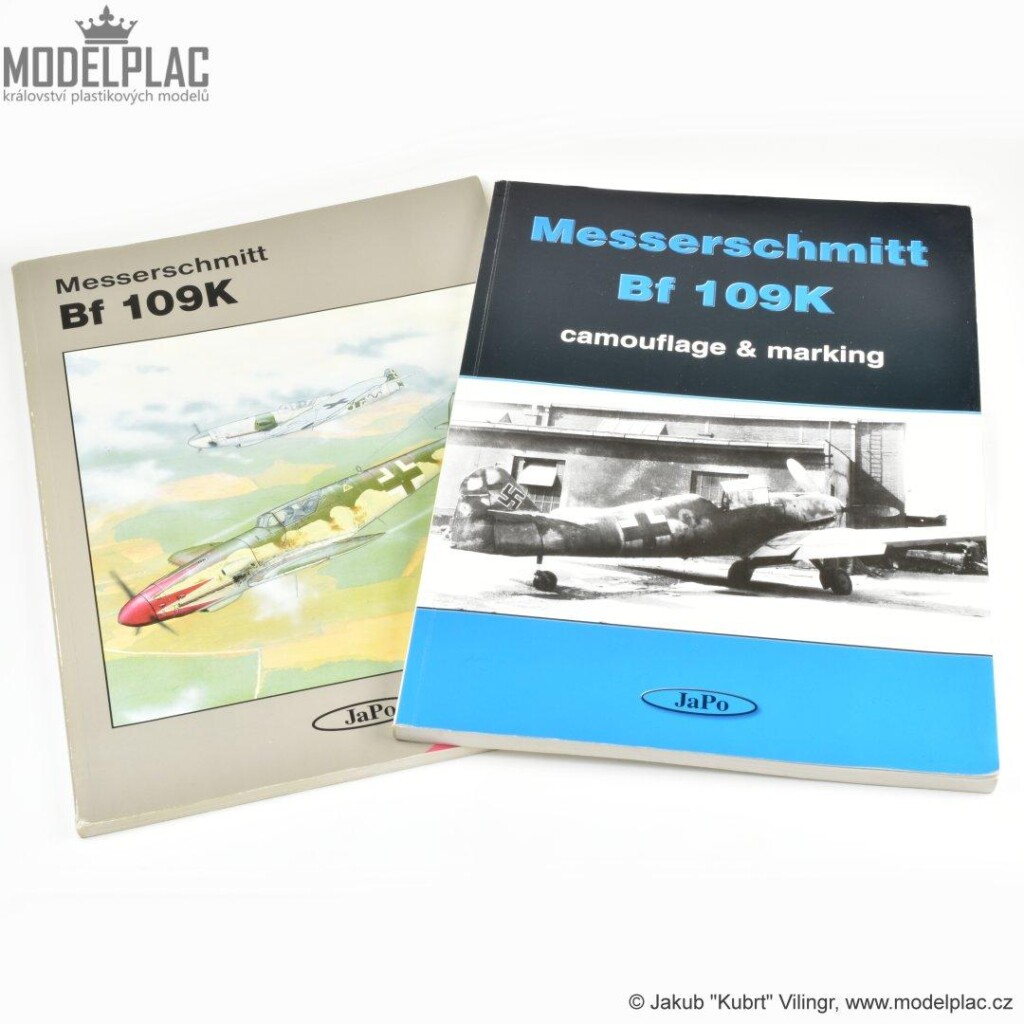
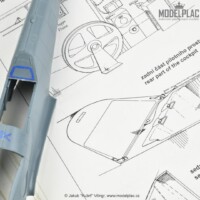
I have used both JaPo monographs (released in 1997 and 2000 year) on Bf 109 K-4 (out of print 
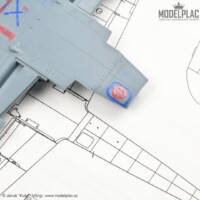
1.) Eduard make new construction of lower part of fuselage with rectangle cover. It is good point for sharp moulding of panel lines here
2.) This part could be with optional part with circular cover - it menas with and without MW 50 system
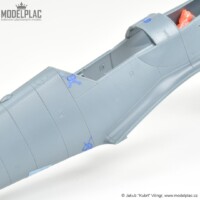
3.) Grip in front of windshiled was only one on right side of fuselage
4.) Two grips on right side of fuselage behind cockpit isn´t visible on original photos; filling out grips is necessary
5.) Make small circular hole behind propeller on lower part of engine cover
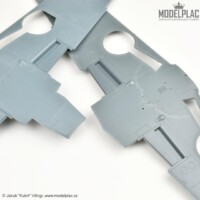
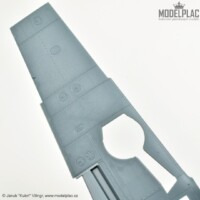
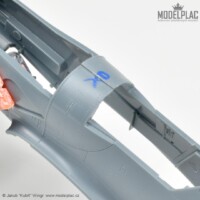
6.) Wrong position of hole for supporting and lifting the fuselage. Right position make with help of original photos. Hole on kit are in vertical panel line, so this is wrong. Filling is necessary.
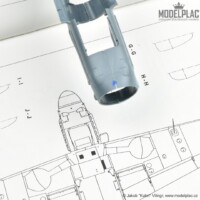
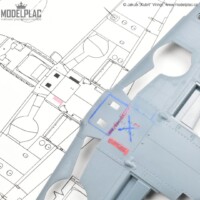
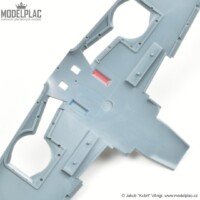
7.) Open rectangle opening between wheel wells. Warning! JaPo drawing have this opening on wrong side - see original photos. My red marking of this hole is in right position.
8.) It is necessary filling ventilation holes on cover between wheel wells and make missing new panel line on this cover (marked red/blue line)
I am not happy with weird coarse surface of plastic parts 
Kit looking very good for first view. All of my notices are only minor mistakes and easy to upgrading.
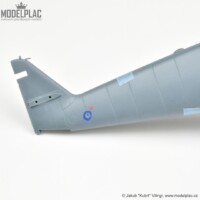
My "Kurfürst" will be "Blaue 7" from Prag Kbely airbase from 1945 year.
Go for it!
I hope, that my notices was usefull for all Luftwaffe fans
Jakub "Kubrt" Vilingr

Great info, Jakub!
I'm happy
Thanks for the useful info. My dad has this in kit in progress now. Already pointed him to your article.
Good! You could show us your father work
Thanks for the heads up Jakub!
Some of those details you so well point I was aware of but others no so, so thank you.
You can add that point 5) is applicable to all their F/G family as well.
Now, you mention the plastic surface as coarse, that’s something I haven’t experienced in any Eduard mould-made kit, ever since their 1990’s range, like WW1 series for instance.
That means some fine grid polishing is required as a surface preparation?
Overall coat of GSI Mr. Surfacer or Tamiya Surface Primer will be necessary, Next sanding out almost whole Surfacer coat and next will be possible another layer. It could be some steps for make whole surface of kit smooth before camouflage paints. It will be necessary to pay careful attention to the surface of kit.
But. Kit looking very good. My notices are mostly cosmetical
And you are right! Point nr. 5 are applicable almost all Bf 109 F/G/K Messerschmitts
Just found on internet this photo of fuselage Bf 109 K-4, where is small opening behind propeller clearly visible. That means, hole are confirmed.
Photo credit isn´t my. Here are original information about photo:
"Bf 109 K-4 W.Nr 33. ... unit unknown, Frankfurt-Osthafen (?), 30 March 1945. Source: photo Lt. Joseph Zinni, US Signal Corps 204864 via eBay and LEMB Forum"
1 attached image. Click to enlarge.
Thanks for sharing this information, Jakub @jakub-vilingr
I hope, that my points will be usefull for you