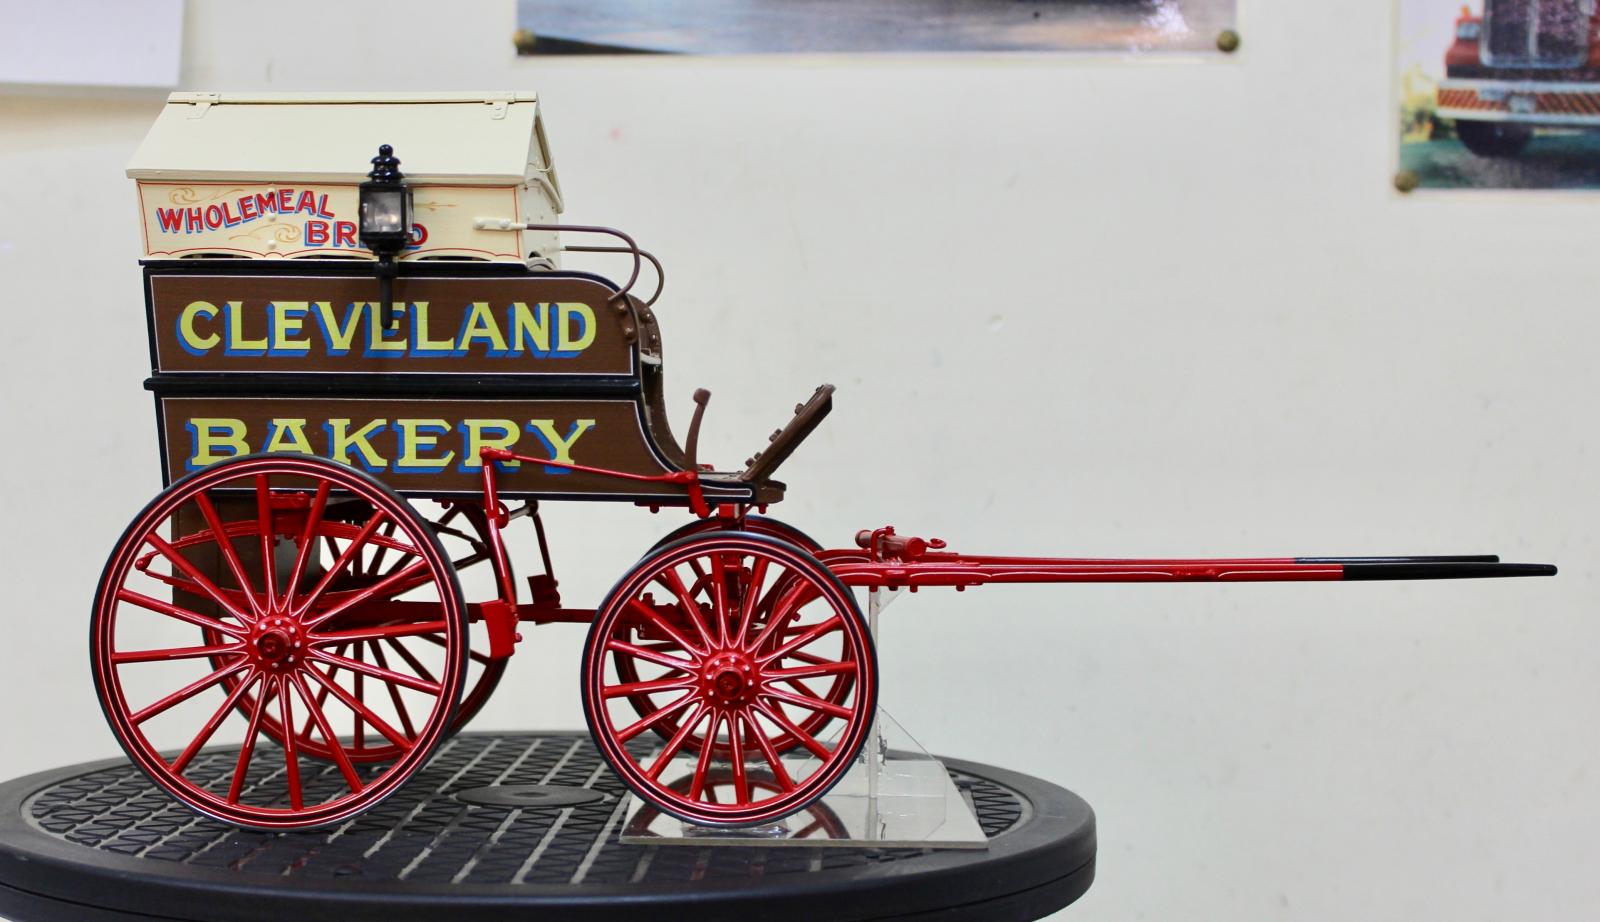
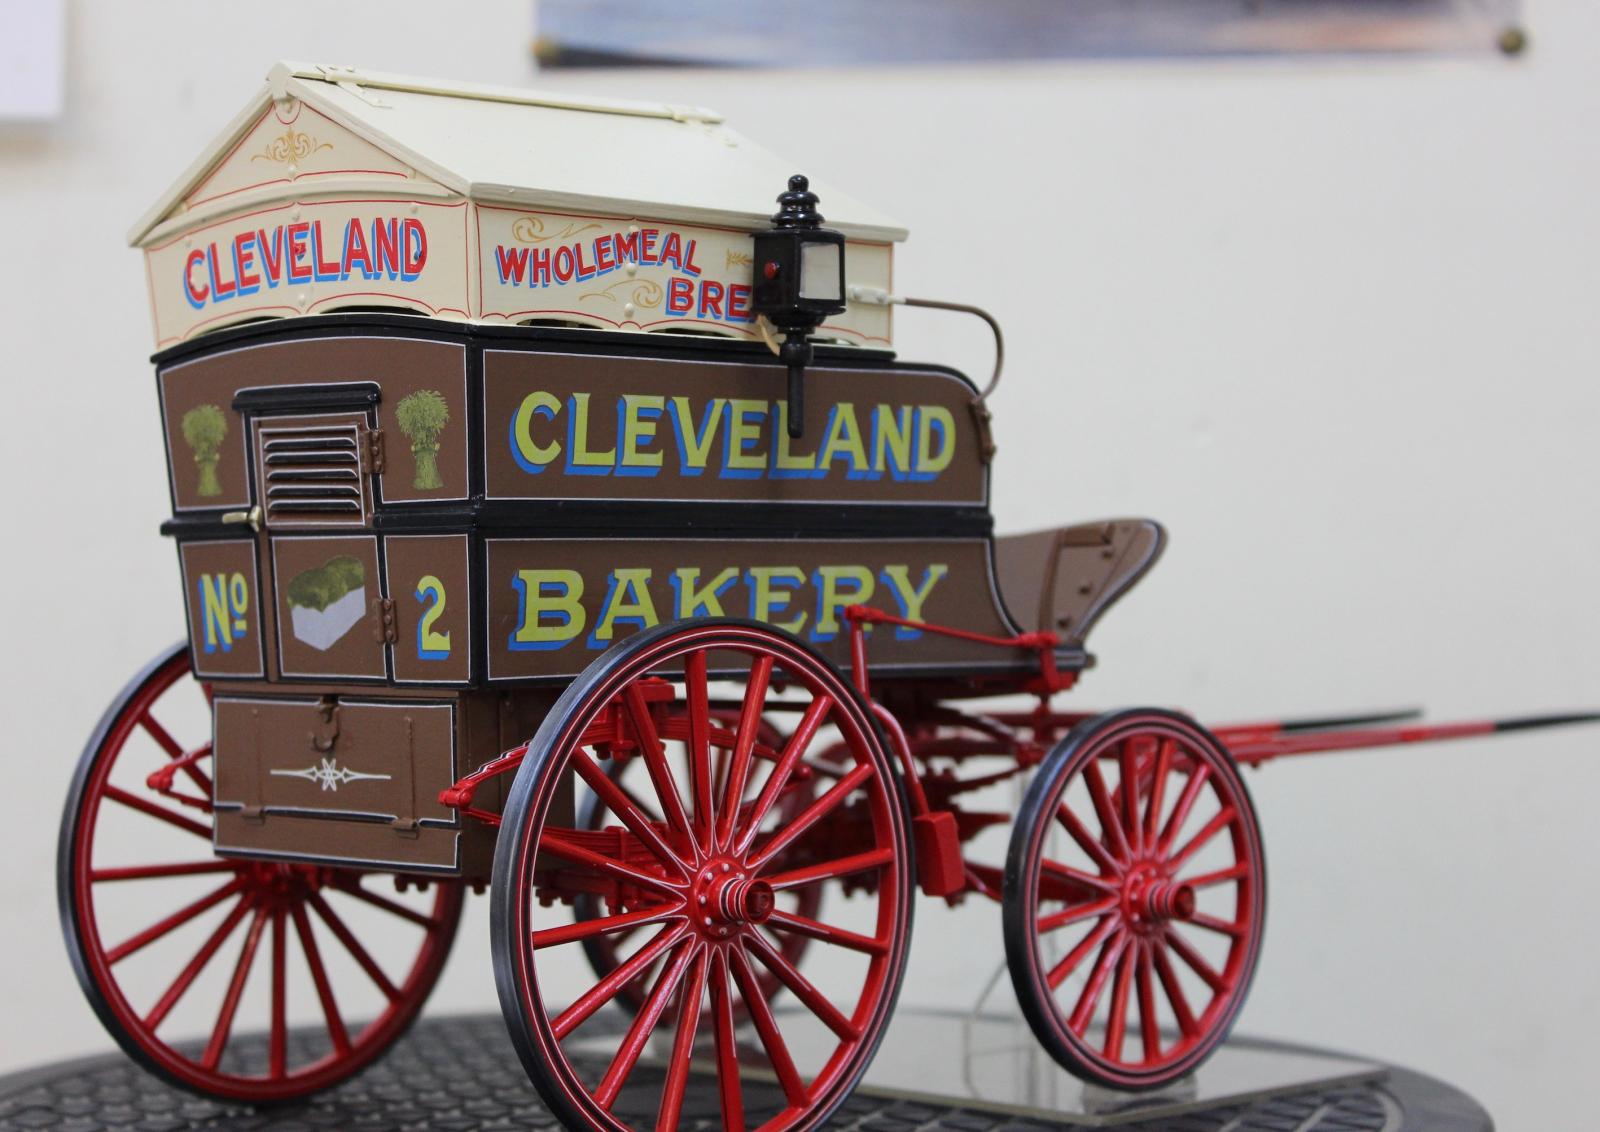
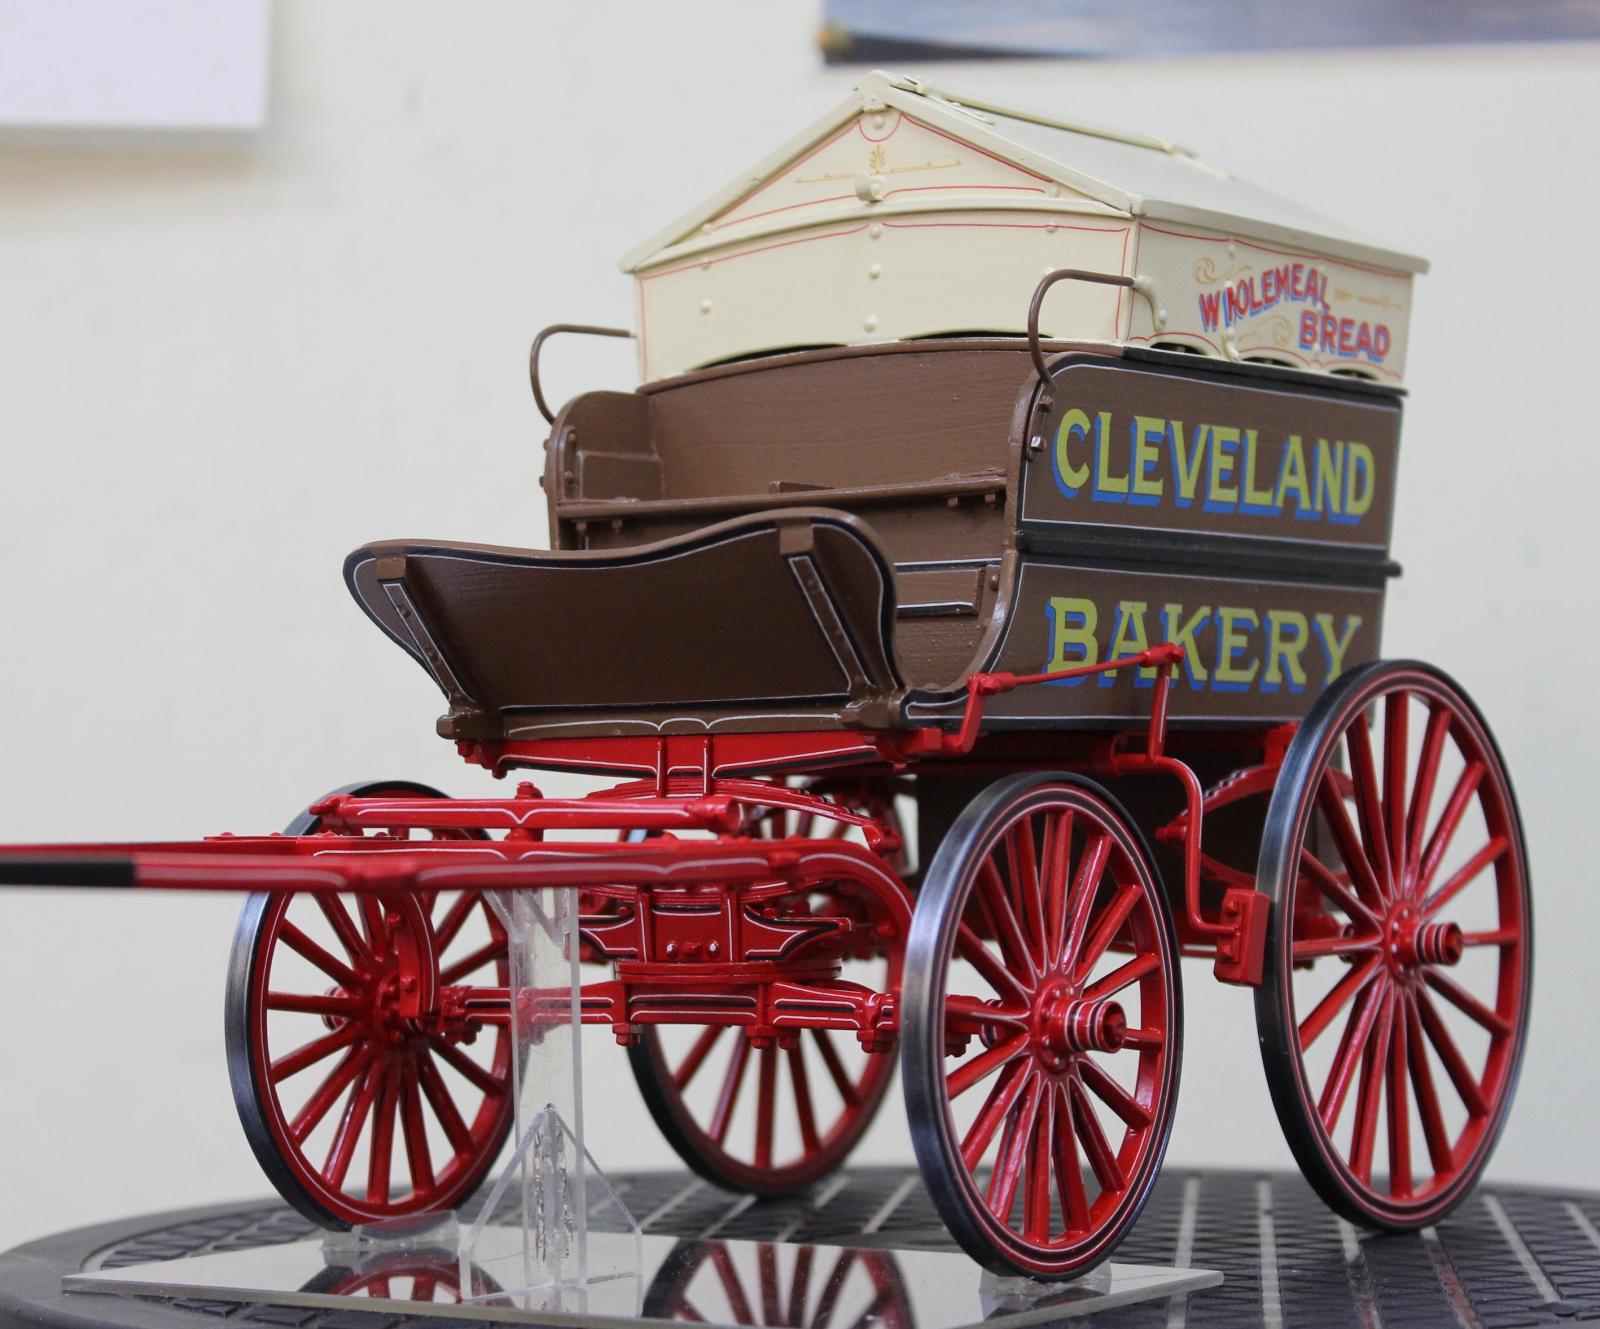
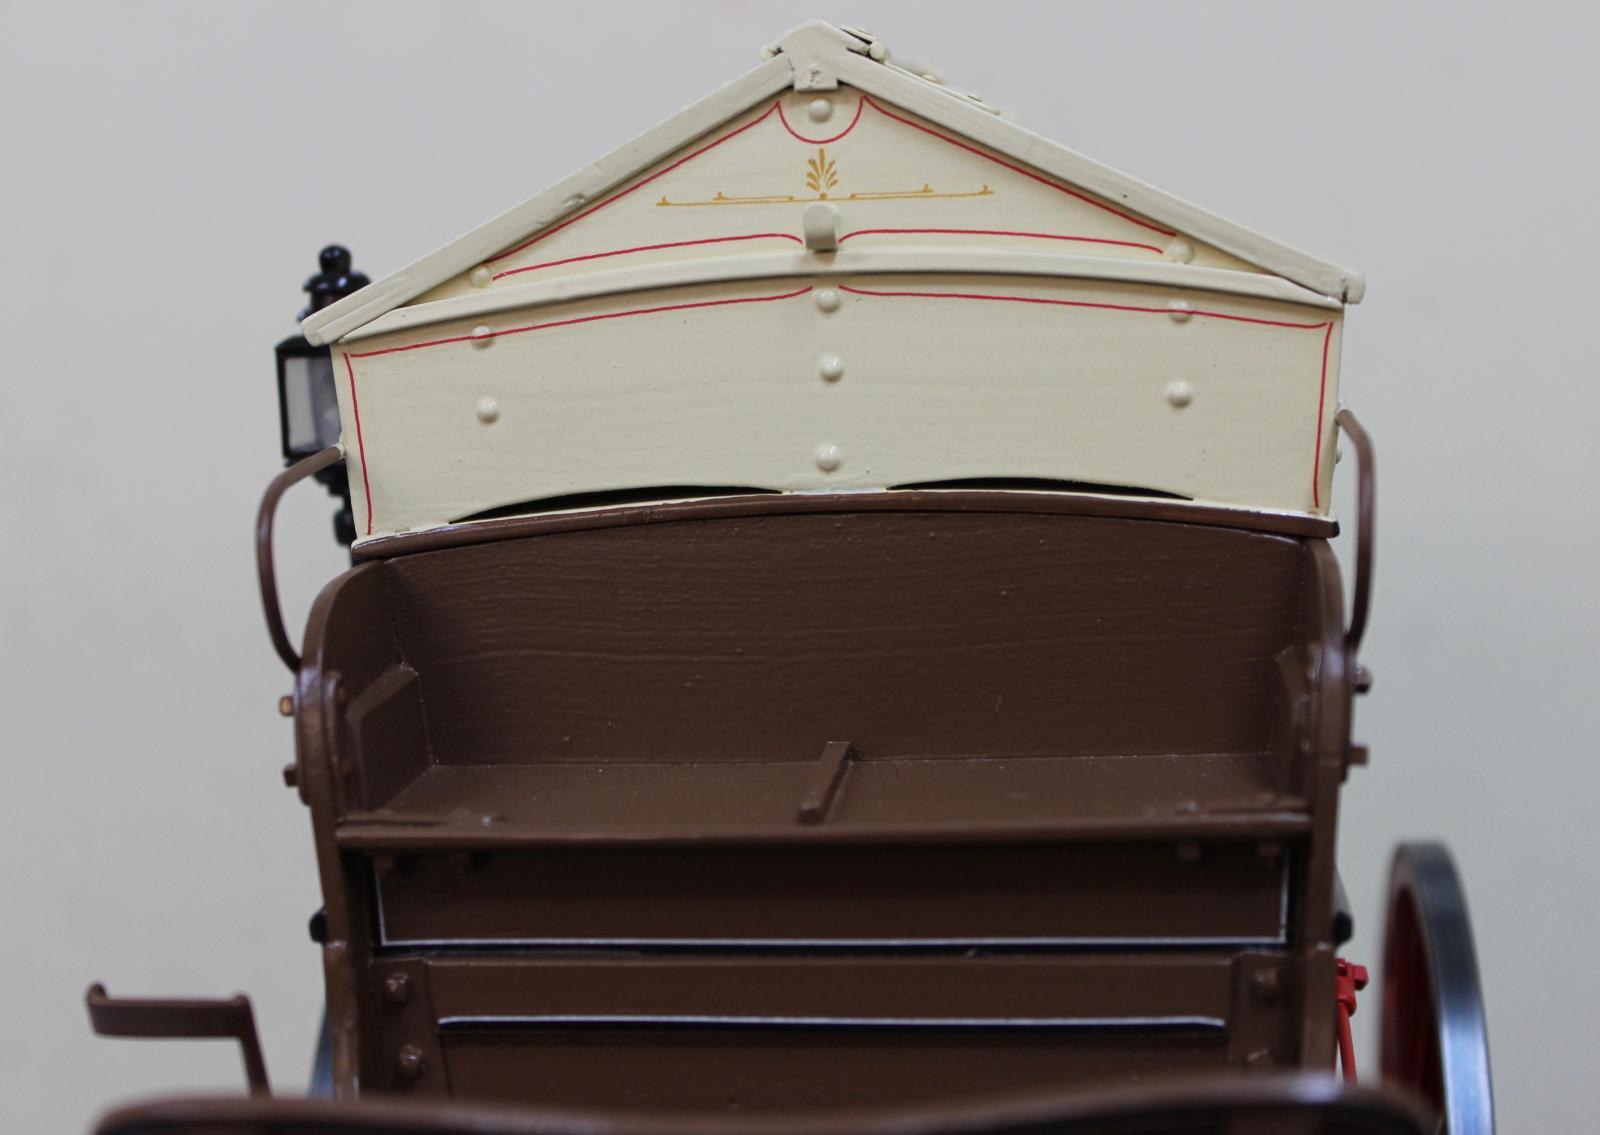
Scratchbuilt 1/12th scale Bakers Waggonette

Here is another Horse Drawn Vehicle that I have made, it's a 1/12th scale Bakers Waggonette.
It took me just over 6 months of 'graft' to get it finished, sometimes life just gets in the way of a decent hobby, eh.
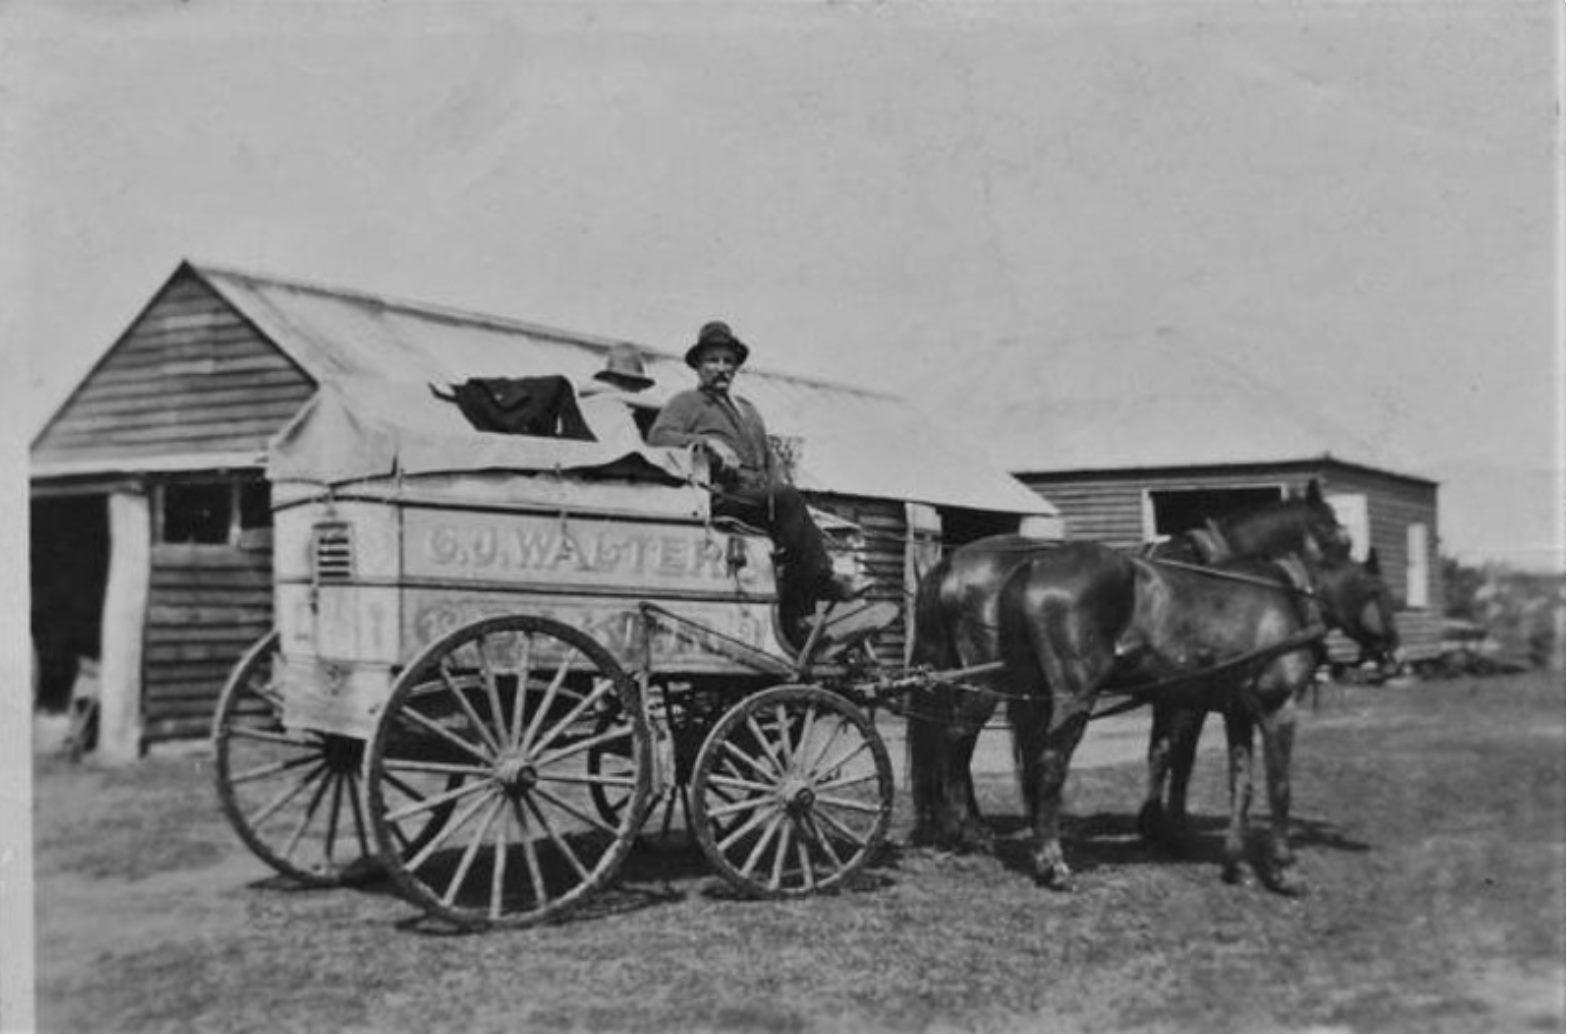
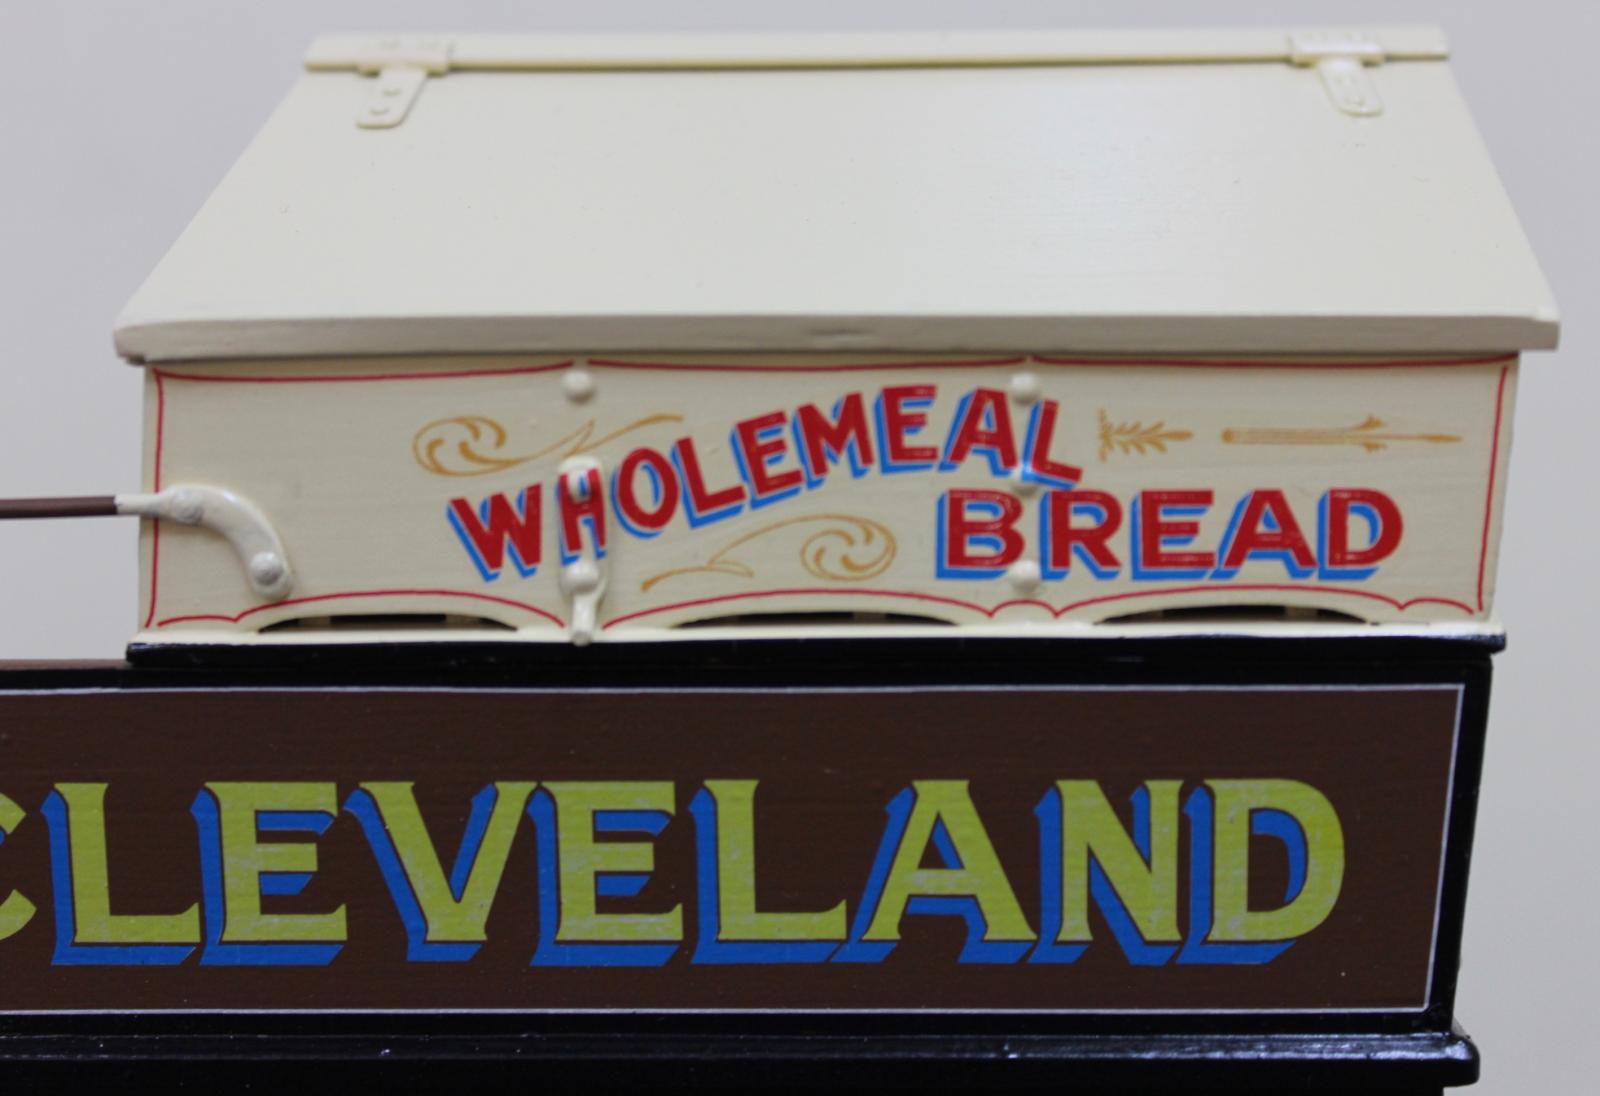
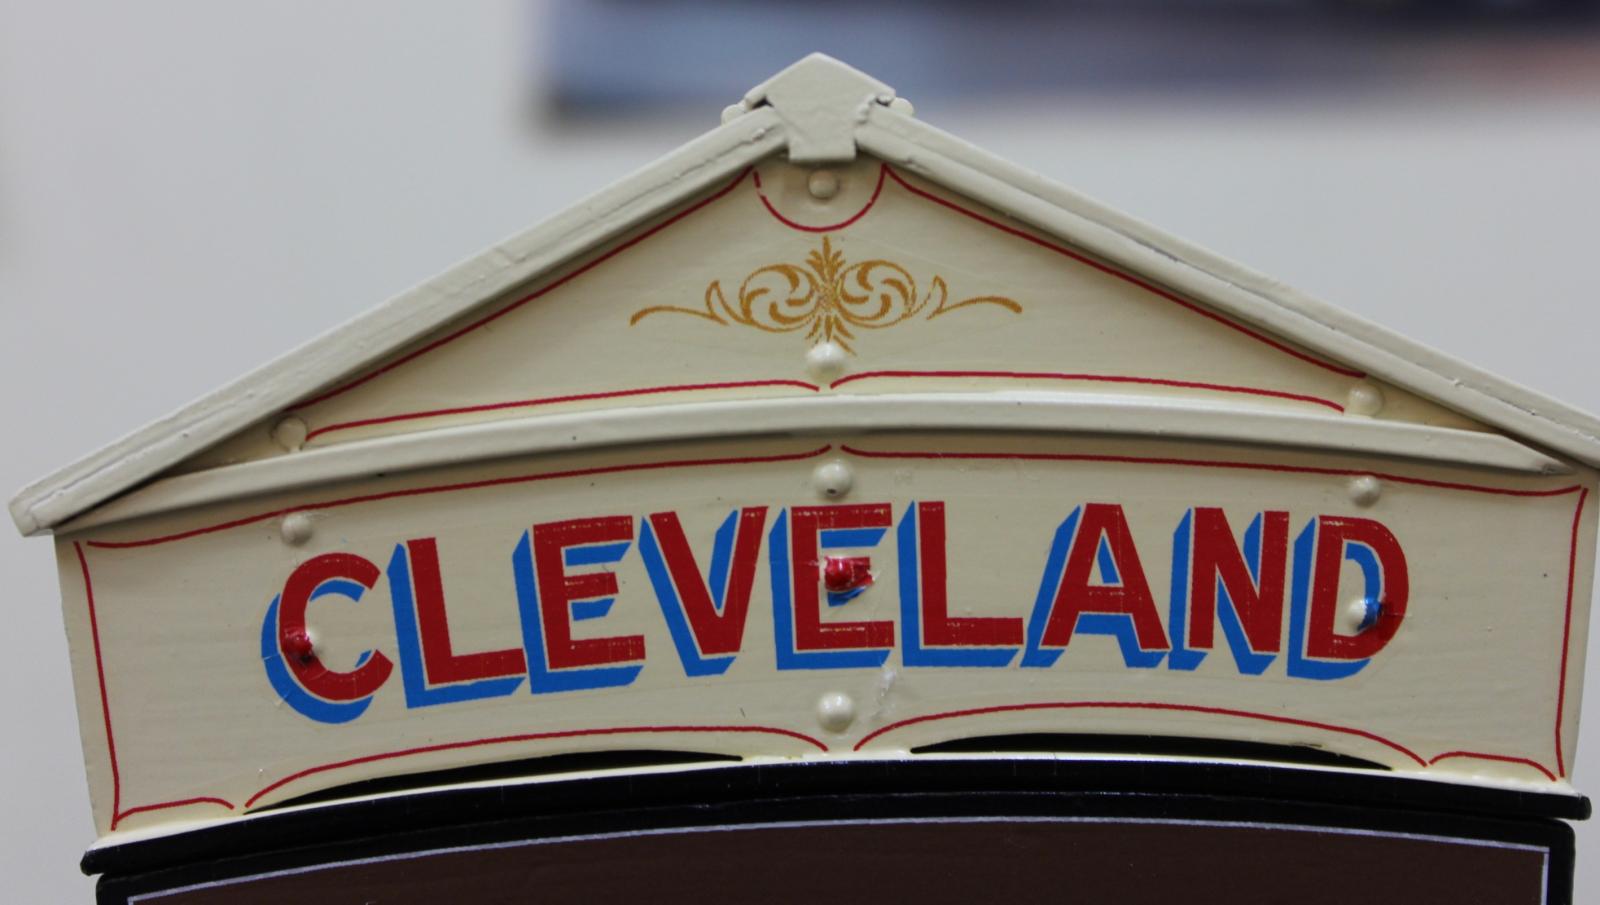
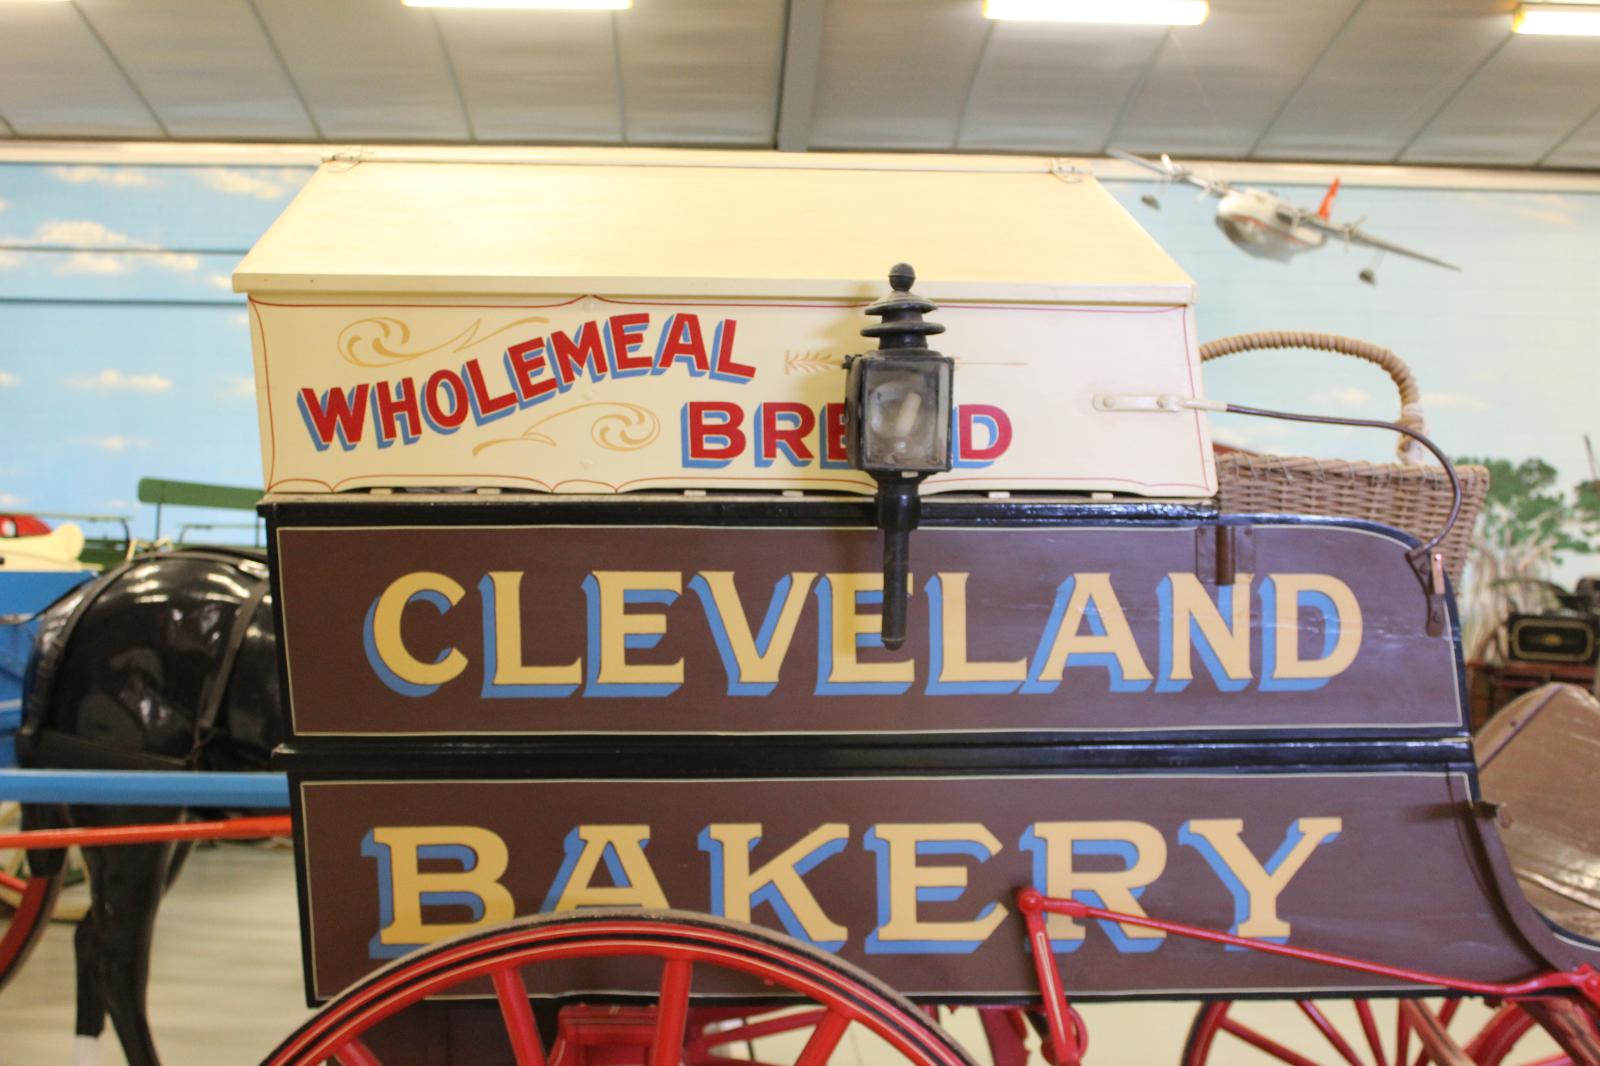
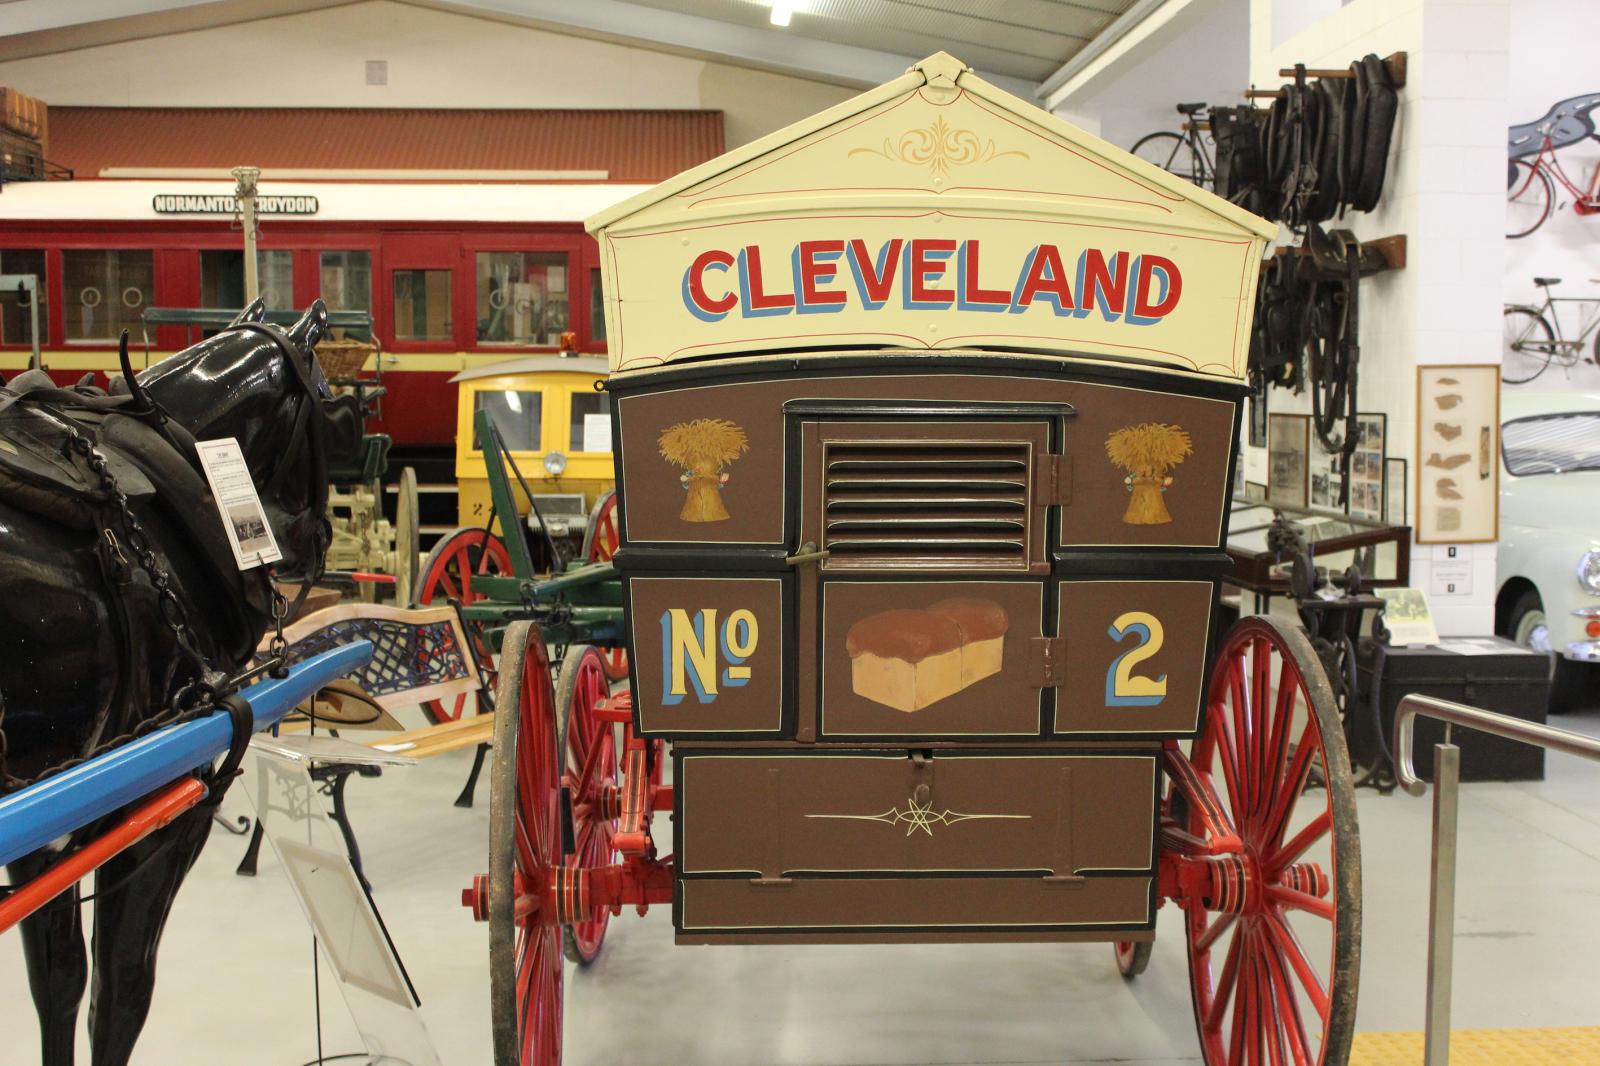
The original full sized vehicle is on display at the Redlands Museum in Cleveland, Qld.
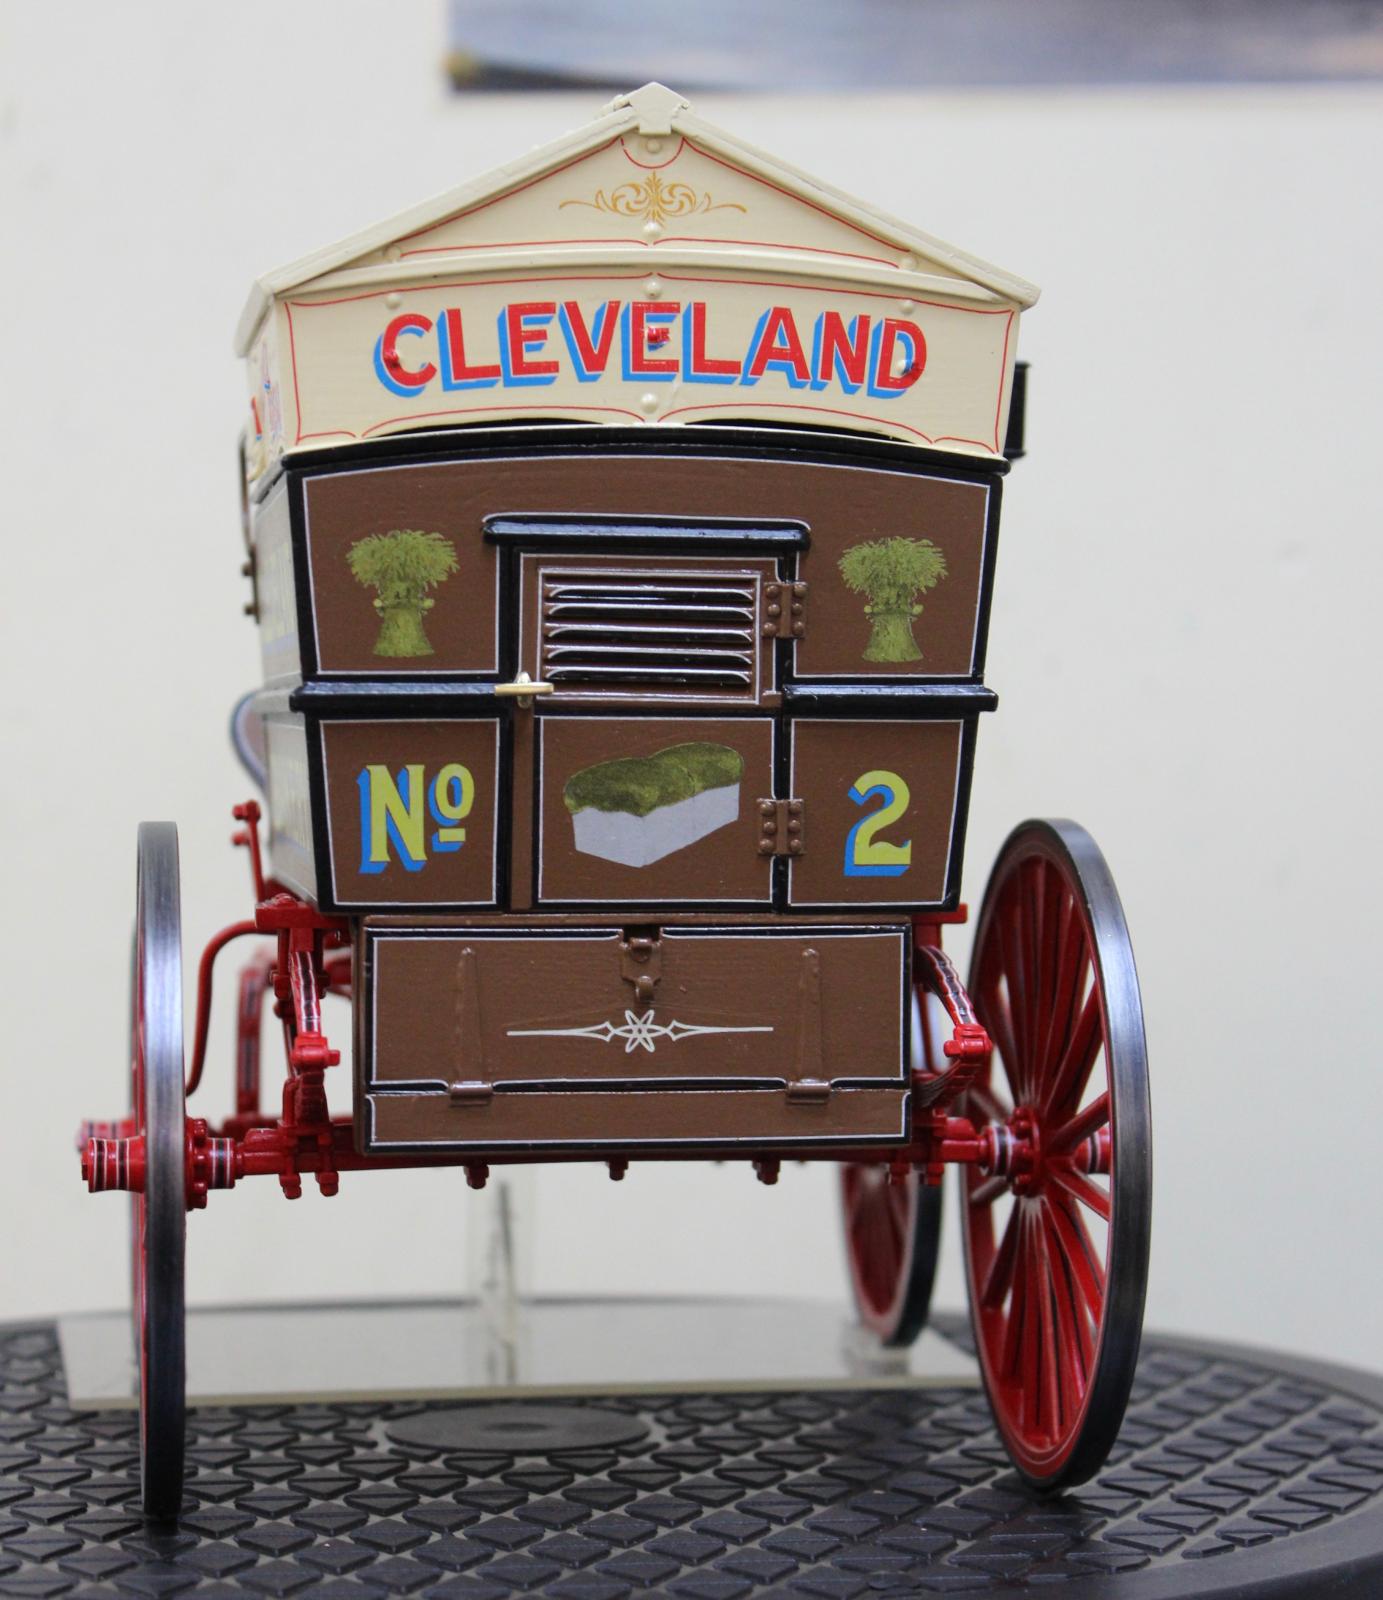
This vehicle was originally used around the Redlands District for bread deliveries, see the first black & white photo, so it's now back where it belongs, in the local Museum.
It has been reconditioned and given a ‘liquid overhaul' many years ago, by an expert carriage builder, by the name of Alex Hamilton.
Alex was the last of the old time carriage builders from around Brisbane, Qld.
His family had been Carriage-makers at Kedron, Qld for about a century, his grandfather started the business, then his father joined the business, so Alex just had too follow along into that same business.
I had to do a series of drawings before I could start to make the model, I didn't have a drawing similar, so plenty of photo's and lot's of measurements with a lot more time spent at the computer doing the drawings.
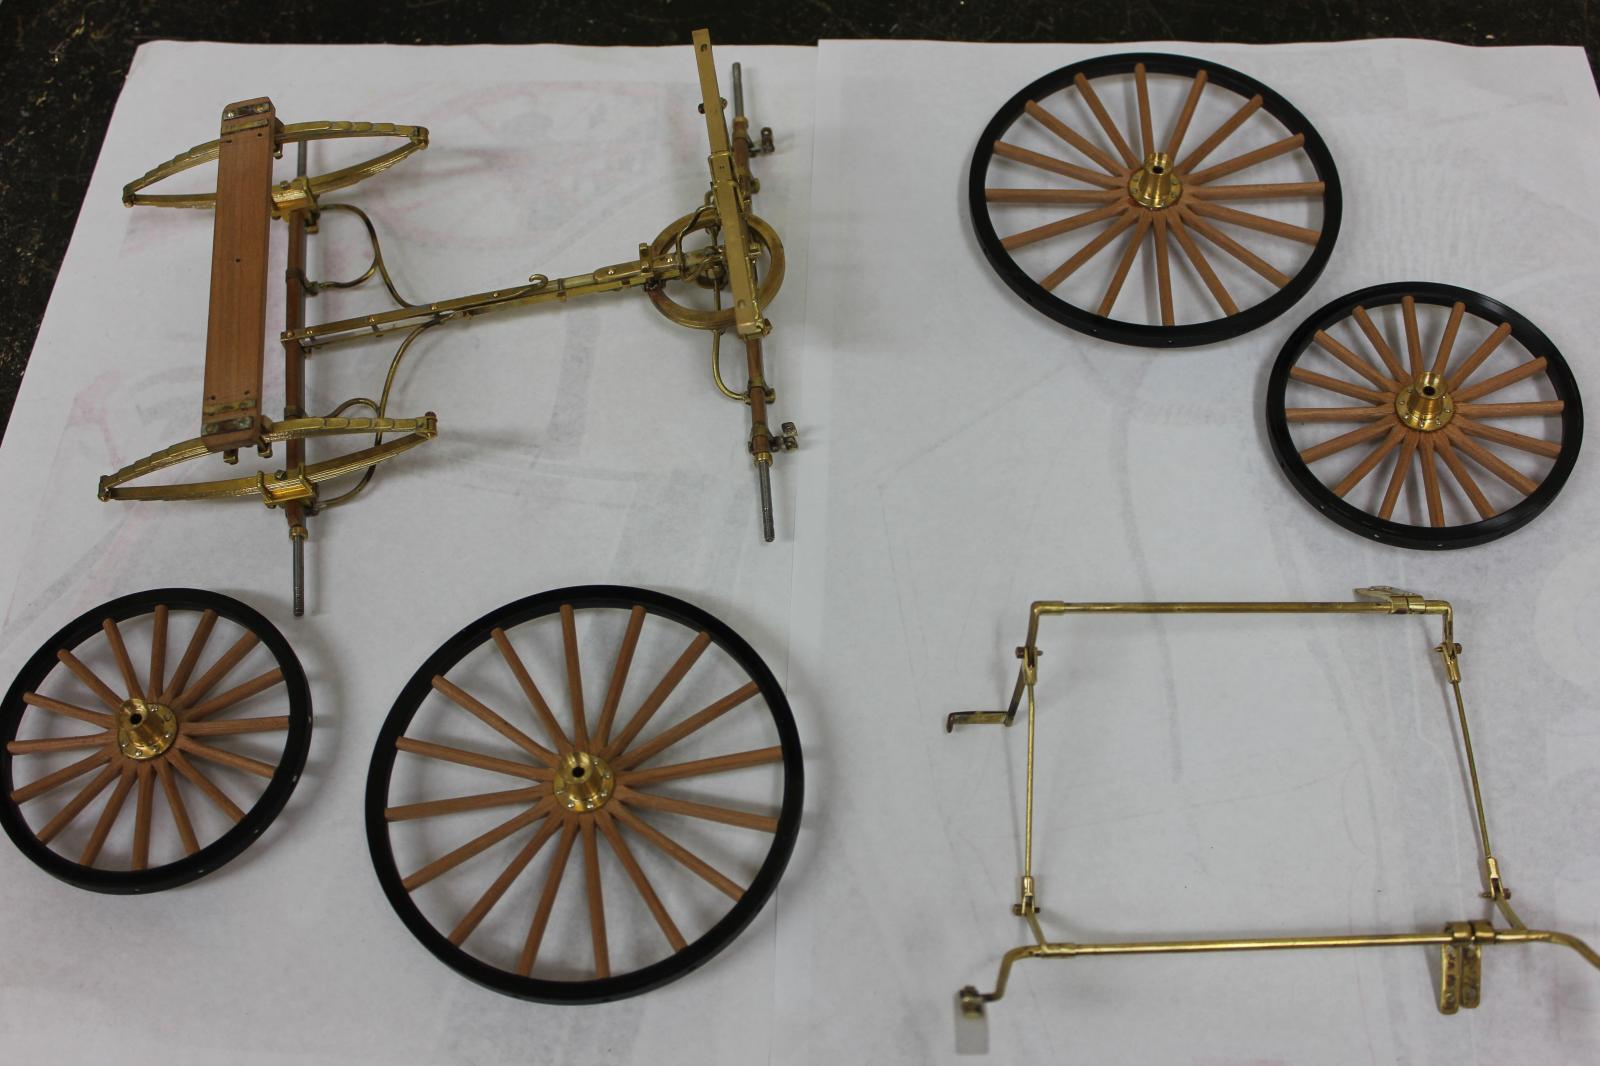
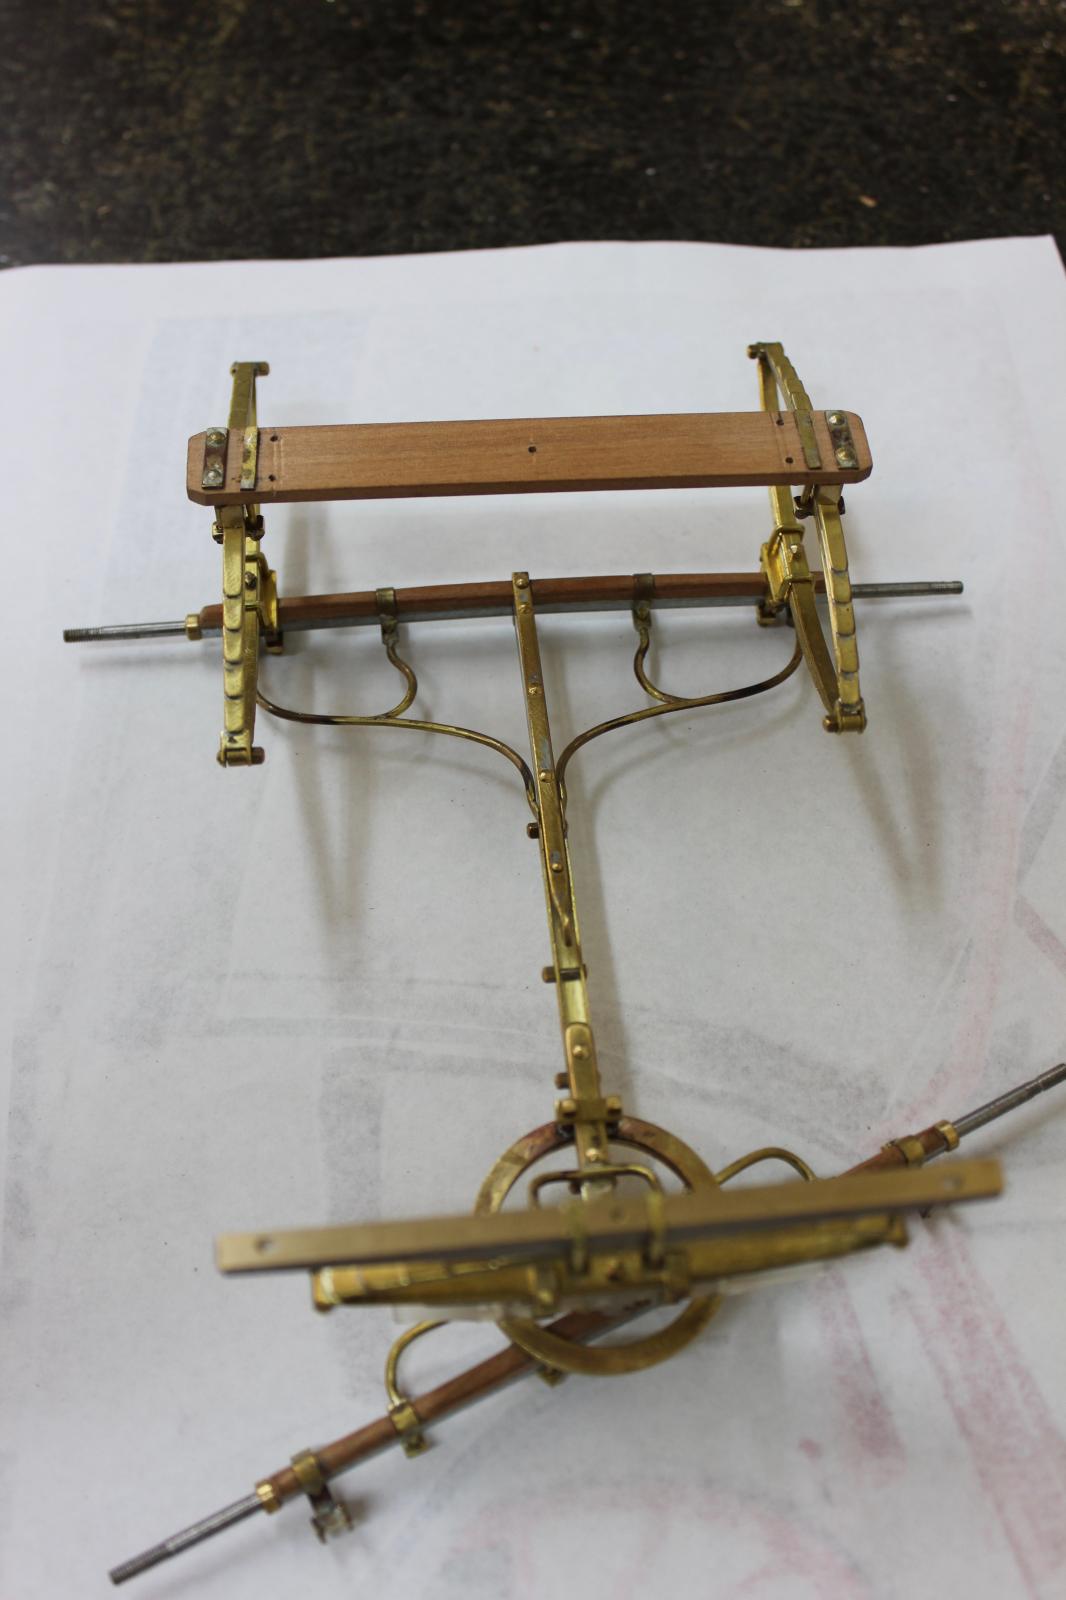
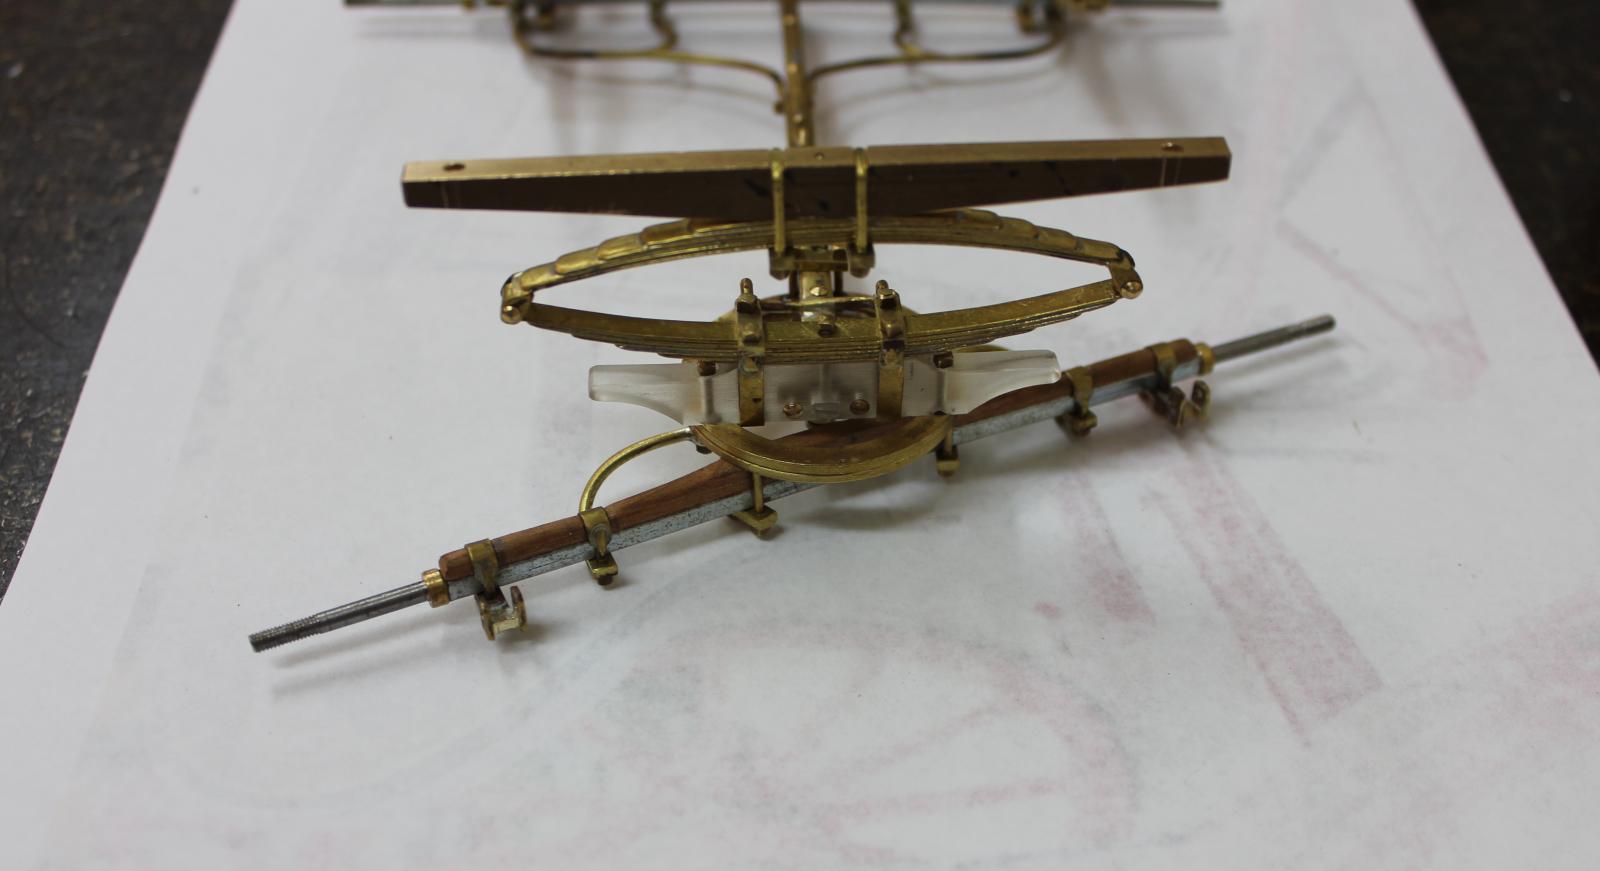
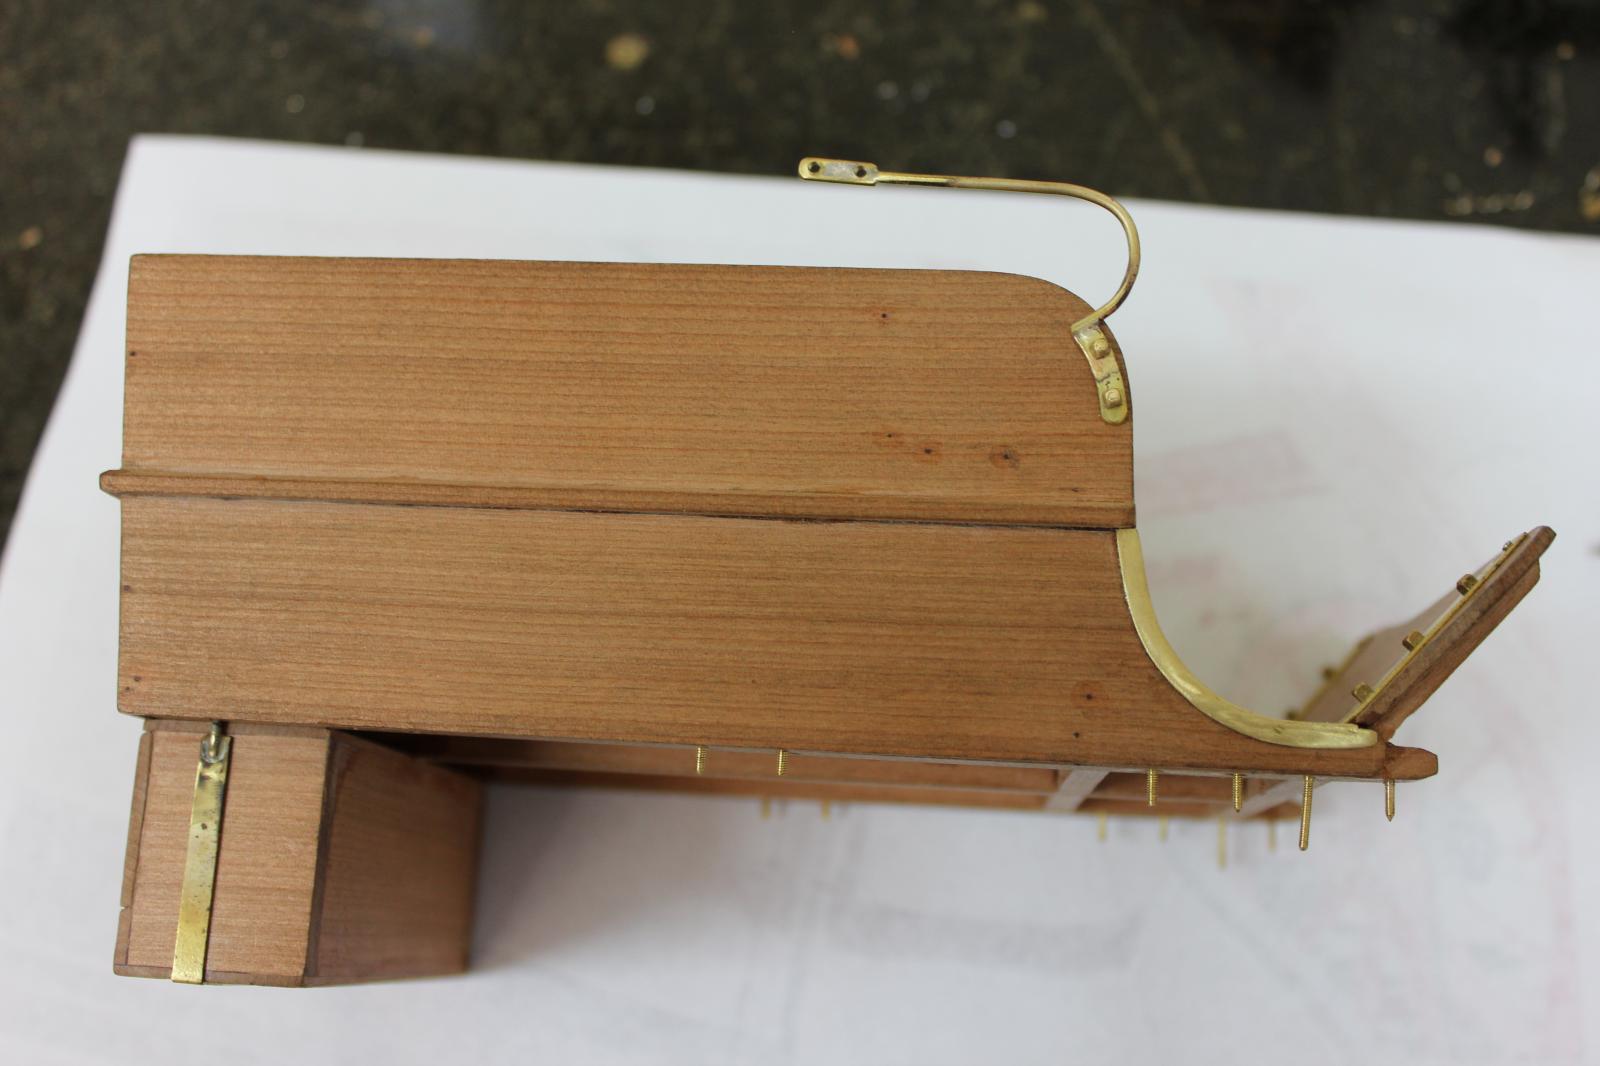
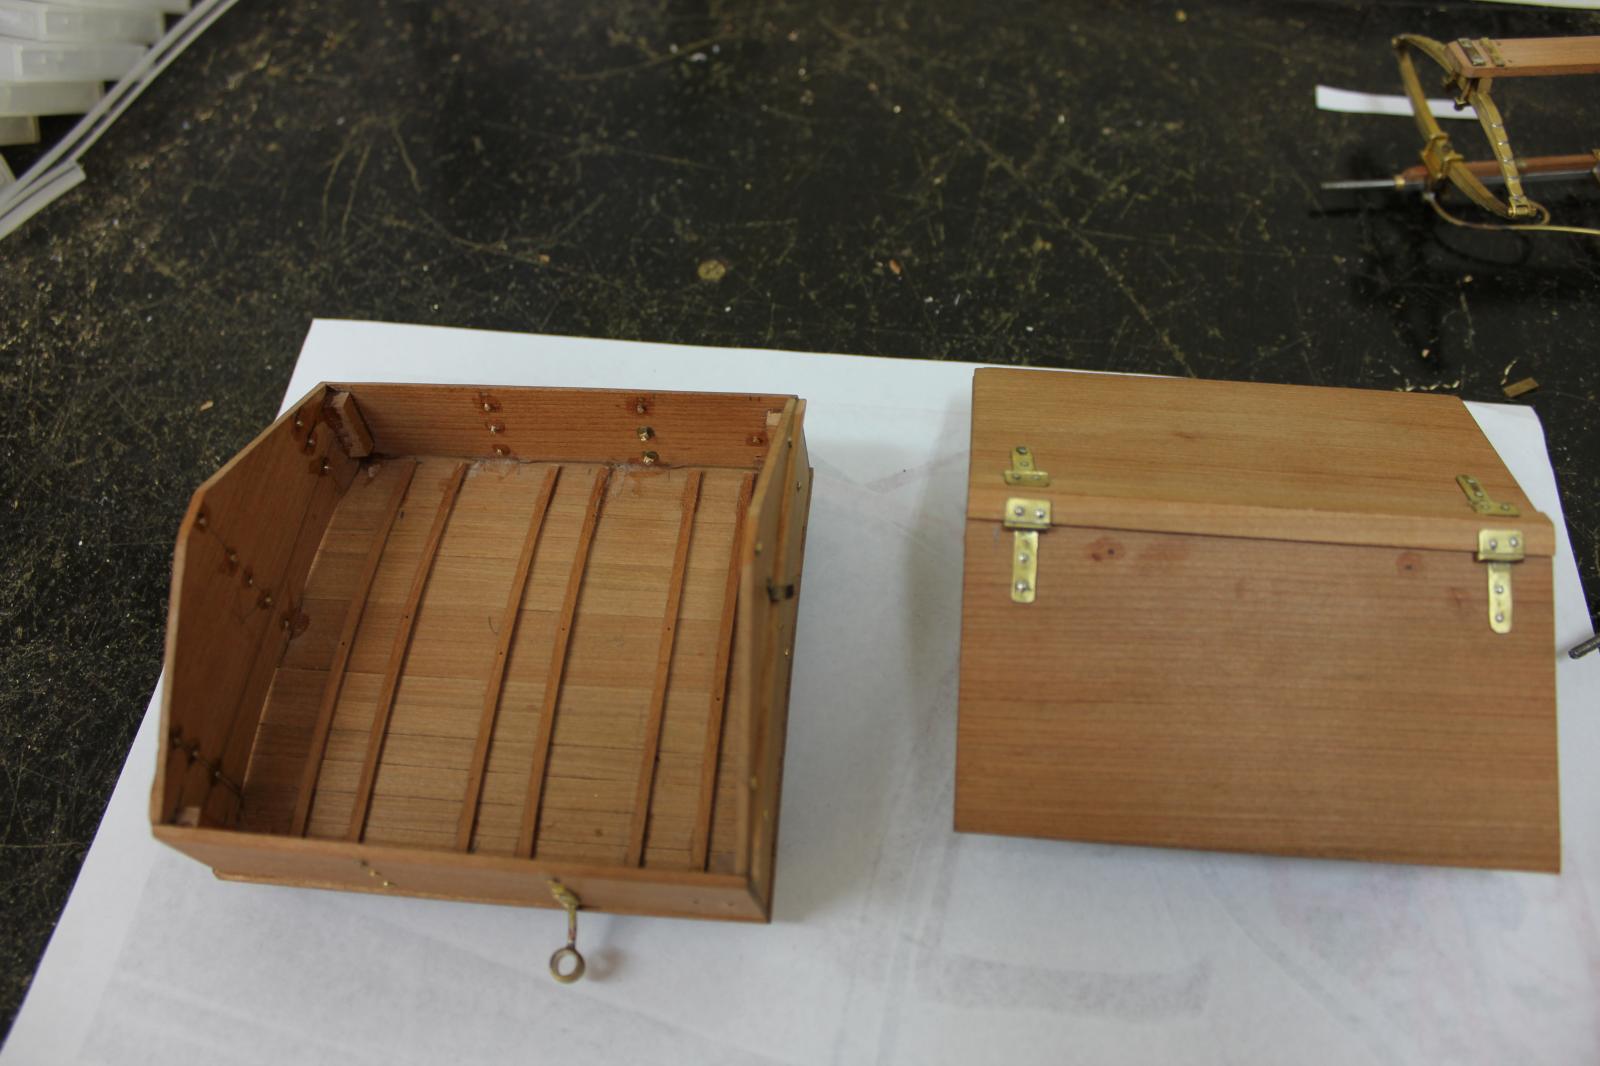
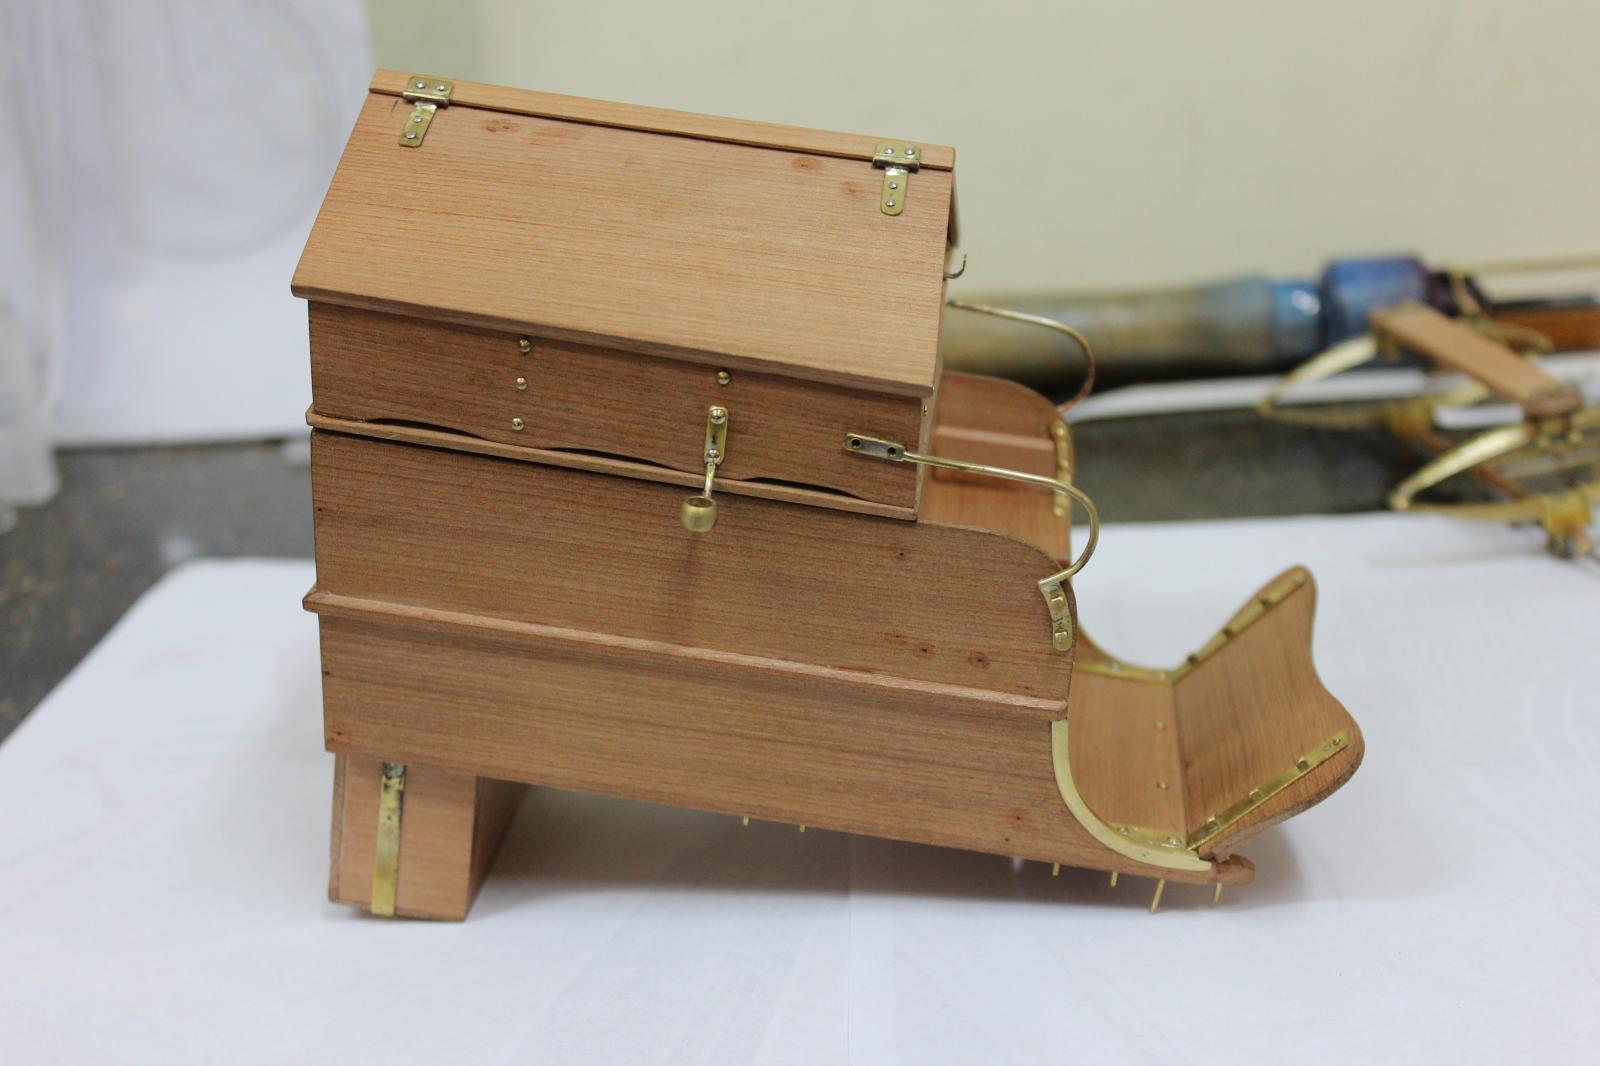
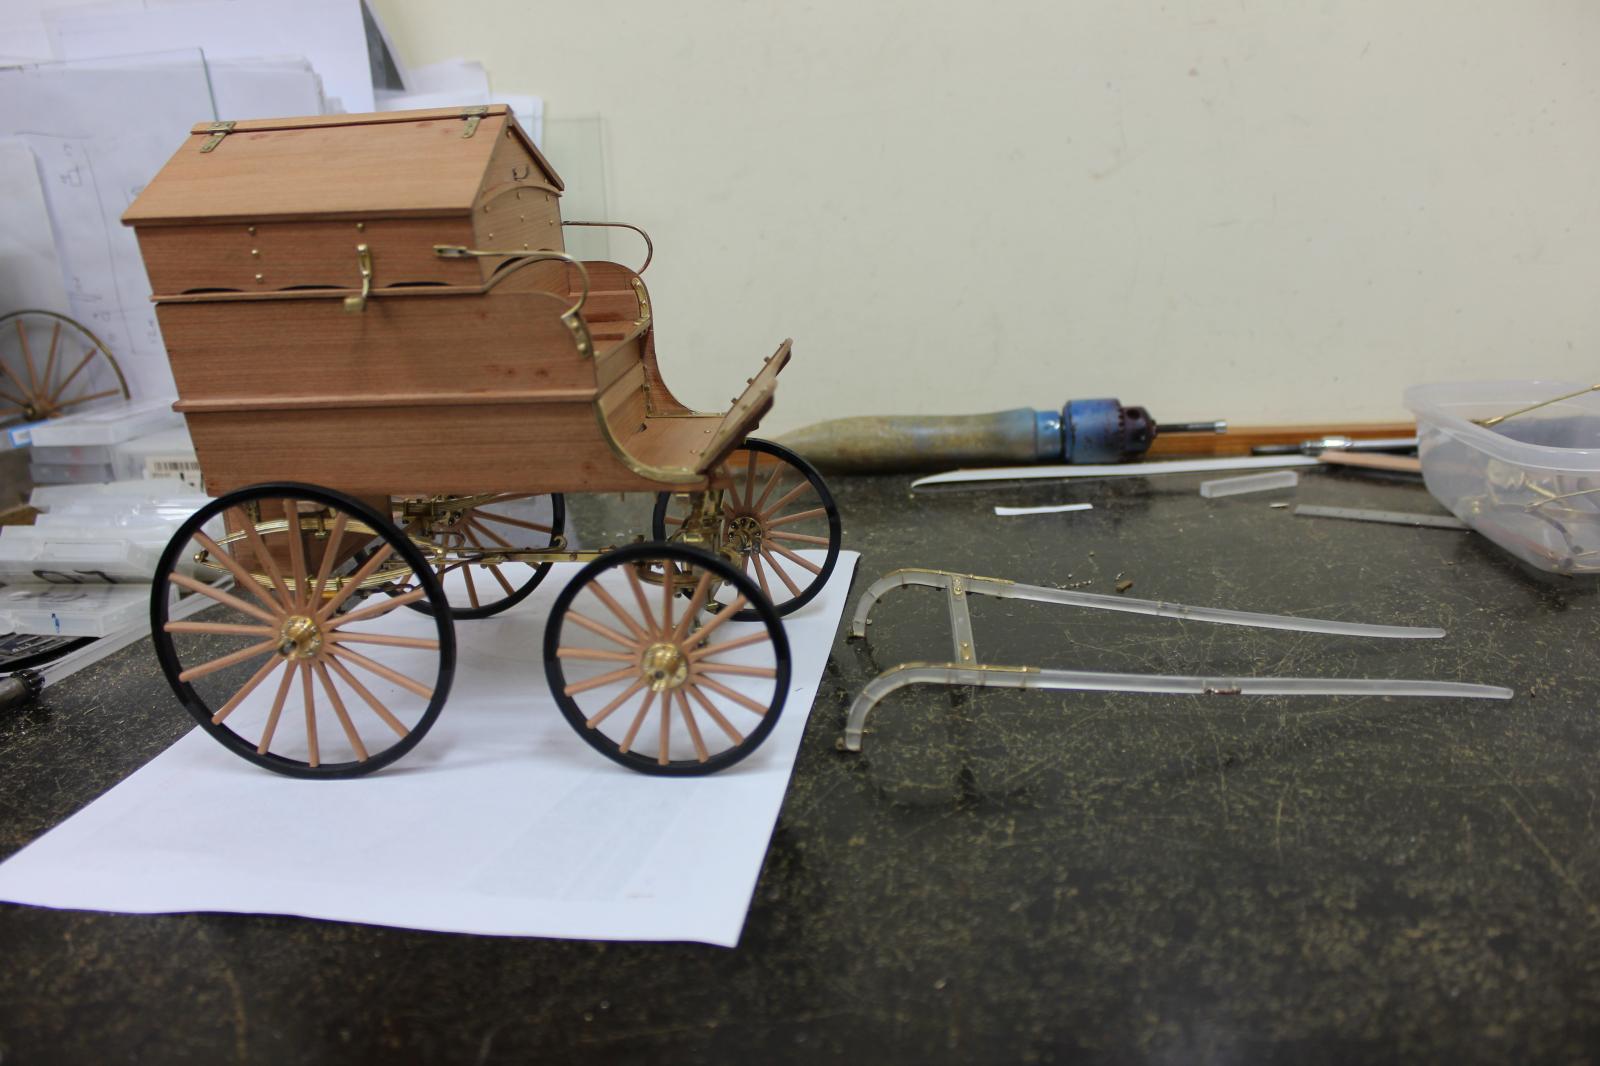
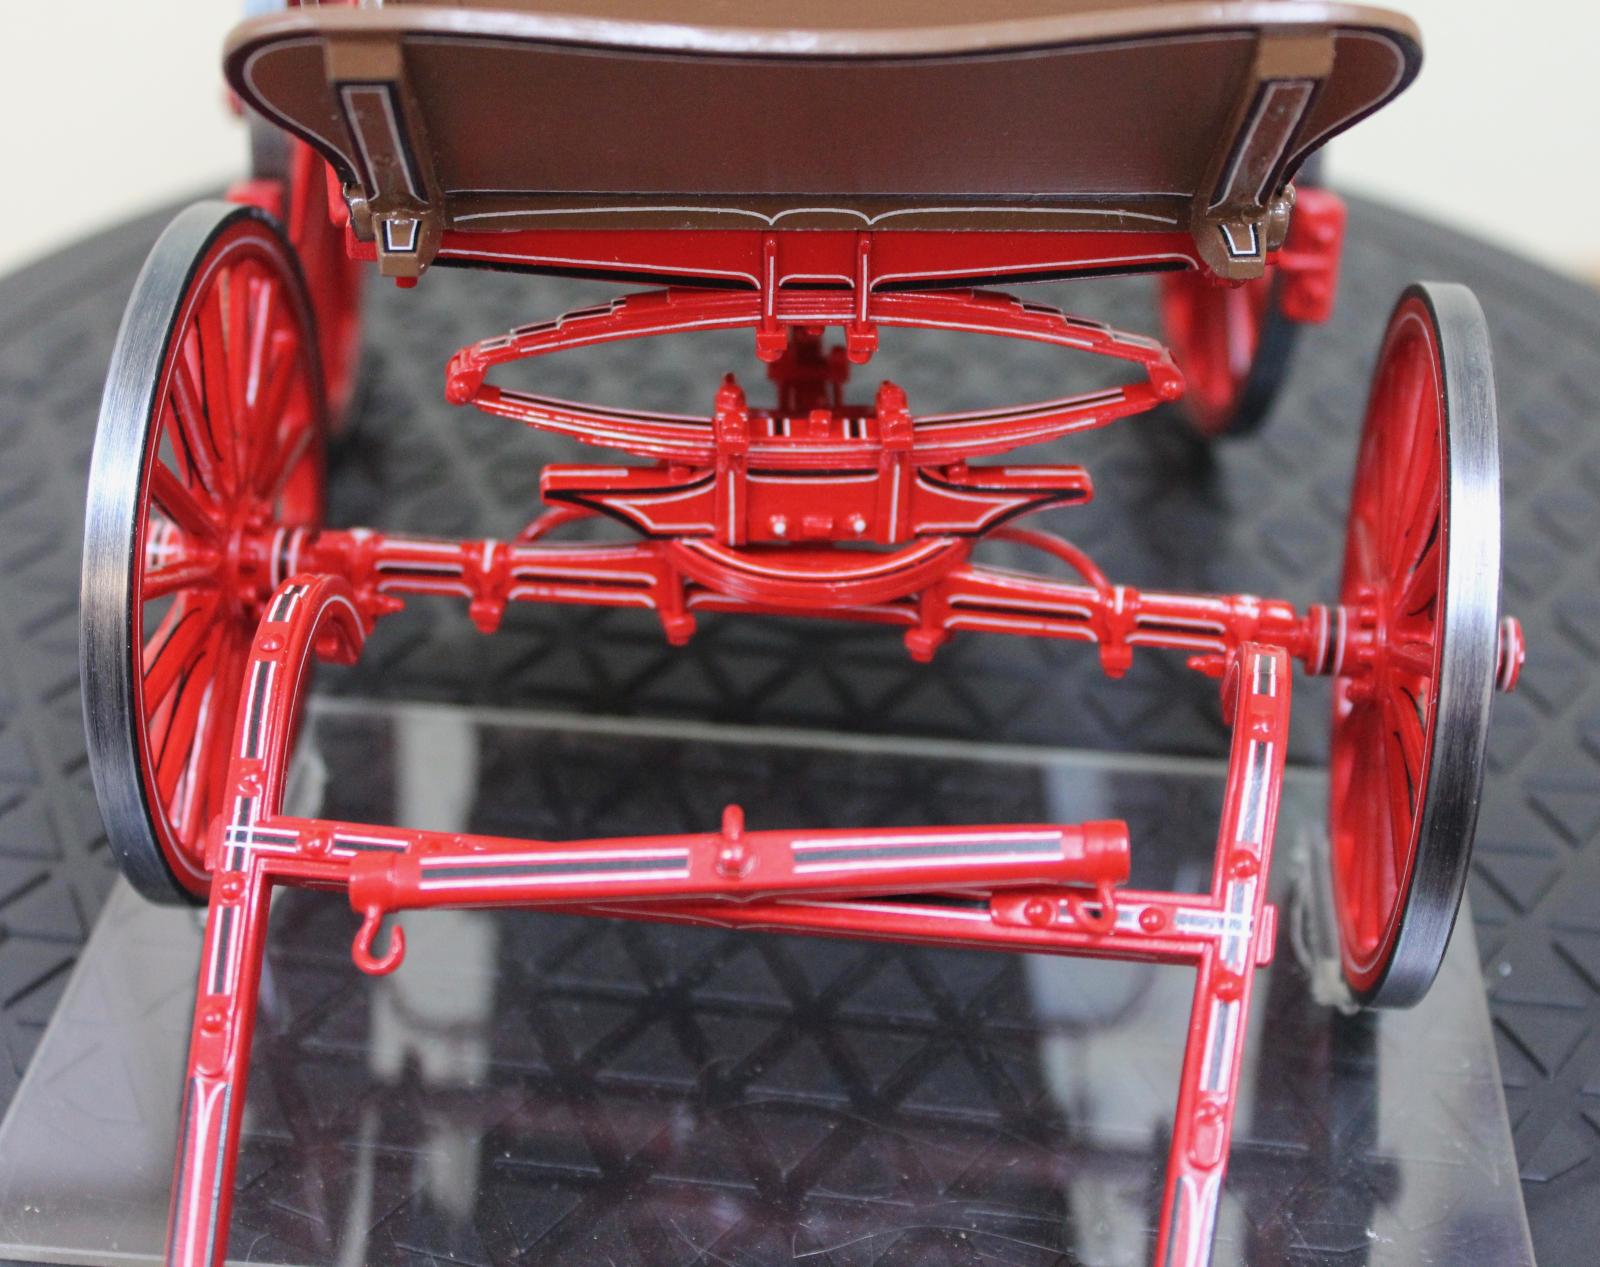
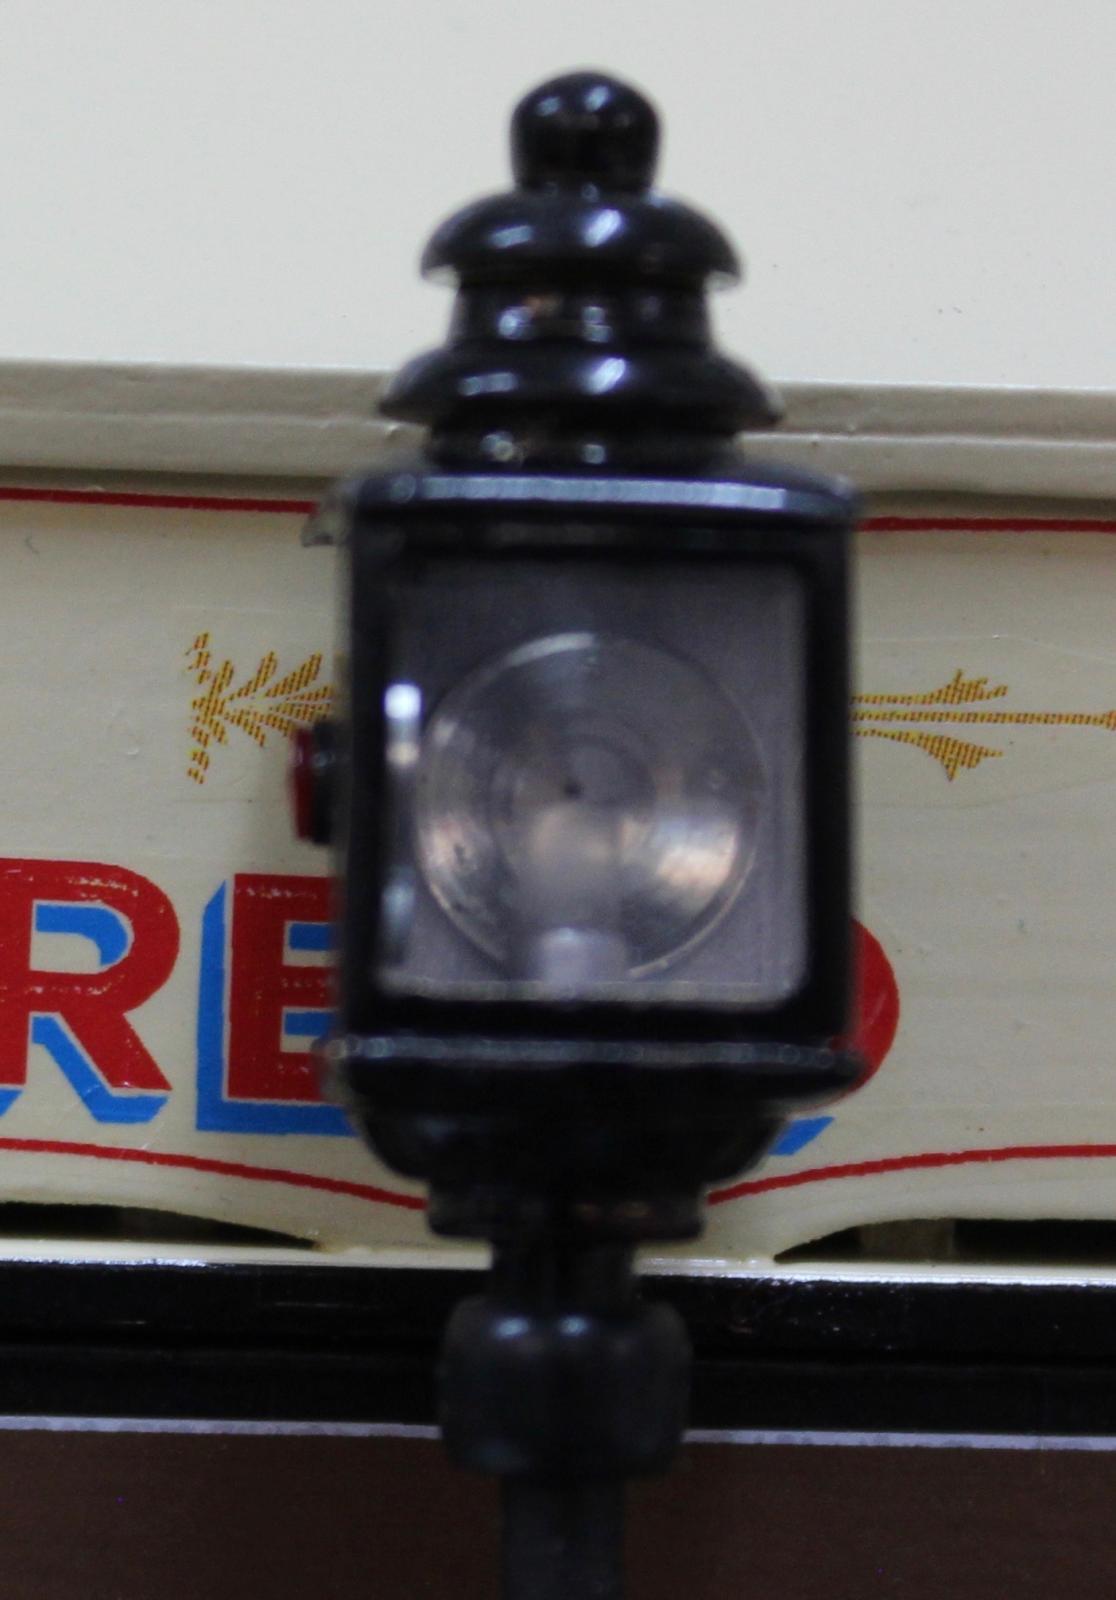
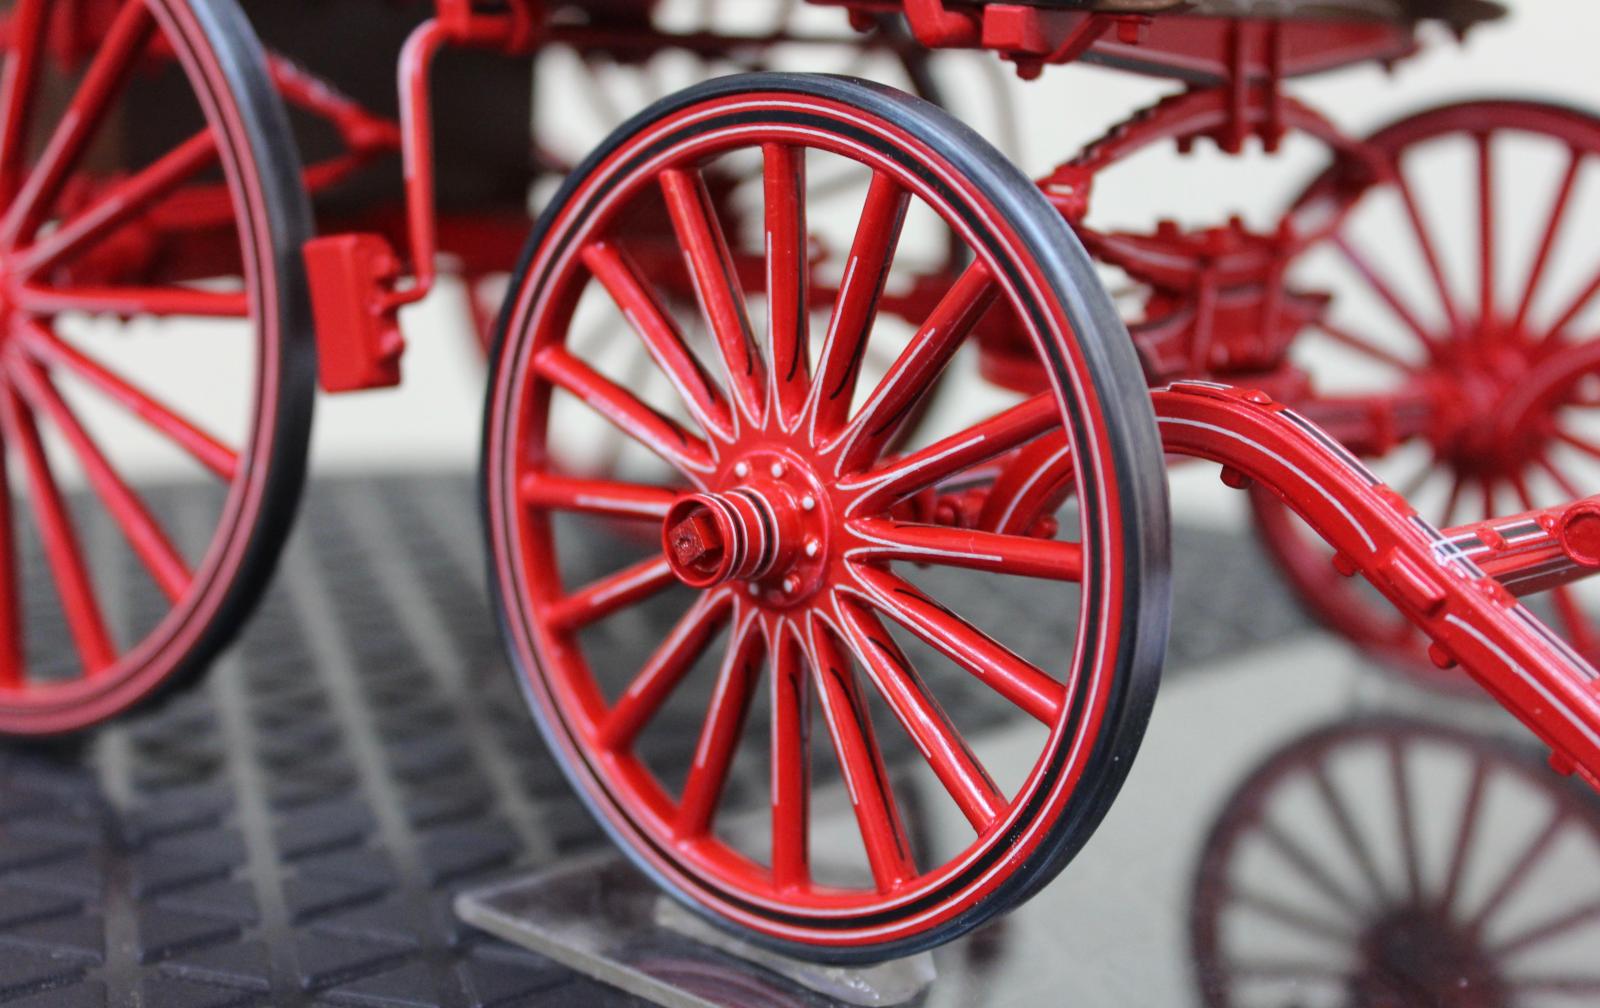
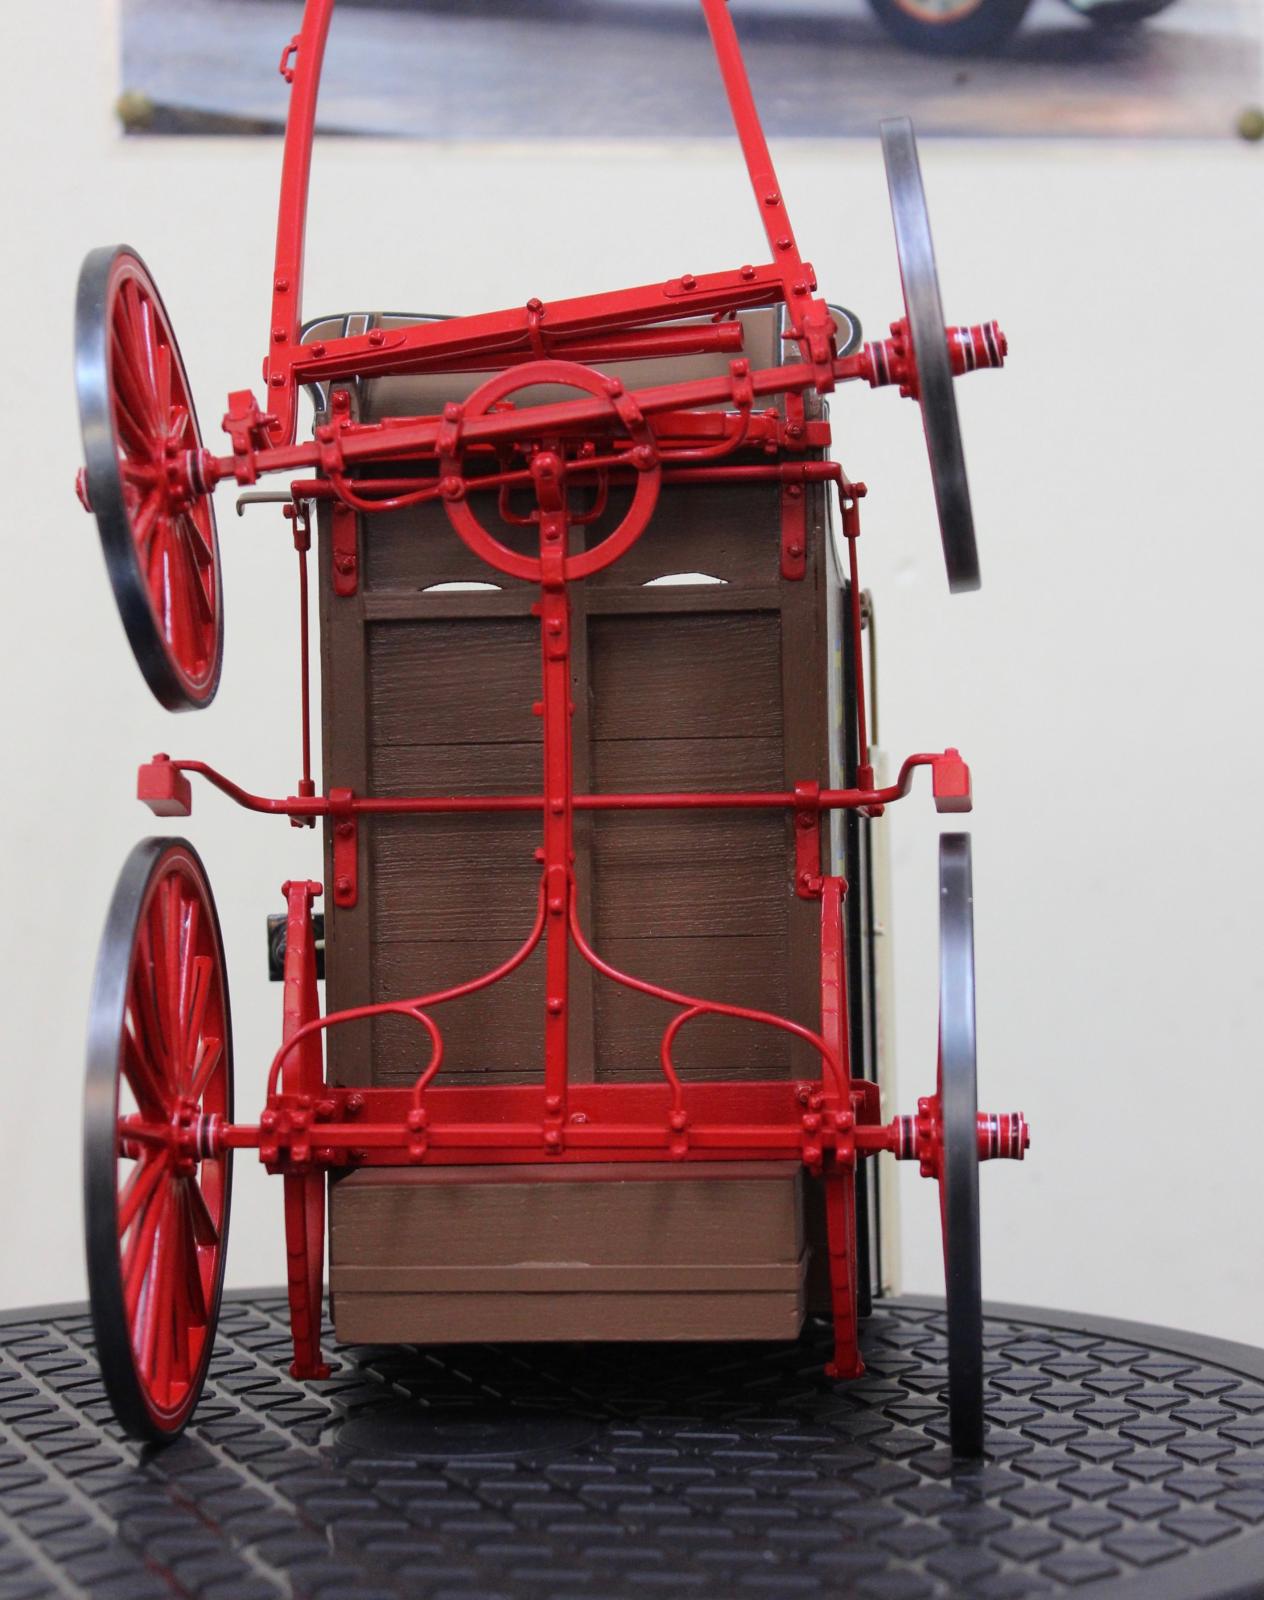
Mostly timber construction, with a few bits of acrylic used for the wheel fellies and I used Acrylic for the shafts as well. A lot of brass was used for most of the metal work, then a bit of steel turned down for the tyres and key-steel used for the axles.
All the nuts and bolts that hold the model together were ALL hand made, using bronzing rods for the 12BA coachbolts bolts and K & S square brass section, for the 12BA nuts.
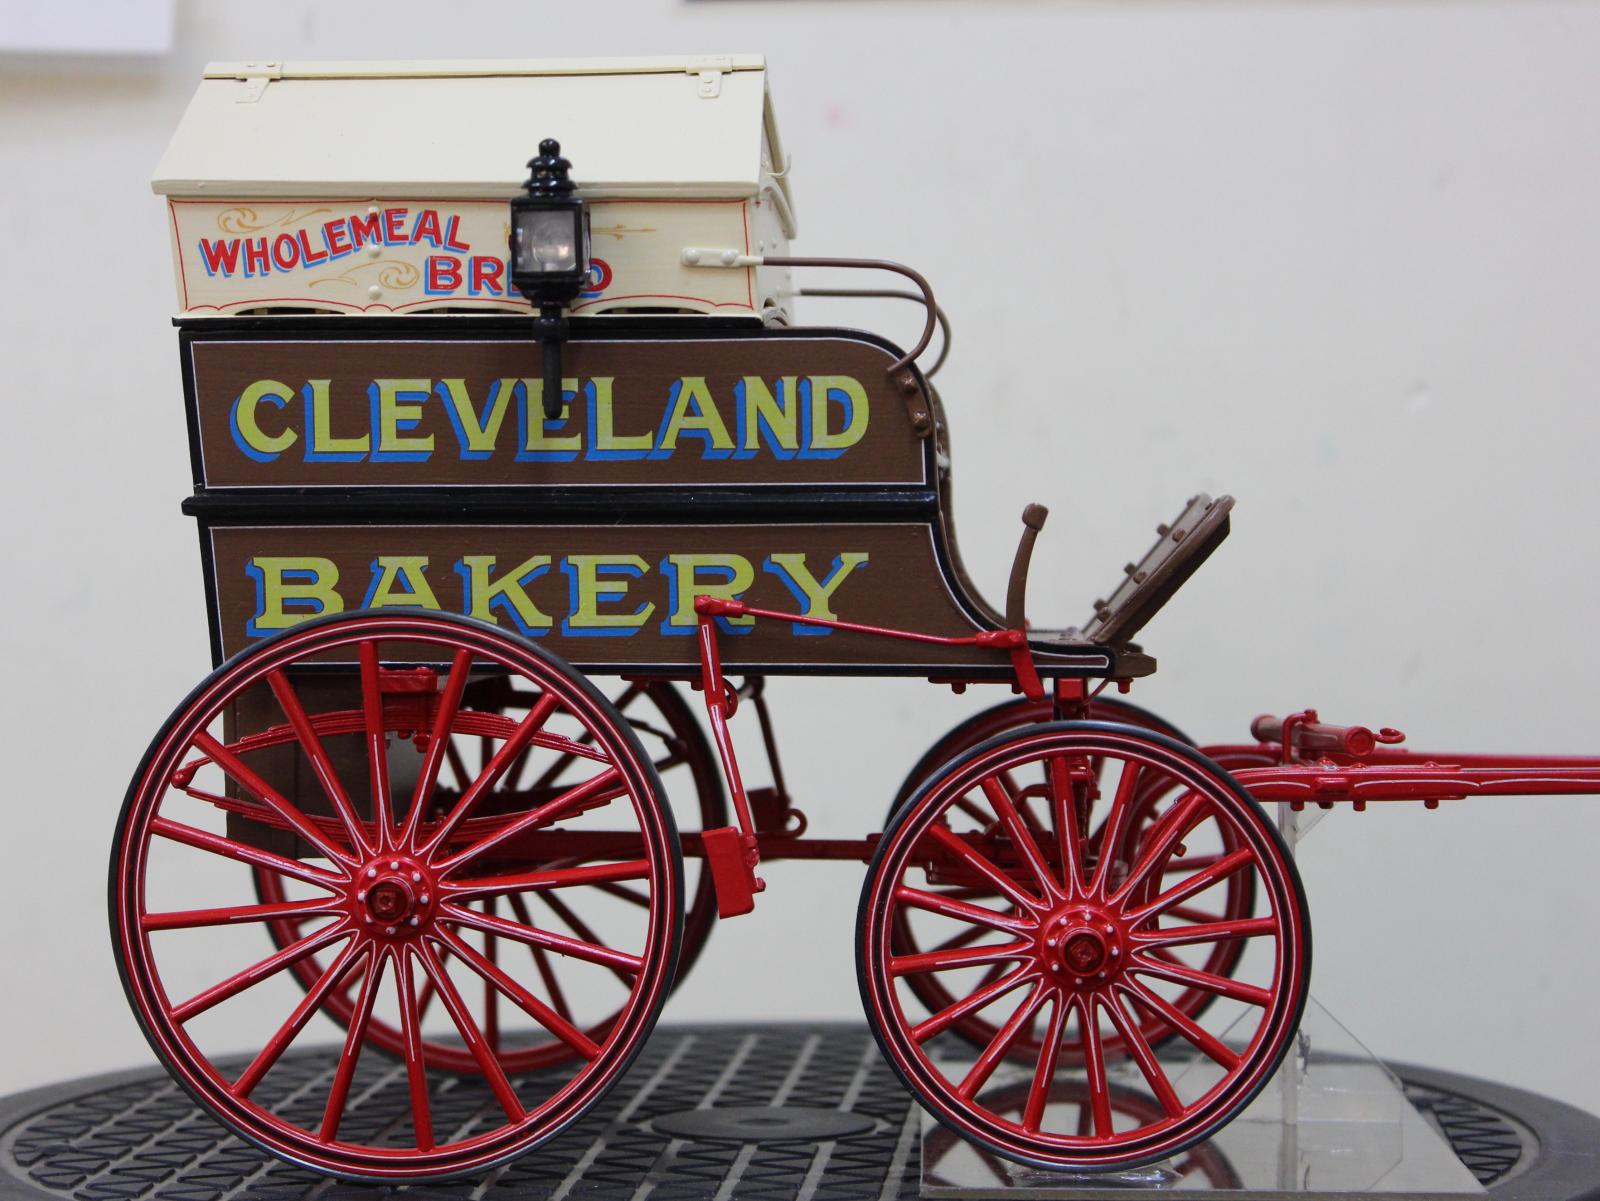
Paint is just ordinary enamel house paint and the decals are all done in house, using an ALPS MD 5500 printer, printed onto clear decal paper, then cut from the decal sheet and applied to the model.
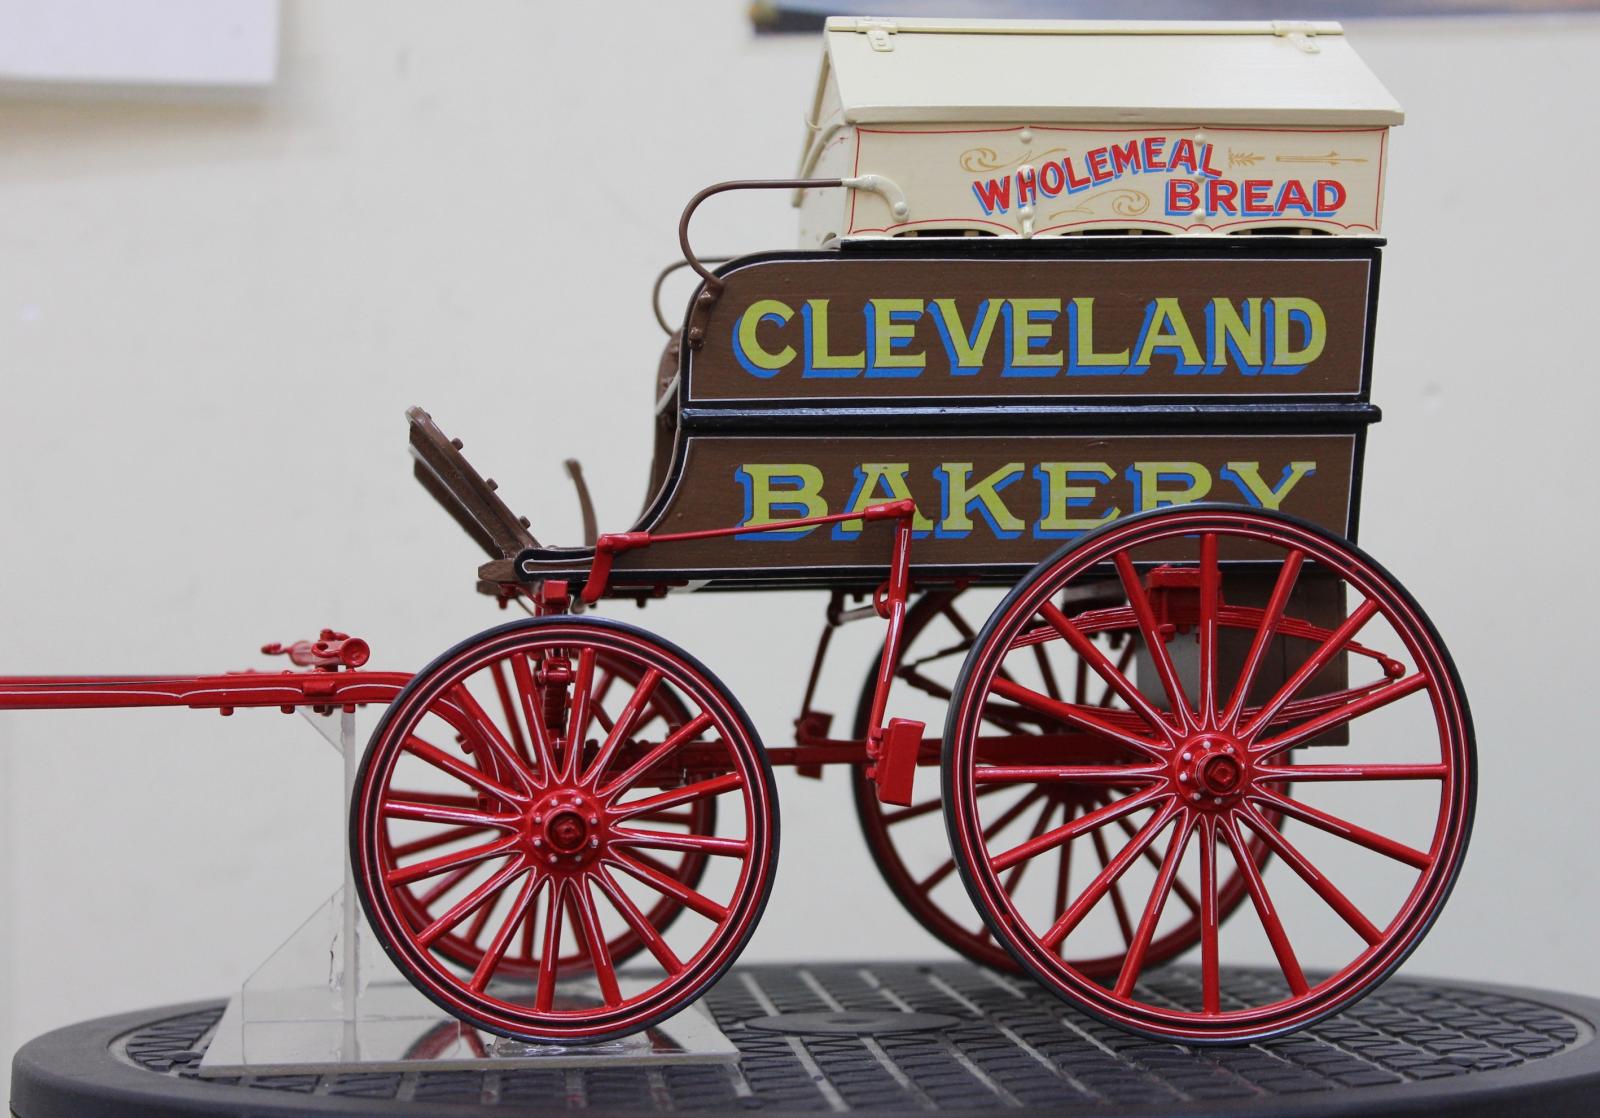
Each wheel has 67 decals added to it, so for the four wheels that's 248 decals, don't ask how many on the complete model as I have never bothered to count each and every one of them. It took me about a week, to put all the decals onto the model.
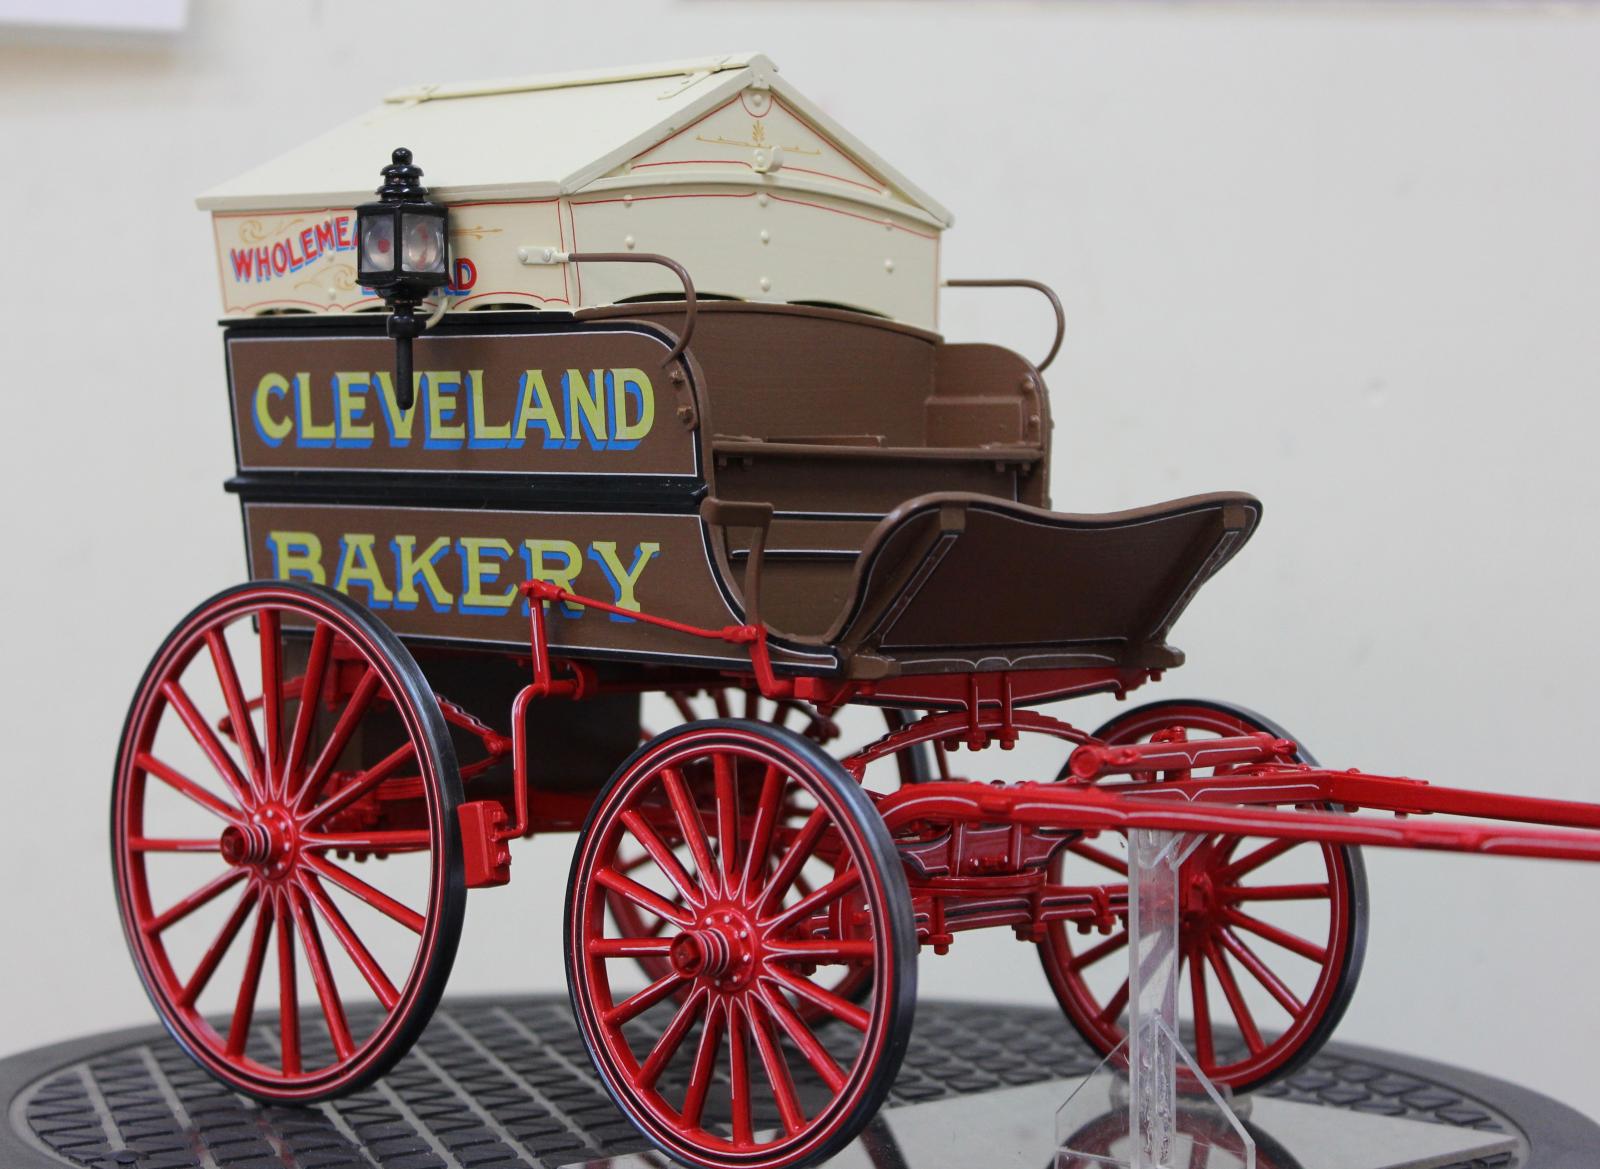
Once they had dried onto the model, all the different sections were clear coated, then it was assembled very carefully.
Plenty of photo's showing what medium's I used for the construction and then lot's more photos showing the finished model.
The last two photos, are of the full sized vehicle at the Museum at Cleveland, Qld.


Superb result, Graham! The amount of quality scratch built work you have put in this project is amazing.
Congratulations!
A great build, Gramham @radishus4
Lots of details and great paintwork.
Superb! Scratch is a king of modeling!